Crushing a sleeve of Oreos over a bowl of chocolate pudding when my phone buzzed with a text from my sister: “The kids are losing it. HELP.” I had promised to bring dessert to her last-minute backyard gathering, and I was staring at a half-empty pantry with exactly zero impressive options. No cake mix, no flour, no butter softened on the counter waiting to be creamed. Just a box of instant pudding, a bag of gummy worms I’d grabbed on a whim for a road trip we never took, and a nearly full package of Oreos that were somehow still intact despite living in my snack cabinet for two weeks.
That moment of panic turned into something kind of brilliant. I layered crushed cookies, creamy pudding, and more crushed cookies in a few clear plastic cups I found under the sink. Then I shoved a gummy worm into each one so it looked like it was crawling out of the dirt. The kids went absolutely silent when they saw them. Then they screamed. Then they ate three each. My sister looked at me like I’d just performed a magic trick, and honestly, I kind of had.
These Easy Oreo Dirt Pudding Cups with Gummy Worms are the definition of a no-stress dessert that looks way more impressive than it has any right to be. You don’t need an oven, a mixer, or any real skill. You just need a few basic ingredients and a willingness to embrace the silly, messy joy of eating dessert that looks like actual dirt. It’s the kind of recipe that saves you when you’re out of time, out of energy, and out of ideas—but still want to show up with something that makes people smile.
I’ve made these for Halloween parties, backyard barbecues, classroom treat days, and random Tuesday nights when the kids needed a pick-me-up. Every single time, they disappear faster than anything else on the table. There’s something about the combination of creamy chocolate pudding, crunchy Oreo crumbs, and those wiggly little gummy worms that hits a nostalgic sweet spot nobody can resist. It’s not fancy. It’s not complicated. But it’s exactly what you need when you need a dessert that works.
Why You’ll Love This Recipe
Let me tell you why these dirt pudding cups have earned a permanent spot in my dessert rotation. I’ve tested this recipe more times than I can count, tweaking the ratios and the layering technique until it was absolutely foolproof. Here’s what makes it stand out:
- Ready in 5 Minutes : No baking, no waiting, no complicated steps. You can have these assembled and in the fridge in the time it takes to find a parking spot at the grocery store.
- Simple Ingredients : You probably already have most of what you need in your kitchen right now. Instant pudding mix, milk, Oreos, and gummy worms. That’s it.
- Perfect for Any Occasion : Halloween parties, birthday parties, Easter brunches, summer cookouts, or just a fun after-school treat. These cups fit every event on your calendar.
- Crowd-Pleaser : Kids go crazy for them, and adults secretly love them too. I’ve watched grown men eat three in a row without blinking.
- Unbelievably Delicious : The texture is what gets you. That creamy, smooth pudding against the crunchy, sandy Oreo crumbs creates a contrast that’s pure comfort food magic.
What makes this version different from every other dirt dessert recipe out there? It’s the ratio. I spent way too much time figuring out the perfect balance of pudding to crumbs so every bite has enough crunch without feeling dry. Most recipes either skimp on the cookies or drown everything in pudding. Mine hits that sweet spot where every spoonful gives you a little bit of everything.
This is the kind of dessert that makes you close your eyes after the first bite. It’s nostalgic without being boring, fun without being childish, and easy without tasting like you cut corners. Whether you’re making it for a classroom full of six-year-olds or a dinner party full of adults who secretly miss being six, these dirt pudding cups deliver every single time.
What Ingredients You Will Need
This recipe uses simple, everyday ingredients to create something that tastes way more special than the sum of its parts. Here’s what you’ll need and why each one matters:
For the Pudding Base
- 1 (3.9-ounce) box instant chocolate pudding mix – I use Jell-O brand because it consistently gives me the smoothest, creamiest texture. Don’t use cook-and-serve pudding here; instant is non-negotiable for the right consistency. (It sets up quickly and doesn’t require any stovetop work.)
- 2 cups cold whole milk – Whole milk gives you the richest, most decadent pudding. You can use 2% in a pinch, but I wouldn’t go lower than that. The fat content matters for both texture and flavor. (For a dairy-free version, unsweetened oat milk works beautifully.)
- 1/2 cup cold heavy cream – This is my secret ingredient. Adding a little heavy cream to the milk makes the pudding extra velvety and gives it a mousse-like quality that takes it from good to unforgettable.
For the Dirt Layer
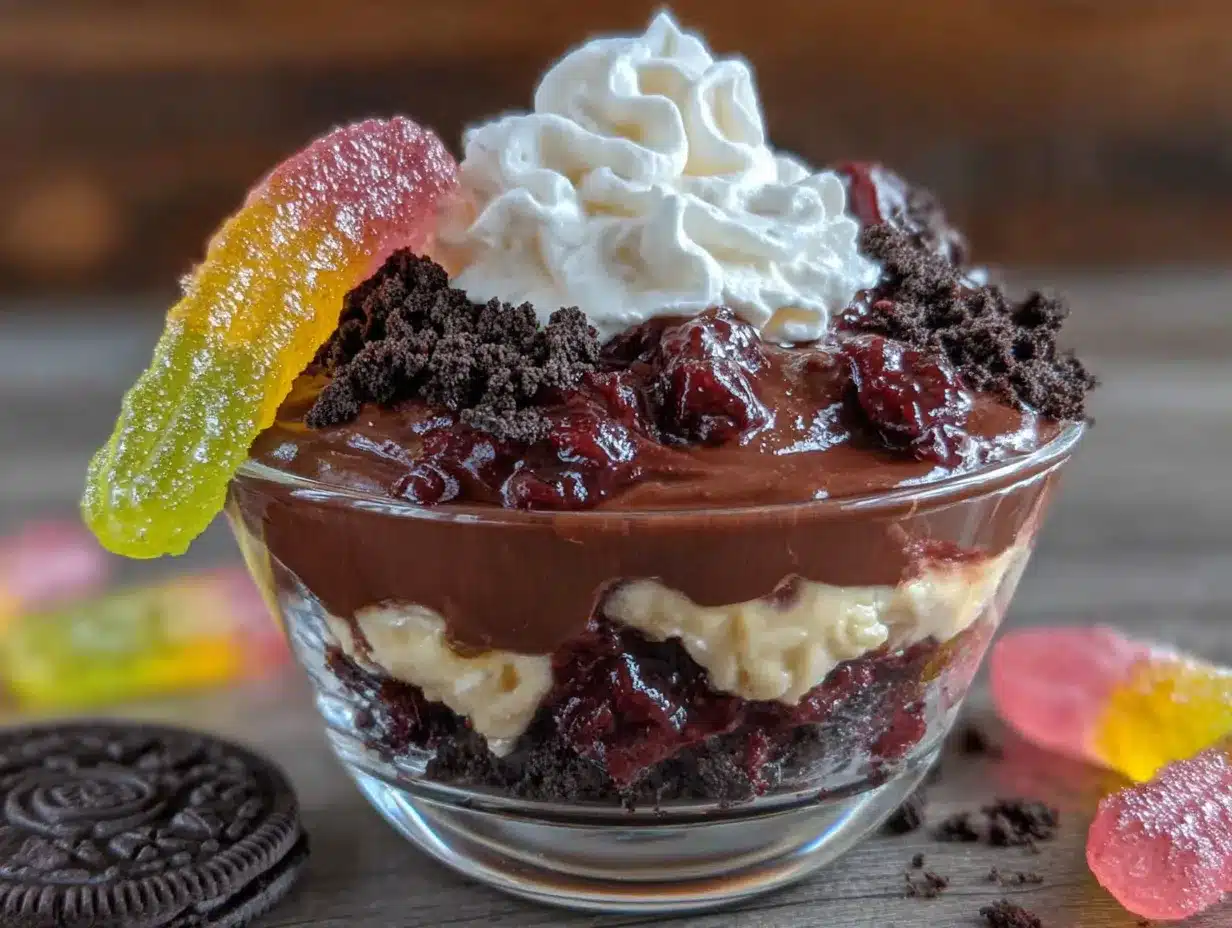
- 1 (14.3-ounce) package Oreo cookies – Regular Oreos are best because they have that perfect ratio of chocolate cookie to cream filling. You’ll use the whole cookie, cream and all. (Double Stuf works too, but you’ll need a few extra cookies to get enough crumb coverage.)
- Optional: 2 tablespoons melted butter – This is totally optional, but if you want your dirt layer to have a slightly more cohesive, sandy texture that clumps together a bit, stir in some melted butter. I skip it most of the time, but it’s a nice trick if you’re serving these at a fancier event.
For the Worms
- 1 (5-ounce) bag gummy worms – Any brand works here, but I’m partial to Trolli Sour Brite Crawlers because they have that perfect balance of sweet and sour. The sour coating adds a little zing that cuts through the richness of the pudding. (If you’re making these for a peanut-free event, double-check the label on your gummy worms.)
- Optional: 1/2 cup crushed chocolate sandwich cookies (extra) – I like to reserve a few extra Oreos to crush into a finer powder for the very top layer. It creates a more realistic “dirt” texture that looks like you actually dug in the garden.
For Serving
- 8 (6-ounce) clear plastic cups or small mason jars – Clear cups are non-negotiable for the visual effect. You want people to see those layers of dark chocolate and gummy worms peeking through. I use these disposable plastic cups from the party supply store, but small mason jars work beautifully too.
- Optional: Gummy leaves, plastic shovels, or edible flowers for decoration – If you’re feeling extra, these little touches take the presentation to the next level. I’ve used small plastic shovels as spoons for a gardening-themed party, and it was a huge hit.
Equipment Needed
You don’t need much for this recipe, which is part of its beauty. Here’s what you’ll want to have on hand:
- Large mixing bowl – For whisking the pudding. A glass or stainless steel bowl works best because it chills faster.
- Whisk – A good balloon whisk helps you incorporate the pudding mix without lumps. (If you’re in a hurry, you can use an electric hand mixer on low speed, but whisking by hand only takes about two minutes.)
- Measuring cups and spoons – For precise measurements. I’ve learned the hard way that eyeballing the milk-to-mix ratio leads to runny pudding.
- Rolling pin or food processor – For crushing the Oreos. A rolling pin and a zip-top bag gives you more control over the texture, but a food processor is faster if you’re making a big batch. (I prefer the rolling pin method because I can leave some chunks for texture.)
- 8 clear cups or small jars – As mentioned above, visibility is key for the presentation.
- Spoon or small spatula – For layering. A small offset spatula is my favorite tool for getting clean, even layers.
- Refrigerator – The pudding needs at least 5 minutes to set, but an hour is ideal for the best texture.
If you don’t have a food processor, don’t sweat it. Place the Oreos in a large zip-top bag, seal it, and go to town with a rolling pin or even a heavy skillet. It’s oddly therapeutic and gives you more control over the crumb size. I actually prefer this method because I can leave some bigger chunks for texture contrast.
Preparation Method
Alright, let’s get to the fun part. Here’s how to make these Easy Oreo Dirt Pudding Cups with Gummy Worms step by step. I’ve included all the little details I wish someone had told me the first time I made them.
- Crush the Oreos – Place the entire package of Oreos (cream filling and all) into a large zip-top bag. Seal it tightly, then use a rolling pin to crush them into fine crumbs. You want a mix of textures here—some fine powder for the top layer and some slightly chunkier pieces for the middle layers. If you’re using a food processor, pulse in short bursts so you don’t turn everything into dust. (Pro tip: Reserve about 1/2 cup of the crumbs in a separate bowl for the final garnish.)
- Make the pudding – In a large mixing bowl, whisk together the instant chocolate pudding mix, cold milk, and cold heavy cream. Whisk vigorously for about 2 minutes until the mixture starts to thicken. You’ll feel it getting heavier as you whisk. (If you’re using a hand mixer, keep it on low speed to avoid incorporating too much air.) Let it sit for 5 minutes to fully set. The pudding should be thick enough to hold its shape when you lift the whisk.
- Prepare your cups – Arrange your 8 clear cups on a baking sheet or tray. This makes it easier to move them to the refrigerator without spilling. (I learned this the hard way after trying to carry individual cups and losing half a layer of crumbs to my kitchen floor.)
- Layer the first dirt layer – Spoon about 2 tablespoons of crushed Oreo crumbs into the bottom of each cup. Press them down gently with the back of a spoon to create an even base layer. This gives the illusion of actual dirt at the bottom of the cup.
- Add the pudding layer – Divide the prepared pudding evenly among the 8 cups, spooning it over the first crumb layer. You want about 1/4 cup of pudding per cup. Use a small spatula or the back of a spoon to smooth the top of the pudding layer. Leave about 1/2 inch of space at the top of each cup for the final crumb layer and gummy worms.
- Insert the gummy worms – This is the fun part. Take 2-3 gummy worms per cup and gently push them into the pudding so they’re partially submerged. Position them so it looks like they’re crawling out of the dirt. You can have one worm fully buried with just its head poking out, another worm halfway out, and a third worm sitting on top for maximum effect. (Don’t be shy here—the more worms, the more dramatic the reveal.)
- Top with the final dirt layer – Sprinkle the reserved fine Oreo crumbs over the top of each cup, covering the pudding and the base of the gummy worms. You want a thick, even layer that completely hides the pudding underneath. The worms should be sticking up through the crumbs like they’re emerging from the ground.
- Chill and set – Place the tray of assembled cups in the refrigerator for at least 30 minutes before serving. This allows the pudding to fully set and the crumbs to settle into the top layer. If you’re making these ahead of time, you can refrigerate them for up to 24 hours. (Just wait to add any extra gummy worm decorations until right before serving so they stay bright and chewy.)
- Garnish and serve – Right before serving, add a few extra gummy worms on top for visual drama. You can also add a small plastic shovel or a gummy leaf for a gardening-themed presentation. Serve cold and watch them disappear.
Cooking Tips & Techniques
After making these dirt pudding cups approximately fifty-seven times (I’ve lost count), I’ve picked up a few tricks that make the process smoother and the results better. Here are my best tips:
- Chill your bowl and whisk – If you pop your mixing bowl and whisk in the freezer for 10 minutes before making the pudding, it sets up faster and gets creamier. This is a pro-level pastry chef trick that makes a noticeable difference.
- Don’t overmix the pudding – Whisk just until the powder is fully incorporated and the mixture starts to thicken. Overmixing can make the pudding grainy or cause it to separate slightly. Trust the process and stop when it looks smooth.
- Use cold ingredients – Cold milk and cold heavy cream are essential for instant pudding to set properly. If your milk is room temperature, the pudding will be runny and won’t hold its shape. (I’ve made this mistake exactly once and never again.)
- Crush Oreos in batches – If you’re making a large batch, crush the cookies in smaller batches rather than trying to do a whole package at once. It gives you more control over the texture and prevents the bag from bursting. (Yes, I’ve had a bag explode in my kitchen. It’s not pretty.)
- Layer strategically – The bottom crumb layer should be slightly coarser than the top layer. The finer crumbs on top create that realistic dirt texture, while the chunkier bottom layer adds a satisfying crunch when you dig your spoon in.
- Make it ahead – These cups actually taste better after a few hours in the fridge. The flavors meld together, and the crumbs soften slightly into the pudding, creating a texture that’s more like a trifle. I often make them the night before a party.
- Double the recipe – Trust me on this one. If you’re bringing these to any kind of gathering, make at least double what you think you need. They go fast, and people will ask for seconds (and thirds).
One mistake I see people make all the time is using too few Oreos. Don’t skimp on the dirt layer. You want a generous amount of crumbs in every cup so every bite has that signature crunch. If you run out of crumbs, you can always crush a few more cookies—it’s better to have extra than to come up short.
Variations & Adaptations
One of the best things about this recipe is how endlessly customizable it is. Here are some of my favorite variations I’ve tried over the years:
- Peanut Butter Dirt Cups – Swirl 2 tablespoons of creamy peanut butter into the pudding before layering. The salty peanut butter pairs beautifully with the chocolate. (Just check labels if you’re serving to a crowd with allergies.) If you love peanut butter and chocolate together, you’ll also enjoy my Best Reese’s Peanut Butter Chocolate Layer Cake.
- Mint Chocolate Dirt Cups – Add 1/2 teaspoon of peppermint extract to the pudding mixture and use mint Oreos instead of regular. Top with a small sprig of mint for a fresh, festive look that’s perfect for Christmas or St. Patrick’s Day.
- Vegan Dirt Cups – Use a vegan instant pudding mix (like Simply Delish), unsweetened oat milk, and a plant-based heavy cream alternative. Most Oreos are accidentally vegan, so you’re good there. The texture is slightly different but still delicious.
- Gluten-Free Dirt Cups – Use gluten-free chocolate sandwich cookies (like Glutino or Kinnikinnick) and a gluten-free instant pudding mix. The assembly process is exactly the same, and nobody will know the difference.
- Halloween Spider Dirt Cups – Instead of gummy worms, use gummy spiders or add a plastic spider ring on top of each cup. This is my go-to for Halloween parties, and it always gets a reaction. For more spooky treats, check out my Easy Black Cat Halloween Cookie Cake.
- Berry Dirt Cups – Layer fresh raspberries or sliced strawberries between the pudding and crumb layers. The tartness of the berries cuts through the richness of the chocolate and adds a pop of color.
- Mocha Dirt Cups – Dissolve 1 teaspoon of instant espresso powder in the milk before making the pudding. The coffee flavor deepens the chocolate and makes these feel a little more grown-up.
I’ve tried all of these variations at various events, and they’ve all been hits. My personal favorite is the mint chocolate version during the holidays—it’s festive without being complicated.
Serving & Storage Suggestions
These dirt pudding cups are best served cold, straight from the refrigerator. The contrast between the chilled, creamy pudding and the crunchy Oreo crumbs is what makes them so addictive. Here’s how to serve and store them:
- Serving temperature – Serve them cold, ideally after at least 30 minutes in the fridge. If you’re serving them at a party, keep them on a tray over ice or in a cooler to maintain the temperature.
- Presentation ideas – Arrange the cups on a wooden board or a tray lined with festive napkins. Add a small plastic shovel to each cup for a gardening theme, or stick a gummy worm into the top of each one at the last minute for maximum visual impact. For a Halloween party, I like to serve them alongside my Easy Mummy Hot Dog Bites for a savory-sweet combo.
- Complementary dishes – These pair beautifully with a warm drink like hot chocolate, coffee, or a pumpkin spice latte. For a party spread, serve them with other no-bake treats like my Easy No-Bake Peanut Butter Pretzel Bars or Easy Candy Corn Bark.
- Storage instructions – Store any leftover cups covered in the refrigerator for up to 3 days. The crumbs will soften over time, but the dessert will still taste delicious. If you want to keep the top layer crunchy, add the final crumb garnish right before serving.
- Freezing tips – You can freeze these cups for up to 1 month. Assemble them without the gummy worms, wrap each cup tightly in plastic wrap, and freeze. Thaw in the refrigerator overnight, then add the gummy worms and any fresh garnish before serving.
- Flavor development – The flavors actually improve after a few hours in the fridge. The Oreo crumbs release their chocolate flavor into the pudding, and everything melds together beautifully. I actually prefer these the day after I make them.
One thing I’ve learned: don’t add the gummy worms until you’re ready to serve. If they sit in the refrigerator too long, they can become hard and lose their chewy texture. Add them as close to serving time as possible for the best experience.
Nutritional Information & Benefits
Let’s be real—this is a treat, not a health food. But here’s what you’re looking at per serving (based on 8 cups):
- Calories: Approximately 380-420 per cup
- Fat: 18-22g (mostly from the cream and cookie filling)
- Carbohydrates: 50-55g
- Protein: 6-8g
- Sugar: 35-40g
- Calcium: 15% of your daily value (from the milk and cream)
- Iron: 10% of your daily value (from the Oreos)
While this isn’t the kind of dessert you eat every day, it does have a few redeeming qualities. The milk and cream provide calcium and protein, and the dark chocolate in Oreos contains a small amount of antioxidants. (I’m reaching here, but it’s something!)
If you’re looking for a lighter version, you can use low-fat milk and sugar-free pudding mix to cut the calories in half. The texture won’t be as rich, but it’s still satisfying. For a protein boost, you can stir a scoop of chocolate protein powder into the pudding mix before adding the milk—just adjust the liquid slightly to compensate.
As with any dessert, moderation is key. These are perfect for special occasions, parties, and moments when you need a little joy. And honestly, sometimes joy is more important than nutrition.
Conclusion
These Easy Oreo Dirt Pudding Cups with Gummy Worms are the dessert you’ll turn to again and again when you need something quick, fun, and absolutely delicious. They’re proof that you don’t need a fancy kitchen or hours of free time to create something that makes people light up. Just a few simple ingredients, five minutes of your time, and a willingness to have a little fun with your food.
I love how versatile this recipe is. You can dress it up for a holiday party, keep it simple for a weeknight treat, or let the kids help with the layering for a fun afternoon activity. Every time I make them, I’m reminded that the best recipes aren’t always the most complicated ones. Sometimes they’re the ones that come together in a moment of panic and turn into something unforgettable.
I’d love to hear how these turn out for you! Did you add your own twist? Did the kids go wild for them? Drop a comment below and let me know. And if you’re looking for more easy, no-bake dessert ideas, check out my Easy No-Bake Peanut Butter Oat Energy Bites or Easy Frozen Yogurt Dipped Strawberry Bites. Happy snacking!
Frequently Asked Questions
Can I use homemade chocolate pudding instead of instant?
Absolutely! If you have a favorite homemade chocolate pudding recipe, go for it. Just make sure it’s fully chilled and thick before layering. The texture will be even richer and creamier than the instant version.
How far in advance can I make these dirt pudding cups?
You can make them up to 24 hours ahead of time. Assemble everything except the final crumb layer and the gummy worms. Add those right before serving to keep the crumbs crunchy and the worms chewy.
Can I use a different type of cookie instead of Oreos?
Yes! Chocolate wafer cookies, chocolate graham crackers, or even crushed brownies work beautifully. Just keep in mind that the flavor and texture will change slightly depending on what you use.
Are these safe for school or classroom parties?
Yes, but always check the ingredient labels for potential allergens. Most Oreos are made without peanuts, but some gummy worm brands may be processed in facilities that handle nuts. When in doubt, read labels carefully or make a batch with allergy-friendly alternatives.
Can I make these in a large dish instead of individual cups?
Definitely! Use a 9×9 inch baking dish or a trifle bowl. Layer the crumbs, pudding, and worms as you would in individual cups, then let guests scoop their own portions. It’s less portable but perfect for a party at home.
Pin This Recipe!
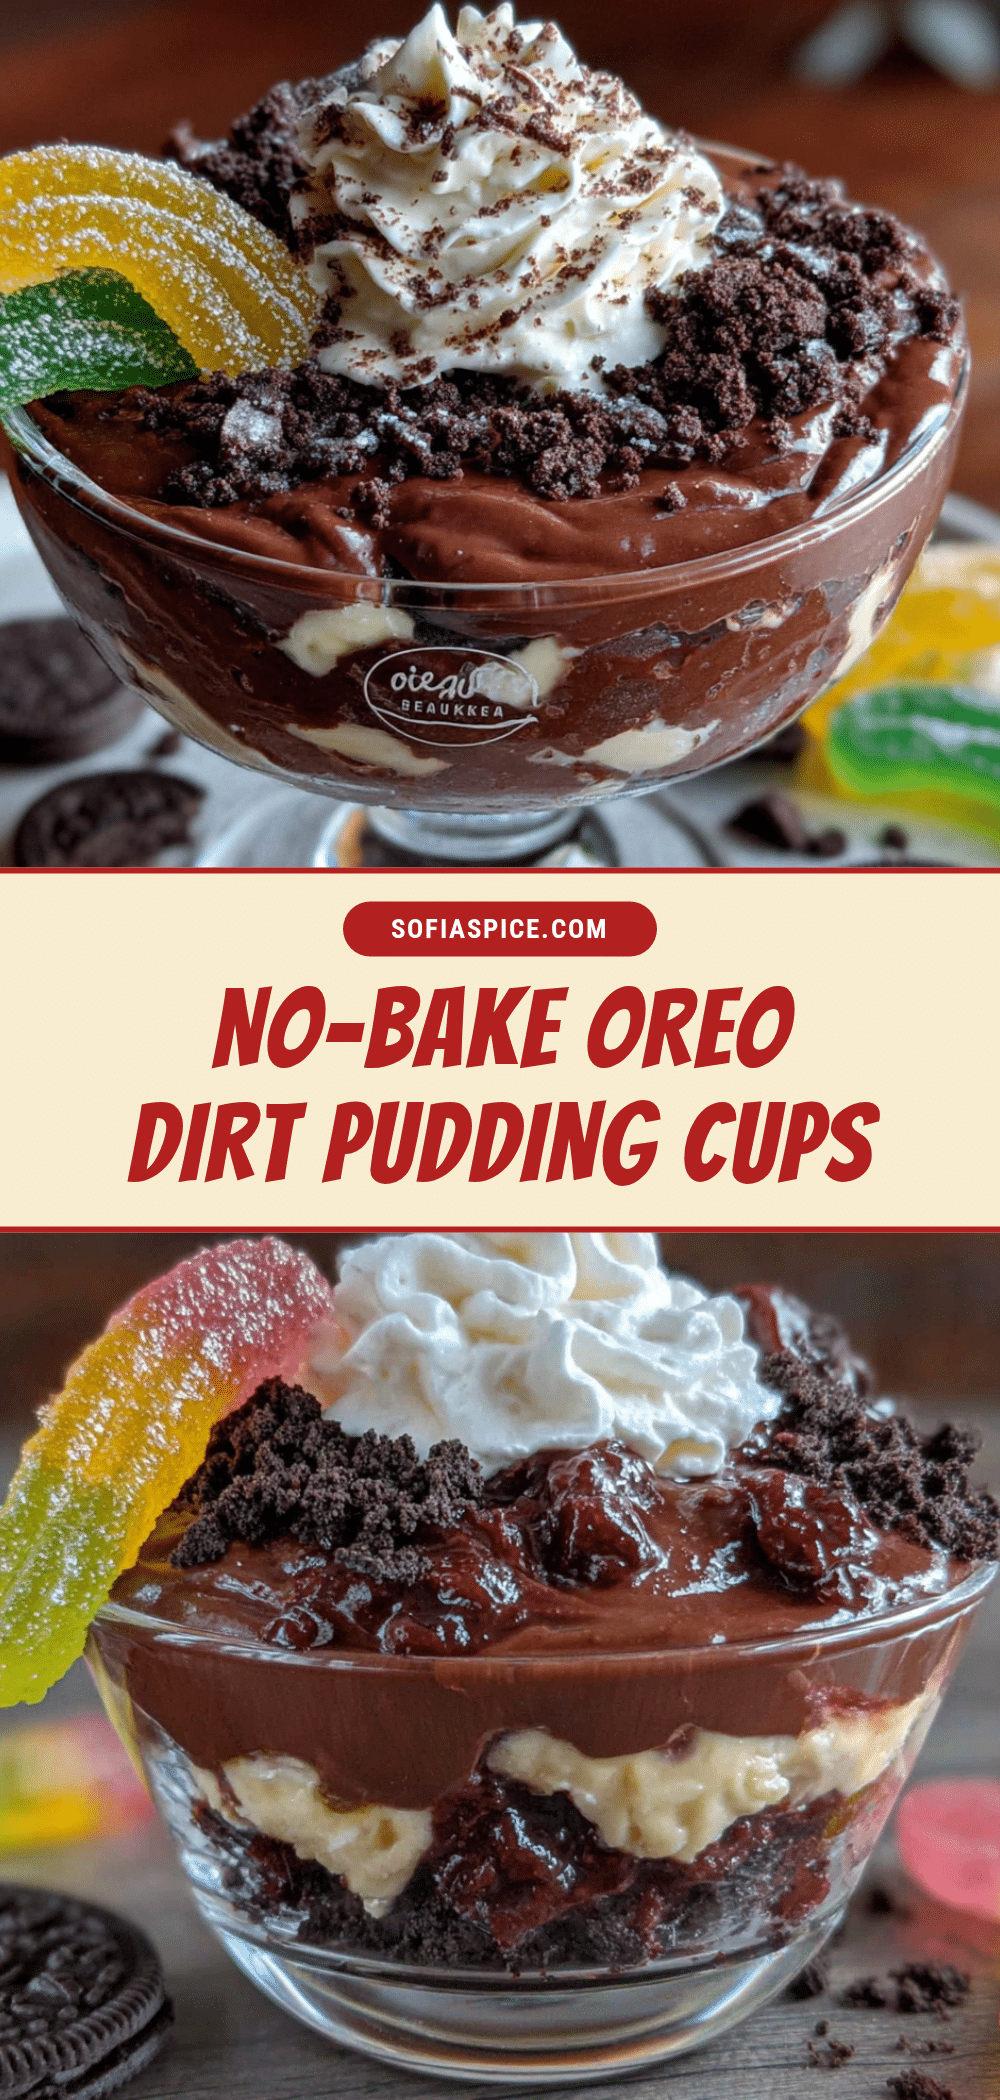
Easy Oreo Dirt Pudding Cups: Best 5-Minute Dessert

These Easy Oreo Dirt Pudding Cups with Gummy Worms are the definition of a no-stress dessert that looks way more impressive than it has any right to be. You don’t need an oven, a mixer, or any real skill—just a few basic ingredients and a willingness to embrace the silly, messy joy of eating dessert that looks like actual dirt.
- Prep Time: 5 minutes
- Cook Time: 0 minutes
- Total Time: 35 minutes
- Yield: 8 servings 1x
- Category: Dessert
- Cuisine: American
Ingredients
- 1 (3.9-ounce) box instant chocolate pudding mix
- 2 cups cold whole milk
- 1/2 cup cold heavy cream
- 1 (14.3-ounce) package Oreo cookies
- 2 tablespoons melted butter (optional)
- 1 (5-ounce) bag gummy worms
- 1/2 cup crushed chocolate sandwich cookies (extra, optional)
- 8 (6-ounce) clear plastic cups or small mason jars
- Gummy leaves, plastic shovels, or edible flowers for decoration (optional)
Instructions
- Crush the Oreos: Place the entire package of Oreos (cream filling and all) into a large zip-top bag. Seal it tightly, then use a rolling pin to crush them into fine crumbs. You want a mix of textures—some fine powder for the top layer and some slightly chunkier pieces for the middle layers. Reserve about 1/2 cup of the crumbs in a separate bowl for the final garnish.
- Make the pudding: In a large mixing bowl, whisk together the instant chocolate pudding mix, cold milk, and cold heavy cream. Whisk vigorously for about 2 minutes until the mixture starts to thicken. Let it sit for 5 minutes to fully set.
- Prepare your cups: Arrange your 8 clear cups on a baking sheet or tray.
- Layer the first dirt layer: Spoon about 2 tablespoons of crushed Oreo crumbs into the bottom of each cup. Press them down gently with the back of a spoon to create an even base layer.
- Add the pudding layer: Divide the prepared pudding evenly among the 8 cups, spooning it over the first crumb layer. Use a small spatula or the back of a spoon to smooth the top of the pudding layer. Leave about 1/2 inch of space at the top of each cup.
- Insert the gummy worms: Take 2-3 gummy worms per cup and gently push them into the pudding so they’re partially submerged. Position them so it looks like they’re crawling out of the dirt.
- Top with the final dirt layer: Sprinkle the reserved fine Oreo crumbs over the top of each cup, covering the pudding and the base of the gummy worms. The worms should be sticking up through the crumbs.
- Chill and set: Place the tray of assembled cups in the refrigerator for at least 30 minutes before serving. If making ahead, refrigerate for up to 24 hours.
- Garnish and serve: Right before serving, add a few extra gummy worms on top for visual drama. Serve cold.
Notes
Chill your bowl and whisk for 10 minutes before making the pudding for a creamier texture. Don’t overmix the pudding. Use cold ingredients for best results. Crush Oreos in batches to avoid bag bursting. Layer strategically: coarser crumbs on bottom, finer on top. These cups taste better after a few hours in the fridge. Double the recipe for gatherings. Don’t add gummy worms until ready to serve to keep them chewy.
Nutrition
- Serving Size: 1 cup
- Calories: 400
- Sugar: 38
- Sodium: 350
- Fat: 20
- Saturated Fat: 10
- Carbohydrates: 52
- Fiber: 2
- Protein: 7
Keywords: Oreo dirt pudding cups, no-bake dessert, 5-minute dessert, gummy worms, chocolate pudding, easy dessert, kid-friendly, Halloween dessert


