I want a Halloween dessert that looks like it belongs in a gothic fairy tale but tastes like a backyard cookout with the best chocolate chip cookie you have ever had. That is the exact thought that hit me while staring at a bag of black cocoa powder I impulse-bought last October and never opened. The black cocoa sat in my pantry for a full year because I kept thinking—what do you even do with it that does not feel like a gimmick? You know that moment when you realize the perfect recipe has been hiding in plain sight the whole time? That was this cookie cake.
The thing about black cocoa is it smells like Oreo crumbs and looks like charcoal dust, but it bakes into something deeply chocolatey without being sweet in that cloying way. I wanted a cookie cake that was soft in the center, slightly crisp at the edges, and sturdy enough to hold a face. A cat face, specifically. Because honestly, is there anything more Halloween than a giant black cat made of cookie dough staring up at you from a cake stand? I did not think so either.
This Spooky Black Cat Halloween Cookie Cake started as a late-night experiment and ended up as the thing my kids request for every October gathering now. It is the kind of recipe that makes you feel like a kitchen witch—mixing up something dark and magical that somehow turns into pure comfort. No fancy piping skills required, no fondant, no stress. Just a really good cookie cake that happens to look like a very grumpy cat.
Let me show you how easy it is to make your own black cat cookie cake. I promise it is simpler than it looks, and the payoff is absolutely worth it.
Why You’ll Love This Recipe
This cookie cake is not just another Halloween dessert. It is the one that disappears first at every party, and I have the empty cake stand to prove it. Let me tell you why this recipe earns a permanent spot in your October baking rotation.
- Quick & Easy: From mixing bowl to oven in under 20 minutes. The dough comes together in one bowl, no stand mixer required, and the decorating takes about five minutes. Perfect for busy weeknights or last-minute Halloween gatherings.
- Simple Ingredients: You probably already have most of these in your kitchen. Black cocoa powder is the only specialty item, and you can find it at most grocery stores or online. No fancy extracts, no hard-to-find decorations.
- Perfect for Halloween Parties: This cookie cake doubles as a centerpiece and a dessert. It sits on the table looking spooky and adorable at the same time, and guests cannot resist taking a photo before they take a slice.
- Crowd-Pleaser: Kids love the cat face design, and adults love that it is not overloaded with sugar. The black cocoa gives it a sophisticated chocolate flavor that does not feel like a kids’ treat.
- Unbelievably Delicious: The texture is everything—soft and fudgy in the middle, slightly crisp around the edges, with that signature black cocoa taste that reminds everyone of their favorite chocolate sandwich cookies.
What makes this recipe different from the rest is the balance. I tested this dough six times to get the perfect ratio of black cocoa to regular cocoa so it stays dark without becoming bitter. The cookie cake holds its shape beautifully, meaning your cat face stays intact through slicing and serving. And the decorating method? So forgiving. You can make the cat look goofy, grumpy, elegant, or spooky depending on your mood.
This is the kind of recipe that makes you close your eyes after the first bite. It is Halloween comfort food—dark and dramatic on the outside, soft and warm on the inside. Perfect for impressing guests without any stress.
What Ingredients You Will Need
This recipe uses simple, pantry-friendly ingredients to create that deep black color and soft, fudgy texture. The black cocoa powder does the heavy lifting here, but every ingredient plays a role in making this cookie cake absolutely irresistible.
For the Cookie Cake Dough
- Unsalted butter, softened – ½ cup (113g) – Use good quality butter here since it is the main fat. I prefer Kerrygold for its rich flavor, but any unsalted butter works fine.
- Granulated sugar – ¾ cup (150g) – Adds sweetness and helps create those slightly crisp edges.
- Light brown sugar, packed – ¼ cup (50g) – Adds moisture and a hint of molasses flavor that complements the black cocoa beautifully.
- Large egg – 1, room temperature – Binds the dough and adds structure. Let it sit out for 30 minutes before starting.
- Vanilla extract – 1 teaspoon – Enhances the chocolate flavor. Use pure vanilla extract if you have it.
- All-purpose flour – 1½ cups (180g) – Spoon and level for accuracy. Too much flour makes the cookie cake dry.
- Black cocoa powder – ¼ cup (25g) – This is what gives the cookie cake its dark color and Oreo-like flavor. I recommend Rodelle brand for the deepest color.
- Unsweetened cocoa powder – 2 tablespoons (12g) – Balances the black cocoa and adds depth. Regular Hershey’s works perfectly here.
- Baking soda – ½ teaspoon – Helps the cookie cake spread evenly.
- Salt – ¼ teaspoon – Balances sweetness and enhances chocolate flavor. Use fine sea salt.
- Semi-sweet chocolate chips – ½ cup (85g) – Optional but highly recommended. They add little pockets of melted chocolate throughout the cookie cake.
For the Decorating
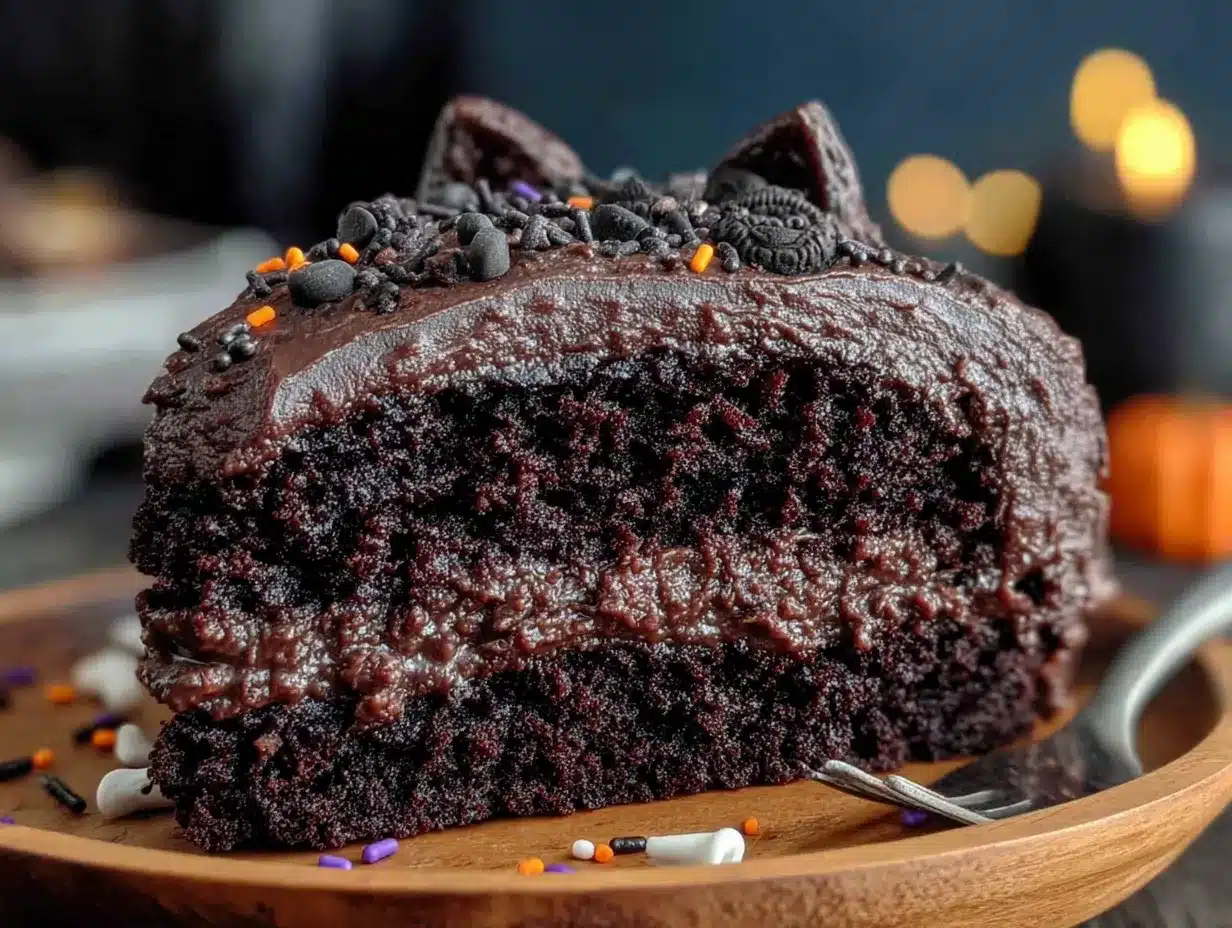
- White candy melts or white chocolate chips – ¼ cup (45g) – For the eyes. Wilton candy melts work best for smooth piping.
- Black decorating gel or black frosting – For the pupils and whiskers. You can also use melted dark chocolate in a piping bag.
- Orange candy melts or orange frosting – Optional, for a spooky Halloween eye color instead of white.
- Pretzel sticks – 4 pieces – For the whiskers. They add a nice salty crunch that contrasts with the sweet cookie cake.
Ingredient Tips & Substitutions
If you cannot find black cocoa powder, you can use all regular unsweetened cocoa powder, but the color will be dark brown instead of black. Add an extra tablespoon of cocoa powder if going that route. For a dairy-free version, use vegan butter and dairy-free chocolate chips. The texture stays remarkably similar. If you want a gluten-free option, swap the all-purpose flour with a 1:1 gluten-free baking flour blend. I have tested this with Bob’s Red Mill and it works beautifully.
Equipment Needed
You do not need a lot of fancy equipment for this recipe, which is part of why I love it. Here is what you will need:
- 9-inch round cake pan or cast iron skillet – A cake pan gives you clean edges, while a cast iron skillet creates a rustic look with extra-crispy edges. Both work great.
- Parchment paper – Line your pan for easy removal. Do not skip this step unless you want to fight with stuck cookie cake.
- Mixing bowls – One large bowl for the dough, one small microwave-safe bowl for melting candy melts.
- Hand mixer or stand mixer – A hand mixer works perfectly. You can also mix by hand with a wooden spoon if you want a little arm workout.
- Spatula – For pressing the dough evenly into the pan. A silicone spatula works best.
- Piping bag or small zip-top bag – For decorating the cat face. A zip-top bag with the corner snipped off works perfectly and costs nothing.
- Cooling rack – Lets the cookie cake cool evenly so the decorations do not melt.
- Measuring cups and spoons – Accurate measurements matter in baking. Use dry measuring cups for flour and sugar.
I have made this cookie cake in a cheap cake pan from the grocery store and in my fancy Le Creuset skillet, and honestly, both turned out amazing. Do not let equipment hold you back. If you have a round pan and a mixing bowl, you are ready to go.
Preparation Method
Let me walk you through this step by step. I have made this cookie cake more times than I can count, and these are the exact steps that work every time.
Step 1: Preheat and Prepare Your Pan
Preheat your oven to 350°F (175°C). Grease your 9-inch round cake pan or cast iron skillet with butter or nonstick spray. Cut a circle of parchment paper to fit the bottom of the pan and place it inside. This guarantees your cookie cake will release cleanly. Trust me on this one—I learned the hard way.
Step 2: Cream the Butter and Sugars
In a large mixing bowl, beat the softened butter, granulated sugar, and brown sugar together until light and fluffy. This takes about 2-3 minutes with a hand mixer on medium speed. You want the mixture to look pale and airy. Scrape down the sides of the bowl halfway through. The butter should be soft but not melted—if it is too soft, pop the bowl in the fridge for 5 minutes.
Step 3: Add the Egg and Vanilla
Add the room temperature egg and vanilla extract to the butter mixture. Beat on medium speed until fully combined, about 30 seconds. The mixture might look slightly separated at this point, which is normal. Do not overmix once the egg is in.
Step 4: Combine the Dry Ingredients
In a separate medium bowl, whisk together the all-purpose flour, black cocoa powder, unsweetened cocoa powder, baking soda, and salt. Whisking ensures everything is evenly distributed and breaks up any cocoa powder clumps. Black cocoa powder tends to be clumpy, so be thorough here.
Step 5: Mix the Dough
Gradually add the dry ingredients to the wet ingredients, mixing on low speed or folding with a spatula. Mix just until no streaks of flour remain. Overmixing at this stage will make the cookie cake tough. If you are adding chocolate chips, fold them in now with a spatula. The dough will be thick and slightly sticky—this is exactly what you want.
Step 6: Press the Dough into the Pan
Transfer the dough to your prepared pan. Use a spatula or your fingers (lightly greased) to press it into an even layer. The dough should reach all the way to the edges. If it is sticking to your fingers too much, wet your hands slightly with cold water. Press firmly so the surface is smooth and level.
Step 7: Bake the Cookie Cake
Bake at 350°F (175°C) for 18-22 minutes. The edges should look set and slightly golden, but the center will still look soft and slightly underdone. That is the secret to a fudgy cookie cake. A toothpick inserted near the center should come out with a few moist crumbs attached. If it comes out clean, you have overbaked it.
Step 8: Cool Completely
Let the cookie cake cool in the pan for 10 minutes, then transfer it to a wire rack to cool completely. Do not attempt to decorate while it is still warm—the candy melts will slide right off and turn into a melted mess. I speak from experience here. Patience pays off.
Step 9: Create the Cat Face
Once the cookie cake is completely cool, it is time to bring your black cat to life. Melt the white candy melts according to package directions, usually in 30-second intervals in the microwave, stirring between each. Transfer to a small piping bag or zip-top bag with the corner snipped. Pipe two large oval shapes for the eyes. Let the white eyes set for about 5 minutes until firm.
Step 10: Add the Details
Using black decorating gel or melted dark chocolate, pipe small pupils in the center of each white eye. Add a tiny nose in the center of the face—a small triangle or oval shape works perfectly. For the whiskers, gently press pretzel sticks into the cookie cake on each side of the nose. You can also pipe whiskers with the black decorating gel if you prefer. Add little cat ears by cutting two small triangles from the edge of the cookie cake with a sharp knife, or pipe them on with extra frosting. Let everything set for 10 minutes before serving.
Cooking Tips & Techniques
I have made every mistake possible with this cookie cake so you do not have to. Here are the tips I wish someone had told me before my first attempt.
Do not overbake. This is the number one mistake people make. Cookie cakes continue to bake from residual heat after they come out of the oven. Pull it out when the center still looks slightly underdone and puffy. It will settle into a perfectly soft, fudgy texture as it cools. Overbaked cookie cake turns into a hard, dry disc that nobody wants to eat.
Use a kitchen scale if you have one. Measuring flour by volume can be inconsistent. One cup of flour can weigh anywhere from 120 to 150 grams depending on how you scoop it. Weighing your ingredients guarantees the same results every time. If you do not have a scale, use the spoon-and-level method—spoon flour into your measuring cup, then level it off with a knife.
Let your egg come to room temperature. Cold eggs seize up the butter and create a lumpy dough. Set your egg on the counter 30 minutes before you start baking. If you forgot, place the egg in a bowl of warm water for 5 minutes.
Press the dough firmly into the pan. Loose, unevenly pressed dough will bake into a bumpy, misshapen cookie cake. Take the extra 30 seconds to press it smooth and even. Your cat face will thank you.
Chill the dough if your kitchen is warm. If your kitchen is above 75°F (24°C), the dough might spread too much in the oven. Pop the pan in the fridge for 15 minutes before baking. This gives you a thicker, more controlled cookie cake.
Test your cocoa powder. Different brands of black cocoa powder produce different shades of black. Some are jet black, others are more of a dark charcoal. If you want the deepest black color, look for Dutch-processed black cocoa powder. I have had the best luck with Rodelle and King Arthur Flour brands.
Variations & Adaptations
One of the best things about this recipe is how easy it is to change up. Here are some of my favorite variations.
Spooky Spider Cookie Cake
Instead of a cat face, pipe eight legs radiating out from the center using black decorating gel. Add two white eyes and a tiny red dot for a spider body. This is a fun alternative if you want something a little creepier. My kids actually prefer this version for Halloween night.
Ghost Cookie Cake
Skip the black decorating gel entirely. After baking, spread a thin layer of white frosting over the top of the cookie cake. Pipe two black eyes and a small black mouth to create a ghost face. The white frosting against the dark cookie cake looks surprisingly spooky and adorable at the same time.
Pumpkin Spice Cookie Cake
For a fall twist, replace 2 tablespoons of the all-purpose flour with pumpkin pie spice. Add ¼ cup of pumpkin puree along with the egg (reduce the butter by 2 tablespoons to compensate). The pumpkin flavor pairs beautifully with the black cocoa, and the color turns a deep, dark brown perfect for autumn.
Gluten-Free Version
Swap the all-purpose flour with a 1:1 gluten-free baking flour blend. I have tested this with Bob’s Red Mill and Cup4Cup, and both work well. Add an extra tablespoon of milk or water if the dough seems too dry. The texture will be slightly more tender, but the flavor stays exactly the same.
Vegan Version
Use vegan butter (I like Earth Balance) and a flax egg (1 tablespoon ground flaxseed mixed with 3 tablespoons water, let sit for 5 minutes). Use dairy-free chocolate chips and vegan candy melts. The cookie cake will be slightly less tender but still delicious and spooky.
I once made a batch of mini cookie cakes using a muffin tin for a classroom Halloween party. They baked in about 12 minutes and each one got its own little cat face. It was chaos, but the kids loved every single one.
Serving & Storage Suggestions
This cookie cake is best served at room temperature, which lets the texture shine. The edges stay slightly crisp while the center remains soft and fudgy. Cut it into wedges like a pizza and serve on a spooky plate or cake stand for maximum Halloween vibes.
For a truly indulgent experience, serve each slice with a scoop of vanilla ice cream or a dollop of whipped cream. The cold creaminess against the rich chocolate cookie cake is absolutely perfect. A drizzle of caramel sauce on top adds another layer of flavor that complements the black cocoa beautifully.
If you are serving this at a Halloween party, place the whole cookie cake on a black or orange cake stand. Scatter some candy corn or mini pumpkins around the base for a festive presentation. The cat face design makes it an instant conversation starter.
This cookie cake pairs wonderfully with a warm cup of apple cider or a cozy Pumpkin Spice Latte. For a non-caffeinated option, serve it with cold milk or hot chocolate. The chocolate-on-chocolate combination is pure comfort.
Storage: Store leftover cookie cake in an airtight container at room temperature for up to 3 days. The texture stays soft and delicious. Do not refrigerate it unless your kitchen is very warm—the fridge dries out baked goods. If you need to store it longer, wrap it tightly in plastic wrap and then foil, and freeze for up to 3 months. Thaw at room temperature for about an hour before serving.
Reheating: Pop individual slices in the microwave for 10-15 seconds to restore that fresh-from-the-oven softness. You can also warm slices in a 300°F (150°C) oven for about 5 minutes. The edges will crisp up slightly again, which is wonderful.
The flavors actually develop and deepen overnight. I honestly think this cookie cake tastes even better on day two. The black cocoa flavor mellows out and becomes more complex, and the texture settles into that perfect fudgy consistency.
Nutritional Information & Benefits
Here is the estimated nutritional breakdown for one serving of this Spooky Black Cat Halloween Cookie Cake, based on 8 servings per recipe.
| Nutrient | Amount Per Serving |
|---|---|
| Calories | 285 |
| Total Fat | 14g |
| Saturated Fat | 8g |
| Cholesterol | 45mg |
| Sodium | 180mg |
| Total Carbohydrates | 38g |
| Dietary Fiber | 3g |
| Sugars | 22g |
| Protein | 4g |
Black cocoa powder is actually rich in antioxidants called flavonoids, which are known to support heart health and reduce inflammation. While this is definitely a treat, not a health food, it is nice to know there are some benefits hidden in that dark, delicious cookie cake. The cocoa powder also contains small amounts of magnesium, iron, and zinc.
This recipe is vegetarian and can easily be made gluten-free or vegan with the substitutions listed above. It contains dairy, eggs, and gluten in its standard form. If you are serving guests with allergies, be sure to check your candy melts and chocolate chips for potential cross-contamination.
I like to think of this cookie cake as a balanced indulgence. It satisfies that deep chocolate craving with a reasonable portion size. One slice feels like a real treat without going overboard. And honestly, the joy it brings to a Halloween celebration is worth every single calorie.
Conclusion
This Spooky Black Cat Halloween Cookie Cake is the kind of recipe that makes Halloween feel magical without requiring hours in the kitchen. It is simple enough for a weeknight baking session but impressive enough to be the star of any Halloween party. The black cocoa gives it that dramatic, spooky look, while the soft, fudgy texture keeps everyone coming back for another slice.
I love how customizable this recipe is. You can make it as spooky or as cute as you want. Add extra decorations, change up the face design, or keep it simple with just the eyes and whiskers. There is no wrong way to decorate a black cat cookie cake. That is the beauty of it.
I would love to see how your black cat cookie cake turns out. Leave a comment below and tell me about your decorating choices. Did you go for a spooky cat or a cute one? Did you add any fun Halloween decorations? Share your photos and tag me so I can see your creations. And if you have any questions about the recipe, drop them in the comments and I will get back to you.
Go ahead and preheat that oven. Your spooky black cat is waiting to come to life. Happy Halloween baking, friends.
Frequently Asked Questions
Can I make this cookie cake ahead of time?
Absolutely. You can bake the cookie cake up to 2 days in advance and store it in an airtight container at room temperature. Decorate it on the day you plan to serve it for the freshest look. The cookie cake actually tastes even better on day two as the flavors meld together.
Why did my cookie cake turn out dry?
The most common reason is overbaking. Cookie cakes continue to bake from residual heat after leaving the oven, so pull yours out when the center still looks slightly underdone and puffy. Another culprit is too much flour. Always spoon and level your flour rather than scooping directly from the bag.
Can I use Dutch-process cocoa instead of black cocoa?
Yes, but your cookie cake will be dark brown instead of black. Dutch-process cocoa has a milder flavor and darker color than natural cocoa, but it will not achieve that jet-black Oreo look. If using Dutch-process cocoa, use the same amount called for in the recipe.
How do I get the cookie cake out of the pan without breaking it?
Let the cookie cake cool completely in the pan. Run a thin knife around the edges to loosen it, then place a plate or cutting board on top of the pan and flip it over. Lift the pan off, peel away the parchment paper, then flip it back onto your serving plate. This method works perfectly every time.
Can I freeze this cookie cake?
Yes, freeze the undecorated cookie cake for up to 3 months. Wrap it tightly in plastic wrap, then a layer of foil. Thaw at room temperature for about an hour before decorating and serving. The texture stays remarkably similar to fresh-baked.
Pin This Recipe!
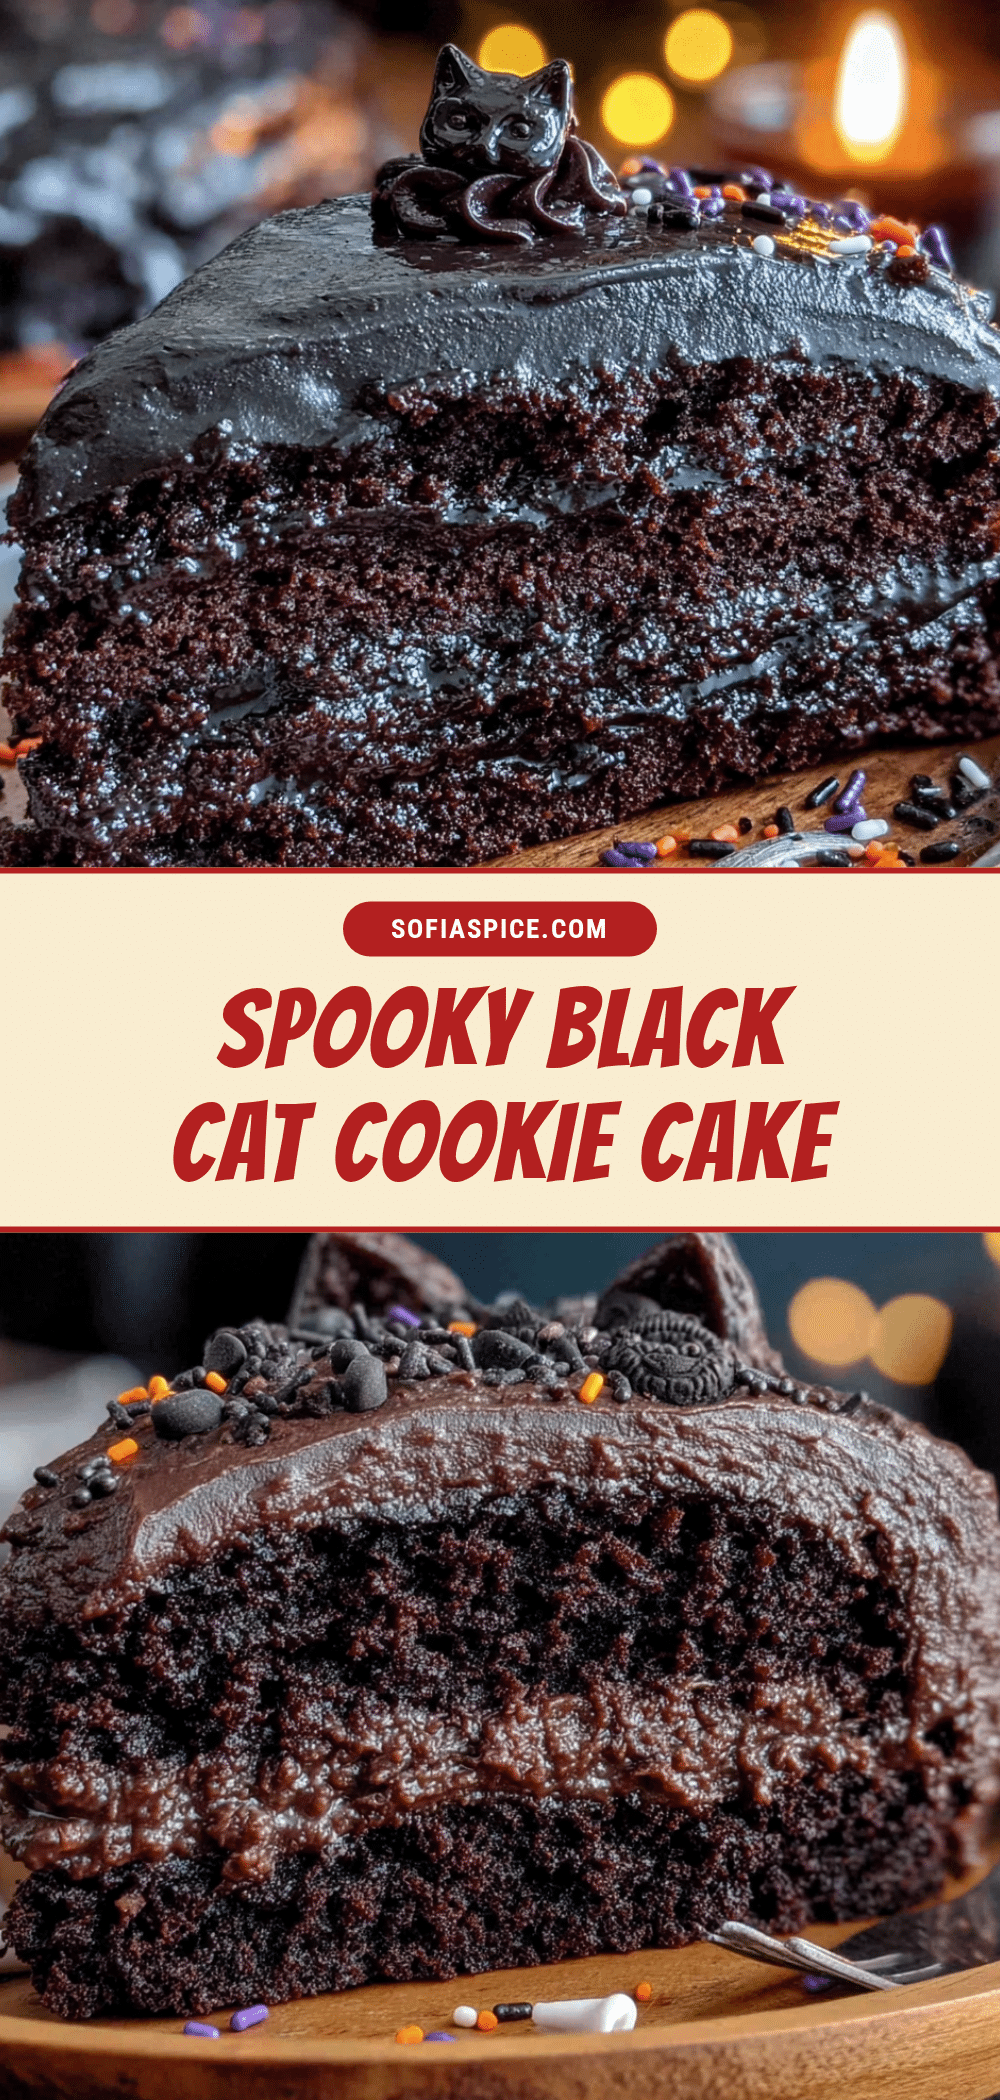
Easy Black Cat Halloween Cookie Cake Recipe
A spooky and adorable black cat cookie cake made with black cocoa powder for a deep, Oreo-like flavor. Soft and fudgy in the center with slightly crisp edges, this easy Halloween dessert is perfect for parties and requires no fancy decorating skills.
- Prep Time: 20 minutes
- Cook Time: 20 minutes
- Total Time: 40 minutes
- Yield: 8 servings 1x
- Category: Dessert
- Cuisine: American
Ingredients
- ½ cup (113g) unsalted butter, softened
- ¾ cup (150g) granulated sugar
- ¼ cup (50g) light brown sugar, packed
- 1 large egg, room temperature
- 1 teaspoon vanilla extract
- 1½ cups (180g) all-purpose flour
- ¼ cup (25g) black cocoa powder
- 2 tablespoons (12g) unsweetened cocoa powder
- ½ teaspoon baking soda
- ¼ teaspoon salt
- ½ cup (85g) semi-sweet chocolate chips (optional)
- ¼ cup (45g) white candy melts or white chocolate chips (for decorating)
- Black decorating gel or black frosting (for pupils and whiskers)
- Orange candy melts or orange frosting (optional, for eyes)
- 4 pretzel sticks (for whiskers)
Instructions
- Preheat oven to 350°F (175°C). Grease a 9-inch round cake pan or cast iron skillet and line the bottom with parchment paper.
- In a large bowl, beat softened butter, granulated sugar, and brown sugar together until light and fluffy, about 2-3 minutes.
- Add the room temperature egg and vanilla extract, beating until fully combined, about 30 seconds.
- In a separate bowl, whisk together flour, black cocoa powder, unsweetened cocoa powder, baking soda, and salt.
- Gradually add dry ingredients to wet ingredients, mixing on low speed or folding with a spatula until just combined. Fold in chocolate chips if using.
- Transfer dough to prepared pan and press into an even layer using a spatula or lightly greased fingers.
- Bake for 18-22 minutes, until edges are set and center looks slightly underdone. Cool in pan for 10 minutes, then transfer to a wire rack to cool completely.
- Once cool, melt white candy melts according to package directions. Transfer to a piping bag or zip-top bag with a snipped corner and pipe two large oval shapes for eyes. Let set for 5 minutes.
- Using black decorating gel or melted dark chocolate, pipe pupils in the center of each eye and a small nose. Gently press pretzel sticks into the cookie cake for whiskers. Optionally, cut small triangles from the edge for ears or pipe them on. Let set for 10 minutes before serving.
Notes
Do not overbake; the center should look slightly underdone. Use a kitchen scale for accurate measurements. Let egg come to room temperature. Press dough firmly into pan. Chill dough if kitchen is warm. Different brands of black cocoa produce different shades of black; Rodelle and King Arthur Flour are recommended for deepest color.
Nutrition
- Serving Size: 1 slice (1/8 of cook
- Calories: 285
- Sugar: 22
- Sodium: 180
- Fat: 14
- Saturated Fat: 8
- Carbohydrates: 38
- Fiber: 3
- Protein: 4
Keywords: Halloween cookie cake, black cat cookie cake, black cocoa cookie cake, spooky dessert, easy Halloween dessert, chocolate cookie cake


