I burned my first batch of these spider cookies so badly the smoke alarm went off, and my kids still asked if they could eat the black ones.
That was three Halloweens ago, and honestly, that burnt batch taught me everything I needed to know about getting these right. I was so focused on making them look spooky that I forgot the most important thing—they actually have to taste good. You know, like really, really good. Not just “cute for a party” good, but the kind of cookie that disappears before the frosting even sets.
These fudgy chocolate spider cookies are the result of that smoky disaster. They’re intensely chocolate, perfectly chewy, and just creepy enough to impress at any Halloween gathering. The best part? They actually taste like a real dessert, not just a decoration. I’ve made them every year since, and I’ve finally nailed the timing so the legs stay attached and the eyes don’t melt into a puddle of chocolate goo.
Let me show you how to make them without setting off any alarms.
Why You’ll Love This Recipe
I’ve tested this recipe more times than I care to admit, and here’s what makes it stand out from every other Halloween cookie you’ve tried.
- Deep, Fudgy Flavor: These cookies use both cocoa powder and melted chocolate for that rich, almost brownie-like texture. No dry, crumbly cookies here.
- Simple Ingredients: You probably have most of these in your pantry right now. No fancy extracts or hard-to-find decorations.
- Perfect for Halloween Parties: They look impressive on a dessert table, but they’re surprisingly easy to assemble. Kids love helping with the spider legs.
- Crowd-Pleaser: I’ve brought these to school events, office parties, and family gatherings. Adults sneak them when they think no one is looking.
- Make-Ahead Friendly: The dough freezes beautifully, and the assembled cookies stay fresh for days. You can prep everything in advance.
What makes these different from other spider cookies I’ve seen? Most recipes use a sugar cookie base that’s more about looks than taste. I wanted something that would satisfy a serious chocolate craving. These are the kind of cookies you eat three of before realizing you probably should have stopped at two.
I’ll be honest—I’m not a professional baker. I’m just someone who loves chocolate and refuses to serve disappointing desserts at Halloween. These cookies have never let me down.
What Ingredients You Will Need
This recipe uses simple, everyday ingredients to create something that tastes anything but ordinary. Here’s what you’ll need to gather before you start.
For the Cookie Dough
- 1 cup (226g) unsalted butter, softened to room temperature (I prefer Kerrygold for the richness)
- 1 cup (200g) granulated sugar
- 1 large egg, room temperature
- 1 teaspoon vanilla extract
- 1 ½ cups (188g) all-purpose flour
- ½ cup (45g) unsweetened cocoa powder (I use Dutch-processed for deeper color and flavor)
- ½ teaspoon baking soda
- ¼ teaspoon salt
- 4 oz (113g) semi-sweet chocolate, melted and slightly cooled (chocolate chips work fine)
For the Spider Decoration
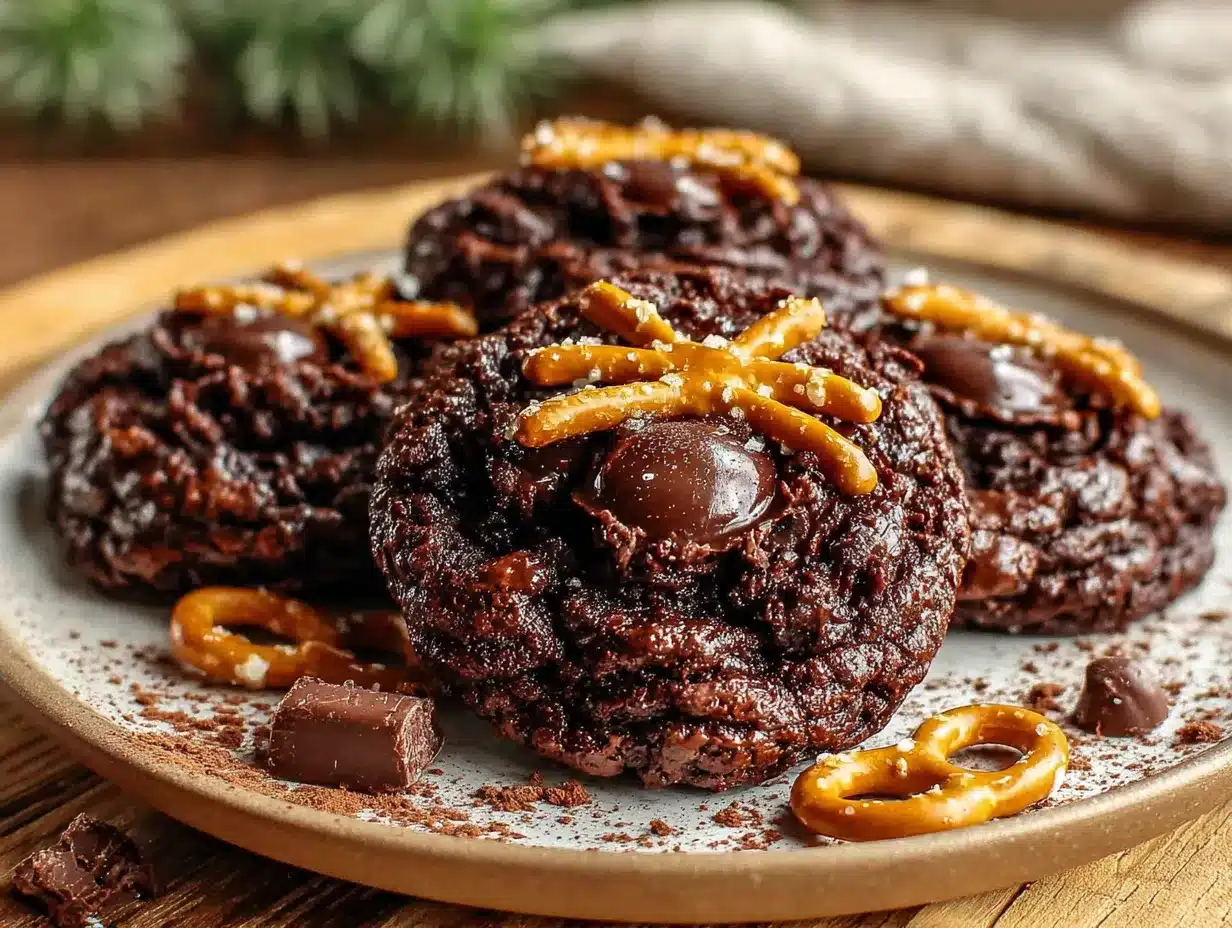
- ½ cup (85g) semi-sweet chocolate chips, melted (for the spider bodies and legs)
- 24 candy eyes (available at craft stores or online—I get mine at Michaels)
- Pretzel sticks, broken into 1-inch pieces (for the spider legs—about 48 pieces total)
The cocoa powder is key here. Dutch-processed gives you that dark, almost black color that makes these cookies look genuinely spooky. If you only have natural cocoa powder, that works too—your cookies will just be a bit lighter in color and slightly less rich.
For the melted chocolate in the dough, I recommend using good-quality chocolate bars rather than chocolate chips if you can. Chips have stabilizers that prevent them from melting as smoothly. But honestly, I’ve used chips in a pinch and the cookies still turned out fantastic.
If you want a gluten-free version, swap the all-purpose flour for a 1:1 gluten-free baking flour. I’ve tested this with Bob’s Red Mill and it worked beautifully. The texture is slightly more delicate, so handle the dough gently.
Equipment Needed
You don’t need anything fancy to make these cookies, which is part of why I love this recipe. Here’s what you’ll need:
- Mixing bowls (one large, one medium)
- Electric hand mixer or stand mixer (a whisk and some elbow grease works too, but your arm will thank you for the mixer)
- Baking sheets (2-3 sheets so you can rotate batches)
- Parchment paper or silicone baking mats (I prefer silicone mats for even baking)
- Cookie scoop (about 1.5 tablespoons size for uniform cookies)
- Small microwave-safe bowl for melting chocolate
- Piping bag or small zip-top bag for the spider decorations
- Wire cooling rack
If you don’t have a cookie scoop, just use a tablespoon measure. The cookies don’t need to be perfectly identical—imperfect shapes actually make them look more organic and spider-like. My first batch was all different sizes and honestly, the uneven ones were the creepiest looking.
For the piping bag, a small zip-top bag with the corner snipped off works perfectly. No need to buy specialty decorating tools for this.
Preparation Method
Make the Cookie Dough
- Cream the butter and sugar together in a large bowl using your hand mixer on medium speed. Beat for 2-3 minutes until the mixture is light and fluffy. Scrape down the sides of the bowl once or twice.
- Add the egg and vanilla and beat until combined. The mixture might look slightly separated at this point—that’s normal.
- Melt the 4 oz of semi-sweet chocolate in a microwave-safe bowl in 30-second intervals, stirring between each. Let it cool for 5 minutes so it doesn’t cook the egg when you add it.
- Pour the melted chocolate into the butter mixture and beat on low until fully incorporated. The dough will turn a deep, dark brown and smell incredible.
- In a separate bowl, whisk together the flour, cocoa powder, baking soda, and salt. This ensures the leavening agents are evenly distributed so your cookies rise properly.
- Gradually add the dry ingredients to the wet mixture, mixing on low speed. Stop when the flour is just incorporated—overmixing makes cookies tough. The dough will be soft and slightly sticky.
- Cover the bowl with plastic wrap and refrigerate for at least 30 minutes. This step is non-negotiable. Chilled dough spreads less and gives you thicker, fudgier cookies.
Bake the Cookies
- Preheat your oven to 350°F (175°C) and line your baking sheets with parchment paper or silicone mats.
- Scoop the chilled dough into 1.5-tablespoon portions (about the size of a walnut) and roll them into balls. Place them 2 inches apart on the prepared baking sheets.
- Bake for 10-12 minutes. The cookies will look slightly underdone in the center and the edges will be set. This is exactly what you want—they continue baking on the hot sheet after you pull them out.
- Let the cookies cool on the baking sheet for 5 minutes, then transfer them to a wire rack to cool completely. Don’t skip this resting time or your cookies will fall apart when you try to move them.
Assemble the Spider Decorations
- Melt the ½ cup of semi-sweet chocolate chips in a small microwave-safe bowl in 30-second intervals, stirring until smooth.
- Transfer the melted chocolate to a small piping bag or zip-top bag and snip off a tiny corner.
- Pipe a small dollop of melted chocolate onto the center of each cooled cookie. This will be the spider’s body.
- Insert 4 pretzel pieces on each side of the chocolate dollop to create the spider legs. Press them gently into the chocolate so they stay put. (I learned the hard way that dipping the pretzel ends in chocolate helps them grip better.)
- Pipe two small dots of chocolate where you want the spider’s eyes to go, then press a candy eye into each dot. The chocolate acts as glue.
- Let the chocolate set completely before moving the cookies. This takes about 30 minutes at room temperature, or 15 minutes in the fridge if you’re impatient like me.
Cooking Tips & Techniques
I’ve made every mistake possible with these cookies so you don’t have to. Here’s what I’ve learned the hard way.
Don’t skip chilling the dough. I know it’s tempting to rush, but warm dough spreads into flat, sad pancakes. Chilled dough gives you thick, fudgy cookies with a nice crackly top. Trust me on this—I learned after three batches of cookie puddles.
Watch your bake time carefully. These cookies go from perfectly fudgy to overbaked in about 60 seconds. Pull them out when the edges look set but the centers still look slightly soft and underdone. They’ll firm up as they cool and you’ll be rewarded with that perfect chewy texture.
For the pretzel legs, break them into pieces before you start decorating. I like to break a bunch at once and sort them by size so the legs on each spider look somewhat even. It’s a small detail, but it makes the final cookies look more intentional.
If the melted chocolate starts to thicken while you’re decorating, just pop it back in the microwave for 10 seconds. It happens to me every time, and a quick reheat saves the whole project.
Use a light hand with the candy eyes. I once pressed them in too hard and they sank into the chocolate, making my spiders look like they were wearing sunglasses. A gentle press is all you need.
Variations & Adaptations
One of the best things about this recipe is how easy it is to adapt. Here are some variations I’ve tried and loved.
Peanut Butter Spider Cookies: Add ¼ cup of creamy peanut butter to the dough along with the melted chocolate. The peanut butter adds a savory note that balances the sweetness beautifully. If you love the combination of chocolate and peanut butter, you’ll also enjoy this Reese’s peanut butter chocolate layer cake—it’s pure decadence.
White Chocolate Spiders: Instead of semi-sweet chocolate for the decoration, use melted white chocolate. The contrast against the dark cookies is striking and looks almost ghostly. Add a sprinkle of edible glitter for extra Halloween magic.
Gluten-Free Version: Substitute the all-purpose flour with a 1:1 gluten-free baking flour. I’ve tested this with Bob’s Red Mill and the texture is slightly more tender but still delicious. Just be extra gentle when handling the dough.
Extra Spooky Touch: Add 2 tablespoons of black cocoa powder to the dough for an even darker, more dramatic cookie. The flavor is slightly more Oreo-like and the color is genuinely intimidating.
Mini Spider Cookies: Use a teaspoon-sized scoop for bite-sized cookies. Reduce the bake time to 7-8 minutes and use smaller pretzel pieces. These are perfect for classroom parties or snack bags.
Serving & Storage Suggestions
These cookies are best served at room temperature, which lets the chocolate decorations stay firm while the cookie itself stays soft and chewy. Arrange them on a platter with the spider legs pointing outward for maximum creep factor.
They pair wonderfully with a cold glass of milk or a warm mug of hot chocolate. For an adult gathering, try them alongside a dark stout or a spiced rum cocktail—the bitterness of the beer or spirit cuts through the sweetness perfectly.
If you’re building a Halloween dessert table, these cookies look fantastic next to this black cat Halloween cookie cake. The two together create a fun, spooky theme that kids and adults both love.
Storage Instructions: Store the assembled cookies in an airtight container at room temperature for up to 5 days. Layer them between sheets of parchment paper to prevent the pretzel legs from breaking off. Do not refrigerate them—the moisture in the fridge can make the cookies soft and the pretzels stale.
Freezer Instructions: You can freeze the unbaked cookie dough balls for up to 3 months. Just scoop them, place them on a baking sheet, freeze until solid, then transfer to a freezer bag. Bake directly from frozen, adding 2-3 minutes to the bake time.
The flavors actually develop and deepen after a day or two. I’ve found these cookies taste even better on day two, if you can resist eating them all on day one.
Nutritional Information & Benefits
Let’s be real—these are Halloween cookies, not health food. But here’s what you’re working with per cookie (based on a batch of 24):
- Calories: Approximately 180-200 per cookie
- Fat: 10g (mostly from butter and chocolate)
- Carbohydrates: 24g
- Protein: 3g
- Sugar: 14g
The cocoa powder in these cookies is actually a decent source of antioxidants and flavonoids, which have been linked to heart health. So there’s that small silver lining. The dark chocolate also contains some iron and magnesium.
These cookies are not gluten-free unless you use the substitution mentioned earlier. They contain dairy from the butter and chocolate, so they’re not suitable for vegan diets without further modification. If you have nut allergies, these are naturally nut-free (just double-check your chocolate brand to ensure it’s processed in a nut-free facility).
I’m not a nutritionist, and I firmly believe that Halloween is not the time to count calories. Enjoy these cookies, share them with friends, and maybe go for an extra walk the next day.
Conclusion
These fudgy chocolate spider cookies have become a Halloween tradition in my house, and I hope they become one in yours too. They’re the perfect balance of spooky and delicious—the kind of treat that makes kids squeal with delight and adults sneak extras when they think no one is watching.
The best part about this recipe is how forgiving it is. Your spiders don’t need to look perfect. In fact, the wonky ones with uneven legs and slightly crooked eyes are usually the most charming. That’s the beauty of homemade Halloween treats—they’re supposed to look a little bit creepy.
I’d love to hear how your spider cookies turn out. Did your kids help with the decorations? Did you try any fun variations? Drop a comment below and share your creations. And if you’re looking for more Halloween inspiration, don’t miss these easy mummy hot dog bites for a savory option that balances out all the sugar.
Happy Halloween, and happy baking!
Frequently Asked Questions
Can I make these cookies ahead of time?
Absolutely. You can make the dough up to 3 days in advance and keep it refrigerated. You can also freeze the baked, undecorated cookies for up to a month. Just thaw, decorate, and serve.
Why did my cookies spread too much?
This usually happens when the dough isn’t chilled enough. Make sure you refrigerate the dough for at least 30 minutes, and don’t skip it. Also, check that your butter was properly softened—if it was too warm, the cookies will spread.
Can I use milk chocolate instead of semi-sweet?
You can, but the cookies will be significantly sweeter. I recommend sticking with semi-sweet or dark chocolate for a more balanced flavor. If you only have milk chocolate, reduce the sugar in the dough by 2 tablespoons.
How do I keep the pretzel legs from falling off?
Dip the ends of the pretzel pieces in melted chocolate before inserting them into the spider body. The chocolate acts as glue and keeps everything in place. I learned this trick after losing too many spider legs to curious toddlers.
Can I use royal icing instead of melted chocolate for the decorations?
You can, but melted chocolate holds the pretzel legs much better. Royal icing dries hard and can crack if the cookies are moved around. Chocolate gives you a sturdier, more durable decoration that also tastes better.
Pin This Recipe!
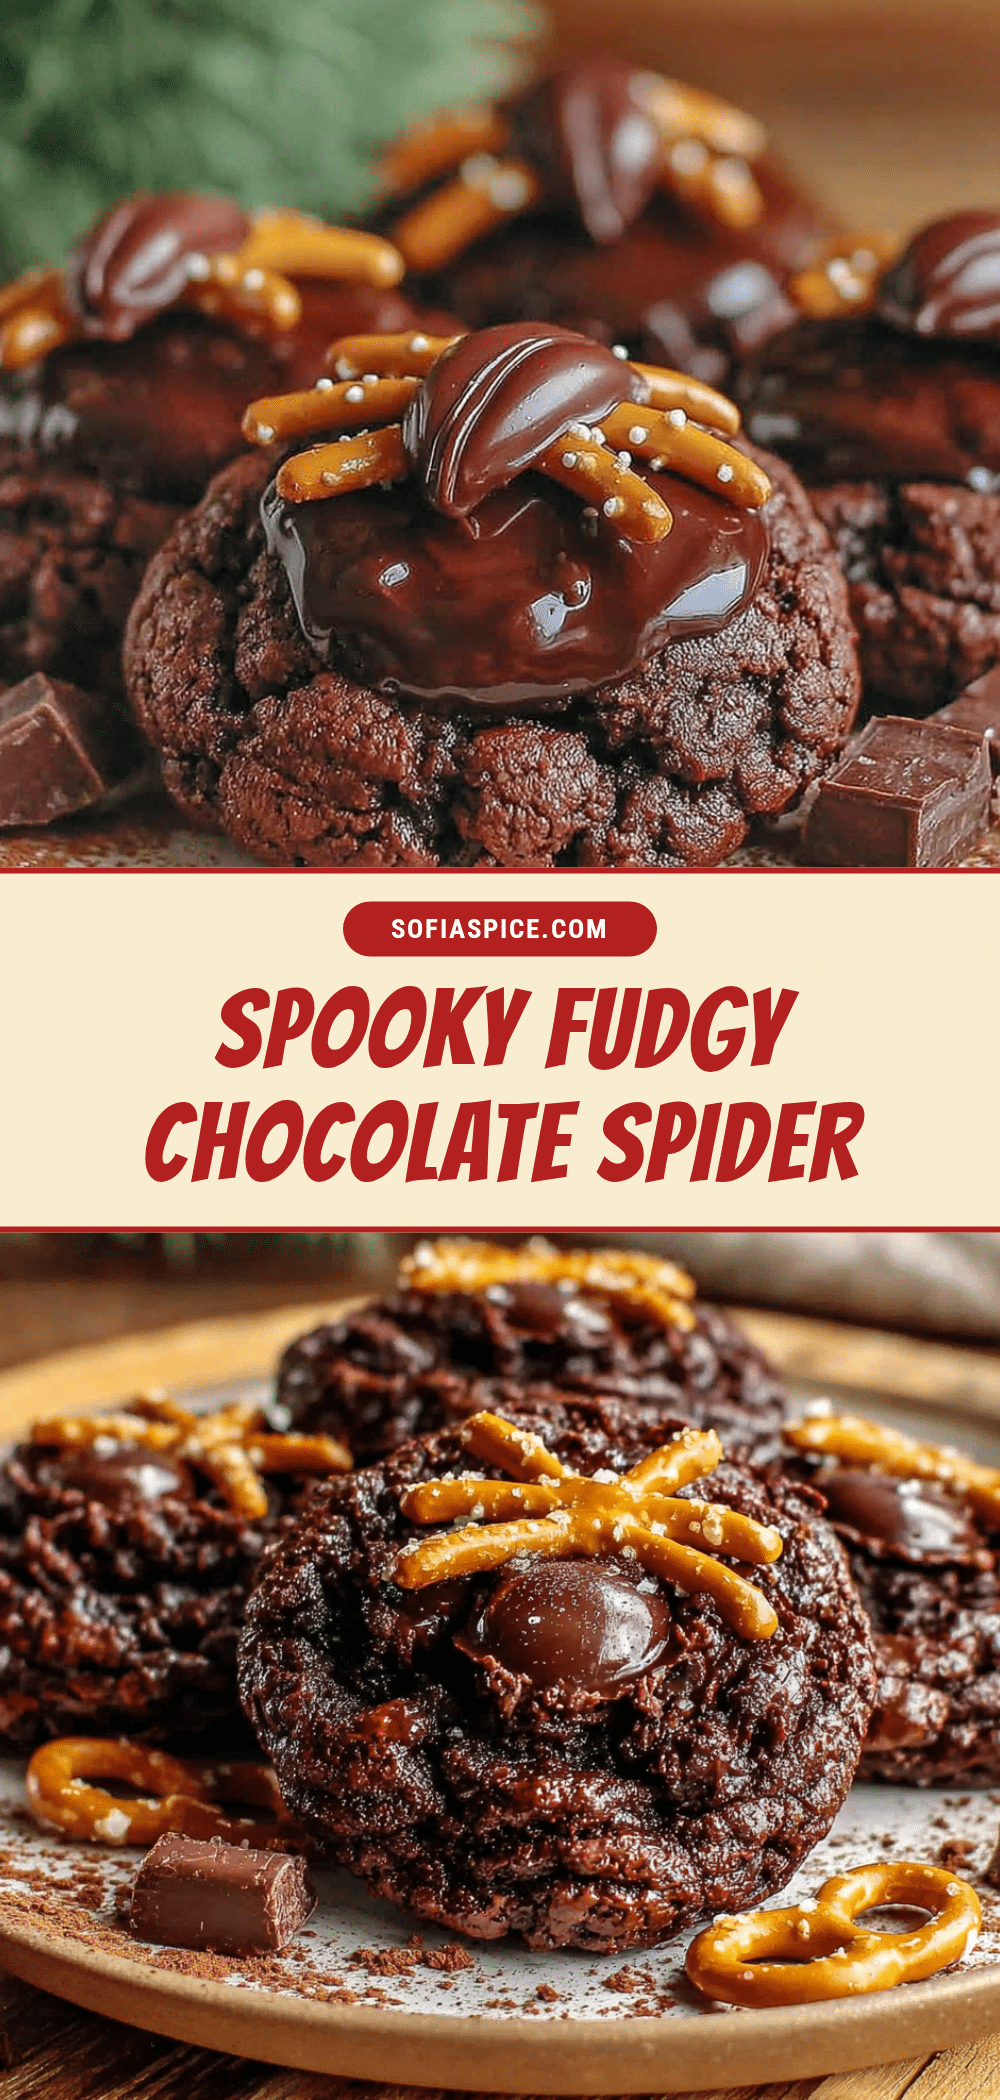
Best Fudgy Chocolate Spider Cookies for Halloween

These fudgy chocolate spider cookies are intensely chocolate, perfectly chewy, and just creepy enough to impress at any Halloween gathering. They taste like a real dessert, not just a decoration, and are surprisingly easy to assemble.
- Prep Time: 30 minutes
- Cook Time: 12 minutes
- Total Time: 1 hour 12 minutes
- Yield: 24 cookies 1x
- Category: Dessert
- Cuisine: American
Ingredients
- 1 cup (226g) unsalted butter, softened to room temperature
- 1 cup (200g) granulated sugar
- 1 large egg, room temperature
- 1 teaspoon vanilla extract
- 1 ½ cups (188g) all-purpose flour
- ½ cup (45g) unsweetened cocoa powder (Dutch-processed preferred)
- ½ teaspoon baking soda
- ¼ teaspoon salt
- 4 oz (113g) semi-sweet chocolate, melted and slightly cooled
- ½ cup (85g) semi-sweet chocolate chips, melted (for decoration)
- 24 candy eyes
- Pretzel sticks, broken into 1-inch pieces (about 48 pieces total)
Instructions
- Cream the butter and sugar together in a large bowl using a hand mixer on medium speed for 2-3 minutes until light and fluffy. Scrape down the sides of the bowl once or twice.
- Add the egg and vanilla and beat until combined. The mixture might look slightly separated—that’s normal.
- Melt the 4 oz of semi-sweet chocolate in a microwave-safe bowl in 30-second intervals, stirring between each. Let it cool for 5 minutes.
- Pour the melted chocolate into the butter mixture and beat on low until fully incorporated.
- In a separate bowl, whisk together the flour, cocoa powder, baking soda, and salt.
- Gradually add the dry ingredients to the wet mixture, mixing on low speed until just incorporated. The dough will be soft and slightly sticky.
- Cover the bowl with plastic wrap and refrigerate for at least 30 minutes.
- Preheat your oven to 350°F (175°C) and line baking sheets with parchment paper or silicone mats.
- Scoop the chilled dough into 1.5-tablespoon portions (about the size of a walnut) and roll into balls. Place them 2 inches apart on the prepared baking sheets.
- Bake for 10-12 minutes. The cookies will look slightly underdone in the center and the edges will be set.
- Let the cookies cool on the baking sheet for 5 minutes, then transfer to a wire rack to cool completely.
- Melt the ½ cup of semi-sweet chocolate chips in a small microwave-safe bowl in 30-second intervals, stirring until smooth.
- Transfer the melted chocolate to a small piping bag or zip-top bag and snip off a tiny corner.
- Pipe a small dollop of melted chocolate onto the center of each cooled cookie for the spider’s body.
- Insert 4 pretzel pieces on each side of the chocolate dollop to create the spider legs. Press them gently into the chocolate.
- Pipe two small dots of chocolate where you want the spider’s eyes to go, then press a candy eye into each dot.
- Let the chocolate set completely before moving the cookies (about 30 minutes at room temperature, or 15 minutes in the fridge).
Notes
Don’t skip chilling the dough—it prevents spreading and gives thicker, fudgier cookies. Watch bake time carefully; pull cookies out when edges are set but centers still look slightly underdone. For pretzel legs, dip ends in melted chocolate to help them grip better. Use a light hand with candy eyes to prevent them from sinking into the chocolate. Store assembled cookies in an airtight container at room temperature for up to 5 days, layered between parchment paper. Do not refrigerate. Unbaked dough balls can be frozen for up to 3 months.
Nutrition
- Serving Size: 1 cookie
- Calories: 190
- Sugar: 14
- Sodium: 85
- Fat: 10
- Saturated Fat: 6
- Carbohydrates: 24
- Fiber: 2
- Protein: 3
Keywords: Halloween cookies, spider cookies, fudgy chocolate cookies, chocolate spider cookies, Halloween dessert, spooky cookies, chocolate cookies


