The sound of that first crack—the one where the shell gives way under just the right amount of pressure—still makes me stop whatever I’m doing. It’s a crisp, decisive snap that cuts through kitchen noise like a tiny announcement. I was standing at my grandmother’s counter last October, a mound of orange-streaked pumpkin guts in front of me, and she handed me a colander without a word. That was the unspoken rule: you carve, you clean, you roast. But her seeds were always just salt and butter, and I loved them. I really did. But there was a bag of cinnamon sugar on the counter from her morning toast, and I remember thinking—what if?
So I tossed a handful of seeds with a shake of that cinnamon sugar, a little extra butter, and slid them into her old gas oven. Twenty minutes later, I pulled out something that smelled like a bakery had sneaked into a harvest festival. The sugar had caramelized in spots, the cinnamon clung to every ridge, and the crunch was ridiculous—crisp without being hard, sweet without being cloying. I brought the bowl to the living room, and my uncle, who never eats anything “healthy-sounding” like pumpkin seeds, finished half of them before asking what they were.
That moment stuck. Not because it was some grand family tradition, but because it was a tiny, accidental upgrade to something we already did. It proved that a simple pantry switch could turn a byproduct of fall decorating into the snack everyone fights over. And honestly, that’s the kind of cooking I love most—the kind that starts with a “what if” and ends with an empty bowl. These crispy cinnamon sugar roasted pumpkin seeds are exactly that: a happy accident I’ve been perfecting ever since.
Why You’ll Love This Recipe
Let’s be real—not all pumpkin seeds are created equal. Some come out chewy. Some burn before they crisp. And some are just… boring. This recipe solves all of that. I’ve tested it more times than I care to count (including one batch that smoked up my entire apartment), and this method delivers every single time.
- Quick & Easy: From pumpkin to snack in under 30 minutes. Most of that time is hands-off roasting.
- Simple Ingredients: You need pumpkin seeds, butter, sugar, cinnamon, and salt. That’s it. No weird extracts or specialty sugars.
- Perfect for Fall Gatherings: Set out a bowl during pumpkin carving, Thanksgiving prep, or a cozy movie night. It disappears fast.
- Crowd-Pleaser: Even the picky eaters in my family go for these. The sweet-salty combo hooks everyone.
- Unbelievably Delicious: The texture is what gets me—crispy on the outside, with a tiny pop when you bite down. The cinnamon sugar forms a delicate shell that shatters nicely.
What makes this version different from the dozen others I tried? It’s the parboiling step. Yes, it’s an extra minute of work, but boiling the seeds first guarantees they roast evenly and get that shatteringly crisp texture instead of a sad, chewy one. I also dialed in the sugar-to-cinnamon ratio so the spice is warm but not overpowering. It’s not just another pumpkin seed recipe—it’s the one that made my neighbor ask for the recipe at a Halloween party. And she’s a pastry chef.
This recipe is the kind that makes you close your eyes after the first bite. It’s comfort food reimagined—healthier than a candy bar, faster than baking cookies, but with the same soul-soothing satisfaction. Perfect for impressing guests without stress, or turning a simple snack into something memorable.
What Ingredients You Will Need
This recipe uses simple, wholesome ingredients to deliver bold flavor and that perfect crispy texture without any fuss. Most of these are pantry staples, especially if you’ve just carved a pumpkin.
- Fresh pumpkin seeds (1 ½ cups, roughly from one medium pumpkin): Scooped straight from the pumpkin, rinsed, and patted dry. Don’t use canned or pre-roasted seeds here—they won’t absorb the coating the same way.
- Unsalted butter (3 tablespoons, melted): I use salted butter in a pinch, but unsalted lets you control the salt level. I prefer Kerrygold for its rich taste, but any good butter works.
- Granulated sugar (2 tablespoons): White sugar caramelizes beautifully without making the seeds sticky. You can use coconut sugar for a deeper flavor, but the texture will be slightly less crisp.
- Ground cinnamon (1 ½ teaspoons): Fresh cinnamon makes a difference here. I like Saigon cinnamon for its bold, almost spicy warmth. If yours has been in the cabinet for two years, replace it.
- Fine sea salt (½ teaspoon): A crucial balance to the sweetness. Don’t skip it—it’s what makes the flavor pop.
- Water (4 cups, for boiling): Just tap water. This step is non-negotiable for crispiness.
Ingredient Selection Tips: Look for pumpkin seeds that are plump and still have some of the orange fibers attached (those will wash off). Avoid seeds that look shriveled or cracked. If you’re using seeds from a carving pumpkin, they’ll be larger and flatter than seeds from a pie pumpkin—both work, but carving pumpkin seeds roast up a bit bigger and crunchier.
Substitution Guidance: For a dairy-free version, swap the butter with coconut oil or avocado oil. The coconut oil adds a subtle tropical note that pairs surprisingly well with cinnamon. If you want a deeper molasses flavor, replace half the granulated sugar with light brown sugar—just watch the roasting time, as brown sugar can burn faster. For a sugar-free option, use monk fruit sweetener, but the caramelization won’t be as pronounced.
Equipment Needed
You don’t need much for this recipe, which is part of its charm. Here’s what I use every time:
- Large pot (4-quart or bigger): For boiling the seeds. Any pot works; I use my old stainless steel one.
- Colander: For draining the boiled seeds. A fine-mesh strainer works too, but the seeds can get stuck.
- Clean kitchen towel or paper towels: For drying the seeds thoroughly. This step matters more than you think—wet seeds steam instead of roast.
- Mixing bowl: Medium size, for tossing the seeds with butter and the cinnamon sugar mixture.
- Baking sheet: A rimmed half-sheet pan is ideal. The rim prevents seeds from rolling off, and the flat surface ensures even roasting.
- Parchment paper or silicone baking mat: Highly recommended. It prevents sticking and makes cleanup a breeze. Without it, the sugar can glue seeds to the pan.
- Spatula or wooden spoon: For stirring halfway through roasting.
Budget-Friendly Options: Don’t have a silicone mat? Parchment paper is cheap and works just as well. No rimmed baking sheet? A regular cookie sheet with slightly raised edges will do, just watch the edges more closely as they can brown faster. I’ve even used a cast iron skillet in a pinch—the seeds roast beautifully, but you’ll need to stir them more often.
Maintenance Tip: If you use parchment paper, don’t reuse it for a second batch—the sugar residue will burn. Just grab a fresh sheet. Your baking sheet will thank you.
Preparation Method
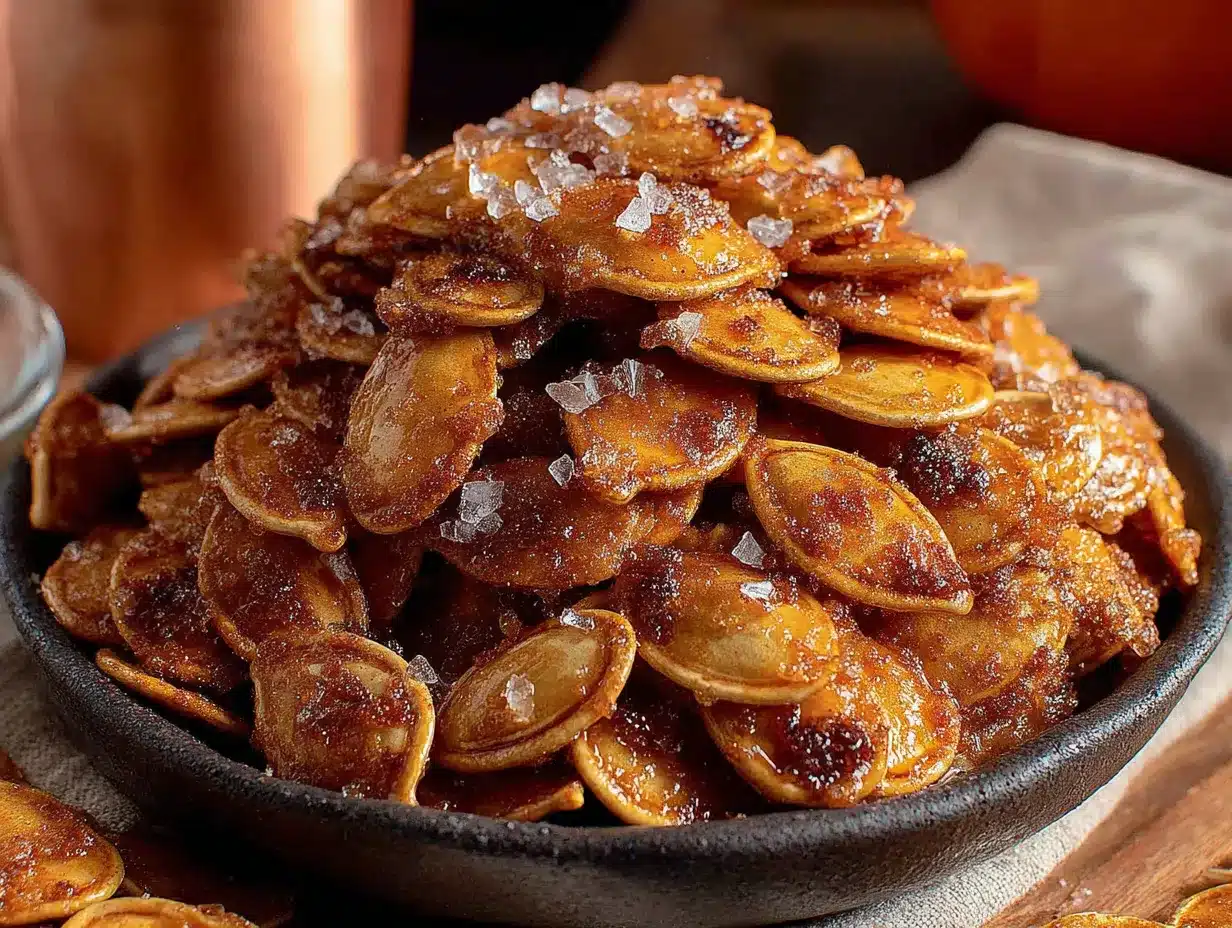
Follow these steps carefully, and you’ll get perfectly crispy, cinnamon-sugar-coated seeds every time. I’ve included all the little details I wish someone had told me the first time.
- Preheat your oven to 350°F (175°C). Position the rack in the center. While it heats, prep your seeds.
- Clean the pumpkin seeds. Separate the seeds from the pumpkin guts. Place them in a colander and rinse under cool water, rubbing them gently to remove the stringy orange fibers. It doesn’t have to be perfect—a few tiny bits of pumpkin are fine and actually add flavor. Drain well.
- Boil the seeds. Bring 4 cups of water to a rolling boil in your large pot. Add the cleaned seeds and boil for exactly 10 minutes. This step softens the outer seed coat, which allows them to roast evenly and get that shatteringly crisp texture. Don’t skip it—I learned this the hard way after two batches of chewy seeds. Drain the seeds in your colander.
- Dry the seeds thoroughly. Spread the boiled seeds on a clean kitchen towel or several layers of paper towels. Pat them dry as much as you can. They should feel damp but not dripping. Any excess water will create steam in the oven, which leads to soggy seeds. Let them sit for 5 minutes to air-dry slightly.
- Mix the coating. In your medium mixing bowl, combine the melted butter, granulated sugar, ground cinnamon, and fine sea salt. Stir until the sugar and cinnamon are fully incorporated into the butter—it should look like a thick, grainy paste. The smell at this point is already amazing.
- Toss the seeds. Add the dried seeds to the bowl with the butter mixture. Use a spatula to toss and coat every seed evenly. Make sure there are no dry spots. The coating will look a bit clumpy—that’s good. Those clumps will caramelize into crunchy bits in the oven.
- Spread on baking sheet. Line your baking sheet with parchment paper or a silicone mat. Spread the coated seeds in a single, even layer. Try not to overlap them too much—crowding leads to steaming. If you have a lot of seeds, use two baking sheets.
- Roast for 20-25 minutes. Place the baking sheet in the preheated oven. Roast for 10 minutes, then remove the sheet and stir the seeds with a spatula. This ensures even browning. Return to the oven and roast for another 10-15 minutes. Watch closely toward the end—the seeds can go from golden to burnt very quickly. They are done when they are deep golden brown and the kitchen smells like a cinnamon toast dream.
- Cool completely. Remove the baking sheet from the oven and let the seeds cool on the pan for at least 15 minutes. Do not skip this step. The seeds continue to crisp as they cool. If you try to eat them right away, they’ll seem softer than they actually are. Patience pays off here.
- Break apart any clumps. Once cooled, the seeds should be crisp and easy to separate. Gently break apart any clusters that formed during roasting. Some clumps are actually the best part—they’re like little cinnamon-sugar brittle clusters mixed in with the seeds.
Sensory Cue: At the 10-minute mark, you should smell the cinnamon and butter clearly. At 20 minutes, the sugar will smell caramelized—like a bakery crossed with a fall candle. If you smell anything burning, pull them out immediately.
Cooking Tips & Techniques
I’ve made plenty of mistakes with pumpkin seeds so you don’t have to. Here are the lessons that stuck.
Don’t skip the boil. I know it seems like an unnecessary step, but it’s the secret to crispy seeds. The first time I made these, I tossed raw seeds straight into the oven with butter and sugar. They came out chewy and sad—the coating didn’t stick, and the seeds themselves had a weird, papery texture. Boiling softens the outer shell just enough so the inside roasts evenly while the outside crisps up. Trust me on this one.
Dry those seeds like your life depends on it. After boiling, I pat the seeds dry with a kitchen towel and then let them sit on a paper towel for a few minutes. Any residual water turns into steam in the oven, which prevents the sugar from caramelizing properly. One time I was in a hurry and only gave them a quick shake in the colander—the result was a batch of pale, soggy seeds that tasted more like steamed pumpkin than roasted goodness.
Watch the oven like a hawk. Every oven runs differently. My old apartment oven would burn these at exactly 22 minutes, but my current one needs the full 25. Start checking at the 18-minute mark. Look for a deep golden brown color and listen for a faint sizzling sound—that’s the sugar caramelizing. If you see any dark spots forming, pull them out immediately.
Let them cool completely. This is the hardest part, I know. The smell is intoxicating, and your hand will want to grab a handful the second they come out. But the seeds are still soft when hot. They crisp up as they cool. I once served them warm to guests, and they complained they were “chewy.” The next day, the leftovers were perfectly crispy. Now I always make them at least an hour before serving.
Double the batch. Seriously. These disappear fast. I usually make two batches at once—one for snacking and one for gifting. They store well, so there’s no downside to making extra. Plus, the oven is already hot, so the second batch takes less time to come to temperature.
Variations & Adaptations
Once you master the basic recipe, there’s a whole world of flavor variations to explore. Here are some of my favorites.
Spiced Chai Version: Add ½ teaspoon ground cardamom, ¼ teaspoon ground ginger, and a pinch of ground cloves to the cinnamon sugar mixture. It tastes exactly like a chai latte in seed form. I made this for a fall brunch, and someone asked if I bought them at a fancy bakery.
Maple Brown Sugar: Replace the granulated sugar with 2 tablespoons of packed brown sugar and add 1 tablespoon of pure maple syrup. Reduce the butter to 2 tablespoons since the syrup adds moisture. The flavor is deeper, almost butterscotch-like, and the seeds get a slightly chewier texture. This version pairs perfectly with a spiced apple cider bar for a cozy fall gathering.
Savory-Sweet Hybrid: Reduce the sugar to 1 tablespoon and add ½ teaspoon of smoked paprika and a pinch of cayenne pepper. The heat sneaks up on you, and the smoked paprika adds a bacon-like undertone. It’s weirdly addictive—I can’t stop eating them once I start.
Vegan Option: Swap the butter with coconut oil or a high-quality vegan butter. The coconut oil version has a subtle tropical note that works surprisingly well with cinnamon. Just make sure to melt it completely before mixing with the sugar.
Air Fryer Adaptation: If you don’t want to heat up your oven, the air fryer works beautifully. Cook at 300°F (150°C) for 12-15 minutes, shaking the basket halfway through. The seeds get even crispier in the air fryer because of the circulating heat. Just watch them closely—they cook faster than in the oven.
Pumpkin Spice Version: Replace the cinnamon with 1 ½ teaspoons of pumpkin pie spice. This is my go-to for Thanksgiving—it ties the whole meal together. I like to serve these alongside a slice of no-bake pumpkin pie with gingersnap crust for the ultimate fall dessert spread.
Serving & Storage Suggestions
These seeds are best served at room temperature, straight from the cooling sheet. But they’re also incredibly versatile in how you present them.
Serving Temperature: Room temperature is ideal. The texture is at its peak—crispy, crunchy, with that delicate caramelized sugar shell. If you serve them warm, they’ll still taste good, but the crunch won’t be as pronounced. I usually make them a few hours ahead and let them cool completely on the baking sheet.
Presentation Ideas: Serve them in a rustic wooden bowl or a clear glass jar for a beautiful fall tablescape. I like to sprinkle a few extra cinnamon-sugar crystals on top for visual appeal. For parties, I set out small paper cones filled with seeds—it’s a fun, portable way to snack. They also make a fantastic topping for a bowl of easy slow cooker butternut squash apple soup, adding a sweet crunch to the creamy soup.
Storage Instructions: Store completely cooled seeds in an airtight container at room temperature. They’ll stay crispy for up to 2 weeks—if they last that long. Do not refrigerate them; the moisture in the fridge will make them soft. I use a glass mason jar with a tight-fitting lid, and I keep it on the counter for easy snacking.
Reheating Tips: If your seeds lose their crunch after a few days (it happens, especially in humid weather), spread them on a baking sheet and reheat at 300°F (150°C) for 5 minutes. Let them cool completely, and they’ll be crispy again. Don’t microwave them—it makes them chewy and weird.
Flavor Development: Interestingly, the cinnamon flavor deepens after a day or two. The sugar also settles into a more uniform coating. Some people actually prefer the seeds on day two because the flavors meld together. I like them both ways, but I usually end up eating most of them on day one anyway.
Nutritional Information & Benefits
While these seeds are a treat, they also pack some surprising nutritional benefits. Here’s a rough estimate per ¼-cup serving:
- Calories: Approximately 180
- Fat: 14g (mostly healthy unsaturated fats from the seeds and butter)
- Carbohydrates: 10g (including 6g sugar)
- Protein: 5g
- Fiber: 2g
- Iron: 10% of the Daily Value
- Magnesium: 15% of the Daily Value
- Zinc: 10% of the Daily Value
Health Benefits: Pumpkin seeds are a great source of magnesium, which supports muscle function and sleep quality. They also contain zinc, which is important for immune health—especially relevant during cold and flu season. The fiber content helps with digestion and keeps you feeling full longer. Of course, the sugar and butter add calories, but in moderation, these seeds are a far healthier snack than most store-bought options.
Dietary Considerations: This recipe is naturally gluten-free and can be made dairy-free with a simple butter swap. It’s also vegetarian and egg-free. If you’re watching your sugar intake, you can reduce the sugar to 1 tablespoon—the seeds will be less sweet but still delicious.
Potential Allergens: Contains dairy (butter) and tree nuts (if using coconut oil as a substitute). Pumpkin seeds themselves are not common allergens, but always check labels if you’re serving someone with severe allergies.
Personal Wellness Perspective: I love that this recipe turns a “waste” product into something nourishing. Pumpkin carving generates so much food waste, and turning the seeds into a snack feels like a small act of kitchen mindfulness. Plus, the magnesium content makes these a great evening snack—I’ve found they help me wind down after a long day.
Conclusion
These crispy cinnamon sugar roasted pumpkin seeds are proof that the best recipes often come from the simplest ideas. A little butter, a shake of cinnamon sugar, and a bit of patience in the oven—that’s all it takes to turn something you’d normally toss into the most requested snack of the season. They’re quick enough for a weeknight treat, impressive enough for a holiday party, and forgiving enough for a first-time cook.
I love this recipe because it reminds me that cooking doesn’t have to be complicated to be special. It’s about paying attention to the small moments—the sound of a shell cracking, the smell of cinnamon in a warm kitchen, the look on someone’s face when they take that first crunchy bite. That’s what I hope you find in this recipe.
So go ahead—carve that pumpkin, save those seeds, and give this a try. Tweak the spices, double the batch, or keep it exactly as written. And when you make them (because I know you will), come back and let me know how they turned out. Did you add a secret ingredient? Did the kids eat them all before dinner? I want to hear it all. Drop a comment below, share a photo, and tag a friend who needs this recipe in their life. Happy roasting!
Frequently Asked Questions
Can I use store-bought pumpkin seeds instead of fresh?
Yes, but the texture will be different. Store-bought seeds are usually already roasted and dried, so they won’t absorb the coating as well. If you use them, skip the boiling step and reduce the roasting time to 10-12 minutes. The flavor will still be good, but the coating won’t stick as evenly.
Why are my pumpkin seeds chewy instead of crispy?
This usually happens for one of three reasons: you skipped the boiling step, you didn’t dry them thoroughly after boiling, or you didn’t roast them long enough. Make sure to boil for the full 10 minutes, pat them very dry, and roast until they’re deep golden brown. Let them cool completely before judging the texture—they crisp up as they cool.
Can I make these in an air fryer?
Absolutely! Air fryers work great for this recipe. Cook at 300°F (150°C) for 12-15 minutes, shaking the basket halfway through. The seeds will be even crispier than oven-roasted ones because of the circulating hot air. Just watch them closely—they can burn faster in an air fryer.
How long do these seeds stay fresh?
Stored in an airtight container at room temperature, they’ll stay crispy for up to 2 weeks. If they lose their crunch, spread them on a baking sheet and reheat at 300°F (150°C) for 5 minutes, then let them cool completely. Do not refrigerate them—the moisture will make them soft.
Can I reduce the sugar without ruining the recipe?
Yes, you can reduce the sugar to 1 tablespoon without affecting the texture too much. The seeds will be less sweet and the caramelization won’t be as pronounced, but they’ll still be delicious. If you want to keep the crunch without the sugar, try using a sugar substitute like monk fruit sweetener, though the caramelization won’t be the same.
Pin This Recipe!
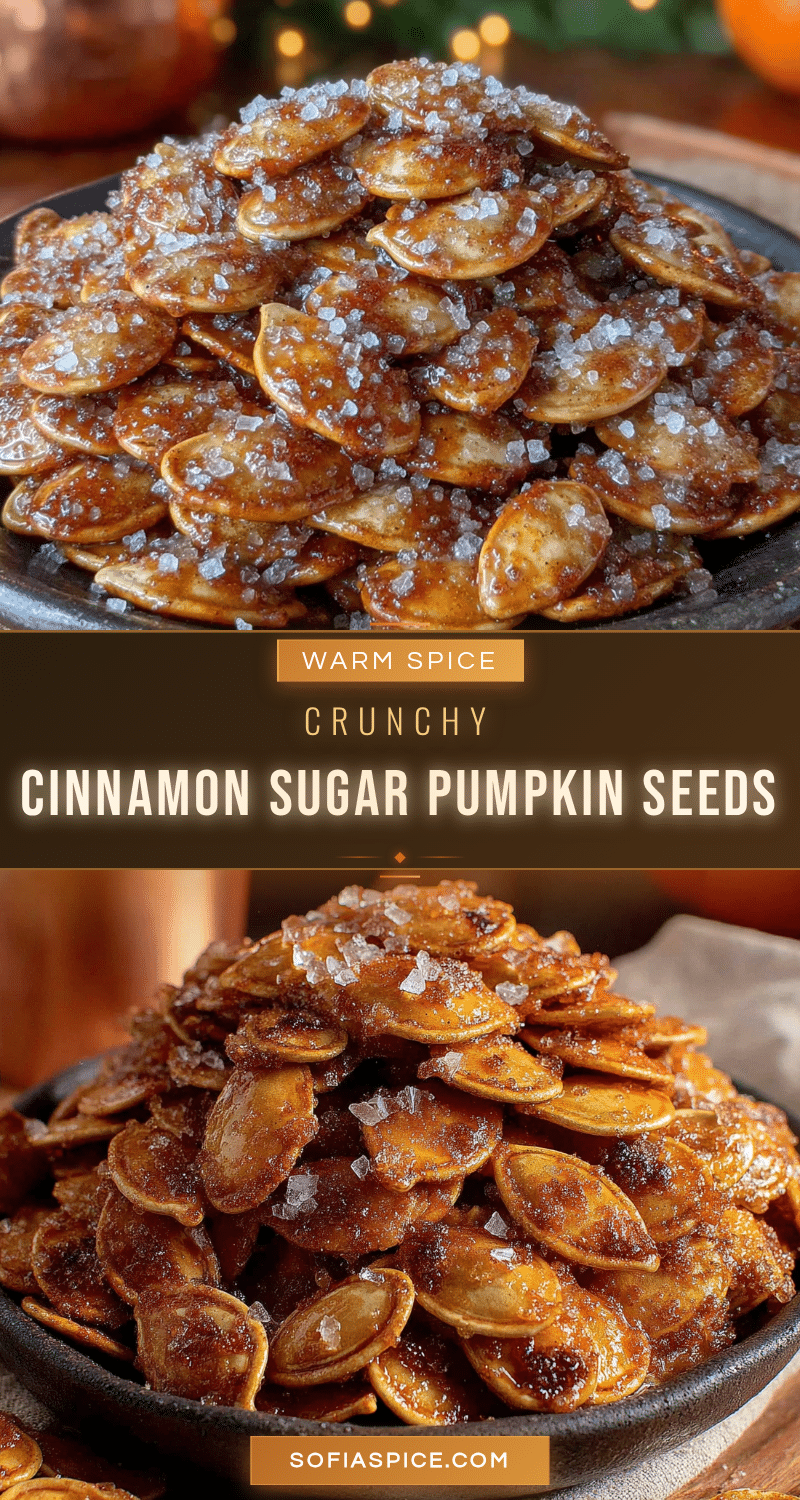
Easy Homemade Crispy Cinnamon Sugar Pumpkin Seeds

Transform fresh pumpkin seeds into a crispy, sweet-salty snack with this simple recipe. A quick boil ensures perfect crunch, while cinnamon sugar coating makes them irresistible.
- Prep Time: 15 minutes
- Cook Time: 25 minutes
- Total Time: 40 minutes
- Yield: 4 servings 1x
- Category: Snack
- Cuisine: American
Ingredients
- 1 ½ cups fresh pumpkin seeds (from one medium pumpkin)
- 3 tablespoons unsalted butter, melted
- 2 tablespoons granulated sugar
- 1 ½ teaspoons ground cinnamon
- ½ teaspoon fine sea salt
- 4 cups water (for boiling)
Instructions
- Preheat oven to 350°F (175°C). Position rack in center.
- Clean pumpkin seeds: separate from pumpkin guts, rinse in colander under cool water, rubbing gently to remove fibers. Drain well.
- Boil seeds: bring 4 cups water to a rolling boil, add seeds, boil for exactly 10 minutes. Drain.
- Dry seeds thoroughly: spread on clean kitchen towel or paper towels, pat dry until damp but not dripping. Let sit 5 minutes to air-dry.
- Mix coating: in medium bowl, combine melted butter, sugar, cinnamon, and salt. Stir until it forms a thick, grainy paste.
- Toss seeds: add dried seeds to bowl, toss with spatula to coat evenly. Coating will be clumpy.
- Spread on baking sheet: line sheet with parchment paper or silicone mat. Spread seeds in single, even layer, avoiding overlap.
- Roast for 20-25 minutes: roast 10 minutes, stir, then roast another 10-15 minutes until deep golden brown. Watch closely to avoid burning.
- Cool completely: let seeds cool on pan for at least 15 minutes. Do not skip—they crisp as they cool.
- Break apart clumps: once cooled, gently break apart any clusters.
Notes
Boiling seeds is essential for crispiness. Dry seeds thoroughly after boiling to avoid steaming. Watch oven closely toward end of roasting—seeds can burn quickly. Let cool completely before serving for maximum crunch. Store in airtight container at room temperature for up to 2 weeks. Reheat at 300°F for 5 minutes if they lose crispness.
Nutrition
- Serving Size: ¼ cup
- Calories: 180
- Sugar: 6
- Sodium: 150
- Fat: 14
- Saturated Fat: 5
- Carbohydrates: 10
- Fiber: 2
- Protein: 5
Keywords: pumpkin seeds, cinnamon sugar, roasted pumpkin seeds, fall snack, Halloween snack, crispy pumpkin seeds


