I burned the first three no-bake pumpkin pies I ever made. Not the crust—you can’t really burn a no-bake crust. I burned the filling. That sounds impossible, right? But I was so determined to get that perfect sliceable texture that I kept over-whipping the cream until it turned into butter, or I’d add too much gelatin and end up with something that tasted more like a gummy bear than a pumpkin pie. It was humiliating, honestly. I’d bring these sad, rubbery discs to Friendsgiving and watch people politely take a tiny sliver.
Then one October, I had a fridge full of failed filling and a bag of gingersnaps I’d bought for snacking. Out of pure frustration, I crushed those cookies, mixed them with butter, and pressed them into a pan. I poured a simple, no-cook pumpkin filling on top—one I’d finally figured out didn’t need gelatin or cornstarch. I stuck it in the fridge, crossed my fingers, and went to bed.
The next morning, I cut into it and nearly cried. The crust was spicy and crunchy. The filling was silky, light, and tasted exactly like Thanksgiving. No oven. No stress. Just a pie that actually worked.
Why You’ll Love This Recipe
This no-bake pumpkin pie with gingersnap crust is the dessert you bring when you want to impress without breaking a sweat. I’ve tested this more times than I care to admit, and I can tell you with total confidence—it works every single time.
- Quick & Easy : From start to fridge in about 20 minutes. No oven, no stand mixer required.
- Simple Ingredients : You probably have most of this in your pantry right now. No fancy extracts or hard-to-find spices.
- Perfect for Fall Gatherings : Bring it to Friendsgiving, Thanksgiving dinner, or a cozy Halloween party. It travels well and looks gorgeous.
- Crowd-Pleaser : Kids love the crunchy gingersnap crust. Adults love that it doesn’t weigh you down like a traditional baked pie.
- Unbelievably Delicious : The filling is creamy without being heavy. The crust adds a warm, spicy snap that regular pastry crust just can’t touch.
What makes this different from other no-bake pumpkin pies? It’s the texture. Most no-bake pumpkin pies rely on instant pudding mix or too much gelatin, which leaves a weird, slick mouthfeel. This version uses a clever combination of cream cheese and stabilized whipped cream. The result is a filling that’s rich but light, sliceable but soft. It’s the kind of dessert that makes you close your eyes after the first bite. Honestly, it’s comfort food reimagined—faster, easier, and somehow more satisfying than the original.
What Ingredients You Will Need
This recipe uses simple, wholesome ingredients to deliver that classic pumpkin pie flavor without turning on the oven. Most of these are pantry staples, especially if you bake during the fall season.
For the Gingersnap Crust
- 2 cups (about 200g) gingersnap cookies, finely crushed – I prefer Nabisco or a store-brand with a strong molasses kick. You want cookies that are crispy, not soft.
- 6 tablespoons (85g) unsalted butter, melted – Salted butter works in a pinch, just skip the added salt.
- 2 tablespoons (25g) granulated sugar – Optional, but I add it if my gingersnaps aren’t very sweet.
- Pinch of salt – Balances the sweetness and brings out the spice.
For the No-Bake Pumpkin Filling
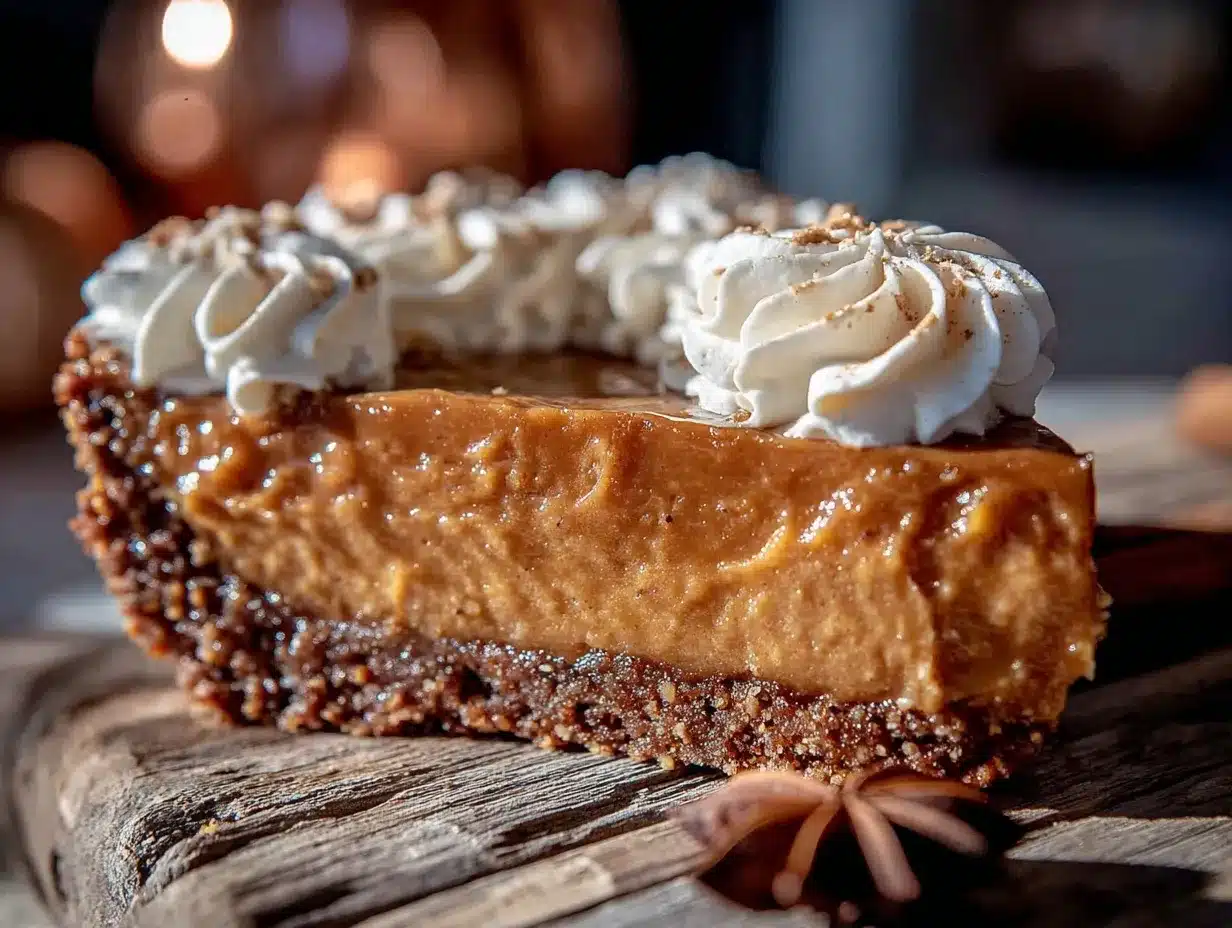
- 8 ounces (226g) cream cheese, softened to room temperature – Full-fat is best for structure. Low-fat will work but the pie will be softer.
- 1 cup (200g) packed light brown sugar – Dark brown sugar works too and adds deeper molasses notes.
- 1 ½ cups (340g) canned pumpkin puree – Not pumpkin pie filling. Just pure pumpkin. Libby’s is my go-to.
- 1 teaspoon vanilla extract – Pure vanilla, not imitation.
- 1 ½ teaspoons pumpkin pie spice – Or make your own: ½ tsp cinnamon, ½ tsp ginger, ¼ tsp nutmeg, ¼ tsp allspice.
- ½ teaspoon ground cinnamon – For extra warmth.
- 1 ½ cups (360ml) heavy whipping cream, cold – Must be very cold for proper whipping.
- ¼ cup (30g) powdered sugar – Helps stabilize the whipped cream.
For Garnish (Optional but Recommended)
- Extra whipped cream – Homemade or store-bought.
- Crushed gingersnaps – For texture.
- Fresh thyme or rosemary sprigs – Sounds weird, but the herbal note cuts the sweetness beautifully.
Equipment Needed
- 9-inch pie dish – Glass or ceramic works best. Metal can sometimes make the crust slide.
- Food processor or rolling pin – For crushing the gingersnaps. A ziplock bag and a heavy skillet work perfectly if you don’t have a processor.
- Electric hand mixer or stand mixer – You need this for whipping the cream. A whisk and strong arm works, but it takes forever.
- Medium mixing bowls (2-3) – One for crust, one for cream cheese mixture, one for whipped cream.
- Rubber spatula – For folding the whipped cream in gently.
- Measuring cups and spoons – Accuracy matters here, especially with the cream.
- Plastic wrap – For covering the pie while it chills.
I’ve used a cheap $10 hand mixer for years and it works great. Don’t feel like you need fancy equipment. The one thing I recommend splurging on is a good glass pie dish—it chills evenly and doesn’t react with the crust.
Preparation Method
This comes together fast, so read through the whole method first. Trust me, I learned the hard way that pausing mid-recipe to whip cream while your cream cheese mixture sits is a recipe for stress.
Step 1: Make the Gingersnap Crust
Crush your gingersnaps into fine crumbs. If using a food processor, pulse until they look like sand. If using a bag and rolling pin, go at it until no large pieces remain—about 2 minutes of solid effort. You should have about 2 cups of crumbs.
Pour the crumbs into a medium bowl. Add the melted butter, sugar (if using), and a pinch of salt. Stir with a fork until every crumb is coated. The mixture should look like wet sand and clump together when you squeeze it.
Press the mixture firmly into the bottom and up the sides of your 9-inch pie dish. Use the bottom of a measuring cup or a flat glass to really pack it down. A loose crust will crumble when you slice the pie. Pop the crust into the fridge to set while you make the filling—at least 15 minutes.
Step 2: Make the Pumpkin Base
In a large bowl, beat the softened cream cheese with an electric mixer until smooth and fluffy—about 2 minutes. Scrape down the sides. Add the brown sugar and beat for another minute until fully combined and no lumps remain.
Add the pumpkin puree, vanilla extract, pumpkin pie spice, and cinnamon. Beat on medium speed until everything is smooth and uniform. The mixture will be thick and smell incredible. Set it aside.
Step 3: Whip the Cream
In a separate medium bowl, pour the cold heavy whipping cream. Add the powdered sugar. Beat on high speed until stiff peaks form. This takes about 3-4 minutes with a hand mixer. You want peaks that stand up straight when you lift the beaters—not droopy. Be careful not to over-whip, or you’ll end up with butter. I’ve done this. It’s not fun.
Step 4: Fold Everything Together
Take about one-third of the whipped cream and stir it into the pumpkin mixture. This lightens the base and makes it easier to fold in the rest. Add the remaining whipped cream and fold gently with a rubber spatula. Use a cut-and-fold motion—slice down through the middle, scrape along the bottom, and fold over the top. Turn the bowl as you go. Stop when no white streaks remain. Over-mixing will deflate the cream and make the pie dense.
Step 5: Assemble and Chill
Remove the crust from the fridge. Spoon the filling into the crust and spread it evenly. Smooth the top with a spatula or the back of a spoon. Cover loosely with plastic wrap and refrigerate for at least 6 hours, but overnight is better. The filling needs time to set properly. I’ve sliced into a 4-hour pie and it was a delicious mess—tasted great, but didn’t hold its shape.
When you’re ready to serve, garnish with extra whipped cream, a sprinkle of crushed gingersnaps, and maybe a tiny sprig of fresh thyme. Slice with a sharp knife, wiping it clean between cuts for neat pieces.
Cooking Tips & Techniques
I’ve made this pie at least two dozen times, and I’ve made every mistake you can imagine. Here’s what I learned so you don’t have to.
- Soft cream cheese is non-negotiable. If it’s cold, you’ll get lumps in your filling that no amount of beating will fix. Leave it on the counter for at least an hour before starting.
- Chill your bowl and beaters. For the whipped cream, a cold bowl makes a huge difference. Pop your metal bowl and beaters in the freezer for 10 minutes before whipping.
- Don’t skip the powdered sugar. It’s not just for sweetness. The cornstarch in powdered sugar helps stabilize the whipped cream, so your pie holds its shape longer.
- Press the crust firmly. I used to be gentle with the crust because I didn’t want to crush it further. Wrong move. Press hard. The crust needs to be compact to hold together when you slice.
- Let it set overnight. I know it’s hard to wait, but 6 hours is the minimum. Overnight gives the flavors time to meld and the texture to firm up perfectly.
One time, I forgot to add the sugar to the whipped cream. The pie was still good, but the filling tasted flat and slightly greasy. That little bit of powdered sugar makes a real difference.
Variations & Adaptations
This recipe is forgiving. I’ve played around with it a lot, and here are some variations that actually work.
- Gluten-Free Version : Use gluten-free gingersnap cookies. Most major brands make a gluten-free option now. The rest of the recipe is naturally gluten-free.
- Dairy-Free Version : Use dairy-free cream cheese (like Kite Hill or Violife) and full-fat coconut cream instead of heavy cream. Chill the coconut cream overnight and scoop only the solid part. The texture will be slightly different—a bit softer—but still delicious.
- Spiced Variation : Add ¼ teaspoon of cardamom or cloves to the filling for a warmer, more complex spice profile. I did this last Thanksgiving and it was a hit.
- Chocolate Gingersnap Crust : Swap half the gingersnaps with chocolate wafer cookies. The chocolate-spice combo is incredible.
- Mini Pie Version : Press the crust into a muffin tin lined with parchment strips and fill each cup with about 2 tablespoons of filling. These set in about 3 hours and are perfect for portion control.
I once made a maple version by swapping the brown sugar with maple sugar and adding a tablespoon of maple syrup to the filling. It was dangerously good.
Serving & Storage Suggestions
This pie is best served cold, straight from the fridge. The texture is firm but creamy, and the crust stays crunchy. Let it sit at room temperature for no more than 10 minutes before slicing—any longer and the filling starts to soften too much.
For presentation, I like to top each slice with a generous dollop of whipped cream, a sprinkle of crushed gingersnaps, and a tiny fresh herb sprig. It sounds fancy, but it takes 30 seconds and makes the pie look like it came from a bakery.
Pair it with a warm drink like my cozy pumpkin spice latte for the ultimate fall dessert experience. If you’re serving it after a big meal, it also goes beautifully with a simple cup of black coffee or spiced chai.
Storage : Cover the pie tightly with plastic wrap or foil and store in the refrigerator for up to 5 days. The crust will soften slightly after day 2, but the flavor actually gets better. I do not recommend freezing this pie—the cream cheese and whipped cream texture changes too much upon thawing.
Reheating : Don’t. This is a cold pie. If you want a warm pumpkin dessert, try my pumpkin cream cheese swirl muffins instead.
Nutritional Information & Benefits
Here’s the estimated nutritional breakdown per slice (based on 10 slices):
| Nutrient | Amount per Slice |
|---|---|
| Calories | 345 |
| Fat | 22g |
| Saturated Fat | 13g |
| Carbohydrates | 36g |
| Sugar | 26g |
| Protein | 4g |
| Fiber | 2g |
Pumpkin is packed with vitamin A, which is great for eye health and immune function. It’s also a good source of fiber, which helps keep you full. The ginger in the crust has anti-inflammatory properties, and cinnamon can help regulate blood sugar. So while this isn’t a health food, it’s not total junk either. It’s a dessert that brings some actual nutrition to the table.
This recipe is vegetarian and can be made gluten-free and dairy-free with the substitutions listed above. It contains dairy and gluten in its standard form.
Conclusion
This no-bake pumpkin pie with gingersnap crust is the dessert I make when I want to enjoy fall without spending all day in the kitchen. It’s forgiving, it’s fast, and it tastes like the holidays. The spicy crunch of the crust against the silky, creamy filling is a combination that never gets old.
I love that I can make this the night before a gathering and not worry about timing. I love that it doesn’t require an oven, so I can save that space for roasting vegetables or baking a turkey. But mostly, I love that it’s a pie I can actually trust—no cracking, no sinking, no stress.
If you try this recipe, I’d love to hear how it goes. Leave a comment below and let me know if you made any fun variations. Did you add cardamom? Use chocolate cookies instead? I’m always looking for new ideas. Happy fall baking, friends—go make yourself a pie.
Frequently Asked Questions
Can I use pumpkin pie filling instead of pumpkin puree?
No. Pumpkin pie filling already has sugar and spices added, which will throw off the sweetness and texture of this recipe. Stick with 100% pure pumpkin puree.
How long does this pie need to set?
At least 6 hours in the refrigerator. Overnight is best. The filling needs time to firm up so you can slice clean slices. If you’re in a rush, you can try 4 hours, but the slices will be messy.
Can I make this pie ahead of time?
Absolutely. This is actually a great make-ahead dessert. You can prepare it up to 2 days in advance. Just keep it covered in the fridge and add the garnish right before serving.
Why is my filling runny?
This usually happens for one of three reasons: the cream cheese wasn’t fully softened, the whipped cream was under-whipped, or the pie didn’t chill long enough. Make sure your cream cheese is at room temperature and your whipped cream forms stiff peaks. And be patient with the chilling time.
Can I use a different crust?
Yes. Graham cracker crust works well, though you’ll lose the spicy kick. Shortbread cookie crust is also nice and more neutral. If you use a different crust, you may need to adjust the butter amount—add it gradually until the crumbs hold together when squeezed.
Pin This Recipe!
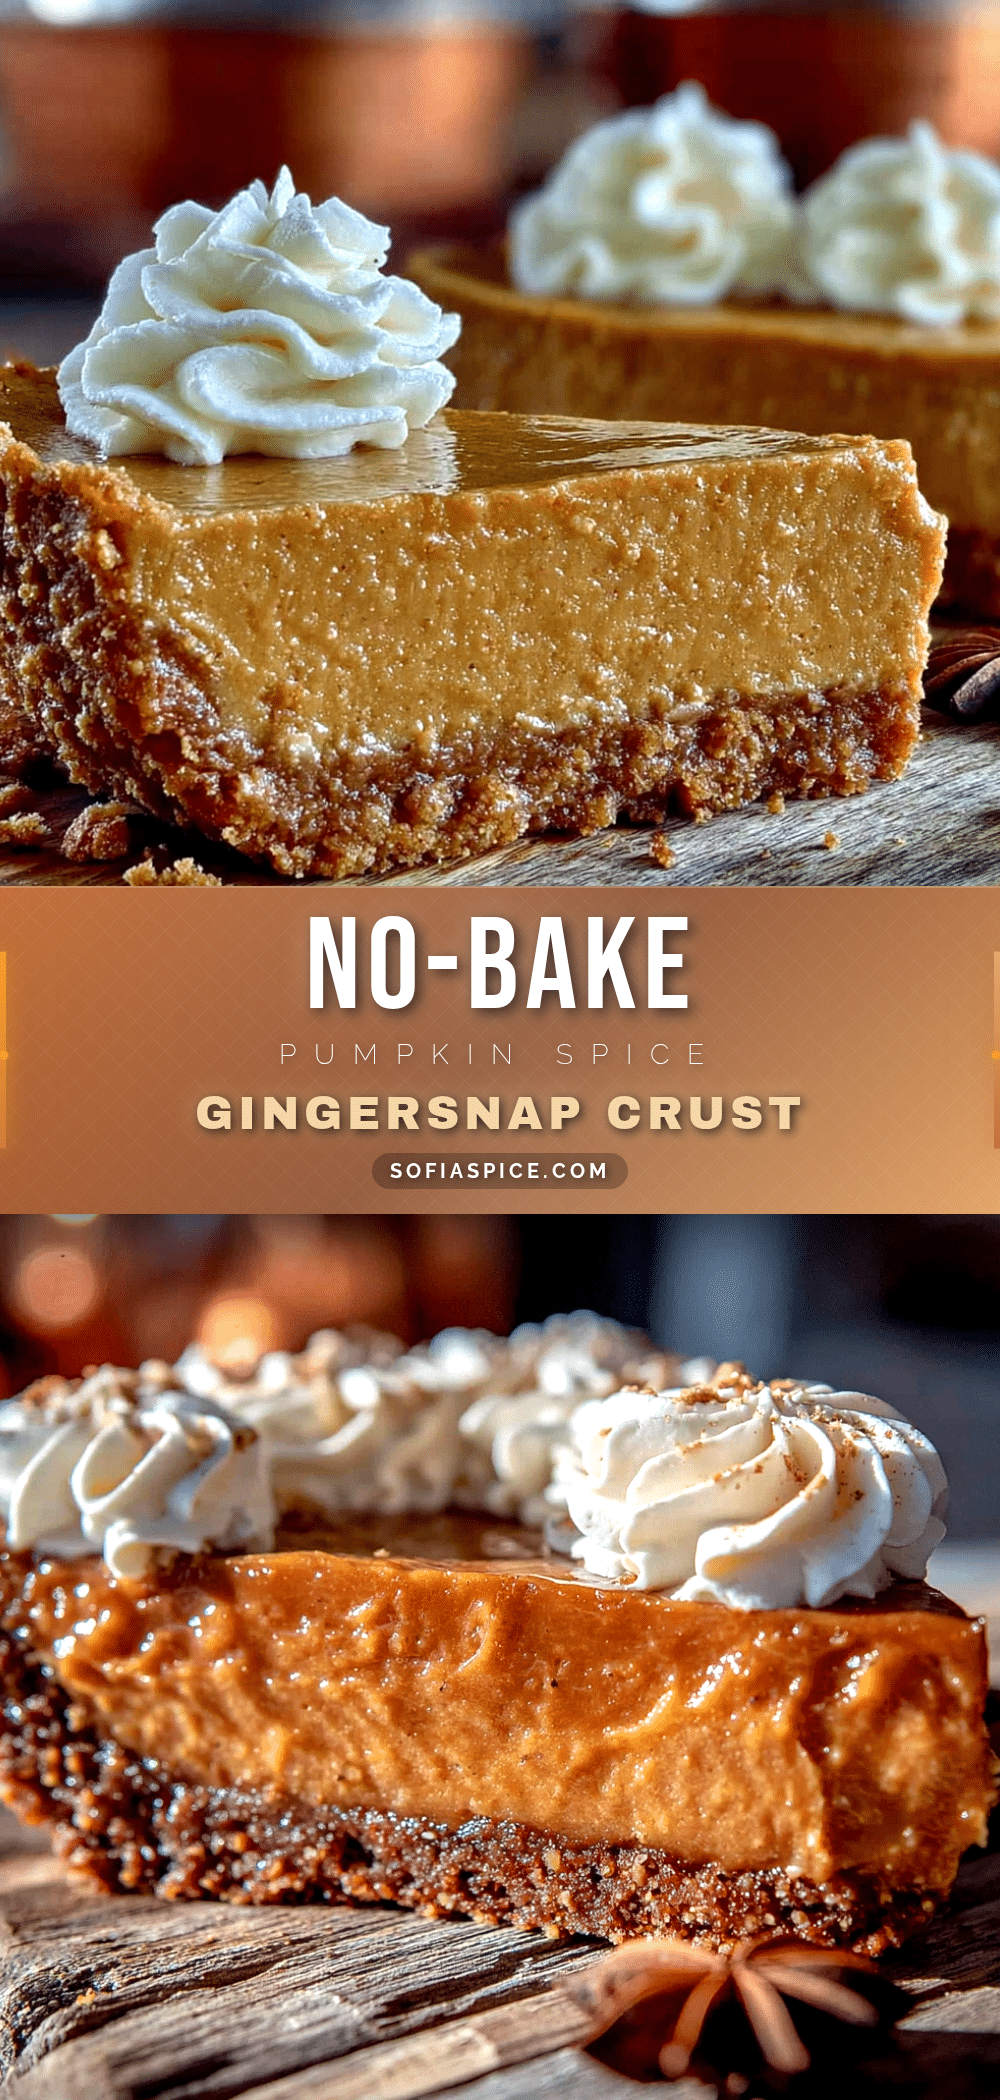
No-Bake Pumpkin Pie with Gingersnap Crust: Easy 20-Min Dessert
This no-bake pumpkin pie with a crunchy gingersnap crust is a quick and easy dessert that requires no oven. The silky, creamy filling is made with cream cheese and stabilized whipped cream, delivering a rich yet light texture that tastes exactly like Thanksgiving.
- Prep Time: 20 minutes
- Cook Time: 0 minutes
- Total Time: 6 hours 20 minutes (includes chilling)
- Yield: 10 servings 1x
- Category: Dessert
- Cuisine: American
Ingredients
- 2 cups (about 200g) gingersnap cookies, finely crushed
- 6 tablespoons (85g) unsalted butter, melted
- 2 tablespoons (25g) granulated sugar (optional)
- Pinch of salt
- 8 ounces (226g) cream cheese, softened to room temperature
- 1 cup (200g) packed light brown sugar
- 1 ½ cups (340g) canned pumpkin puree
- 1 teaspoon vanilla extract
- 1 ½ teaspoons pumpkin pie spice
- ½ teaspoon ground cinnamon
- 1 ½ cups (360ml) heavy whipping cream, cold
- ¼ cup (30g) powdered sugar
- Extra whipped cream (for garnish, optional)
- Crushed gingersnaps (for garnish, optional)
- Fresh thyme or rosemary sprigs (for garnish, optional)
Instructions
- Make the crust: Crush gingersnaps into fine crumbs. In a medium bowl, combine crumbs, melted butter, sugar (if using), and a pinch of salt. Stir until every crumb is coated. Press firmly into the bottom and up the sides of a 9-inch pie dish. Refrigerate for at least 15 minutes.
- Make the pumpkin base: In a large bowl, beat softened cream cheese with an electric mixer until smooth and fluffy, about 2 minutes. Add brown sugar and beat for another minute. Add pumpkin puree, vanilla extract, pumpkin pie spice, and cinnamon. Beat until smooth and uniform. Set aside.
- Whip the cream: In a separate medium bowl, pour cold heavy whipping cream and add powdered sugar. Beat on high speed until stiff peaks form, about 3-4 minutes.
- Fold together: Take about one-third of the whipped cream and stir it into the pumpkin mixture to lighten it. Add the remaining whipped cream and fold gently with a rubber spatula until no white streaks remain.
- Assemble and chill: Remove crust from fridge. Spoon filling into crust and spread evenly. Cover loosely with plastic wrap and refrigerate for at least 6 hours, preferably overnight.
- Serve: Garnish with extra whipped cream, crushed gingersnaps, and fresh thyme or rosemary sprigs if desired. Slice with a sharp knife, wiping clean between cuts.
Notes
Soft cream cheese is non-negotiable. Chill your bowl and beaters for whipped cream. Don’t skip the powdered sugar—it stabilizes the whipped cream. Press the crust firmly. Let the pie set overnight for best results. This pie is best served cold and should not be reheated.
Nutrition
- Serving Size: 1 slice
- Calories: 345
- Sugar: 26
- Fat: 22
- Saturated Fat: 13
- Carbohydrates: 36
- Fiber: 2
- Protein: 4
Keywords: no-bake pumpkin pie, gingersnap crust, easy pumpkin dessert, fall dessert, Thanksgiving pie, no-bake dessert


