Third Friday in a row and the pot of apple cider was simmering before the sun had even thought about coming up. Not because I was hosting anything, not because the kids asked for it, but because the house felt quiet in a way that needed filling. The cinnamon sticks bobbed against the orange slices, and that smell—clove and allspice and something like a hug you didn’t know you needed—started creeping up the stairs. By the time my husband shuffled down for coffee, he just stood in the kitchen doorway for a second, not saying anything. That’s when I knew this whole spiced apple cider bar thing wasn’t just a party trick. It was a mood, a ritual, a way of saying “slow down” without using any words at all.
The first time I set one up, it was a total afterthought. I had a batch of cider going for a small gathering and threw a few ramekins of toppings on the counter—some caramel sauce, a bag of marshmallows, a cinnamon stick. People went absolutely nuts for it. They stood around the pot, layering flavors into their mugs, comparing concoctions, going back for thirds. It was the easiest thing I’d ever done that made everyone feel like I’d gone all out. So I kept doing it. I refined it. I bought little wooden spoons and those tiny glass jars you see at fancy brunch places. And now, honestly? It’s the thing I look forward to most when the weather turns cold.
This isn’t a fussy recipe. It’s more of a blueprint, a permission slip to make your kitchen the coziest room in the house. You just need good apple cider, a handful of warm spices, and a spread of toppings that let everyone build their perfect mug. Whether you’re hosting a fall brunch, a holiday movie night, or just trying to convince yourself that Monday isn’t so bad, this Easy DIY Spiced Apple Cider Bar with 5 Toppings is your new best friend.
Why You’ll Love This Recipe
Let me tell you why this particular setup has become my secret weapon for everything from book club to Thanksgiving morning. It’s not just about the drink—it’s about the experience.
- Effortless Entertaining : The cider simmers away on the stove or in a slow cooker, doing all the work while you actually get to hang out with your people. No last-minute whisking, no complicated plating. Just set it and let the smell do the heavy lifting.
- Customizable for Everyone : Kids, adults, dairy-free friends, the person who “doesn’t like sweet things”—they can all build a mug that makes them happy. The toppings bar lets everyone be their own barista.
- Pantry-Friendly : You probably already have apple cider or juice in your fridge. The spices are standard baking staples. The toppings are mostly things you can grab at any grocery store without a second thought.
- Visually Stunning : I’m not gonna lie—this bar photographs like a dream. The deep amber cider in a clear glass carafe, the little jars of caramel and cinnamon sugar, the fresh orange wheels floating on top. It screams “cozy” without trying too hard.
- Makes the House Smell Incredible : This is the real reason I make it. The combination of simmering apples, cinnamon, and clove is basically aromatherapy for the soul. It makes everyone who walks through the door take a deep breath and relax.
I’ve tested this exact setup at a Halloween party, a quiet Sunday brunch, and even a casual weeknight where I just wanted to feel fancy. Every single time, people hover around the cider bar like it’s a campfire. There’s something about holding a warm mug and deciding between a caramel drizzle or a cinnamon-sugar rim that brings out the kid in everyone. And honestly? That’s the whole point.
What Ingredients You Will Need
This recipe uses simple, wholesome ingredients to deliver bold flavor and satisfying warmth without any fuss. Most of these are probably already in your pantry or fridge, which is the whole beauty of it.
For the Spiced Apple Cider Base
- 8 cups (64 oz / 1.9 L) apple cider – Look for fresh, unfiltered cider if you can find it. It has a cloudier appearance and a deeper, more complex apple flavor. I personally love the stuff from local orchards, but any good-quality store-bought cider works beautifully.
- 1 large orange, sliced into rounds – The citrus adds brightness and cuts through the sweetness. Don’t skip it—it’s not just for looks, though it does look gorgeous floating in the pot.
- 4 cinnamon sticks – These are non-negotiable for that warm, spicy backbone. I recommend Simply Organic or Frontier Co-op for the most aromatic sticks.
- 6 whole cloves – A little goes a long way. They add that unmistakable holiday spice note that makes everyone think you’ve been slaving away all day.
- 3 star anise pods – This is my little secret. Star anise adds a subtle licorice-like warmth that makes the cider taste more complex and “professional.” You can skip it if you don’t have it, but it really elevates the whole thing.
- 2 tablespoons maple syrup or honey – Optional, depending on how sweet your cider is. I add this when I’m using a tarter cider or when I want a little extra richness. Use honey if you want a floral note, maple syrup if you want something earthier.
- 1 teaspoon vanilla extract – Added right before serving. It rounds out all the spices and makes everything taste more luxurious.
For the 5 Toppings Bar
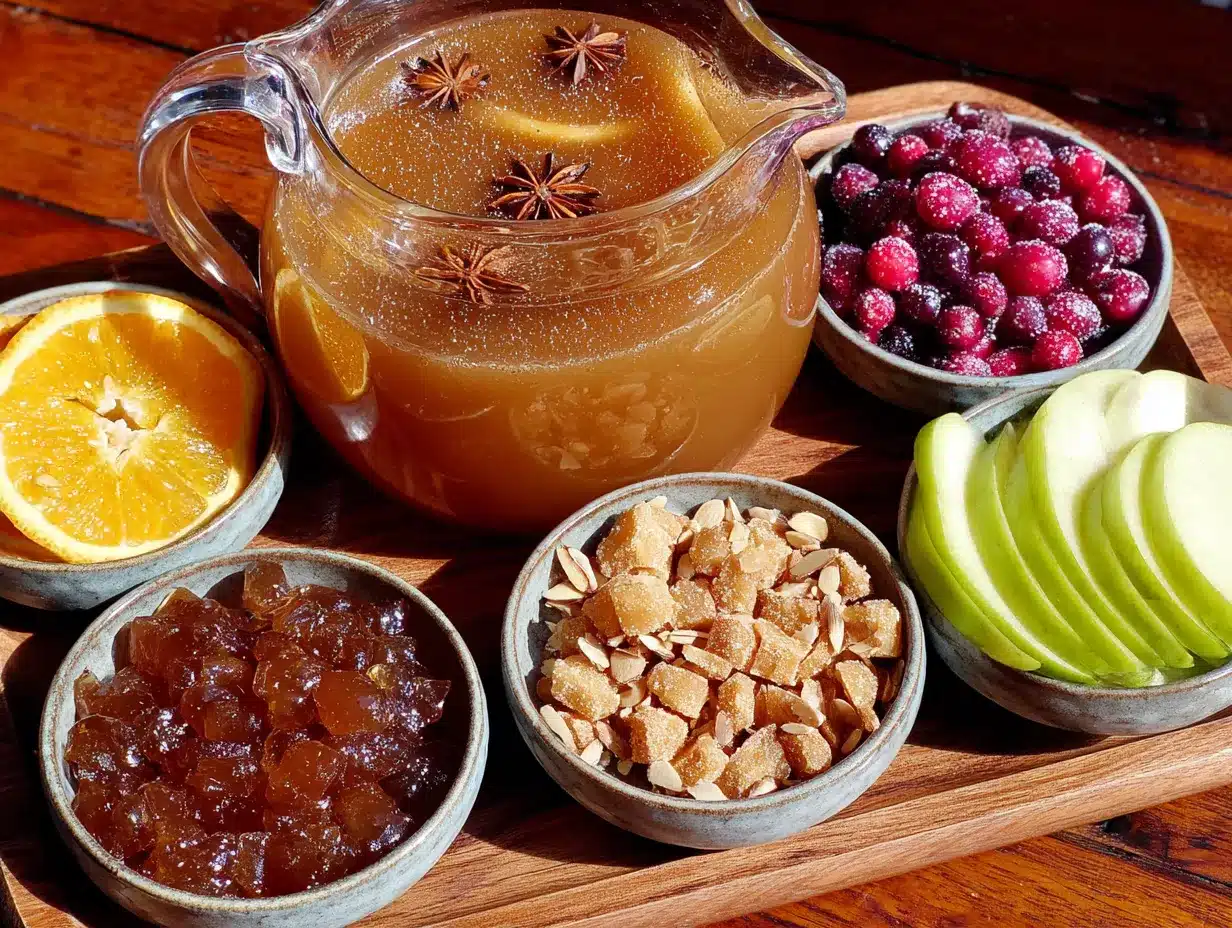
- Caramel Sauce – About 1/2 cup. Store-bought is totally fine, but if you have a favorite homemade version, go for it. The saltier the better—it contrasts beautifully with the sweet cider.
- Whipped Cream – About 1 cup, homemade or store-bought. I use heavy cream whipped with a tiny bit of powdered sugar and vanilla. It sits on top of the hot cider like a little cloud.
- Cinnamon Sugar – Mix 1/4 cup granulated sugar with 2 teaspoons ground cinnamon. Perfect for rimming mugs or sprinkling on top of the whipped cream.
- Mini Marshmallows – About 1 cup. They get slightly melty and soft on top of the hot cider. Classic and nostalgic.
- Apple Slices & Cinnamon Sticks – Fresh apple slices (tossed in a little lemon juice so they don’t brown) and extra cinnamon sticks for stirring. These make the bar look beautiful and give people something to snack on.
Equipment Needed
You don’t need a ton of fancy equipment for this, which is part of why I love it. Here’s what you’ll need:
- Large pot (6-8 quart) or slow cooker – A Dutch oven works perfectly. If you’re using a slow cooker, set it to low for 3-4 hours.
- Wooden spoon – For stirring the cider and spices. Nothing fancy.
- Small bowls or ramekins – For the toppings. I use a mix of little ceramic dishes and tiny glass jars I’ve collected over the years.
- Mugs or heatproof glasses – Clear glass mugs let people see the beautiful color of the cider. But honestly, any mug works.
- Ladle – A small one for serving, or you can use a heatproof glass measuring cup with a spout.
- Cheesecloth or a tea infuser – Optional, if you want to make cleanup easier. You can bundle the whole spices in cheesecloth and just lift them out when the cider is done.
- Small plate or saucer – For the cinnamon sugar, so people can dip their mug rims.
I’ve made this with just a stockpot and a bunch of mismatched bowls and it still felt special. Don’t overthink the equipment—focus on the toppings and the vibe.
Preparation Method
Making the cider base is almost laughably easy. The real magic is in the simmering time and the layering of flavors. Let’s walk through it step by step.
- Combine the base ingredients. Pour the 8 cups of apple cider into your large pot or slow cooker. Add the orange slices, cinnamon sticks, whole cloves, and star anise pods. If you’re using maple syrup or honey, add it now. Give everything a gentle stir with your wooden spoon.
- Bring to a gentle simmer. Place the pot over medium heat and bring the cider to a gentle simmer—not a rolling boil. You want small bubbles breaking the surface, not a violent bubbling. This takes about 10-15 minutes on the stove. If you’re using a slow cooker, set it to low and let it go for 3-4 hours.
- Simmer for at least 30 minutes. This is where the magic happens. Let the cider simmer gently for 30 minutes to an hour. The longer it simmers, the more the spices infuse into the liquid. I usually let mine go for a full 45 minutes. The house will start smelling incredible around the 20-minute mark.
- Taste and adjust. After 30 minutes, ladle a small amount into a mug and taste it. Is it spicy enough? If you want more warmth, add another cinnamon stick. Too sweet? Add a squeeze of fresh lemon juice. Need more depth? Let it simmer another 15 minutes. This is your cider—adjust it to your liking.
- Remove the whole spices. Before serving, use a slotted spoon to remove the cinnamon sticks, star anise, cloves, and orange slices. If you bundled them in cheesecloth, just lift the bundle out. You can leave a few cinnamon sticks in for visual appeal, but the cloves can be a hazard if someone bites into one.
- Stir in the vanilla. Right before you’re ready to serve, stir in the 1 teaspoon of vanilla extract. It adds a final layer of warmth and richness that ties everything together.
- Set up the toppings bar. While the cider simmers, arrange your toppings in small bowls. Put the caramel sauce in a little pitcher or a bowl with a small spoon. Whip your cream if you’re making it from scratch—just beat 1 cup of heavy cream with 1 tablespoon of powdered sugar and 1/2 teaspoon of vanilla until soft peaks form. Put the cinnamon sugar on a small plate. Fill a bowl with mini marshmallows. Arrange the fresh apple slices and extra cinnamon sticks on a small platter.
- Serve and let people build their mugs. Ladle the hot cider into mugs. Set out the toppings bar and let everyone customize their drink. I like to show people the “cinnamon sugar rim” trick—dip the rim of the mug in a little water or caramel, then into the cinnamon sugar before pouring the cider. It’s a game-changer.
Cooking Tips & Techniques
I’ve made this cider bar probably two dozen times by now, and I’ve learned a few things the hard way. Here are my best tips for getting it right every single time.
Don’t boil the cider. This is the number one mistake people make. If you let the cider come to a full boil, it can become cloudy and the flavors can turn a bit flat. Keep it at a gentle simmer—just tiny bubbles around the edges of the pot. Your patience will be rewarded with a clear, beautifully spiced cider.
Toast your spices first. This is a pro move I picked up from a chef friend. Before adding them to the cider, toss the cinnamon sticks, star anise, and cloves in a dry skillet over medium heat for about 30 seconds until they’re fragrant. It wakes up their oils and makes the cider taste deeper and more complex. I do this every time now and it makes a noticeable difference.
Make the whipped cream fresh. I know it’s tempting to use the stuff in a can, but homemade whipped cream is so much better and takes literally 3 minutes. The texture is silkier, the flavor is cleaner, and it sits on top of the hot cider like a dream. Just make sure your cream and bowl are cold.
Keep the cider warm all day. If you’re hosting a party or a long brunch, transfer the finished cider to a slow cooker set to “warm.” It will stay at the perfect drinking temperature for hours without over-simmering. I’ve kept mine on warm for up to 4 hours and it was still delicious.
Don’t skip the orange. I made this once without the orange slices because I thought I could get away with it. The cider was fine, but it was missing that bright, citrusy lift that makes the spices sing. The orange is non-negotiable in my book now.
One time I forgot to remove the cloves before serving and my mom bit into one. She was a good sport about it, but it was a lesson learned. Always fish those cloves out before you set the pot on the table.
Variations & Adaptations
This recipe is incredibly flexible. Here are some of my favorite ways to change it up depending on the occasion or who’s coming over.
Alcoholic Version (For Adults Only) : Set out a small bottle of bourbon, dark rum, or brandy next to the toppings bar. A splash of bourbon in the spiced cider is absolutely heavenly. I like to use a good quality bourbon like Buffalo Trace or Maker’s Mark. Let people add their own so they can control the strength.
Slow Cooker Method : This is my go-to for parties. Combine all the cider base ingredients in a 6-quart slow cooker. Cook on low for 3-4 hours or on high for 1.5-2 hours. Remove the spices and orange slices, stir in the vanilla, and switch to “warm.” It’s the ultimate set-it-and-forget-it entertaining hack.
Dairy-Free & Vegan Version : Use coconut whipped cream instead of regular whipped cream. Most store-bought caramel sauces are dairy-free, but double-check the label. The rest of the recipe is naturally vegan.
Spiced Apple Cider Concentrate : If you want to make a big batch that keeps, simmer the cider with the spices for a full hour until it reduces by about half. Let it cool, then store it in a jar in the fridge for up to 2 weeks. When you’re ready to serve, dilute it with equal parts water or more apple cider and heat it up.
Topping Bar Swaps : Feel free to swap out the toppings based on what you have or what you love. Try crushed graham crackers, a drizzle of honey, a sprinkle of nutmeg, or even a few dark chocolate shavings. I once added a bowl of salted pretzel sticks and people went crazy for the sweet-salty combo.
Serving & Storage Suggestions
This cider bar is best served warm and fresh, but there are a few tricks to make it work for different situations.
Serving Temperature : Serve the cider hot but not scalding. Aim for around 160-170°F. If it’s too hot, the whipped cream will melt immediately. If it’s too cool, it won’t feel as cozy. A slow cooker on “warm” keeps it at the perfect temperature for hours.
Presentation : Arrange the toppings bar in a logical order—start with the mug, then the rim dip (cinnamon sugar), then the cider, then the toppings (whipped cream, caramel, marshmallows). This creates a natural flow for people building their drinks. Use small labels or little chalkboard signs if you want to get fancy.
What to Serve Alongside : This cider bar pairs beautifully with anything cozy. I love serving it alongside a batch of cozy chocolate chip zucchini muffins or a slice of moist lemon zucchini loaf for a fall brunch. For a more savory option, these creamy roasted hatch chili and sweet corn chowder make an incredible pairing.
Storage : If you have leftover cider, let it cool completely, then strain out any remaining spices and orange slices. Store the cider in an airtight container in the refrigerator for up to 5 days. Reheat it gently on the stove or in the microwave. The flavors will actually deepen and meld even more overnight.
Freezing : You can freeze the spiced cider base (without the toppings) for up to 3 months. Let it cool completely, pour it into freezer-safe containers or zip-top bags, and lay them flat to save space. Thaw in the refrigerator overnight and reheat gently.
Nutritional Information & Benefits
Let’s be real—this is a treat, not a health food. But there are some surprising benefits hidden in that warm mug.
Estimated Nutritional Values (per 8 oz serving, without toppings):
| Nutrient | Amount |
|---|---|
| Calories | 120 |
| Total Fat | 0g |
| Sodium | 10mg |
| Total Carbohydrates | 30g |
| Sugars | 26g |
| Vitamin C | 4% DV |
Health Highlights: Apple cider contains antioxidants called polyphenols, which can help fight inflammation. The cinnamon in this recipe is known for its anti-inflammatory properties and may help with blood sugar regulation. The cloves and star anise also have antimicrobial benefits. Of course, the toppings add sugar and calories, so enjoy this in moderation—but honestly, a little indulgence is good for the soul.
Dietary Considerations: This recipe is naturally gluten-free, dairy-free (if you skip the whipped cream or use coconut cream), and vegan (if you use maple syrup instead of honey). The main allergens to watch for are dairy in the whipped cream and caramel (some brands contain milk).
Conclusion
So there you have it—my Easy DIY Spiced Apple Cider Bar with 5 Toppings. It’s the kind of recipe that makes you look like a hostess superstar without actually doing much work. The cider simmers away, filling your home with the coziest scent imaginable, while your guests get to play mad scientist with their mugs.
I love this recipe because it’s not really about the drink itself—it’s about the pause. It’s about standing around a warm pot with people you love, debating whether to add caramel or marshmallows first, and taking that first sip that makes everything feel right. In a world that moves way too fast, a spiced apple cider bar is a tiny rebellion of slowness and warmth.
I’d love to hear how your cider bar turns out. Did you add any fun toppings I didn’t think of? Did your kids invent a weird but amazing combination? Drop a comment below and let me know—I’m always looking for new ideas. And if you’re in the mood for more cozy fall vibes, you might also love this cozy pumpkin spice latte or these brown butter pumpkin snickerdoodle cookies.
Now go forth and make your kitchen the coziest room in the house. Happy sipping!
Frequently Asked Questions
Can I use apple juice instead of apple cider?
You can, but the flavor will be different. Apple juice is typically clearer, sweeter, and less complex than apple cider. If you use juice, consider adding a bit more cinnamon and a splash of lemon juice to mimic the tartness of cider. The result will still be tasty, just not as rich.
How long can I leave the cider simmering on the stove?
You can keep it on a very low simmer for up to 2 hours. After that, the spices can become overpowering and the cider may start to reduce too much, making it too sweet and concentrated. If you need it to last longer, transfer it to a slow cooker set to “warm.”
Can I make the toppings ahead of time?
Absolutely. The caramel sauce can be made or bought a week in advance. The whipped cream is best made fresh, but you can whip it up to 4 hours ahead and keep it in the fridge. The cinnamon sugar can be mixed weeks ahead and stored in an airtight jar. The apple slices should be cut right before serving to prevent browning.
What if I don’t have star anise?
No problem at all. Star anise adds a lovely depth, but the cider will still be delicious without it. You can substitute it with a pinch of ground allspice or just leave it out entirely. The cinnamon and cloves will still give you plenty of warm spice flavor.
How do I make a non-alcoholic version feel special for adults?
Focus on the toppings bar! Offer things like a cinnamon sugar rim, a drizzle of salted caramel, a float of coconut whipped cream, and a sprinkle of fresh nutmeg. You can also add a splash of non-alcoholic mulled wine syrup or a few drops of orange bitters to make it feel more sophisticated.
Pin This Recipe!
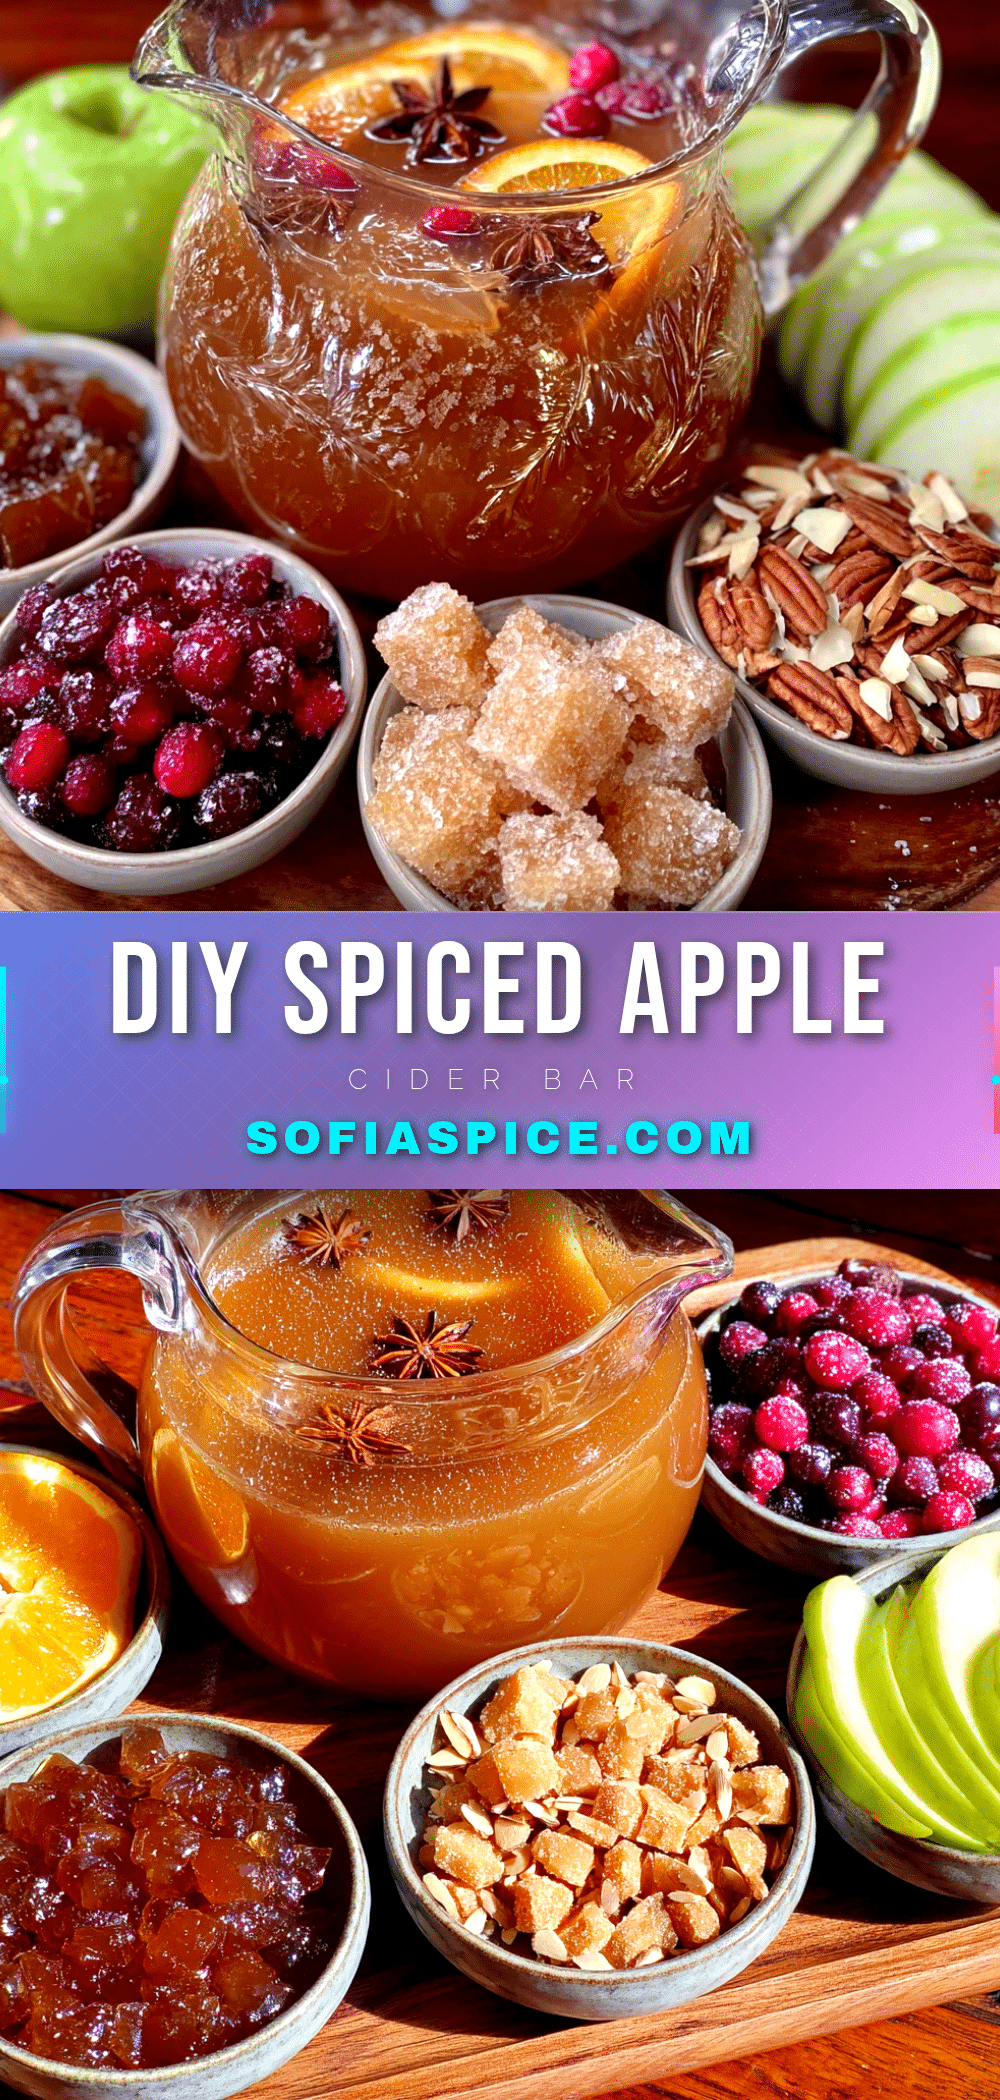
Easy DIY Spiced Apple Cider Bar with 5 Toppings

A warm, spiced apple cider bar with 5 toppings that lets everyone customize their perfect mug. Perfect for cozy fall gatherings, holiday parties, or a quiet night in.
- Prep Time: 10 minutes
- Cook Time: 30 minutes
- Total Time: 40 minutes
- Yield: 8 servings 1x
- Category: Beverage
- Cuisine: American
Ingredients
- 8 cups (64 oz) apple cider
- 1 large orange, sliced into rounds
- 4 cinnamon sticks
- 6 whole cloves
- 3 star anise pods
- 2 tablespoons maple syrup or honey (optional)
- 1 teaspoon vanilla extract
- 1/2 cup caramel sauce
- 1 cup whipped cream (homemade or store-bought)
- 1/4 cup granulated sugar
- 2 teaspoons ground cinnamon
- 1 cup mini marshmallows
- Fresh apple slices (tossed in lemon juice)
- Extra cinnamon sticks for stirring
Instructions
- Combine the base ingredients: Pour the apple cider into a large pot or slow cooker. Add the orange slices, cinnamon sticks, whole cloves, star anise pods, and maple syrup or honey (if using). Stir gently.
- Bring to a gentle simmer over medium heat (about 10-15 minutes). Do not boil. If using a slow cooker, set to low for 3-4 hours.
- Simmer for at least 30 minutes, up to 1 hour, to infuse the spices. Taste and adjust sweetness or spice level as desired.
- Remove the whole spices and orange slices with a slotted spoon (or lift out a cheesecloth bundle). Leave a few cinnamon sticks for visual appeal.
- Stir in the vanilla extract just before serving.
- While the cider simmers, prepare the toppings: Place caramel sauce in a small pitcher or bowl. Whip the cream (if homemade) with powdered sugar and vanilla until soft peaks form. Mix the sugar and cinnamon on a small plate for rimming mugs. Fill bowls with mini marshmallows and arrange apple slices and extra cinnamon sticks on a platter.
- Ladle the hot cider into mugs. Set up the toppings bar and let everyone customize their drink. For a cinnamon sugar rim, dip the mug rim in water or caramel, then into the cinnamon sugar before pouring the cider.
Notes
Don’t boil the cider; keep at a gentle simmer. Toast spices in a dry skillet for 30 seconds before adding for deeper flavor. Make whipped cream fresh for best texture. Keep cider warm in a slow cooker on ‘warm’ for up to 4 hours. Always remove cloves before serving to avoid biting into one.
Nutrition
- Serving Size: 8 oz
- Calories: 120
- Sugar: 26
- Sodium: 10
- Carbohydrates: 30
Keywords: spiced apple cider, apple cider bar, fall drink, holiday drink, warm cider, toppings bar, easy entertaining


