I set the board down and my niece actually gasped. She’s nine, not easily impressed—unless you count her ability to find the one slightly bruised grape in a whole bunch. But this time, she just stood there, tracing the arc of orange mango slices next to yellow cheese cubes, purple grapes bleeding into blueberry clusters. She didn’t even ask what was for dinner. She just reached for a strawberry.
That’s the thing about a rainbow fruit and cheese charcuterie board. It doesn’t need a sales pitch. The colors do the talking, and honestly, they speak louder than any recipe card ever could. I wasn’t trying to be clever that afternoon. I had a fridge full of odds and ends—half a wedge of cheddar, some forgotten figs, a bag of carrots that were one day away from sad—and I needed something that felt like a meal without feeling like a chore.
So I started arranging. Red strawberries, orange mango, yellow bell pepper strips, green apple slices, blue blueberries, purple grapes. I tucked cheese in between the color bands, added a few crackers, and stepped back. It looked like something you’d see at a fancy brunch spot. But it was just my cutting board and a little patience.
That moment—her gasp, her quiet awe—made me realize this wasn’t just a snack. It was a way to make people feel seen and fed without overcomplicating things. And honestly, that’s the best kind of recipe there is.
Why You’ll Love This Recipe
This rainbow fruit and cheese charcuterie board isn’t just pretty. It’s practical, flexible, and genuinely satisfying. I’ve tested it for birthday parties, lazy Sunday afternoons, and even a quick school lunch that made my kid feel like a VIP.
- Visually Stunning: The rainbow layout makes it an instant centerpiece. No fancy plating skills required.
- No Cooking Needed: Seriously. If you can wash fruit and slice cheese, you’ve got this.
- Endlessly Customizable: Swap fruits, cheeses, and add-ins based on what’s in season or what your family loves.
- Crowd-Pleaser: Kids go wild for the colors, adults appreciate the balance of sweet and savory. It disappears fast.
- Naturally Healthy-ish: Loaded with fresh produce and protein-rich cheese, it feels indulgent but is actually pretty balanced.
- Great for Gatherings: Perfect for birthdays, holidays, playdates, or even a solo movie night where you want to feel fancy.
What makes this board different from the rest? It’s not just about throwing cheese and fruit together. The rainbow arrangement forces you to think about color contrast and flavor pairing. I’ve learned through trial and error that placing a sharp cheddar next to sweet mango creates a little flavor explosion. A creamy brie next to tart green apple? Even better. This isn’t just another charcuterie board—it’s your best version, built on real kitchen experience and a few happy accidents.
There’s something about eating food that looks like art. It makes you slow down. It makes you smile. And when you see someone reach for a piece of cheese and a grape at the same time, you know you’ve created a moment. That’s the kind of recipe I want to share.
What Ingredients You Will Need
This recipe uses simple, fresh ingredients to build a board that’s as delicious as it is colorful. Most items are easy to find at any grocery store, and you can mix and match based on what looks good.
For the Rainbow Fruit Layer
- Red: Strawberries (halved), raspberries, or watermelon cubes (about 1 cup total)
- Orange: Mango slices (fresh or thawed frozen), cantaloupe cubes, or orange segments (1 cup)
- Yellow: Pineapple chunks, yellow bell pepper strips, or golden kiwi slices (1 cup)
- Green: Green apple slices (tossed in lemon juice to prevent browning), green grapes, or honeydew melon (1 cup)
- Blue/Purple: Blueberries, blackberries, purple grapes, or dried figs (1 cup)
For the Cheese Layer
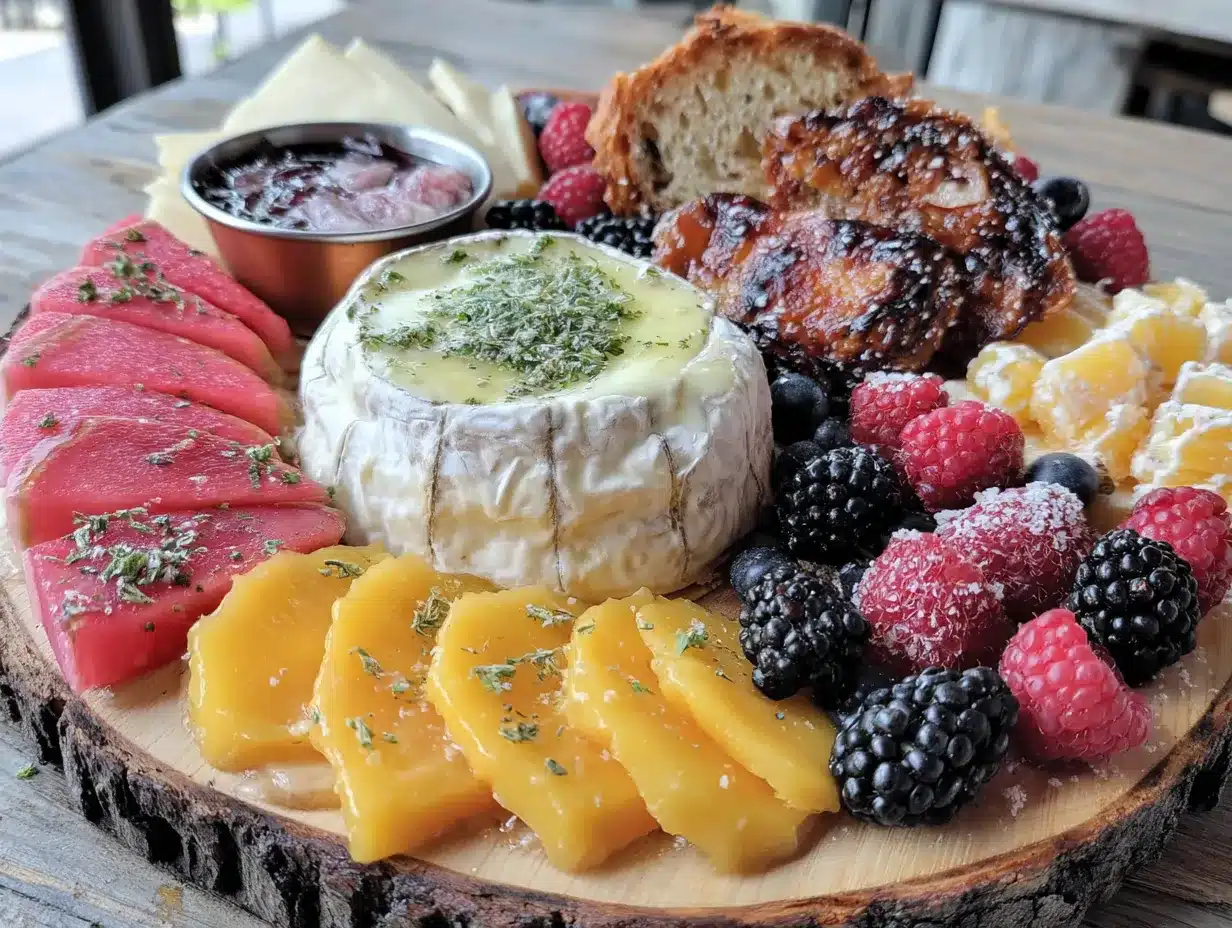
- Soft Cheese: Brie or goat cheese (about 4 oz)—creamy and mild, pairs well with fruit
- Semi-Hard Cheese: Sharp cheddar or gouda (4 oz)—adds a savory contrast
- Hard Cheese: Aged manchego or parmesan (4 oz)—salty and crumbly for texture
For the Extras
- Crackers or Crostini: About 1 cup—choose plain or flavored (I love rosemary crackers with this board)
- Nuts: Almonds, walnuts, or pecans (½ cup)—adds crunch and protein
- Dried Fruit: Dried apricots or figs (¼ cup)—intensifies sweetness
- Optional Dips: Honey for drizzling, or a small bowl of dark chocolate chips for a sweet touch
I recommend Tillamook cheddar for its sharpness and Président brie for its buttery texture. For fruit, go with what’s in season—summer berries and melons are unbeatable, while fall apples and pears work beautifully. If you’re making this for a party, prep the fruit a few hours ahead and store it in the fridge to keep everything crisp.
Substitution note: Use dairy-free cheese if needed, or swap nuts for seeds to accommodate allergies. The board is forgiving—just keep the rainbow structure and you’re golden.
Equipment Needed
You don’t need much for this board, which is part of its charm. Here’s what I use:
- Large Cutting Board or Serving Platter: A wooden board, marble slab, or even a large baking sheet works. Go for at least 12×16 inches to give everything room.
- Small Bowls: For nuts, dried fruit, or dips. I use 4-ounce ramekins—they’re the perfect size.
- Cheese Knives: One for soft cheese, one for hard. If you don’t have cheese knives, a butter knife and a paring knife do the trick.
- Paring Knife: For slicing fruit and trimming cheese. Keep it sharp—dull knives squish soft fruit.
- Cutting Board for Prep: A separate board for slicing so you don’t cross-contaminate flavors.
- Paper Towels: For patting fruit dry. Wet fruit makes crackers soggy fast.
I’ve used a cheap wooden board from IKEA for years, and it works perfectly. You don’t need fancy equipment—just a flat surface and a little creativity. If you’re serving a crowd, consider using two smaller boards instead of one giant one. It makes the board easier to pass and looks more abundant.
Preparation Method
- Wash and Dry All Fruit (5 minutes): Rinse strawberries, grapes, blueberries, and any other fruit under cold water. Pat them completely dry with paper towels. Wet fruit makes everything slide around and turns crackers into mush. Trust me on this one.
- Slice the Fruit (10 minutes): Halve strawberries lengthwise. Cut mango into thin strips or cubes. Slice green apples into thin wedges and toss them in a little lemon juice to keep them from browning. Leave grapes and blueberries whole—they’re perfect as is. For pineapple, cut into bite-sized chunks.
- Prepare the Cheese (5 minutes): Slice hard cheeses like cheddar and manchego into thin triangles or cubes. Leave soft cheeses like brie whole or cut into wedges. If you’re using goat cheese, roll it into small balls or leave it in a log for guests to slice themselves.
- Arrange the Rainbow (10 minutes): Start at the top left of your board and work your way down in color order. Place red fruits first, then orange, yellow, green, and finally blue/purple. Leave small gaps between color bands for cheese and crackers. Don’t overcrowd—you want each color to stand out.
- Add the Cheese (5 minutes): Tuck cheese pieces into the gaps between fruit colors. Place soft cheese near the center so it’s easy to reach. Hard cheese can go at the edges. I like to put a small wedge of brie right in the middle of the board—it becomes a natural focal point.
- Fill in with Extras (5 minutes): Add small bowls of nuts, dried fruit, or dips in the corners. Scatter crackers around the edges, overlapping slightly for visual interest. Leave some empty space so the board doesn’t look cluttered.
- Final Touches (2 minutes): Drizzle honey over the brie or goat cheese if you’re using it. Sprinkle a few fresh herbs like mint or basil on top for color. Step back and admire your work—you just made art.
One thing I learned the hard way: don’t stack fruit too high. It looks pretty at first, but everything slides off when someone reaches for a piece. Keep it flat and layered, not piled. Also, if you’re serving this at a party, assemble the board no more than 30 minutes before serving. Fruit starts to weep, and crackers lose their crunch.
Cooking Tips & Techniques
Over the years, I’ve made this board for everything from birthday parties to quiet Tuesday dinners. Here’s what I’ve learned:
- Balance Flavors: Pair sweet fruit with salty or tangy cheese. Strawberries with sharp cheddar is a classic. Mango with manchego? Unexpected and amazing. Let your taste buds guide you.
- Cut Uniformly: Slice fruit and cheese into similar sizes. It looks cleaner and makes it easier for guests to grab a bit of everything in one bite.
- Use Color Contrast: Place bright red strawberries next to pale brie for visual pop. Dark blueberries next to yellow cheese creates a striking contrast. Think like an artist, not just a cook.
- Don’t Overthink It: I once spent an hour arranging a board perfectly, only to have my kid rearrange it within five minutes. It still tasted great. Perfection is overrated—just have fun.
- Prep Ahead: Wash and slice fruit the night before. Store it in separate containers in the fridge. Assemble the board right before serving. This saves time and keeps everything fresh.
One of my biggest failures? I once used pre-sliced cheese from a bag. It was dry, flavorless, and looked sad next to the vibrant fruit. Never again. Take the extra five minutes to slice your own cheese—it makes a world of difference.
Variations & Adaptations
This board is endlessly adaptable. Here are a few ways to switch it up:
- Seasonal Swap: In fall, use apple slices, pear wedges, and pomegranate seeds. In summer, load up on berries, melon, and peaches. Winter? Try citrus segments and dried figs.
- Protein Boost: Add sliced salami, prosciutto, or turkey roll-ups for a heartier board. Pair with a smoky sausage and bell pepper skewers for a full meal.
- Dairy-Free Option: Use vegan cheese or skip cheese entirely and add more nuts, seeds, and avocado slices. The rainbow still shines.
- Kid-Friendly Twist: Use only mild cheeses like Colby or mozzarella sticks. Add a small bowl of sunbutter and jelly lunch box bites for dipping.
- Sweet Version: Skip the cheese and add chocolate chips, marshmallows, and cookie bites. Drizzle with caramel or chocolate sauce for a dessert board.
I once made a savory version with roasted red peppers, olives, and marinated artichokes. It was a hit at a game day party, especially paired with loaded buffalo chicken dip with tortilla chips. Don’t be afraid to experiment—the rainbow structure works with almost any ingredient.
Serving & Storage Suggestions
Serve this board at room temperature for the best flavor. Take the cheese out of the fridge 20 minutes before serving. Arrange everything on the board and let guests dig in family-style.
For presentation, I like to place the board in the center of the table with small plates and napkins on the side. Add a few toothpicks or small tongs for easy grabbing. If you’re serving drinks, pair it with a crisp white wine, sparkling water with lemon, or even a pumpkin cold foam iced coffee for a fun brunch vibe.
Storage is simple: separate leftover fruit and cheese into airtight containers. Fruit keeps for 1-2 days in the fridge, cheese for up to a week. Don’t store assembled leftovers—the fruit will make the cheese soggy. If you have leftover crackers, keep them in a sealed bag at room temperature.
Reheat? You don’t need to. This board is served cold or at room temperature. If you’ve stored cheese, let it come to room temperature before serving again for the best texture. The flavors actually develop overnight—leftover brie tastes even creamier the next day.
Nutritional Information & Benefits
This board is packed with vitamins, fiber, and healthy fats. Here’s a rough estimate per serving (about 1 cup of fruit and 1 ounce of cheese):
- Calories: 250-350
- Protein: 8-10g
- Fat: 12-18g
- Carbohydrates: 30-40g
- Fiber: 5-7g
- Sugar: 20-25g (mostly natural from fruit)
Fruit provides antioxidants, vitamins C and A, and hydration. Cheese adds calcium, protein, and healthy fats that keep you full. Nuts contribute omega-3s and crunch. This board is naturally gluten-free if you choose gluten-free crackers, and can be made dairy-free with vegan cheese.
One thing I love about this recipe is that it doesn’t feel like “eating healthy.” It feels indulgent. But you’re getting a solid dose of real food without any processed junk. That’s a win in my book.
Conclusion
This rainbow fruit and cheese charcuterie board is more than just a snack—it’s a way to bring people together without stress. It’s colorful, customizable, and genuinely satisfying. Whether you’re hosting a party, feeding a hungry family, or just want to make Tuesday night feel special, this board delivers.
I love this recipe because it reminds me that cooking doesn’t have to be complicated. Sometimes the best meals are the ones you don’t cook at all. Just wash, slice, and arrange. Let the colors do the work. And when someone gasps at the sight of your board, you’ll know you’ve created something special.
I’d love to hear how your board turns out. What fruits and cheeses did you use? Did you add any fun extras? Drop a comment below or tag me in your photos—I can’t wait to see your rainbow creations. And if you’re looking for more easy, crowd-pleasing recipes, check out our DIY lunchable snack box for kids or fresh fig and honey goat cheese crostini for more inspiration.
Happy arranging!
Frequently Asked Questions
How far in advance can I make a rainbow fruit and cheese charcuterie board?
You can prep the fruit and cheese up to 24 hours ahead. Store them separately in airtight containers in the fridge. Assemble the board no more than 30 minutes before serving to keep everything fresh and crisp.
What if I can’t find all the rainbow colors in fruit?
That’s totally fine! Use what you have. If you’re missing orange, double up on yellow and red. The board will still look beautiful. You can also use vegetables like yellow bell peppers or purple cabbage for color.
Can I make this board for a crowd with dietary restrictions?
Absolutely. Offer a mix of dairy-free cheese, nut-free options like seeds, and gluten-free crackers. Label items if needed. The rainbow structure works with any ingredients, so everyone can find something they love.
How do I keep apple slices from turning brown?
Toss them in a little lemon juice or lime juice right after slicing. You can also use a solution of 1 part honey to 2 parts water for a sweeter option. This keeps them bright for hours.
What’s the best way to arrange the board for a party?
Start with the rainbow fruit in color order, then tuck cheese in between. Place small bowls of nuts and dips in the corners. Leave some empty space so the board doesn’t look crowded. Serve with small plates and napkins for easy grabbing.
Pin This Recipe!
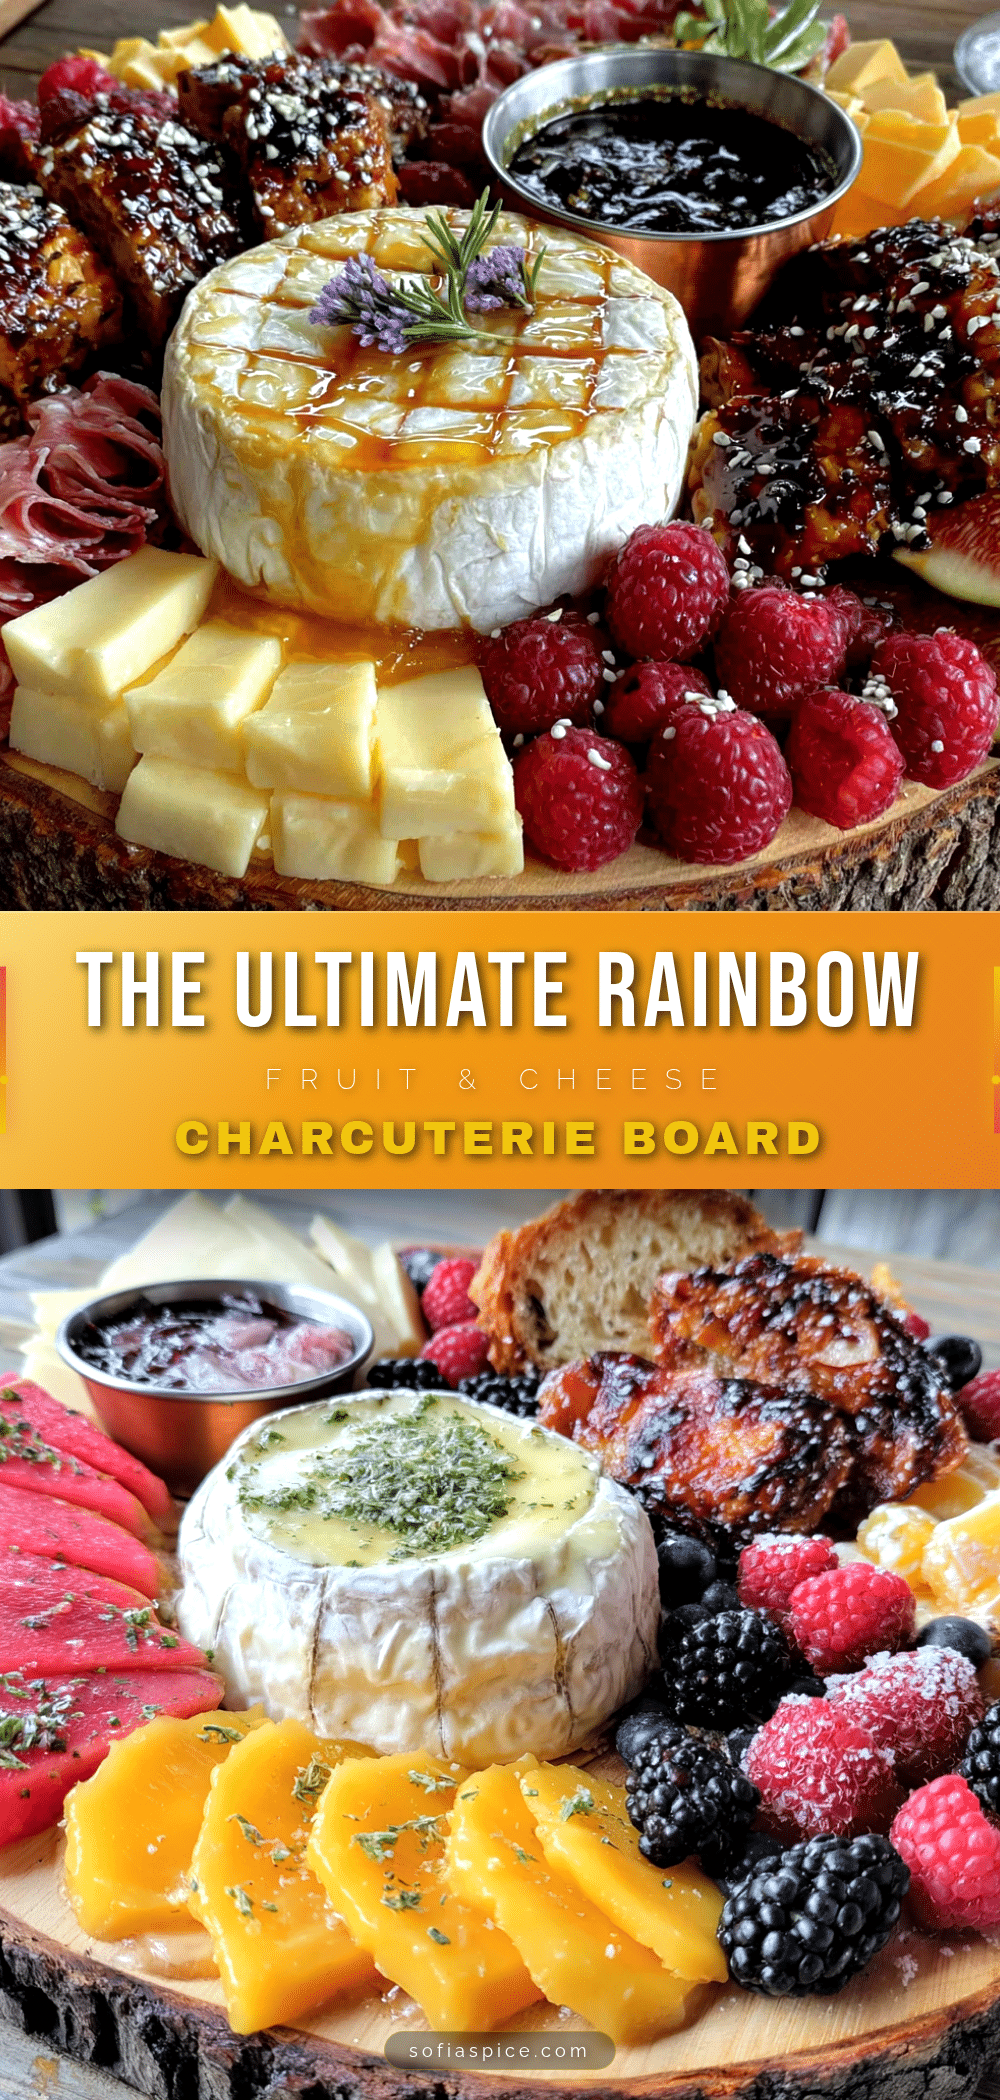
Best Easy Rainbow Fruit and Cheese Charcuterie Board Recipe
A stunning no-cook rainbow fruit and cheese charcuterie board that’s perfect for parties, gatherings, or a special snack. Arrange colorful fruits and cheeses in a rainbow pattern for an instant centerpiece that’s as delicious as it is beautiful.
- Prep Time: 30 minutes
- Cook Time: 0 minutes
- Total Time: 30 minutes
- Yield: 8 servings 1x
- Category: Appetizer
- Cuisine: American
Ingredients
- 1 cup strawberries, halved (or raspberries, watermelon cubes)
- 1 cup mango slices (or cantaloupe cubes, orange segments)
- 1 cup pineapple chunks (or yellow bell pepper strips, golden kiwi slices)
- 1 cup green apple slices, tossed in lemon juice (or green grapes, honeydew melon)
- 1 cup blueberries (or blackberries, purple grapes, dried figs)
- 4 oz brie or goat cheese (soft cheese)
- 4 oz sharp cheddar or gouda (semi-hard cheese)
- 4 oz aged manchego or parmesan (hard cheese)
- 1 cup crackers or crostini
- ½ cup almonds, walnuts, or pecans
- ¼ cup dried apricots or figs
- Honey for drizzling (optional)
- Dark chocolate chips (optional)
Instructions
- Wash and dry all fruit thoroughly. Pat completely dry with paper towels.
- Slice fruit: halve strawberries lengthwise, cut mango into thin strips or cubes, slice green apples into thin wedges and toss in lemon juice. Leave grapes and blueberries whole. Cut pineapple into bite-sized chunks.
- Prepare cheese: slice hard cheeses into thin triangles or cubes. Leave soft cheeses like brie whole or cut into wedges. Roll goat cheese into small balls or leave in a log.
- Arrange the rainbow: start at top left of board and work down in color order—red, orange, yellow, green, blue/purple. Leave small gaps between color bands.
- Add cheese: tuck cheese pieces into gaps between fruit colors. Place soft cheese near center for easy access.
- Fill in with extras: add small bowls of nuts, dried fruit, or dips in corners. Scatter crackers around edges, overlapping slightly.
- Final touches: drizzle honey over brie or goat cheese if using. Sprinkle fresh herbs like mint or basil on top for color.
Notes
Assemble board no more than 30 minutes before serving to keep fruit crisp and crackers crunchy. Don’t stack fruit too high or it will slide. For best flavor, let cheese come to room temperature before serving. Prep fruit and cheese up to 24 hours ahead and store separately in airtight containers in the fridge.
Nutrition
- Serving Size: 1 cup fruit and 1 oz
- Calories: 300
- Sugar: 22
- Sodium: 350
- Fat: 15
- Saturated Fat: 7
- Carbohydrates: 35
- Fiber: 6
- Protein: 9
Keywords: rainbow charcuterie board, fruit and cheese board, no-cook appetizer, party platter, colorful snack board, easy entertaining


