I figured homemade elderberry syrup would taste like cough medicine—dark, syrupy, and something you choke down because it’s good for you. It took one batch simmering on the stove for that assumption to fall apart completely. The smell of deep purple berries, cinnamon sticks, and cloves filled my kitchen in a way that felt less like a pharmacy and more like a cozy fall afternoon. Honestly, I was startled by how good it smelled. I kept walking back to the pot just to inhale over the steam.
I first made this syrup during a particularly rough winter when my kids brought home every bug their school had to offer. I was tired, we were all tired, and I needed something that felt proactive instead of reactive. A friend had mentioned her grandmother’s recipe, and I figured I’d give it a shot. What I didn’t expect was how much this simple syrup would become a staple in our fridge year-round.
This isn’t a magic potion—nothing is. But it’s a comforting, delicious way to support your immune system with ingredients that actually taste good. The deep berry flavor with subtle spice notes makes it something my kids actually ask for. And if you’ve ever tried convincing a toddler to take something “for their health,” you know that’s no small victory. This homemade elderberry syrup for immune support turned out to be the thing that stuck, and I think you’ll find the same.
Why You’ll Love This Recipe
This recipe has earned a permanent spot in my kitchen, and here’s why I think it will in yours too:
- Simple Ingredients : You only need dried elderberries, water, honey, and a few spices. No obscure health store finds that require a second mortgage.
- Quick & Easy : From start to finish, this takes about an hour. Most of that time is just simmering and cooling, so you’re not chained to the stove.
- Budget-Friendly : A bag of dried elderberries makes multiple batches, and honey does double duty as both sweetener and natural preservative.
- Kid-Approved : The flavor is genuinely pleasant—like a spiced berry cordial. My kids take it without fussing, which honestly still surprises me.
- Customizable : You can adjust the spices, sweetness, and even add immune-supporting extras like ginger or echinacea.
What makes this version different from others I’ve tried? It’s the balance. Some recipes are too sweet, masking the elderberry entirely. Others are so medicinal you brace yourself before each dose. This one hits that sweet spot where you actually look forward to your daily spoonful. The cinnamon and cloves warm things up without overpowering, and the honey adds just enough sweetness to make it feel like a treat.
I’ve tested this batch more times than I can count—adjusting simmer times, honey amounts, spice ratios. This is the version I keep coming back to. It’s the one I make for friends when they’re feeling run down, the one I bottle up for holiday gifts, and the one I reach for myself on those mornings when I feel something trying to take hold. It’s comfort and care in a jar, and I think you’re going to love having it in your fridge.
What Ingredients You Will Need
This recipe uses simple, wholesome ingredients that work together to create a flavorful syrup packed with immune-supporting benefits. Most of these are pantry staples or easy to find at your local grocery store or online.
For the Syrup Base
- 1 cup dried elderberries – These are the star of the show. Look for organic dried elderberries from a trusted brand like Starwest Botanicals or Frontier Co-op. They should be deep purple-black and smell faintly sweet and earthy. Avoid fresh elderberries, as they can be toxic raw and need specific processing.
- 4 cups filtered water – Using filtered water makes a difference here. Tap water can sometimes carry a slight chlorine taste that affects the final flavor.
For the Spice Blend
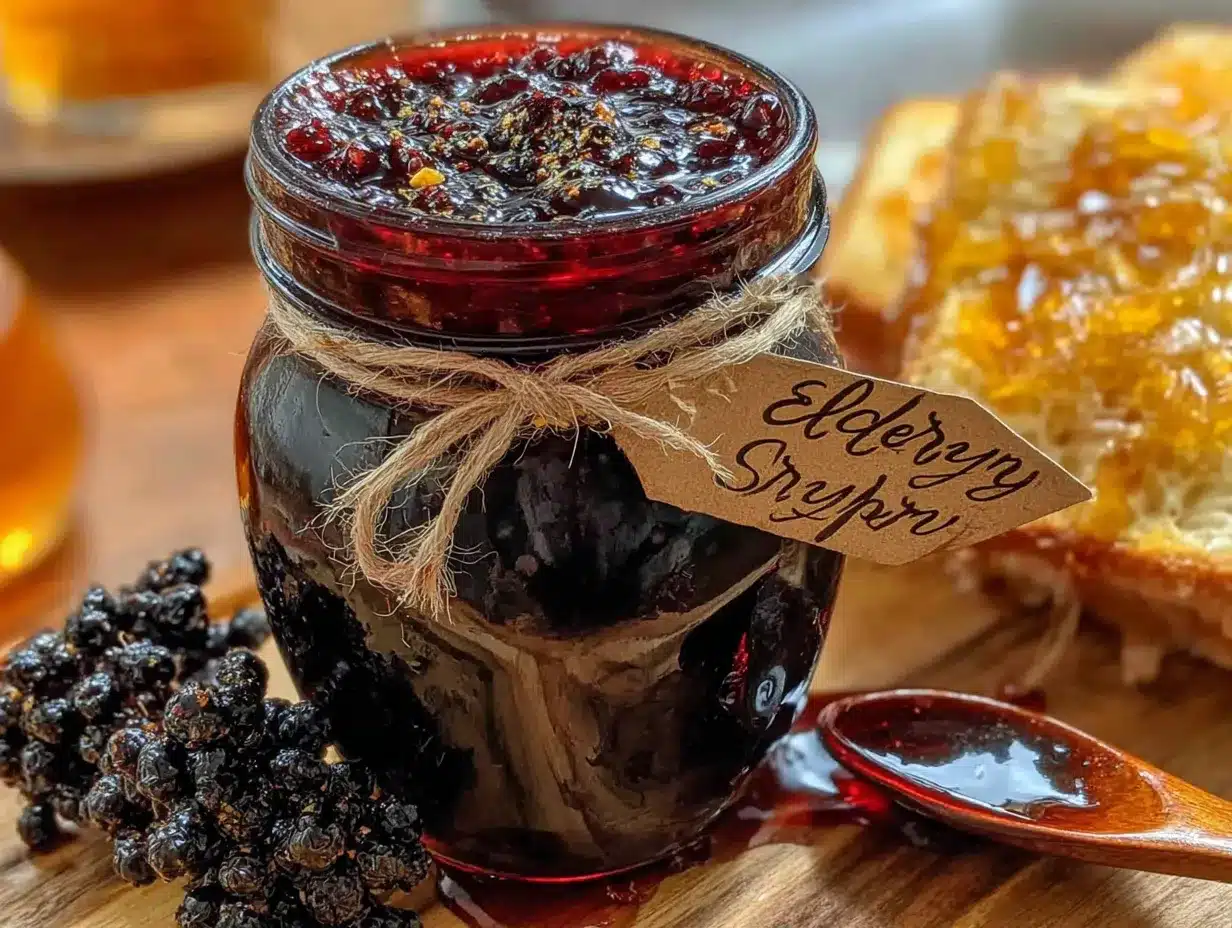
- 1 cinnamon stick (or 1 teaspoon ground cinnamon) – Cinnamon adds warmth and has its own immune-supporting properties. I prefer a whole cinnamon stick for a milder, more rounded flavor. If using ground, stir it in during the last 5 minutes of simmering.
- 1 teaspoon whole cloves (or ½ teaspoon ground cloves) – Cloves bring a gentle spiciness and depth. Whole cloves are easier to strain out, but ground works in a pinch.
- 1-inch piece fresh ginger, sliced (optional but recommended) – Ginger adds a subtle heat and is fantastic for immune support. I add this in about half my batches, depending on what I have on hand.
For the Sweetener & Preservation
- 1 cup raw honey (preferably local) – Honey is what makes this syrup shelf-stable in the fridge. It also adds its own antimicrobial benefits. Raw, unfiltered honey is best because it retains beneficial enzymes. If you’re making this for a child under one year, you can substitute maple syrup or agave nectar.
Ingredient Tip: I always recommend using dried elderberries from a reputable source. I’ve personally had great results with Starwest Botanicals and Mountain Rose Herbs. The quality of the berries directly affects the depth of color and flavor in your syrup. Also, don’t skip the honey—it’s not just for sweetness. The natural sugars help preserve the syrup and keep it from spoiling too quickly.
For a deeper immune boost, you can add a tablespoon of dried echinacea root or a few slices of fresh turmeric along with the ginger. Just strain them out along with the berries and spices at the end.
Equipment Needed
You don’t need much to make this syrup, which is part of its charm. Here’s what you’ll need:
- Medium to large saucepan – A 3-quart pot works perfectly. You need enough room for the berries to move freely as they simmer.
- Fine-mesh strainer or cheesecloth – This is essential for straining out the berries and spices. A fine-mesh strainer works well, but if you want a completely clear syrup, line it with a double layer of cheesecloth.
- Glass jar or bottle for storage – A 16-ounce glass jar with a tight-fitting lid is ideal. I use a swing-top bottle because it looks pretty in the fridge, but any clean glass container works.
- Wooden spoon or spatula – For stirring and pressing the berries while straining.
- Measuring cups and spoons – Accurate measurements help keep the flavor balanced.
Budget-Friendly Tip: Don’t have cheesecloth? A clean, thin kitchen towel or a coffee filter works just as well. I’ve used both in a pinch. And if you don’t have a glass jar, a recycled pickle jar (washed thoroughly) works fine. Just make sure it’s completely clean and dry before pouring in the syrup.
I’ve also tried making this in a slow cooker on low for 4-6 hours, and it works beautifully if you want a hands-off approach. Just strain and add honey at the end. But honestly, the stovetop method is so quick that I rarely bother with the slow cooker.
Preparation Method
Making this syrup is straightforward, but a few details make the difference between a good batch and a great one. Here’s exactly how I do it.
Step 1: Combine Berries and Water
Place the dried elderberries in your saucepan and pour in the 4 cups of filtered water. Add the cinnamon stick, whole cloves, and sliced ginger if using. Give everything a gentle stir. The berries will float at first, and that’s fine—they’ll sink as they hydrate.
Time: 2 minutes
Step 2: Bring to a Boil, Then Simmer
Set the pot over medium-high heat and bring it to a boil. Once it reaches a boil, reduce the heat to low and let it simmer gently. You want a soft simmer—small bubbles breaking the surface, not a rolling boil. Let it go for 30 to 45 minutes. The liquid will reduce by about half and turn a deep, almost black-purple color.
Sensory Cue: The kitchen will start smelling like a spiced berry orchard. The liquid should look dark and concentrated, and the berries will have plumped up and softened.
Time: 30-45 minutes
Step 3: Mash the Berries
After simmering, use the back of your wooden spoon to gently mash the berries against the side of the pot. This releases more of their goodness into the liquid. Don’t go crazy—just a few presses to break them open.
Time: 1 minute
Step 4: Strain the Mixture
Place your fine-mesh strainer or cheesecloth-lined strainer over a large bowl or a glass measuring cup. Carefully pour the mixture through. Let it drain naturally for a few minutes, then press gently on the berries with the back of a spoon to extract every last drop. Don’t press too hard, or you’ll push through fine sediment that makes the syrup cloudy.
Discard the spent berries and spices. They’ve given you everything they have.
Time: 5-10 minutes
Step 5: Cool to Room Temperature
Let the strained liquid cool completely. This is important—if you add honey while the liquid is still hot, you’ll destroy some of honey’s beneficial enzymes. I usually let it sit on the counter for about 30 minutes until it’s just warm to the touch.
Time: 30 minutes
Step 6: Add Honey
Once the liquid is cool, stir in the 1 cup of raw honey. Whisk gently until the honey is fully dissolved. The syrup will look glossy and pour like a thick, luxurious cordial.
Time: 2 minutes
Step 7: Bottle and Store
Pour the syrup into your clean glass jar or bottle. Seal it tightly and store it in the refrigerator. It will thicken slightly as it chills.
Time: 2 minutes
Total Active Time: About 15 minutes
Total Time: About 1 hour (including simmering and cooling)
Personal Tip: I always label my jar with the date I made it. This syrup keeps for about 2-3 months in the fridge, but I’ve never had a batch last that long—we use it too quickly!
Cooking Tips & Techniques
I’ve made this syrup more times than I can count, and I’ve learned a few things the hard way. Here are my best tips for getting it right every time.
Don’t Over-Boil the Berries. High heat can break down the beneficial compounds in elderberries. Keep it at a gentle simmer. If you see rapid bubbling, turn it down. Low and slow is the way to go.
Patience with Cooling. I once got impatient and added honey to warm liquid. The syrup turned out fine, but I always wonder if I lost some of those good honey enzymes. Let it cool completely—set a timer if you need to.
Straining Matters. A fine-mesh strainer is your friend. If you use cheesecloth, double-layer it. You want a clear syrup, not one with bits of berry sediment floating around. Sediment isn’t harmful, but it looks less appealing in the jar.
Adjust the Sweetness. Some people prefer a less sweet syrup. You can reduce the honey to ¾ cup if you like. Just know that honey acts as a preservative, so a batch with less honey might not last as long in the fridge.
Make a Double Batch. This syrup freezes beautifully. I often make a double batch and pour half into a silicone ice cube tray. Once frozen, I pop the cubes into a freezer bag. Thaw a cube or two as needed. It’s a lifesaver during cold season.
My Biggest Mistake: The first time I made this, I used ground cinnamon and ground cloves instead of whole spices. Straining was a nightmare. Tiny spice particles got through and made the syrup gritty. Stick with whole spices if you can. It makes straining so much easier.
Multitasking Tip: While the syrup simmers, you can prep your jar, wash your berries (if needed), or even whip up a batch of no-bake peanut butter oat energy bars for a healthy snack combo. The timing works out perfectly.
Variations & Adaptations
This recipe is wonderfully flexible. Here are some variations I’ve tried and loved.
Spiced Chai Version
Add 2 star anise pods and a few cardamom pods along with the cinnamon and cloves. The syrup takes on a warm, chai-like flavor that’s incredible stirred into tea or drizzled over pancakes.
Ginger-Turmeric Boost
Add a 2-inch piece of fresh turmeric (sliced) along with the ginger. Turmeric is a powerful anti-inflammatory, and it pairs beautifully with elderberry. The syrup will have a slightly earthier flavor and a gorgeous golden undertone.
Low-Sugar Option
If you’re watching your sugar intake, you can reduce the honey to ½ cup. The syrup will be thinner and less sweet, and it won’t last as long in the fridge (about 1 month). Freeze any extra in ice cube trays for longer storage.
Kid-Friendly Berry Blend
My kids love it when I add ¼ cup of dried blueberries or dried cherries to the pot along with the elderberries. It adds a milder, fruitier flavor that’s even more appealing to little ones. They call it “magic berry syrup.”
Winter Wellness Version
Add a tablespoon of dried echinacea root and a few slices of fresh astragalus root to the simmering pot. Both are traditional immune-supporting herbs. Strain them out with the berries. This version is my go-to during peak cold season.
I’ve also stirred a spoonful of this syrup into a warm cup of tea on chilly evenings, and it’s become a cozy ritual. If you enjoy that kind of thing, you might also love this pumpkin spice latte for another warm, comforting drink.
Serving & Storage Suggestions
This syrup is incredibly versatile. Here’s how I use and store it.
How to Take It
The standard adult dose is 1 tablespoon (15 ml) daily for maintenance, and up to 1 tablespoon every 2-3 hours if you feel something coming on. For children over age 1, the dose is 1 teaspoon (5 ml) daily. I take mine straight from a spoon, but you can also mix it into warm water, tea, or even drizzle it over yogurt or oatmeal.
Storage Instructions
Store the syrup in a tightly sealed glass jar in the refrigerator. It will keep for 2-3 months. If you see any mold, fizzing, or off smells, discard it immediately. Properly made syrup with enough honey is quite stable, but it’s always better to be safe.
Freezing Instructions
Pour the syrup into ice cube trays and freeze until solid. Transfer the cubes to a freezer-safe bag or container. They’ll keep for up to 6 months. Thaw a cube in the fridge overnight or at room temperature for 30 minutes. The texture may be slightly thinner after freezing, but the benefits remain.
How Flavors Develop
The syrup actually gets better after a day or two in the fridge. The spices continue to infuse, and the honey mellows out. I always try to make it at least 24 hours before I plan to use it. The flavor becomes more rounded and cohesive.
Serving Suggestions
Beyond taking it straight, I love using this syrup in other ways. Stir a tablespoon into sparkling water for a fizzy immune tonic. Drizzle it over pancakes or waffles. Mix it into plain yogurt with granola. Or use it as a glaze for roasted chicken or pork—the sweet-spiced flavor is surprisingly good in savory dishes.
If you’re making a batch for someone who’s under the weather, pair it with a comforting slow cooker potato leek soup for a complete care package. The soup is nourishing and easy on the stomach, while the syrup provides immune support.
Nutritional Information & Benefits
While I’m not a doctor or nutritionist, I can share what I’ve learned about the ingredients in this syrup.
Estimated per tablespoon (15 ml):
Calories: 45-60
Carbohydrates: 12-15g
Sugars: 10-12g (mostly from honey)
Vitamin C: 2-4% DV
Iron: 1-2% DV
Health Benefits of Key Ingredients:
- Elderberries are rich in antioxidants, particularly anthocyanins, which give them their deep purple color. They’ve been studied for their potential to support immune function and reduce the duration of cold symptoms.
- Raw honey contains beneficial enzymes and has natural antimicrobial properties. Local honey may also help with seasonal allergies.
- Cinnamon and cloves are both rich in antioxidants and have anti-inflammatory properties.
- Ginger is well-known for its anti-inflammatory and digestive benefits.
Dietary Considerations: This recipe is naturally gluten-free, dairy-free, and nut-free. It is not suitable for children under 1 year due to the honey content. If you need a honey-free version, substitute with maple syrup or agave nectar, but note that the shelf life will be shorter.
I personally love that this syrup lets me feel proactive about my family’s health during cold season. It’s not a replacement for medical care, but it’s a delicious, comforting addition to our wellness routine.
FAQs
Can I use fresh elderberries instead of dried?
I don’t recommend it for this recipe. Fresh elderberries contain a compound that can cause nausea if not cooked properly. Dried elderberries are safer and more consistent. Stick with dried for this syrup.
How long does homemade elderberry syrup last in the fridge?
Properly stored in a sealed glass jar, it will keep for 2-3 months. The honey acts as a natural preservative. If you see any signs of mold, fermentation, or off smells, throw it out and make a fresh batch.
Can I make this without honey?
Yes, you can substitute maple syrup or agave nectar. The syrup will be thinner and won’t last as long in the fridge—about 1 month. You can also freeze it in ice cube trays for longer storage.
Can I give this to my kids?
Yes, for children over 1 year old. The standard dose is 1 teaspoon (5 ml) daily for maintenance. For children under 1, skip the honey and use maple syrup instead. Always check with your pediatrician before introducing any new supplement.
Can I use ground spices instead of whole?
You can, but I don’t recommend it. Ground spices make straining difficult and can leave a gritty texture in the syrup. If you only have ground spices, add them in the last 5 minutes of simmering and strain through a coffee filter or double-layer cheesecloth.
Conclusion
This homemade elderberry syrup for immune support has become one of those recipes I truly rely on. It’s not fancy, it’s not complicated, and it doesn’t require a trip to a specialty store. It’s just good, honest ingredients simmered together with a little patience and a lot of care.
What I love most is how it makes me feel—like I’m doing something tangible for my family’s health. Every time I pour a spoonful for my kids or myself, I’m reminded that taking care of ourselves doesn’t have to be complicated or expensive. Sometimes it’s as simple as a pot of berries, a jar of honey, and an hour on the stove.
I’d love to hear how your batch turns out. Did you add any extra spices? Do your kids like it? Drop a comment below and let me know. And if you found this helpful, please share it with a friend who might need a little immune support this season. Happy simmering!
Pin This Recipe!
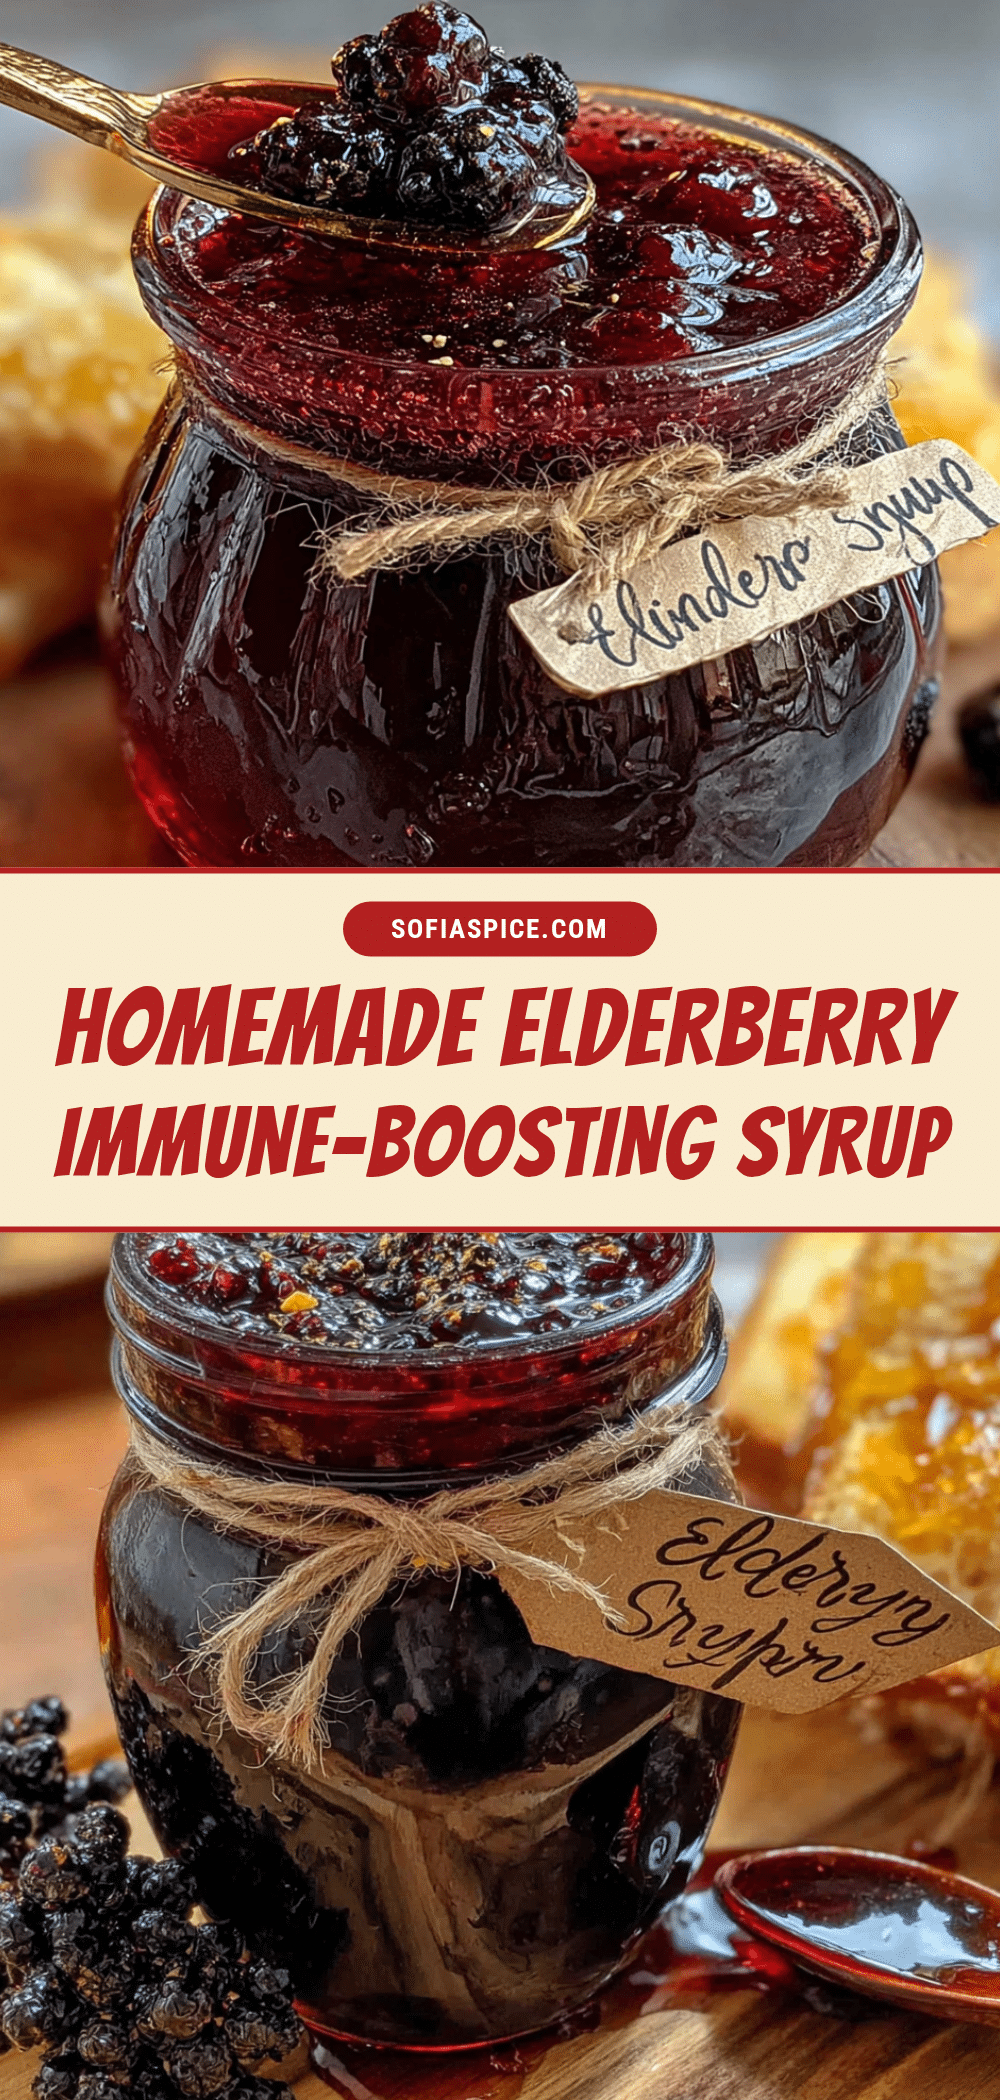
Homemade Elderberry Syrup: The Best Immune Support Recipe
This homemade elderberry syrup is a comforting, delicious way to support your immune system with simple ingredients like dried elderberries, honey, and spices. It’s kid-approved, budget-friendly, and easy to make in about an hour.
- Prep Time: 15 minutes
- Cook Time: 30-45 minutes
- Total Time: 1 hour
- Yield: 16 servings 1x
- Category: Condiment
- Cuisine: American
Ingredients
- 1 cup dried elderberries
- 4 cups filtered water
- 1 cinnamon stick (or 1 teaspoon ground cinnamon)
- 1 teaspoon whole cloves (or ½ teaspoon ground cloves)
- 1-inch piece fresh ginger, sliced (optional)
- 1 cup raw honey (preferably local)
Instructions
- Combine dried elderberries, filtered water, cinnamon stick, whole cloves, and sliced ginger (if using) in a medium saucepan. Stir gently.
- Bring to a boil over medium-high heat, then reduce heat to low and simmer gently for 30 to 45 minutes, until the liquid reduces by about half and turns deep purple-black.
- Remove from heat and gently mash the berries with the back of a wooden spoon to release more flavor.
- Strain the mixture through a fine-mesh strainer or cheesecloth-lined strainer into a large bowl or glass measuring cup. Press gently on the berries to extract all liquid, then discard the solids.
- Let the strained liquid cool to room temperature (about 30 minutes).
- Once cool, stir in the raw honey until fully dissolved.
- Pour the syrup into a clean glass jar or bottle, seal tightly, and store in the refrigerator.
Notes
Do not add honey while the liquid is hot to preserve beneficial enzymes. The syrup keeps for 2-3 months in the refrigerator. For children under 1 year, substitute honey with maple syrup or agave nectar. For a deeper immune boost, add dried echinacea root or fresh turmeric. The syrup can be frozen in ice cube trays for up to 6 months.
Nutrition
- Serving Size: 1 tablespoon (15 ml)
- Calories: 4560
- Sugar: 1012
- Carbohydrates: 1215
Keywords: elderberry syrup, immune support, homemade syrup, elderberry recipe, natural remedy


