Three-time-in-a-week and still fiddling with the ratio of peanut butter to oats, I’ve been stuck in a loop of making these easy no-bake peanut butter oat energy bars. Honestly, it started as a desperate attempt to find a quick, grab-and-go snack for the kids’ lunchboxes, but now it’s borderline obsession. The first batch was crumbly, the second too sticky, and by the third, I realized how that perfect chewy-yet-firm texture depended on just a smidge more honey and a tiny pinch of salt. It’s funny how something so simple kept me going back to the kitchen, hands covered in peanut butter, measuring spoon in one hand and a hopeful heart in the other.
What really pulled me in every time was that warm nutty aroma as the peanut butter melted slightly with honey, mixing with those hearty oats. The bars hold together without baking, which means no waiting around, no oven preheating, and no mess beyond a sticky bowl. I found myself craving that balance of natural sweetness and satisfying chewiness, especially on hectic mornings when packing lunchboxes feels like a sprint. And the best part? These bars stayed fresh and didn’t crumble into a sad pile of crumbs by noon, which, let’s be honest, is a rare win in the world of homemade snack bars.
After tinkering with the recipe multiple Fridays in a row, I realized it wasn’t just about making lunchboxes easier. It’s about trusting that quick homemade snack to fuel the day, to be that little boost without the sugar crash. Plus, knowing exactly what’s inside them—none of those mystery ingredients—felt quietly reassuring. This recipe stuck with me because it’s simple, honest, and unpretentious, just like those easy lunchbox mornings I’m always chasing.
Why You’ll Love This Recipe
Having tested this easy no-bake peanut butter oat energy bars recipe over and over, I’m confident it delivers exactly what busy households need. It’s designed to fit seamlessly into your routine without any fuss.
- Quick & Easy: Comes together in under 15 minutes, perfect for busy mornings or last-minute lunch prep.
- Simple Ingredients: Uses pantry staples you likely already have—no need for specialty shopping trips.
- Perfect for Lunchboxes: Ideal for school, work, or on-the-go snacks, these bars hold their shape and stay chewy.
- Crowd-Pleaser: Kids and adults alike give these bars rave reviews, making them a reliable snack everyone enjoys.
- Unbelievably Delicious: The combination of creamy peanut butter, hearty oats, and a touch of honey makes for a texture and flavor that hits the spot every time.
This recipe isn’t just another peanut butter oat bar. What sets it apart is the balance of sticky and firm, chewy and crumbly, with no awkward aftertaste. I’ve found that warming the peanut butter slightly before mixing really locks in that smooth texture, unlike the cold, stiff mixes I’ve tried before. Plus, I sometimes swap in a handful of toasted coconut flakes or dark chocolate chips for a subtle twist, but the core recipe shines on its own.
It’s the kind of snack that makes you pause and savor just one bite before rushing out the door, yet you don’t have to feel guilty about it. Honestly, these bars have turned into my secret weapon for stress-free lunches, and they quietly promise you won’t have to compromise on taste or nutrition when you’re short on time.
What Ingredients You Will Need
This recipe uses simple, wholesome ingredients to deliver bold flavor and satisfying texture without the fuss. Most are pantry staples, and many have easy substitutions if needed.
- Rolled oats (1 ½ cups / 135 grams) – The hearty base; I prefer old-fashioned oats for the best chew.
- Creamy peanut butter (¾ cup / 190 grams) – The star ingredient; natural, unsweetened is my go-to for flavor and health.
- Honey (⅓ cup / 113 grams) – Adds natural sweetness and helps bind the bars together.
- Vanilla extract (1 tsp) – Enhances the flavor with a subtle warmth.
- Chia seeds (2 tbsp) – Optional but adds a nice crunch and nutritional boost.
- Mini chocolate chips (¼ cup / 45 grams) – Optional, for a touch of indulgence; Ghirardelli’s mini chips work wonderfully.
- Salt (a pinch) – Balances the sweetness and deepens the peanut flavor.
If you want to make these bars gluten-free, just confirm your oats are certified gluten-free. For a dairy-free or vegan option, swap honey with maple syrup or agave nectar, and use a nut butter alternative like almond or sunflower seed butter. I’ve also tried tossing in dried cranberries or chopped nuts for extra texture when I’m feeling fancy.
Equipment Needed
Luckily, this recipe requires minimal equipment—just basic kitchen tools you probably already have. Here’s what you’ll need:
- Mixing bowl: A medium to large bowl works best for combining all ingredients easily.
- Spatula or wooden spoon: For mixing; a silicone spatula is great for scraping down the sides.
- Measuring cups and spoons: Precision helps with the right consistency.
- 8×8-inch baking pan or square container: To press and shape the bars; lined with parchment paper for easy removal.
- Microwave-safe bowl (optional): For warming peanut butter and honey if needed.
For a budget-friendly alternative, you can press the mixture into any shallow container you have. I’ve even used a loaf pan when in a pinch. If your peanut butter is very thick, warming it slightly in the microwave (about 20 seconds) makes mixing easier and results in smoother bars. Just be careful not to overheat!
Preparation Method
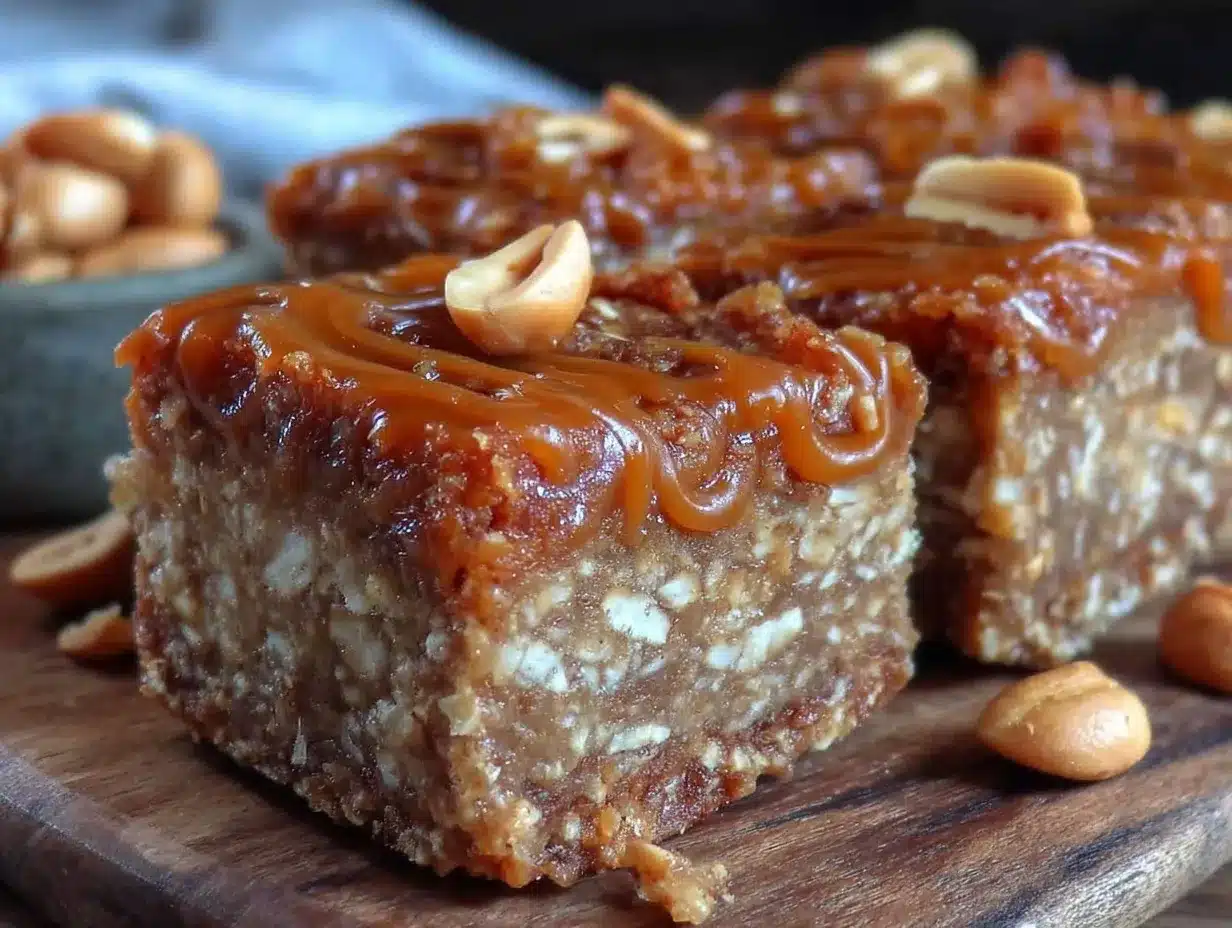
- Prepare your pan: Line an 8×8-inch (20×20 cm) baking pan with parchment paper, leaving some overhang for easy removal later. This step saves you from sticky hands and helps the bars keep their shape.
- Mix wet ingredients: In a microwave-safe bowl, combine ¾ cup (190 g) creamy peanut butter and ⅓ cup (113 g) honey. Warm them together for about 20-30 seconds until soft and easy to stir. Add 1 tsp vanilla extract and a pinch of salt, then mix until smooth and glossy. This warming step really helps everything bind nicely.
- Combine dry ingredients: In a large mixing bowl, stir together 1 ½ cups (135 g) rolled oats and 2 tbsp chia seeds (if using). If you want to add ¼ cup (45 g) mini chocolate chips, toss them in here gently.
- Combine wet and dry: Pour the peanut butter mixture over the oats and seeds. Mix thoroughly with a spatula or wooden spoon until every oat is coated and the mixture thickens. It should be sticky but manageable; if it feels too dry, add a teaspoon of honey or a splash of almond milk.
- Press into pan: Transfer the mixture to your lined pan. Press down firmly with the back of a spatula or your hands (lightly wetting your hands helps prevent sticking). Aim for an even thickness, about 1 inch (2.5 cm) high. This step is key to bars that hold together without crumbling.
- Chill and set: Place the pan in the refrigerator for at least 2 hours (or overnight if you can wait). This chilling step firms up the bars so they slice cleanly.
- Slice and store: Once set, lift the mixture out using the parchment overhang and cut into 12 equal bars. Store in an airtight container in the fridge for up to a week.
Troubleshooting tip: If your bars are too sticky after chilling, dust your knife with a little coconut flour or powdered sugar before slicing. If too crumbly, try adding a bit more honey or nut butter next time. The texture can vary slightly depending on your peanut butter brand and oat type.
Cooking Tips & Techniques
Making these bars come together flawlessly is mostly about the small details I’ve learned after a few sticky fingers and crumbly batches.
- Warm the peanut butter and honey: This makes mixing easier and helps the bars hold together. Cold peanut butter is stubborn and leads to dryness.
- Use old-fashioned rolled oats: Quick oats tend to turn mushy, while steel-cut oats won’t bind as well. Rolled oats strike the perfect balance of chew and structure.
- Press firmly: Don’t skimp on pressing down the mixture in the pan. The denser the pack, the better the bars hold up after chilling.
- Chill overnight if possible: Patience pays off. Chilling allows the flavors to marry and the bars to firm up properly.
- Watch the sweetness: Honey varies in intensity. Start with less and adjust to taste, especially if adding chocolate chips or dried fruit which add extra sweetness.
- Mix-ins matter: For a nuttier crunch, try toasted chopped almonds or walnuts. If you want a touch of saltiness, a sprinkle of sea salt on top before chilling adds a surprising pop.
One time, I skipped the chilling step completely — those bars fell apart instantly! Lesson learned the hard way. Another trick I use is lightly oiling my hands when pressing the mixture to avoid sticky messes. These simple habits make the whole process smoother.
Variations & Adaptations
This easy no-bake peanut butter oat energy bars recipe is a perfect base for experimentation. Here are some ways to make it your own:
- Chocolate Lover’s Twist: Add ¼ cup cocoa powder to the dry ingredients and use chocolate peanut butter for a richer bar. Toss in mini chocolate chips for extra indulgence.
- Nut-Free Version: Swap peanut butter with sunflower seed butter or tahini for allergy-friendly bars. Use maple syrup instead of honey to keep it vegan-friendly.
- Berry Boost: Stir in ½ cup dried cranberries or chopped dried cherries for tartness and chew. This adds a lovely seasonal touch, especially around holidays.
- Superfood Power: Add 1 tbsp hemp seeds or flaxseeds in the dry mix for extra omega-3s and fiber.
- Spiced Variation: Sprinkle in ½ tsp cinnamon and a pinch of nutmeg to the oat mixture for a warm, cozy flavor.
Personally, I’ve tried mixing in toasted coconut flakes for a tropical vibe, which paired surprisingly well with the peanut butter. Adjust the liquid sweetener slightly if adding dry mix-ins to keep the bars from drying out.
Serving & Storage Suggestions
These peanut butter oat energy bars are best served chilled or at room temperature. They’re perfect packed in lunchboxes, paired with a piece of fruit or a small yogurt cup.
- Serving: Slice into bars and wrap individually for easy grab-and-go snacks. They also make a great pre- or post-workout bite.
- Complementary pairings: I often pack these alongside fresh tropical fruit, much like the fresh tropical fruit grazing board I love making on weekends.
- Storage: Keep bars in an airtight container in the refrigerator for up to one week. For longer storage, freeze bars wrapped individually for up to 3 months.
- Reheating: If frozen, thaw overnight in the fridge or at room temperature for about 30 minutes. Bars can also be warmed slightly in the microwave (10-15 seconds) for a softer texture.
- Flavor development: Letting the bars rest in the fridge overnight deepens the flavor and improves texture, so making them a day ahead is ideal when time allows.
Nutritional Information & Benefits
Each bar (based on 12 bars per batch) contains approximately:
| Nutrient | Amount per Bar |
|---|---|
| Calories | 180 kcal |
| Protein | 5 grams |
| Fat | 9 grams (mostly healthy fats) |
| Fiber | 3 grams |
| Sugar | 7 grams (from honey and natural peanut butter) |
The combination of oats and peanut butter provides a good balance of complex carbs, protein, and healthy fats, making these bars a sustaining snack. Oats contribute beta-glucan fiber, which supports heart health, while peanut butter adds plant-based protein and essential nutrients like magnesium and vitamin E.
For those watching sugar intake, swapping honey for a low-glycemic syrup or reducing the amount slightly can help. The recipe is naturally gluten-free if using certified oats and nut-free if swapping peanut butter with seed butters.
Conclusion
These easy no-bake peanut butter oat energy bars have become a staple in my kitchen for good reason. They’re fast to make, use simple ingredients, and hold up perfectly in lunchboxes without fuss. What started as a quick fix became my go-to snack that actually tastes great and energizes without crashing.
I encourage you to tweak the mix-ins and sweetness to suit your family’s tastes. Whether you’re packing for kids, yourself, or a hiking day, these bars deliver on flavor and function. Personally, I love knowing I’ve made something wholesome and tasty, ready in minutes, that will keep hunger at bay.
If you try this recipe, I’d love to hear how you customize it or what mix-ins you tried. Sharing your spin on this snack helps keep the recipe alive and evolving for all of us juggling busy days. Here’s to easy snacks that actually taste like you cared!
FAQs About Easy No-Bake Peanut Butter Oat Energy Bars
Can I use crunchy peanut butter instead of creamy?
Yes, you can! Crunchy peanut butter adds extra texture but may make the bars a bit more crumbly. Mixing thoroughly and pressing firmly helps keep them together.
How long do these energy bars last in the fridge?
Stored in an airtight container, they stay fresh for up to one week. For longer storage, freeze them individually for up to 3 months.
Can I substitute peanut butter for another nut or seed butter?
Absolutely. Almond butter, cashew butter, or sunflower seed butter work well. Just keep in mind that flavor and texture may vary slightly.
Are these bars suitable for kids with allergies?
If peanut allergies are a concern, swap peanut butter with seed butters like sunflower or tahini and ensure all other ingredients are safe. Always check with your pediatrician.
What’s the best way to cut the bars for even pieces?
Use a sharp knife and chill the bars thoroughly before slicing. Dust the knife with a little coconut flour or powdered sugar to prevent sticking and get clean cuts.
Pin This Recipe!
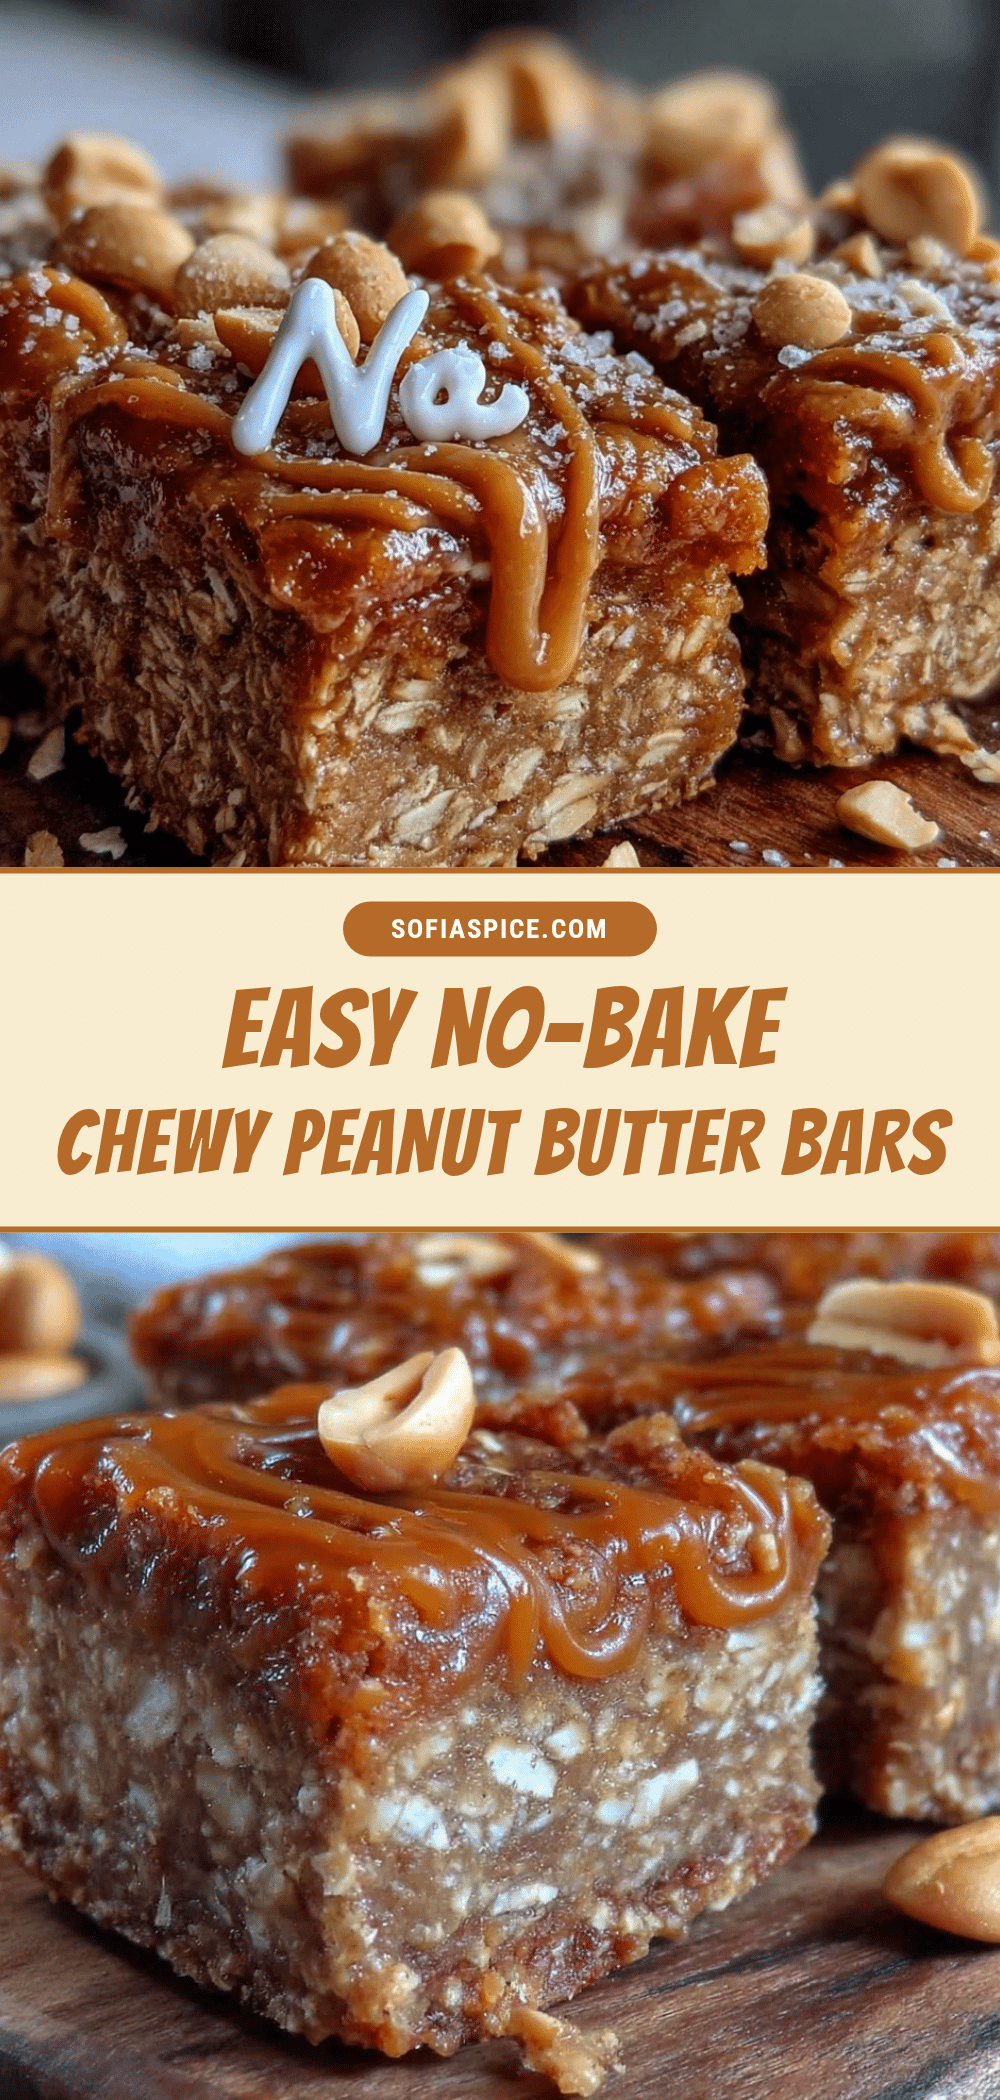
Easy No-Bake Peanut Butter Oat Energy Bars
These easy no-bake peanut butter oat energy bars are a quick, grab-and-go snack perfect for lunchboxes, delivering a chewy yet firm texture with natural sweetness and wholesome ingredients.
- Prep Time: 10 minutes
- Cook Time: 0 minutes
- Total Time: 2 hours 10 minutes
- Yield: 12 bars 1x
- Category: Snack
- Cuisine: American
Ingredients
- 1 ½ cups (135 grams) rolled oats (old-fashioned preferred)
- ¾ cup (190 grams) creamy peanut butter (natural, unsweetened)
- ⅓ cup (113 grams) honey
- 1 tsp vanilla extract
- 2 tbsp chia seeds (optional)
- ¼ cup (45 grams) mini chocolate chips (optional)
- Pinch of salt
Instructions
- Line an 8×8-inch (20×20 cm) baking pan with parchment paper, leaving some overhang for easy removal.
- In a microwave-safe bowl, combine ¾ cup (190 g) creamy peanut butter and ⅓ cup (113 g) honey. Warm for 20-30 seconds until soft and easy to stir.
- Add 1 tsp vanilla extract and a pinch of salt to the peanut butter mixture and mix until smooth and glossy.
- In a large mixing bowl, stir together 1 ½ cups (135 g) rolled oats and 2 tbsp chia seeds (if using). Gently toss in ¼ cup (45 g) mini chocolate chips if desired.
- Pour the peanut butter mixture over the oats and seeds. Mix thoroughly with a spatula or wooden spoon until every oat is coated and the mixture thickens. If too dry, add a teaspoon of honey or a splash of almond milk.
- Transfer the mixture to the lined pan and press down firmly with the back of a spatula or lightly wet hands to an even thickness about 1 inch (2.5 cm) high.
- Place the pan in the refrigerator for at least 2 hours or overnight to chill and set.
- Once set, lift the mixture out using the parchment overhang and cut into 12 equal bars.
- Store bars in an airtight container in the fridge for up to one week.
Notes
Warm the peanut butter and honey slightly to make mixing easier and help the bars hold together. Use old-fashioned rolled oats for best texture. Press the mixture firmly into the pan and chill overnight if possible for best results. Dust knife with coconut flour or powdered sugar before slicing if bars are too sticky. Adjust honey amount if adding sweeter mix-ins like chocolate chips or dried fruit.
Nutrition
- Serving Size: 1 bar
- Calories: 180
- Sugar: 7
- Fat: 9
- Fiber: 3
- Protein: 5
Keywords: no-bake, peanut butter, oat bars, energy bars, lunchbox snack, healthy snack, quick snack, easy recipe


