Third batch in three days and I finally stopped measuring with my heart and started weighing things out. That was the moment these energy balls went from “good enough to eat while standing over the sink” to “good enough to hide from my kids.”
I wasn’t trying to invent anything new. I had a half-empty jar of peanut butter staring at me from the back of the pantry, a bag of flaxseed that was about to expire, and a toddler who suddenly decided lunch was optional. I needed something portable, shelf-stable, and actually filling. Not a granola bar that crumbles into a thousand pieces in your bag. Not a protein shake that leaves you hungry twenty minutes later. I wanted a real snack—one that felt like a treat but kept me going until dinner.
The first batch was a disaster. Too sticky, too sweet, and they fell apart the second I tried to roll them. The second batch was better, but they tasted like cardboard with peanut butter slapped on top. Somewhere between batch two and batch three, I stopped guessing and started paying attention. I realized the texture wasn’t about the oats or the protein powder—it was about the moisture balance. Too much liquid and you get mush. Too little and you get crumbly sadness. The sweet spot is a sticky dough that holds its shape without leaving residue on your hands.
These little guys have become my emergency snack of choice. They sit in my fridge waiting for those moments when I need something fast and actually good for me. No oven required, no complicated steps, just a bowl and some muscle power to mix everything together.
Why You’ll Love This Recipe
I’ve tested a lot of energy ball recipes over the years. Some are too dry. Some are basically candy bars in disguise. These high-protein energy balls hit that perfect middle ground where healthy and delicious actually coexist.
- No-Bake & Quick: From bowl to fridge in under 15 minutes. No oven, no stove, no waiting for anything to cool down.
- Simple Ingredients: Everything comes from a standard grocery store. No weird specialty items that cost fifteen dollars.
- Perfect for Busy Mornings: Grab one on your way out the door and you’ve got breakfast covered. Pair them with a mini bagel cream cheese snack board for a more filling start to your day.
- Crowd-Pleaser: I brought these to a playdate and the other moms asked for the recipe before their kids finished the first one. Kids love them, adults love them, nobody guesses they’re packed with protein.
- Unbelievably Satisfying: The combination of oats, nut butter, and protein powder creates this chewy, dense texture that actually keeps you full. No sugar crash an hour later.
What makes these different from every other energy ball recipe out there? It’s the ratio. I spent three days tweaking the proportions until I got that perfect balance—not too sticky, not too dry, with just enough sweetness to feel like a treat without going overboard. The secret is letting the mixture rest for five minutes before rolling. That little pause lets the oats absorb the moisture and transforms the texture completely.
These are the kind of snack that makes you feel good about eating them. No guilt, no regret, just pure satisfaction.
What Ingredients You Will Need
This recipe uses simple, everyday ingredients that come together to create something surprisingly delicious. Most of these are probably sitting in your kitchen right now.
- Rolled oats, 1 cup (90g) — Not quick oats. Rolled oats give the right texture and hold up better. I prefer Bob’s Red Mill for consistent results.
- Creamy peanut butter, ½ cup (130g) — Natural peanut butter works, but stir it well first. The kind with added sugar and oil actually holds together better. If you’re using natural, you might need an extra tablespoon of honey.
- Honey or maple syrup, ¼ cup (60ml) — Honey gives a slightly thicker consistency. Maple syrup is thinner but adds a nice flavor. Both work great.
- Vanilla protein powder, ¼ cup (30g) — I use a whey-based vanilla protein powder. Plant-based protein powders absorb more liquid, so you may need to add a tablespoon of milk or water if the mixture feels too dry.
- Ground flaxseed, 2 tablespoons (14g) — Adds fiber and helps bind everything together. You can substitute chia seeds, but grind them first for better texture.
- Dark chocolate chips, ¼ cup (45g) — Mini chips distribute better, but regular chips work fine. Use dairy-free chips if needed.
- Pinch of sea salt — Don’t skip this. It balances the sweetness and makes the peanut butter flavor pop.
That’s it. Seven ingredients and you’re done. No complicated shopping list, no obscure spices, just real food that works together.
Equipment Needed
You don’t need fancy equipment for this recipe. That’s the beauty of no-bake energy balls—they’re forgiving and low-maintenance.
- Large mixing bowl — Any bowl will do, but a wider bowl makes mixing easier. I use a ceramic bowl because it doesn’t slide around.
- Measuring cups and spoons — For accuracy. I learned the hard way that eyeballing ingredients leads to inconsistent results.
- Rubber spatula or wooden spoon — The mixture gets thick, so something sturdy helps. A rubber spatula is easier for scraping the sides.
- Cookie scoop (optional) — A 1-tablespoon scoop makes perfectly uniform balls. If you don’t have one, just use your hands.
- Baking sheet or plate — For holding the rolled balls while they chill. Line it with parchment paper for easy cleanup.
- Parchment paper — Not strictly necessary, but it makes life easier. The balls won’t stick to the paper.
- Small bowl of water — Wet your hands slightly before rolling. It prevents the mixture from sticking to your fingers and gives you smoother balls.
If you don’t have a cookie scoop, just wet your hands and roll. The texture is forgiving enough that uneven sizes still taste the same. I’ve made these with nothing but a bowl and my hands and they turned out perfect.
Preparation Method
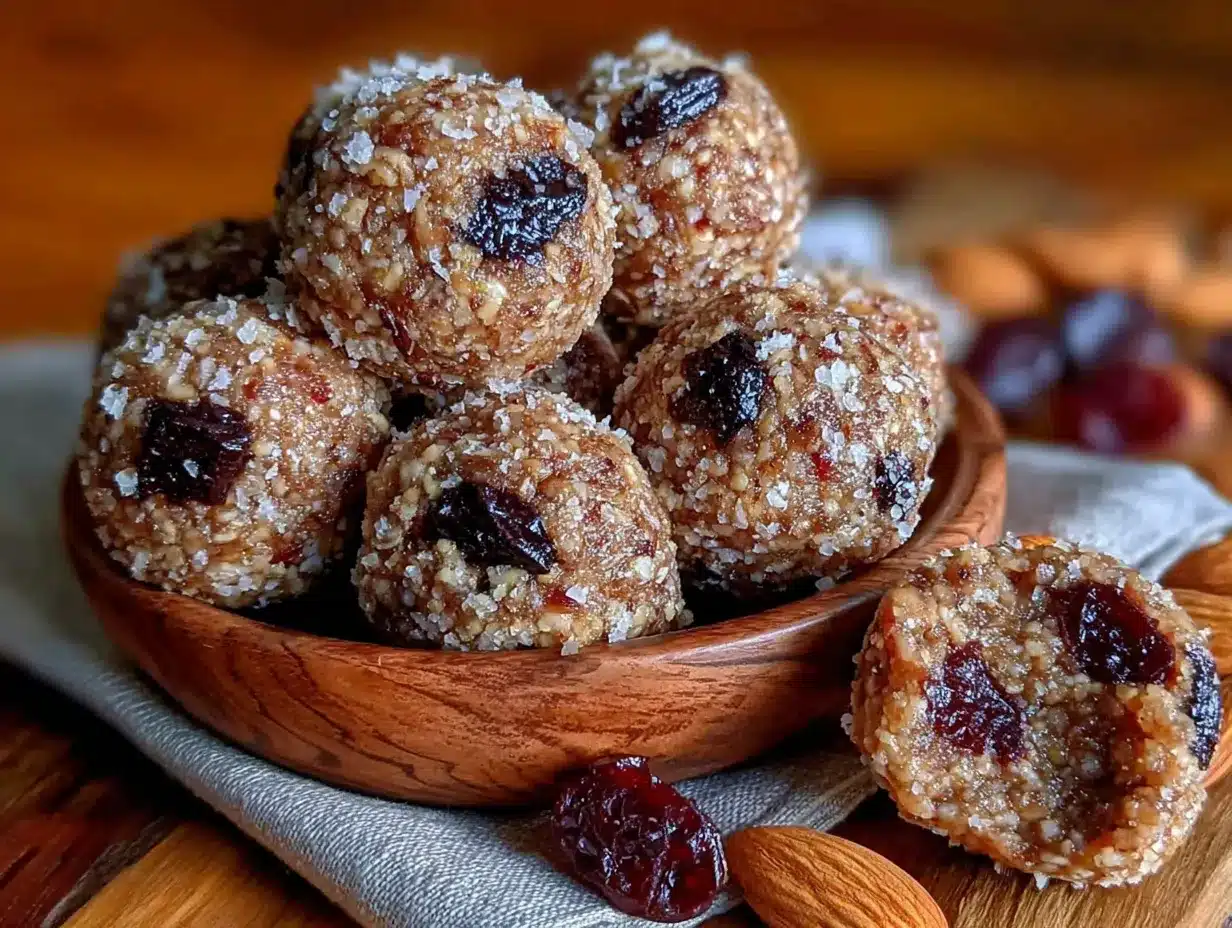
This comes together fast, so read through the steps before you start. The whole process takes about 15 minutes of active time, plus 30 minutes of chilling.
- Combine the dry ingredients. In a large mixing bowl, add 1 cup rolled oats, ¼ cup vanilla protein powder, and 2 tablespoons ground flaxseed. Whisk them together until evenly distributed. This prevents clumps of protein powder later.
- Add the wet ingredients. Pour in ½ cup creamy peanut butter and ¼ cup honey. Don’t mix yet—just dump them on top of the dry ingredients.
- Mix until combined. Use your rubber spatula or wooden spoon to stir everything together. Start slow to avoid flinging oat pieces everywhere. The mixture will look dry at first, then suddenly come together into a cohesive dough. Keep mixing until no dry spots remain. This takes about 2 minutes of vigorous stirring.
- Fold in the chocolate chips. Add ¼ cup dark chocolate chips and a pinch of sea salt. Fold them in gently until evenly distributed. The salt will dissolve into the mixture, so you won’t get crunchy salt bits—just balanced flavor.
- Let the mixture rest. This is the most important step. Let the dough sit in the bowl for 5 minutes. During this time, the oats absorb moisture from the peanut butter and honey, which transforms the texture from sticky and loose to firm and rollable. Don’t skip this. I learned this the hard way after batch one fell apart in my hands.
- Check the consistency. After resting, the dough should hold together when pressed between your fingers. If it feels too dry and crumbly, add 1 tablespoon of milk or water and mix again. If it feels too sticky and wet, add 1 tablespoon of oats and mix.
- Roll into balls. Lightly wet your hands with water. Scoop about 1 tablespoon of dough and roll it between your palms into a smooth ball. Place each ball on a parchment-lined baking sheet. You should get about 16 to 18 balls, depending on size.
- Chill for at least 30 minutes. Pop the baking sheet into the refrigerator. This firms up the balls and makes them easier to handle. They’ll be slightly soft but hold their shape perfectly.
- Transfer to storage container. After chilling, move the energy balls to an airtight container. Layer them between sheets of parchment paper if stacking.
The texture should be dense and chewy, not crumbly or wet. If your balls feel too soft after chilling, they might need more oats. If they feel too hard, they might need more liquid. Adjust the next batch accordingly.
Cooking Tips & Techniques
I made a lot of mistakes before I got these right. Here’s what I learned so you don’t have to repeat my errors.
Don’t overmix the dough. Once everything comes together, stop. Overmixing breaks down the oats and makes the texture pasty instead of chewy. You want visible oat pieces, not oat paste.
Wet hands are your best friend. The mixture is sticky by design. If you try to roll with dry hands, you’ll end up with dough all over your fingers and tiny misshapen balls. Dip your hands in water, shake off the excess, then roll. Re-wet between every 3 to 4 balls.
Chill before judging. Warm energy ball dough is always softer than the final product. Don’t decide to add more oats just because the dough feels loose. Let it chill for the full 30 minutes, then check the texture. Nine times out of ten, it’s perfect after chilling.
Protein powder matters. Different protein powders absorb liquid differently. Whey protein gives a softer, more neutral base. Plant-based proteins are thirstier and can make the balls dry if you don’t adjust the liquid. If you’re using a new protein powder, start with the recipe as written, then add liquid a teaspoon at a time until the consistency feels right.
Toast your oats for extra flavor. This is optional but amazing. Spread the oats on a baking sheet and toast them at 350°F for 8 to 10 minutes until fragrant and lightly golden. Let them cool completely before using. The nutty flavor takes these energy balls to another level.
Make a double batch. These disappear fast. I always make a double batch and freeze half. They thaw in about 10 minutes at room temperature, so you always have a snack ready.
Variations & Adaptations
This base recipe is incredibly flexible. Here are some variations I’ve tried and loved.
Chocolate Peanut Butter. Swap the vanilla protein powder for chocolate protein powder and add an extra tablespoon of cocoa powder. The chocolate-peanut butter combo is dangerous—in the best way.
Almond Joy. Replace peanut butter with almond butter, swap honey for maple syrup, and use shredded coconut instead of flaxseed. Add slivered almonds if you want crunch. These taste like candy bars but are actually good for you.
Vegan Version. Use maple syrup instead of honey and a plant-based protein powder. Most dark chocolate chips are dairy-free, but double-check the label. These turn out slightly softer but just as delicious.
Lower Sugar. Reduce the honey to 2 tablespoons and add an extra tablespoon of peanut butter. The protein powder adds sweetness, so you won’t miss the sugar. I make these version on days when I want something less sweet.
Nut-Free. Substitute sunflower seed butter for peanut butter. The color will turn slightly green from the natural reaction between sunflower seeds and baking soda, but the taste is unaffected. These are great for school lunches where nuts aren’t allowed. Pair them with mini chicken Caesar wraps for a complete lunchbox solution.
Add-Ins. Dried cranberries, chopped dates, shredded coconut, hemp seeds, or chopped nuts all work well. Keep the total add-in amount to about ¼ cup to maintain the right texture.
My personal favorite variation is adding a tablespoon of chia seeds and a teaspoon of cinnamon. The chia seeds add extra fiber and the cinnamon makes everything taste like dessert.
Serving & Storage Suggestions
These energy balls are best served cold or at room temperature. I prefer them straight from the fridge—they’re firmer and more satisfying that way.
Serving ideas:
- Grab one or two for a quick breakfast on busy mornings. They pair perfectly with a piece of fruit or a no-bake peanut butter oat energy bar for a more substantial meal.
- Pack them in lunchboxes as a healthy treat. Kids love them because they taste like cookies.
- Serve them after dinner when you want something sweet but don’t want to bake a whole dessert.
- Take them on hikes or road trips. They don’t melt or crumble, so they travel well.
- Keep a batch in your desk drawer for afternoon slumps. They’re way better than vending machine snacks.
Storage instructions:
- Refrigerator: Store in an airtight container for up to 2 weeks. They actually get better after a day or two as the flavors meld together.
- Freezer: Place the balls in a single layer on a baking sheet and freeze until solid, about 1 hour. Transfer to a freezer-safe bag or container. They keep for up to 3 months.
- Thawing: Let frozen balls sit at room temperature for 10 to 15 minutes, or eat them frozen—they’re like little protein ice cream bites.
Reheating: Don’t. These are meant to be eaten cold or at room temperature. Heating them makes the chocolate chips melt and the texture gets weird. Trust me, I tried it.
The flavors continue to develop over time. Day one is good. Day three is amazing. The oats soften slightly and everything blends together into this perfectly balanced bite. If you can wait that long.
Nutritional Information & Benefits
Here’s the approximate nutritional breakdown for one energy ball (based on 16 balls per batch):
| Nutrient | Amount per Ball |
|---|---|
| Calories | 135 |
| Protein | 7g |
| Carbohydrates | 15g |
| Fiber | 3g |
| Sugar | 8g |
| Fat | 7g |
| Saturated Fat | 2g |
| Sodium | 85mg |
These energy balls pack a serious nutritional punch. The rolled oats provide slow-release carbohydrates that keep your energy steady. Peanut butter adds healthy fats and protein that make these actually filling—not just empty calories. Flaxseed contributes omega-3 fatty acids and extra fiber, which supports digestive health. The protein powder boosts the protein content significantly, making these a legitimate post-workout snack or meal replacement option.
For anyone watching their sugar intake, these are a great alternative to store-bought granola bars, which often hide 15 to 20 grams of sugar per serving. These have about half that amount, with natural sweetness from honey and no artificial ingredients.
If you’re gluten-sensitive, use certified gluten-free oats. Most standard oats are processed in facilities that also handle wheat, so cross-contamination is possible. The rest of the ingredients are naturally gluten-free.
Conclusion
These easy high-protein energy balls have become a staple in my kitchen for a reason. They’re fast, forgiving, and actually good for you. No oven required, no fancy equipment, no complicated techniques. Just real ingredients that come together in fifteen minutes and keep you going all day long.
What I love most about this recipe is how customizable it is. You can make them your own—swap the nut butter, change the add-ins, adjust the sweetness to your taste. The base recipe works every time, and the variations let you keep things interesting. I’ve made these for road trips, post-workout snacks, lunchbox treats, and emergency breakfasts. They’ve never let me down.
Try these this week and see how they fit into your routine. Start with the basic recipe, then experiment with your favorite add-ins. I promise you’ll find yourself making batch after batch. And when you do, come back and tell me about your favorite variation in the comments. I’m always looking for new ideas to try.
Here’s to snacks that actually work as hard as you do.
Frequently Asked Questions
Can I use quick oats instead of rolled oats?
Yes, but the texture will be different. Quick oats are more processed and break down faster, resulting in a softer, less chewy ball. If you only have quick oats, reduce the resting time to 3 minutes and expect a denser final product. They still taste great, just with a different mouthfeel.
Why are my energy balls too dry?
This usually happens for one of three reasons: too much protein powder, not enough liquid, or the mixture didn’t rest long enough. Protein powders vary widely in absorbency. If your dough feels dry and crumbly, add 1 tablespoon of honey, milk, or water and mix again. Also make sure you let the dough rest for the full 5 minutes before rolling.
How long do these energy balls last?
In the refrigerator, they stay fresh for up to 2 weeks. In the freezer, they last up to 3 months. I’ve never had a batch last longer than that because they get eaten too fast. The texture stays consistent throughout the fridge storage period—they don’t get harder or softer over time.
Can I make these without protein powder?
Absolutely. Omit the protein powder and add an extra ¼ cup of oats plus 2 tablespoons of nut butter. The protein content will be lower, but they’ll still taste great and hold together well. You can also replace the protein powder with oat flour for a similar texture without the protein boost.
Are these energy balls safe for kids?
Yes, with one caveat. If the energy balls contain nut butter, they’re not safe for children with nut allergies. For nut-free versions, use sunflower seed butter or wow butter. The texture is slightly different but equally delicious. These make excellent lunchbox snacks and after-school treats for kids who don’t have nut allergies.
Pin This Recipe!
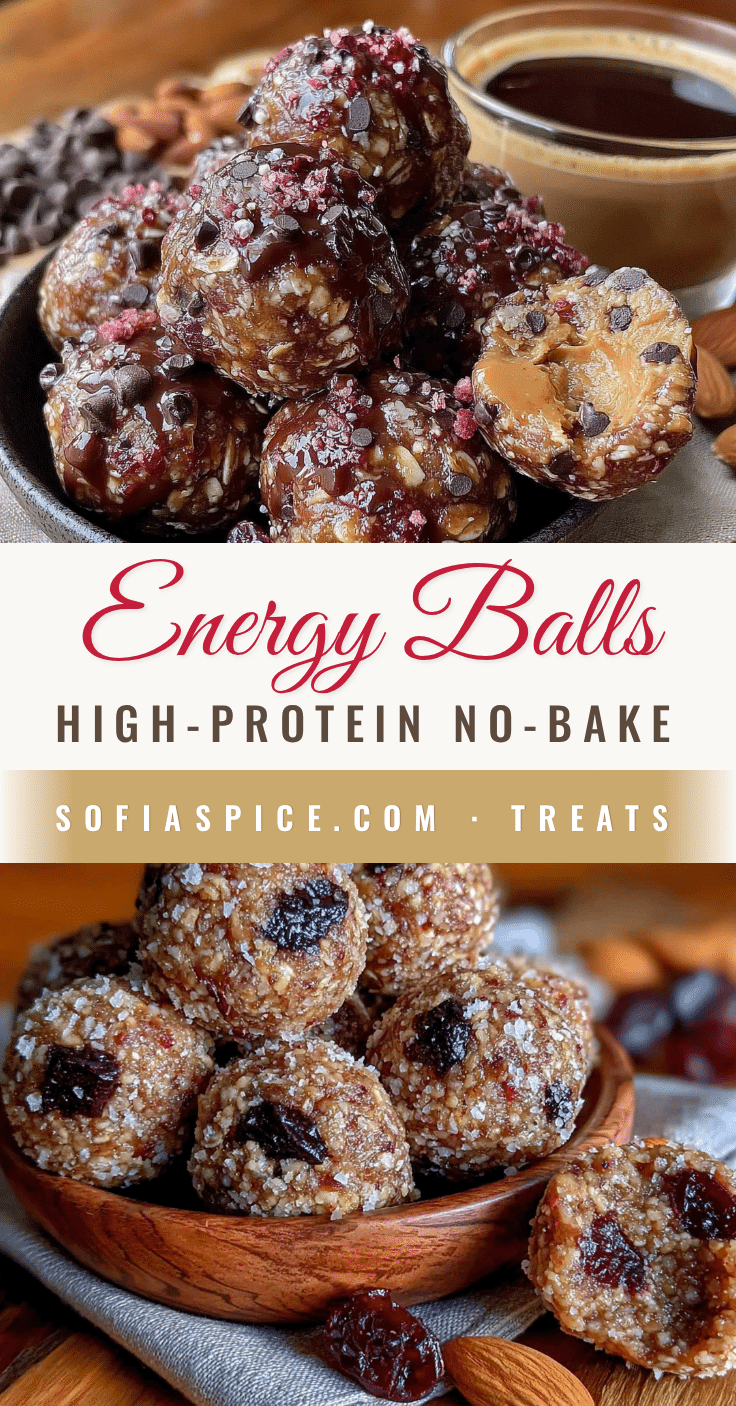
Easy High-Protein Energy Balls: Best No-Bake Snack

These no-bake energy balls are packed with protein and made with simple ingredients like rolled oats, peanut butter, and honey. They’re the perfect portable snack for busy mornings, post-workout refueling, or a healthy treat that actually keeps you full.
- Prep Time: 15 minutes
- Cook Time: 0 minutes
- Total Time: 45 minutes
- Yield: 16-18 balls 1x
- Category: Snack
- Cuisine: American
Ingredients
- 1 cup (90g) rolled oats
- ½ cup (130g) creamy peanut butter
- ¼ cup (60ml) honey or maple syrup
- ¼ cup (30g) vanilla protein powder
- 2 tablespoons (14g) ground flaxseed
- ¼ cup (45g) dark chocolate chips
- Pinch of sea salt
Instructions
- Combine the dry ingredients: In a large mixing bowl, add 1 cup rolled oats, ¼ cup vanilla protein powder, and 2 tablespoons ground flaxseed. Whisk them together until evenly distributed.
- Add the wet ingredients: Pour in ½ cup creamy peanut butter and ¼ cup honey. Don’t mix yet—just dump them on top of the dry ingredients.
- Mix until combined: Use a rubber spatula or wooden spoon to stir everything together. Start slow to avoid flinging oat pieces. Keep mixing until no dry spots remain, about 2 minutes of vigorous stirring.
- Fold in the chocolate chips: Add ¼ cup dark chocolate chips and a pinch of sea salt. Fold them in gently until evenly distributed.
- Let the mixture rest: Let the dough sit in the bowl for 5 minutes. This allows the oats to absorb moisture from the peanut butter and honey, transforming the texture from sticky and loose to firm and rollable.
- Check the consistency: After resting, the dough should hold together when pressed between your fingers. If too dry and crumbly, add 1 tablespoon of milk or water and mix again. If too sticky and wet, add 1 tablespoon of oats and mix.
- Roll into balls: Lightly wet your hands with water. Scoop about 1 tablespoon of dough and roll it between your palms into a smooth ball. Place each ball on a parchment-lined baking sheet. You should get about 16 to 18 balls.
- Chill for at least 30 minutes: Place the baking sheet in the refrigerator. This firms up the balls and makes them easier to handle.
- Transfer to storage container: After chilling, move the energy balls to an airtight container. Layer them between sheets of parchment paper if stacking.
Notes
Let the mixture rest for 5 minutes before rolling—this is crucial for texture. Wet your hands slightly before rolling to prevent sticking. Different protein powders absorb liquid differently; adjust with a tablespoon of milk or water if needed. For extra flavor, toast the oats at 350°F for 8-10 minutes before using. These keep in the fridge for up to 2 weeks and freeze for up to 3 months.
Nutrition
- Serving Size: 1 ball
- Calories: 135
- Sugar: 8
- Sodium: 85
- Fat: 7
- Saturated Fat: 2
- Carbohydrates: 15
- Fiber: 3
- Protein: 7
Keywords: energy balls, high-protein snack, no-bake, peanut butter, healthy snack, gluten-free option, meal prep, kid-friendly


