“Butternut squash mac and cheese? Isn’t that just healthy food in disguise?” My sister-in-law said that the first time I told her about this recipe. And honestly, I get the skepticism. So many “healthy” mac and cheese recipes taste like sad, grainy disappointment. But this one? This one is different.
It started on a rainy Tuesday last October. I had a butternut squash sitting on my counter that I bought with big soup intentions, but I just wasn’t feeling it. My toddler was refusing anything green, and my husband had texted saying he’d be home late. I needed something that felt like a hug in a bowl, but I also needed to sneak in some vegetables without anyone staging a protest at the dinner table.
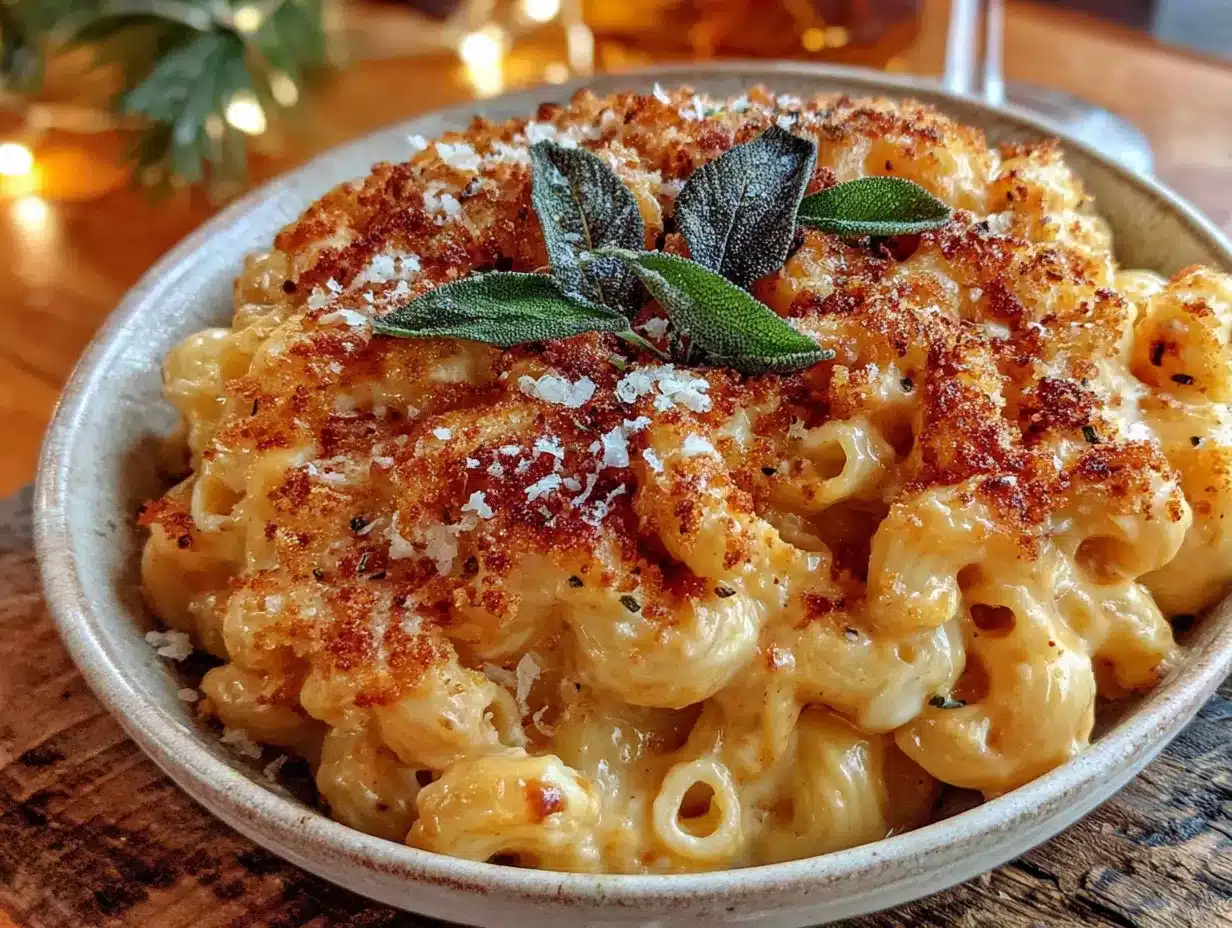
So I roasted that squash, tossed it in the blender with some milk and cheese, and poured it over a pound of pasta. The crispy sage on top? That was pure accident. I had some sage leaves wilting in the fridge and figured, why not? They turned all crispy and papery in the butter, and the smell alone made my kitchen feel like a fancy restaurant. My kid ate three servings. My husband asked for the leftovers for lunch the next day. And I sat there thinking, this is the kind of recipe you hold onto.
It’s not trying to be something it’s not. It’s just really, really good mac and cheese that happens to have a vegetable blended into the sauce. And that crispy sage? It’s not optional. Trust me on that.
Why You’ll Love This Recipe
This isn’t just another mac and cheese recipe you’ll forget about by next week. This is the one you’ll text your friends about. Here’s why it works:
- Ultra-Creamy Without Heavy Cream : The roasted butternut squash blends into the silkiest sauce you’ve ever made. No flour, no roux, no fuss.
- One Secret Ingredient Does All the Work : The squash adds natural sweetness and a velvety texture that heavy cream just can’t match. You won’t taste squash—you’ll taste comfort.
- Ready in Under 45 Minutes : Most of that time is just letting the squash roast. Active prep takes about 15 minutes, which means you can pull this together on a busy weeknight without breaking a sweat.
- Kid-Approved and Parent-Approved : My toddler has no idea there’s a vegetable in here. None. And honestly, I’m not telling.
- The Crispy Sage Is a Game Changer : It adds this nutty, herbaceous crunch that makes every bite feel special. You’ll want to put it on everything after this.
- Pantry-Friendly Ingredients : Nothing weird. Nothing expensive. If you’ve got pasta, cheese, and a butternut squash, you’re already halfway there.
This recipe has been tested by my family, my neighbor Karen (who is notoriously picky), and my friend’s kids who “don’t like orange food.” It passed all tests with flying colors. That’s the kind of trust you can take to the bank.
What Ingredients You Will Need
This recipe uses simple, wholesome ingredients to deliver bold flavor and satisfying texture without any fuss. Most of these are probably already in your kitchen—or at least easy to grab on your next grocery run.
For the Roasted Butternut Squash
- 1 medium butternut squash (about 2-2.5 pounds) — peeled, seeded, and cut into 1-inch cubes. Look for one that feels heavy for its size and has smooth, unblemished skin.
- 2 tablespoons olive oil — helps the squash caramelize beautifully in the oven. I prefer a good quality extra virgin here.
- ½ teaspoon salt — brings out the natural sweetness of the squash.
- ¼ teaspoon black pepper — just a touch for balance.
For the Creamy Sauce
- 2 cups whole milk — full-fat gives the creamiest result, but 2% works in a pinch. Avoid skim milk; it can make the sauce watery.
- 1 cup low-sodium chicken or vegetable broth — adds depth without making things too salty. I use Swanson chicken broth because it’s consistently good.
- 2 cloves garlic, smashed — infuses the sauce with gentle savory notes.
- 8 ounces sharp cheddar cheese, freshly grated (about 2 cups) — pre-shredded cheese has anti-caking agents that prevent smooth melting. Grate it yourself. It makes a real difference.
- 4 ounces Gruyère cheese, freshly grated (about 1 cup) — adds nuttiness and that irresistible stretch. If you can’t find Gruyère, fontina or Gouda work beautifully.
- 2 tablespoons unsalted butter — for richness and that silky finish.
- ½ teaspoon Dijon mustard — don’t skip this. It doesn’t make the sauce taste like mustard; it just sharpens the cheese flavor.
- ¼ teaspoon nutmeg, freshly grated if possible — sounds fancy but it’s the secret to making cheese sauces taste more complex.
For the Pasta and Topping
- 1 pound short pasta — cavatappi, shells, or elbow macaroni all work great. The ridges and curves catch all that creamy sauce.
- 2 tablespoons unsalted butter — for frying the sage.
- 12-15 fresh sage leaves — look for leaves that are vibrant green and not wilted. They’ll shrink when fried, so don’t be shy.
- ¼ cup panko breadcrumbs (optional, but recommended) — adds a light, crunchy topping. I like Progresso panko for its texture.
- Salt and pepper — to taste at the end.
Substitution Notes
If you’re dairy-sensitive, swap the whole milk for unsweetened oat milk and use a dairy-free cheddar shreds blend. The texture won’t be quite as luxurious, but it’s still darn good. For a gluten-free version, use your favorite gluten-free pasta and gluten-free panko. The sauce itself is naturally gluten-free if you skip the breadcrumb topping.
Equipment Needed
You don’t need a fancy kitchen to make this recipe sing. Here’s what you’ll actually use:
- Baking sheet — rimmed, preferably. Line it with parchment paper for easy cleanup.
- Large pot — for boiling pasta. A 5-6 quart pot gives you plenty of room.
- Blender or food processor — this is how we get that impossibly smooth sauce. I use my Vitamix and it purees the squash in about 30 seconds. A regular blender works fine too; just let it run a little longer.
- Medium saucepan — for heating the milk and broth mixture.
- Small skillet — for frying the sage leaves. A non-stick skillet makes this step foolproof.
- Box grater — please, for the love of cheese, grate it yourself. A microplane works well for the nutmeg too.
- Wooden spoon or silicone spatula — for stirring the sauce without scratching your pots.
- 9×13-inch baking dish — if you’re baking it for a crispy top. But honestly, you can skip this step and serve it straight from the pot. No judgment here.
If you don’t have a blender, you can mash the roasted squash really well with a potato masher and whisk it into the milk mixture. The texture won’t be quite as velvety, but it’ll still be delicious. I’ve done it that way when my blender was in the dishwasher, and nobody complained.
Preparation Method
Step 1: Roast the Butternut Squash
Preheat your oven to 400°F (200°C). Toss the cubed butternut squash with olive oil, salt, and pepper on your baking sheet. Spread them in a single layer—crowding them will make them steam instead of roast. Roast for 25-30 minutes, flipping halfway through, until the squash is fork-tender and the edges are starting to brown. You’ll smell a sweet, nutty aroma when it’s ready. Let it cool for about 5 minutes before moving to the next step.
Step 2: Cook the Pasta
While the squash roasts, bring a large pot of salted water to a boil. Add your pasta and cook according to package directions until al dente. For cavatappi, that’s usually about 8-9 minutes. Drain the pasta, reserving about ½ cup of the pasta water (just in case you need to thin the sauce later). Don’t rinse the pasta—you want that starch to help the sauce cling.
Step 3: Make the Creamy Butternut Sauce
In a medium saucepan, combine the milk, broth, and smashed garlic cloves. Warm over medium heat until it’s steaming but not boiling—about 3-4 minutes. You should see small bubbles around the edges but no rolling boil.
Transfer the roasted squash to your blender. Remove the garlic cloves from the milk mixture (they’ve done their job) and pour the warm milk mixture into the blender with the squash. Blend on high until completely smooth. This takes about 45 seconds in a high-speed blender, maybe a minute in a standard one. The mixture should look like thick, velvety pumpkin soup. Taste it here—it should be sweet and savory with a hint of garlic.
Step 4: Assemble the Cheese Sauce
Return the blender mixture to the saucepan over low heat. Add the butter, Dijon mustard, and nutmeg. Whisk until the butter is fully melted and incorporated. Now, here’s the important part: remove the pan from the heat before adding the cheese. If the sauce is too hot, the cheese will seize up and turn grainy. Let it cool for about 30 seconds, then gradually add the shredded cheddar and Gruyère, a handful at a time, whisking constantly until each addition is fully melted before adding the next. The sauce should be glossy, smooth, and thick enough to coat the back of a spoon.
Step 5: Combine Pasta and Sauce
Pour the cheese sauce over the drained pasta and stir until every piece is coated. If the sauce seems too thick, add a splash of the reserved pasta water to loosen it up. The sauce will continue to thicken as it sits, so don’t worry if it looks a little loose at first.
Step 6: Make the Crispy Sage and Topping
In a small skillet, melt 2 tablespoons of butter over medium heat. Once it’s bubbling, add the sage leaves in a single layer. They’ll sizzle immediately. Cook for about 20-30 seconds per side, until they turn darker green and look crisp. Transfer them to a paper towel-lined plate. They’ll crisp up further as they cool. If you’re using panko, toast the breadcrumbs in the same skillet for about 2 minutes until golden, then stir in a pinch of salt.
Step 7: Serve
If you want that bubbly, golden top, transfer the mac and cheese to a 9×13-inch baking dish, sprinkle with the toasted panko, and broil for 2-3 minutes. Watch it carefully—broilers work fast. Otherwise, just spoon it into bowls, crumble the crispy sage over the top, and serve immediately. The sage should shatter when you bite into it.
Cooking Tips & Techniques
I’ve made this recipe maybe two dozen times now, and I’ve learned a few things the hard way so you don’t have to.
Don’t rush the roasting. I know it’s tempting to microwave the squash to save time, but you lose all that caramelized flavor. The browning on the squash is where the magic happens—it adds a sweetness that balances the sharp cheddar perfectly. I once tried boiling the squash instead, and the sauce came out watery and bland. Never again.
Low heat is your friend when melting cheese. The number one mistake people make with cheese sauce is cranking up the heat to speed things up. That’s how you get a sauce that’s grainy and separated. Keep the heat low, be patient, and your sauce will be as smooth as silk. I speak from experience—I ruined a perfectly good batch of mac and cheese last Thanksgiving because I got distracted and let the sauce simmer. It was a sad, lumpy mess.
Grate your own cheese. I know, I know, it’s an extra step. But pre-shredded cheese is coated with cellulose and starches to prevent clumping, and those same additives prevent smooth melting. Spend the three minutes grating a block of cheddar. Your sauce will thank you.
Timing is everything. Start your pasta water boiling while the squash roasts. By the time the squash is done, the pasta is ready to drain, and you can make the sauce while the pasta waits. It’s a beautiful, efficient dance. I’ve got the perfect thermos-friendly mac and cheese recipe that uses a similar timing strategy for school lunches.
Don’t skip the nutmeg. I know it sounds weird in mac and cheese, but nutmeg has this magical ability to make dairy taste more dairy. It brings out the richness without adding any obvious spice flavor. Just a pinch is all you need.
Variations & Adaptations
One of the best things about this recipe is how flexible it is. Here are some ways I’ve tweaked it over the years:
Add Some Protein
Stir in 2 cups of shredded rotisserie chicken or crispy bacon bits right before serving. It turns this from a side dish into a full meal. I’ve also added leftover sticky honey garlic chicken thighs chopped into bite-sized pieces, and it was incredible.
Make It Spicy
Add ½ teaspoon of smoked paprika and a pinch of cayenne pepper to the sauce. The warmth cuts through the richness beautifully. My husband requests this version every time.
Go Dairy-Free
Use unsweetened oat milk and a dairy-free cheddar shreds blend. The sauce won’t be quite as thick, but the squash helps maintain a creamy texture. I’d recommend adding an extra tablespoon of nutritional yeast for that cheesy flavor.
Swap the Squash
No butternut squash? Use roasted sweet potato, pumpkin, or even carrots. Each will give a slightly different sweetness level, but they all work. I’ve made this with roasted pumpkin before, and it was perfect for fall. You might also enjoy my creamy roasted butternut squash soup if you have extra squash on hand.
Try Different Cheeses
Gruyère is my favorite, but smoked Gouda adds a whole new dimension. For a sharper kick, use extra-sharp white cheddar. I’ve even used a mix of Monterey Jack and Parmesan in a pinch, and it was still fantastic.
Serving & Storage Suggestions
This mac and cheese is best served immediately, while the sauce is still warm and velvety and the sage leaves are crispy. Spoon it into wide bowls and let everyone crumble their own sage on top—it makes for a nice little moment at the table.
It pairs beautifully with a simple green salad dressed with lemon vinaigrette to cut through the richness. A side of roasted broccoli or green beans works too. For drinks, a crisp Sauvignon Blanc or a light lager balances the creamy sauce perfectly.
Storing Leftovers: Transfer cooled mac and cheese to an airtight container and refrigerate for up to 4 days. The sauce will thicken as it sits, which is totally normal.
Reheating: The best way to reheat is in a skillet over medium-low heat with a splash of milk. Stir gently until warmed through. The microwave works in a pinch, but add a tablespoon of milk per serving and stir halfway through. The texture won’t be quite as creamy, but it’s still delicious.
Freezing: You can freeze this mac and cheese for up to 3 months. Let it cool completely, then transfer to a freezer-safe container. Thaw overnight in the fridge before reheating. I like to portion it into individual servings so I can grab one for a quick lunch. The sauce may separate slightly after freezing, but a good stir while reheating brings it back together.
Flavor Development: Honestly, this mac and cheese tastes even better the next day. The flavors meld together overnight, and the squash sweetness becomes more pronounced. If you’re meal-prepping, make it a day ahead and just reheat when you’re ready.
Nutritional Information & Benefits
Here’s the approximate nutritional breakdown per serving (based on 8 servings):
- Calories: 485
- Protein: 22g
- Carbohydrates: 52g
- Fat: 22g
- Fiber: 5g
- Sugar: 8g
- Sodium: 620mg
Butternut squash is packed with vitamin A, vitamin C, and fiber. It’s also a great source of antioxidants like beta-carotene. So while this is still a comfort food indulgence (it’s mac and cheese, after all), you’re getting some serious nutritional benefits from that hidden squash.
This recipe is naturally vegetarian and can be made gluten-free with simple swaps. It contains dairy and gluten (unless modified). If you’re looking for a lighter option, you can reduce the cheese by half and increase the squash puree—it’ll still be creamy, just less decadent.
I love that I can serve this to my family knowing they’re getting a serving of vegetables without any complaints. It’s comfort food that actually nourishes, and that’s a win in my book.
Frequently Asked Questions
Can I use frozen butternut squash instead of fresh?
Yes, absolutely. Frozen butternut squash works perfectly here. Just thaw it first and pat it dry with paper towels to remove excess moisture before roasting. The roasting time may be slightly shorter, so keep an eye on it.
Why did my cheese sauce turn out grainy?
This usually happens when the sauce is too hot when you add the cheese, or when you use pre-shredded cheese. Make sure to remove the pan from the heat before adding the cheese, and always grate your own from a block. If your sauce does get grainy, try whisking in a splash of cold milk—sometimes that helps smooth it out.
Can I make this ahead of time?
Definitely. You can assemble the entire dish (without the crispy sage topping) and refrigerate it for up to 2 days before baking. When you’re ready to serve, bake at 350°F for 20-25 minutes, then add the crispy sage and broil for 2 minutes. The flavors actually get better overnight.
How do I make the crispy sage without it burning?
Keep the heat at medium and watch the leaves closely. They cook very quickly—usually 20-30 seconds per side. The leaves should darken slightly and look dry, but they shouldn’t turn brown. Transfer them to a paper towel immediately to stop the cooking process. They’ll crisp up as they cool.
Can I use a different pasta shape?
Absolutely. Any short pasta with ridges or curves works well because they hold onto the sauce. I’ve used shells, rotini, fusilli, and even bow ties. Just avoid long, thin pasta like spaghetti—the sauce doesn’t cling as well. Cavatappi is my personal favorite because those corkscrew shapes trap all that creamy goodness.
Conclusion
This creamy butternut squash mac and cheese with crispy sage is the kind of recipe that makes you feel like you’ve discovered something special. It’s comfort food that doesn’t weigh you down, indulgence that sneaks in some real nutrition, and it’s fancy enough for company but easy enough for a Tuesday night.
The first time I made it, I stood over the stove eating it straight from the pot. No bowl, no fork—just a spoon and zero shame. That’s the kind of effect this recipe has on people. It’s cozy and satisfying and just a little bit unexpected.
I’d love to hear how it turns out for you. Did you add bacon? Swap the cheese? Make it for a crowd? Drop a comment below and let me know—I read every single one. And if you snap a photo, tag me so I can see your crispy sage in all its glory.
Here’s to finding comfort in a bowl, one spoonful at a time.
Pin This Recipe!
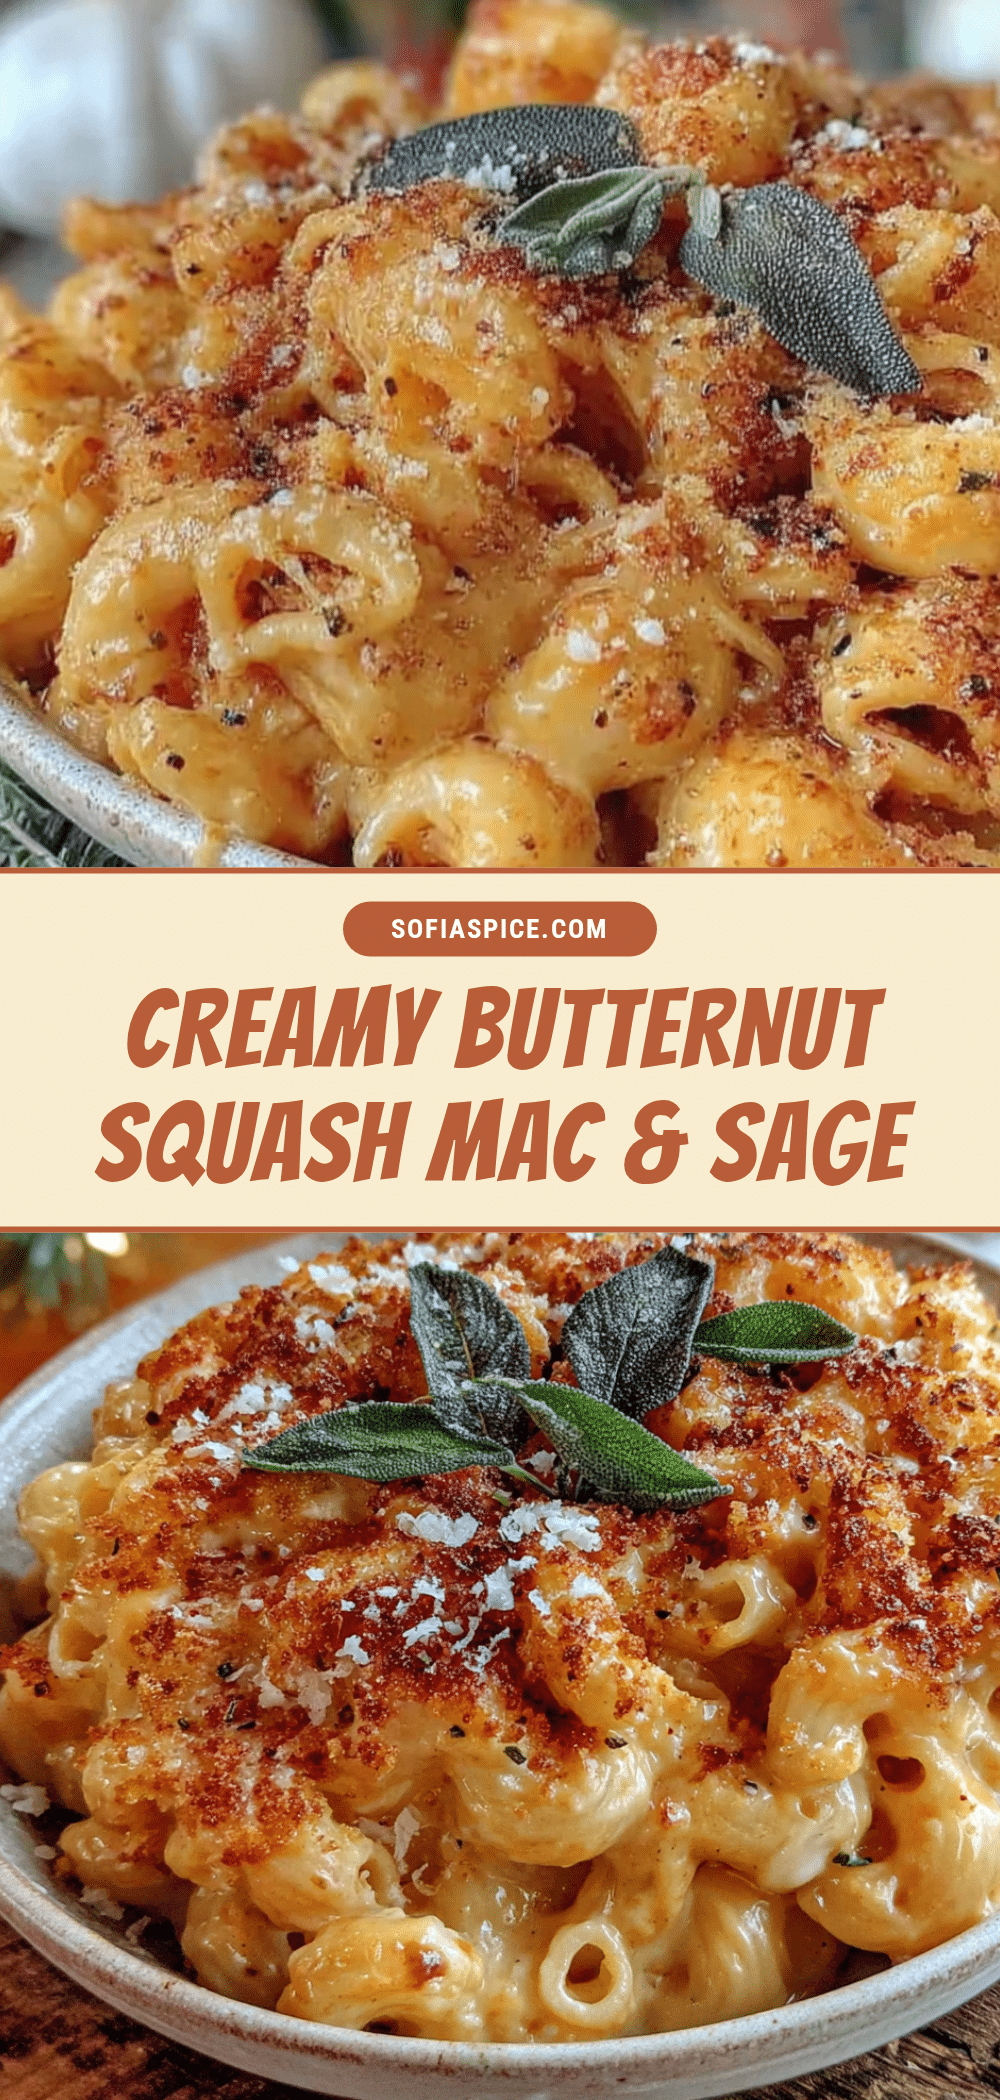
Creamy Butternut Squash Mac and Cheese with Crispy Sage

This ultra-creamy mac and cheese hides a velvety butternut squash sauce that adds natural sweetness and nutrition without sacrificing flavor. Topped with crispy sage leaves, it’s a comforting, kid-approved weeknight dinner that comes together in under 45 minutes.
- Prep Time: 15 minutes
- Cook Time: 30 minutes
- Total Time: 45 minutes
- Yield: 8 servings 1x
- Category: Main Course
- Cuisine: American
Ingredients
- 1 medium butternut squash (about 2–2.5 pounds), peeled, seeded, and cut into 1-inch cubes
- 2 tablespoons olive oil
- ½ teaspoon salt
- ¼ teaspoon black pepper
- 2 cups whole milk
- 1 cup low-sodium chicken or vegetable broth
- 2 cloves garlic, smashed
- 8 ounces sharp cheddar cheese, freshly grated (about 2 cups)
- 4 ounces Gruyère cheese, freshly grated (about 1 cup)
- 2 tablespoons unsalted butter
- ½ teaspoon Dijon mustard
- ¼ teaspoon nutmeg, freshly grated if possible
- 1 pound short pasta (cavatappi, shells, or elbow macaroni)
- 2 tablespoons unsalted butter (for frying sage)
- 12–15 fresh sage leaves
- ¼ cup panko breadcrumbs (optional)
- Salt and pepper to taste
Instructions
- Preheat oven to 400°F (200°C). Toss cubed butternut squash with olive oil, salt, and pepper on a rimmed baking sheet. Spread in a single layer and roast for 25-30 minutes, flipping halfway, until fork-tender and edges are browned. Let cool for 5 minutes.
- While squash roasts, bring a large pot of salted water to a boil. Cook pasta according to package directions until al dente. Drain, reserving ½ cup pasta water. Do not rinse.
- In a medium saucepan, combine milk, broth, and smashed garlic cloves. Warm over medium heat until steaming but not boiling (about 3-4 minutes). Remove garlic cloves.
- Transfer roasted squash to a blender. Pour warm milk mixture into blender. Blend on high until completely smooth (about 45 seconds to 1 minute).
- Return blender mixture to saucepan over low heat. Add butter, Dijon mustard, and nutmeg. Whisk until butter is melted. Remove pan from heat and let cool for 30 seconds. Gradually add shredded cheddar and Gruyère, a handful at a time, whisking constantly until each addition is fully melted and sauce is glossy and smooth.
- Pour cheese sauce over drained pasta and stir until coated. If sauce is too thick, add a splash of reserved pasta water.
- In a small skillet, melt 2 tablespoons butter over medium heat. Add sage leaves in a single layer and cook for 20-30 seconds per side until crisp. Transfer to paper towel-lined plate. If using panko, toast breadcrumbs in same skillet for 2 minutes until golden; stir in a pinch of salt.
- Serve immediately: spoon mac and cheese into bowls, crumble crispy sage on top, and sprinkle with toasted panko if desired. For a bubbly top, transfer to a 9×13-inch baking dish, top with panko, and broil for 2-3 minutes.
Notes
Don’t rush the roasting—caramelization adds sweetness. Always grate your own cheese for smooth melting. Low heat is key when melting cheese to avoid graininess. The crispy sage is not optional; it adds a nutty, herbaceous crunch. For dairy-free, use unsweetened oat milk and dairy-free cheddar. For gluten-free, use gluten-free pasta and panko. Leftovers keep in the fridge for up to 4 days; reheat in a skillet with a splash of milk. Freezes well for up to 3 months.
Nutrition
- Serving Size: 1 serving (about 1 c
- Calories: 485
- Sugar: 8
- Sodium: 620
- Fat: 22
- Saturated Fat: 12
- Carbohydrates: 52
- Fiber: 5
- Protein: 22
Keywords: butternut squash mac and cheese, creamy mac and cheese, hidden vegetable mac and cheese, crispy sage mac and cheese, easy weeknight dinner, kid-friendly mac and cheese


