Third time in two weeks I made this green bean casserole, and this time I didn’t even wait for a holiday. It was a random Tuesday, the house smelled like sage and cream, and I stood over the stove stirring the sauce thinking—this is the one. Not the version my aunt brings to Thanksgiving (bless her heart, it’s soup straight from the can), and not the one I used to throw together in a panic. This one. The one that actually tastes like someone cared.
I kept making it because something about the balance kept pulling me back. The beans stay snappy, not mushy. The sauce is rich but not heavy—like it knows when to stop. And the onions on top? They stay crunchy even after sitting in the fridge overnight. That’s not normal. That’s the kind of detail that makes you obsess over a casserole.
Here’s what I figured out: the secret isn’t a secret ingredient. It’s timing. And a little bit of patience. This make-ahead creamy green bean casserole changed how I think about holiday cooking, and honestly, it changed how I think about vegetables in general. I never thought I’d say a green bean casserole could be the thing I look forward to most on the table. But here we are.
Why You’ll Love This Recipe
This isn’t your grandma’s green bean casserole—okay, maybe it is, but with a few upgrades that make all the difference. I tested this recipe six times before I got it right, and every single batch taught me something new about what makes a casserole truly great.
- Make-Ahead Magic: Assemble it the day before, pop it in the fridge, and bake when you’re ready. No last-minute scrambling.
- Real Creaminess: We’re using actual cream and a proper roux here, not a can of soup. The texture is silky, not gloppy.
- Crunch That Lasts: The crispy onions stay crunchy even after refrigeration. I tested this. It works.
- Perfect for Crowds: Doubles beautifully, feeds a hungry table, and everyone asks for the recipe.
- Simple Ingredients: Nothing weird. Nothing you can’t find at a regular grocery store.
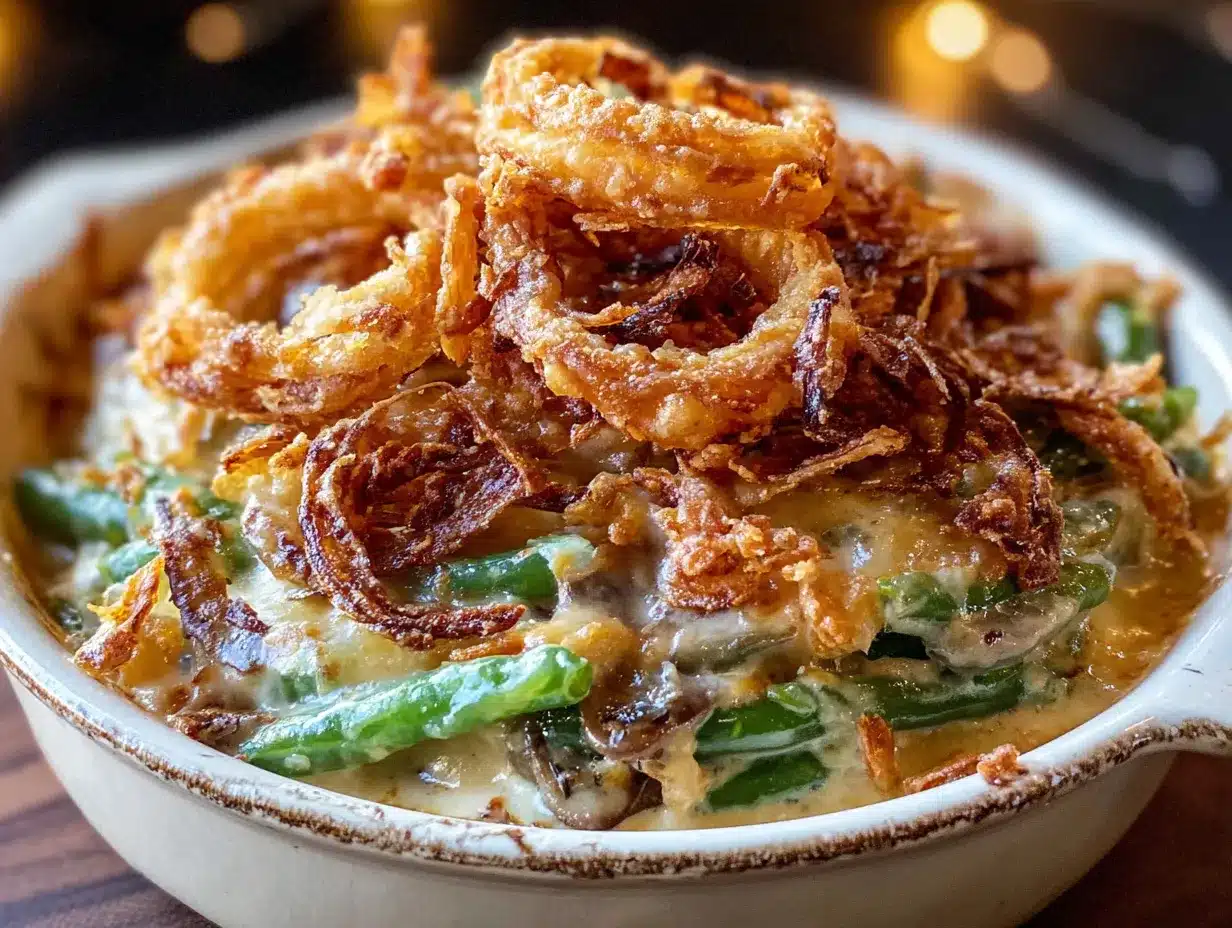
What makes this different from the rest? It’s the technique. I blanch the beans just enough to keep them bright and crisp. I build the sauce from scratch with real butter and heavy cream. And I layer the crispy onions in the middle and on top so every bite has that crunch. It’s comfort food that actually tastes like food, not like a shortcut.
This is the kind of dish that makes people close their eyes after the first bite. It’s familiar but better. And the best part? You can make it ahead, relax, and actually enjoy your meal with everyone else.
What Ingredients You Will Need
This recipe keeps things simple. You don’t need a specialty store or a culinary degree—just good ingredients and a little attention to detail. Here’s what you’ll need and why each one matters.
For the Green Beans
- Fresh green beans, 2 pounds, trimmed and halved – Fresh makes a huge difference here. Frozen will work in a pinch, but the texture won’t be as snappy. Look for bright, firm beans without any brown spots.
- Kosher salt, 1 tablespoon (for blanching water) – Salting the water seasons the beans from the inside out. Don’t skip this.
For the Creamy Mushroom Sauce
- Unsalted butter, 4 tablespoons (½ stick) – I use Kerrygold for the richness, but any good unsalted butter works. Salted butter will make the sauce too salty, so stick with unsalted.
- Cremini mushrooms, 12 ounces, sliced – Baby bellas have more flavor than white mushrooms. Slice them about ¼-inch thick so they cook evenly.
- Yellow onion, 1 medium, finely diced – About 1 cup once chopped. The onion melts into the sauce and adds sweetness.
- Garlic, 3 cloves, minced – Fresh garlic only. The jarred stuff tastes flat here.
- All-purpose flour, ¼ cup – This thickens the sauce. For a gluten-free version, use a 1:1 gluten-free flour blend.
- Chicken or vegetable broth, 1½ cups – Low-sodium is best so you control the salt. I prefer chicken broth for depth, but vegetable works beautifully.
- Heavy cream, 1 cup – This is what makes it creamy. Half-and-half will work but won’t be as luscious.
- Whole milk, ½ cup – Balances the richness so the sauce isn’t too heavy.
- Fresh thyme, 1 teaspoon (leaves only) – Adds an earthy, slightly floral note. Dried thyme works too—use ½ teaspoon.
- Freshly ground black pepper, ½ teaspoon – Freshly ground makes a difference. Pre-ground pepper is dusty and flat.
- Kosher salt, ½ teaspoon (or to taste) – Adjust at the end. Different broths have different salt levels.
For the Topping
- Crispy fried onions, 2½ cups, divided – I use French’s, but any brand works. You’ll use some in the middle and some on top.
- Fresh parsley, 2 tablespoons, chopped (optional, for garnish) – Adds a pop of color and freshness. Not mandatory, but pretty.
Equipment Needed
You don’t need fancy equipment for this one. Here’s what I use and what you can swap in if needed.
- Large pot (for blanching) – A 6-quart pot works perfectly. You need enough water to fully submerge the beans.
- Large bowl of ice water – This stops the cooking immediately after blanching. A big mixing bowl filled with ice and water does the trick.
- Colander – For draining the beans.
- Large skillet or sauté pan – A 12-inch skillet gives you enough room to cook the mushrooms without overcrowding.
- 9×13-inch baking dish – This is the standard size. A 3-quart casserole dish works too.
- Whisk – Essential for a smooth sauce. A wooden spoon works in a pinch, but a whisk is better.
- Measuring cups and spoons – I recommend metal or glass for accuracy.
- Sharp knife and cutting board – A good chef’s knife makes trimming beans and dicing onions much faster.
I’ve made this in a ceramic dish and a glass one—both work fine. The ceramic holds heat a little better, but honestly, don’t overthink it. If you have a 9×13, you’re good.
Preparation Method
Let’s walk through this step by step. I’ve included timing cues and visual markers so you know exactly what to look for.
Step 1: Blanch the Green Beans
Bring a large pot of water to a rolling boil. Add 1 tablespoon of kosher salt—this seasons the beans. Drop in the trimmed green beans and cook for exactly 3 minutes. They should turn bright green and still have a little snap when you bite one. While they cook, fill a large bowl with ice and cold water. Drain the beans and immediately plunge them into the ice bath. This stops the cooking and locks in that bright color. Let them sit for 2-3 minutes, then drain well and pat dry with a clean kitchen towel. Set aside.
Step 2: Cook the Mushrooms and Onions
In a large skillet over medium-high heat, melt 2 tablespoons of butter. Add the sliced mushrooms in a single layer—don’t crowd the pan. Let them cook without stirring for 3-4 minutes until they’re golden brown on one side. Stir and cook another 2-3 minutes until all the moisture has evaporated and they’re nicely browned. Add the diced onion and cook 4-5 minutes until softened and translucent. Stir in the minced garlic and cook 30 seconds until fragrant. Transfer everything to a plate and set aside.
Step 3: Make the Cream Sauce
In the same skillet (don’t wipe it out—all that flavor is gold), melt the remaining 2 tablespoons of butter over medium heat. Whisk in the flour and cook for 1-2 minutes, stirring constantly. This cooks out the raw flour taste. The mixture should look like wet sand and smell slightly nutty. Slowly pour in the chicken broth while whisking continuously to prevent lumps. Then whisk in the heavy cream and milk. Bring the sauce to a gentle simmer—you’ll see small bubbles around the edges—and cook for 3-4 minutes until it thickens enough to coat the back of a spoon. Stir in the fresh thyme, black pepper, and salt. Taste it. Adjust the salt if needed.
Step 4: Combine Everything
Return the cooked mushrooms and onions to the skillet with the sauce. Stir in the blanched green beans. Gently fold everything together until the beans are evenly coated. The sauce should cling to the beans without being soupy. If it looks too thick, add a splash of milk. If it’s too thin, let it simmer another minute.
Step 5: Assemble the Casserole
Preheat your oven to 375°F. Transfer half of the green bean mixture to a 9×13-inch baking dish. Sprinkle 1 cup of crispy fried onions evenly over the top. Add the remaining green bean mixture and spread it into an even layer. Cover the dish tightly with foil and refrigerate if making ahead. If baking immediately, proceed to Step 6.
Step 6: Bake and Finish
Bake the covered casserole for 25 minutes (30 minutes if it’s coming straight from the fridge). Remove the foil, sprinkle the remaining 1½ cups of crispy onions on top, and bake uncovered for another 10-12 minutes until the topping is golden and the sauce is bubbly around the edges. Let it rest for 5 minutes before serving. Garnish with fresh parsley if you want.
Cooking Tips & Techniques
I learned most of these the hard way—by making mistakes. Here’s what I wish someone had told me.
- Don’t overcook the beans. Three minutes in boiling water is non-negotiable. Any longer and they’ll turn limp and olive-colored. The ice bath is your friend.
- Dry the beans thoroughly. After blanching, really pat them dry. Extra water will thin out your sauce and make everything watery.
- Brown the mushrooms properly. They need space in the pan. If you crowd them, they’ll steam instead of brown. Work in batches if your skillet is small.
- Whisk constantly when adding liquid. Lumps happen fast. A whisk gives you more control than a spoon. If you do get lumps, strain the sauce through a fine-mesh sieve—nobody will know.
- Taste the sauce before adding the beans. This is your last chance to adjust seasoning. Once the beans go in, it’s harder to fix.
- Let it rest after baking. Five minutes lets the sauce settle so it doesn’t run all over the plate. I know it’s hard to wait, but it matters.
I once forgot to blanch the beans and just threw them in raw. The casserole took forever to bake and the beans were still crunchy in a bad way. Learn from my mistakes.
Variations & Adaptations
This recipe is flexible. Here are some ways to make it your own.
- Gluten-Free: Use a 1:1 gluten-free flour blend in the roux. The texture will be slightly different but still creamy and delicious.
- Dairy-Free: Substitute the butter with vegan butter or olive oil, use full-fat coconut milk or oat cream instead of heavy cream, and swap the milk for unsweetened oat or almond milk. The flavor will shift but it’s still really good.
- Add Protein: Stir in 2 cups of shredded rotisserie chicken or cooked bacon crumbles for a main-dish version. I’ve done this for potlucks and it disappears fast.
- Roasted Mushrooms: Instead of sautéing, roast the mushrooms at 400°F for 15 minutes. They get even more concentrated flavor and a slightly chewy texture.
- Seasonal Twist: Add ½ cup of roasted red peppers or caramelized shallots in the fall. In spring, toss in some fresh peas or asparagus tips alongside the green beans.
- Extra Crunch: Mix ½ cup of panko breadcrumbs with 2 tablespoons of melted butter and sprinkle over the crispy onions before baking. It adds another layer of texture.
My favorite variation? I add a handful of crispy bacon bits and a sprinkle of smoked paprika. It gives the whole thing a subtle smoky depth that’s just incredible.
Serving & Storage Suggestions
This casserole is a workhorse. Here’s how to serve it and keep it at its best.
Serving: Serve warm, straight from the oven. It’s perfect alongside a creamy one pan Tuscan chicken thighs for a full comfort meal, or next to a savory hatch chili cheddar cornbread muffin for a cozy dinner. It also pairs beautifully with roast turkey, ham, or even a simple crispy boneless chicken thighs with garlic herb pan sauce.
Storage: Leftovers keep in an airtight container in the refrigerator for up to 4 days. The crispy onions will soften over time, but the flavor stays great. To reheat, pop individual portions in the microwave or reheat the whole dish in a 350°F oven for 10-15 minutes.
Freezing: Assemble the casserole completely (without the final crispy onion topping) and freeze it for up to 3 months. Wrap tightly in foil and then a layer of plastic wrap. To bake from frozen, add about 15-20 minutes to the covered baking time, then add the onions and bake uncovered until golden.
Make-Ahead Timeline: You can assemble this casserole up to 24 hours in advance. Keep it covered in the fridge. Add the crispy onions just before baking so they stay crunchy. The flavors actually meld together beautifully overnight—I think it tastes even better the next day.
Nutritional Information & Benefits
Here’s an approximate nutritional breakdown per serving (based on 8 servings):
- Calories: 285
- Total Fat: 18g
- Saturated Fat: 10g
- Cholesterol: 48mg
- Sodium: 520mg
- Total Carbohydrates: 24g
- Dietary Fiber: 4g
- Sugars: 6g
- Protein: 7g
Green beans are a solid source of vitamin K, vitamin C, and fiber. Mushrooms provide B vitamins and selenium, which supports immune function. This isn’t health food, but it’s real food made from whole ingredients—and that counts for something. If you’re watching sodium, use low-sodium broth and skip the added salt in the sauce until the end. For a lighter version, swap the heavy cream for half-and-half and reduce the butter to 3 tablespoons.
Conclusion
This make-ahead creamy green bean casserole is the kind of recipe that earns a permanent spot in your rotation. It’s reliable, crowd-pleasing, and somehow tastes even better when you make it ahead. The beans stay crisp, the sauce is rich without being heavy, and that crunchy onion topping is the finishing touch that makes everyone reach for seconds.
I love this recipe because it lets me be present at the table instead of stuck in the kitchen. When you make it ahead, you get to actually enjoy the meal with the people you’re cooking for. And honestly, that’s the whole point.
Give it a try. Customize it however you like—add bacon, swap the mushrooms, throw in some roasted peppers. Make it your own. And when you do, come back and let me know how it turned out. Drop a comment, share a photo, or tag me in your post. I love seeing what you create.
Happy cooking, friend. You’ve got this.
Frequently Asked Questions
Can I use frozen green beans instead of fresh?
Yes, but the texture won’t be as snappy. If using frozen, thaw them completely and pat them very dry before adding to the sauce. Skip the blanching step—frozen beans are already blanched.
How far ahead can I make this casserole?
You can assemble it up to 24 hours in advance. Keep it covered in the fridge and add the crispy onion topping just before baking. The flavors actually get better overnight.
Why did my sauce turn out lumpy?
Lumps usually happen when you add the liquid too quickly or don’t whisk enough. Pour the broth in a slow, steady stream while whisking constantly. If you still get lumps, strain the sauce through a fine-mesh sieve before adding the beans.
Can I double this recipe?
Absolutely. Double all the ingredients and use a 9×13-inch baking dish—it will be full but manageable. You may need to increase the baking time by 5-10 minutes. Check for bubbly edges and a golden topping.
How do I keep the crispy onions from getting soggy?
Add them only during the last 10-12 minutes of baking. If you’re making ahead, store the onions separately in a sealed bag at room temperature and sprinkle them on right before the final bake.
Pin This Recipe!
Make-Ahead Creamy Green Bean Casserole

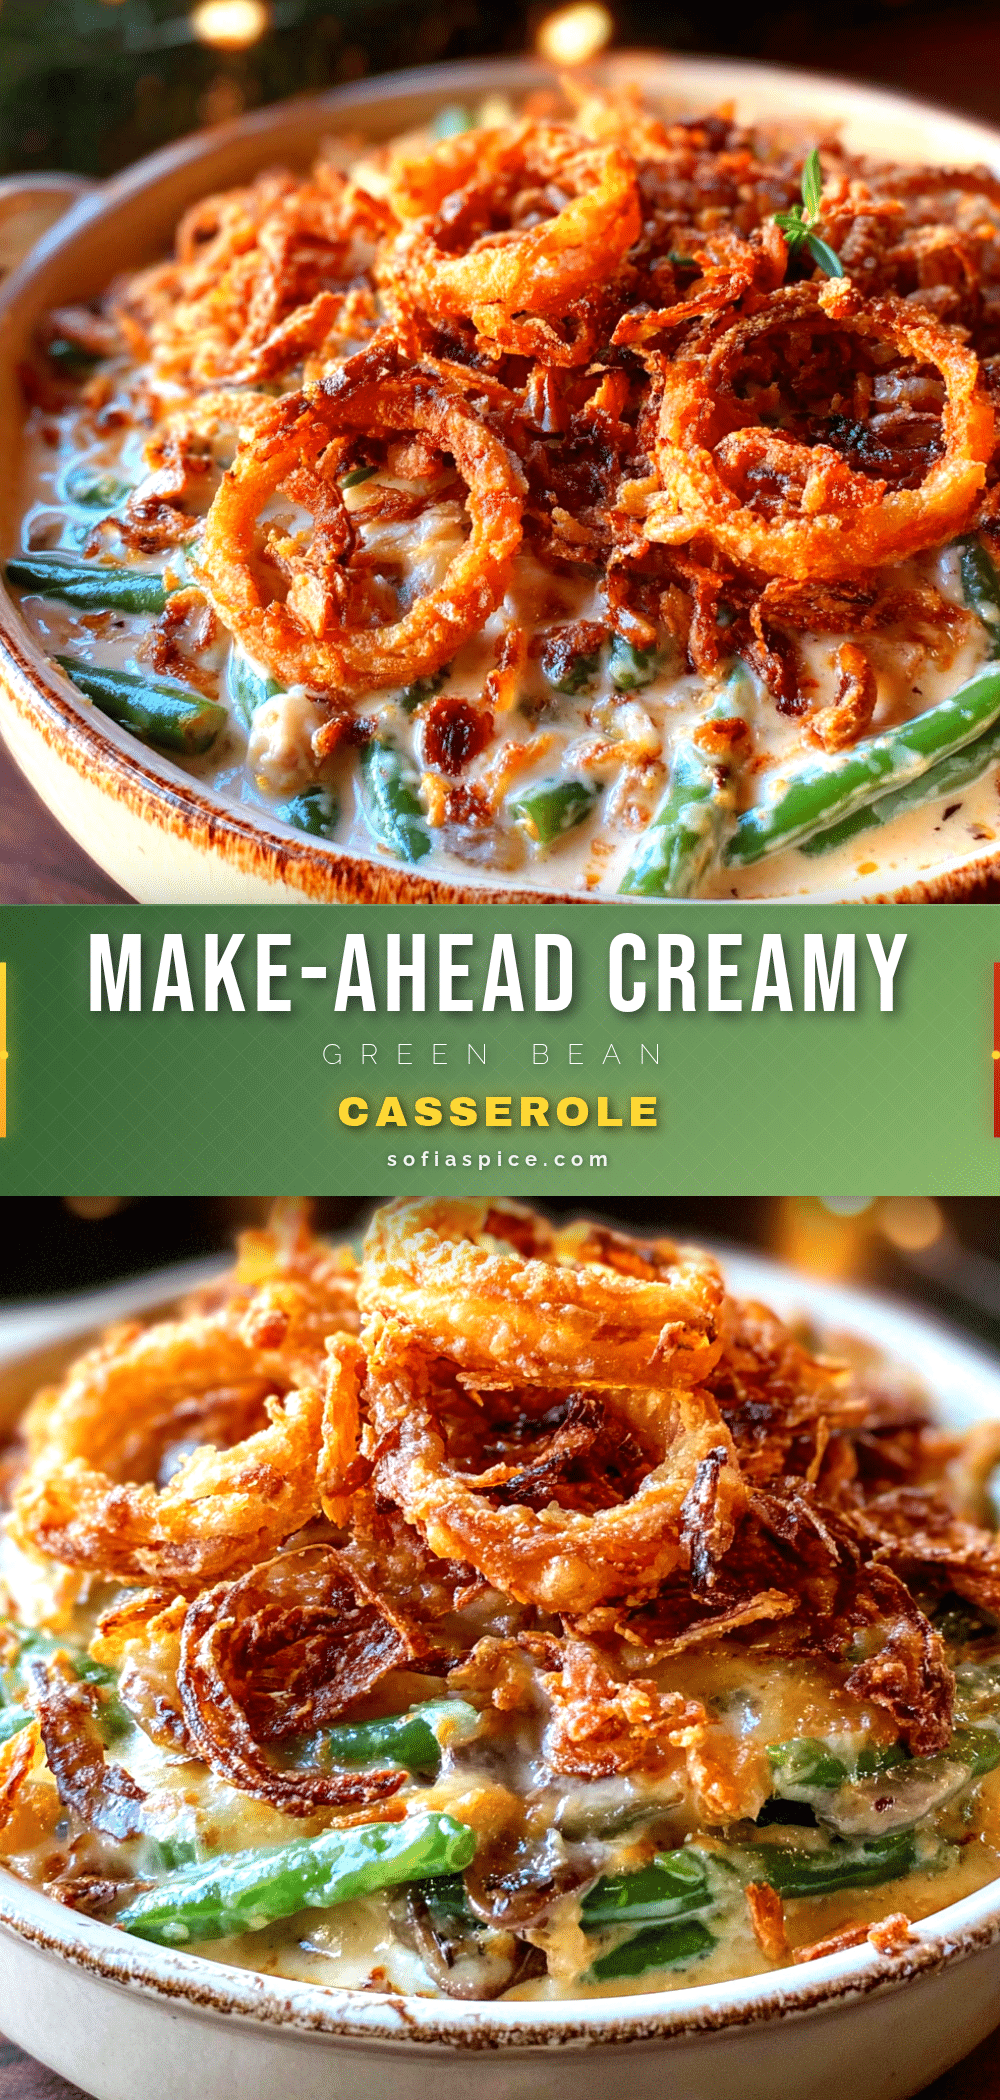
This isn’t your grandma’s green bean casserole—it’s a creamy, crunchy, make-ahead version that stays crisp even after refrigeration. With a silky homemade mushroom sauce and a crispy onion topping that lasts, this is the ultimate holiday side dish that lets you enjoy the meal with everyone else.
- Prep Time: 20 minutes
- Cook Time: 40 minutes
- Total Time: 1 hour
- Yield: 8 servings 1x
- Category: Side Dish
- Cuisine: American
Ingredients
- 2 pounds fresh green beans, trimmed and halved
- 1 tablespoon kosher salt (for blanching water)
- 4 tablespoons unsalted butter, divided
- 12 ounces cremini mushrooms, sliced
- 1 medium yellow onion, finely diced
- 3 cloves garlic, minced
- 1/4 cup all-purpose flour
- 1 1/2 cups low-sodium chicken or vegetable broth
- 1 cup heavy cream
- 1/2 cup whole milk
- 1 teaspoon fresh thyme leaves (or 1/2 teaspoon dried)
- 1/2 teaspoon freshly ground black pepper
- 1/2 teaspoon kosher salt (or to taste)
- 2 1/2 cups crispy fried onions, divided
- 2 tablespoons fresh parsley, chopped (optional, for garnish)
Instructions
- Blanch the green beans: Bring a large pot of water to a rolling boil. Add 1 tablespoon kosher salt. Drop in the trimmed green beans and cook for exactly 3 minutes until bright green and still crisp. Meanwhile, fill a large bowl with ice and cold water. Drain the beans and immediately plunge them into the ice bath. Let sit for 2-3 minutes, then drain well and pat dry with a clean kitchen towel. Set aside.
- Cook the mushrooms and onions: In a large skillet over medium-high heat, melt 2 tablespoons butter. Add the sliced mushrooms in a single layer and cook without stirring for 3-4 minutes until golden brown. Stir and cook another 2-3 minutes until moisture evaporates and they’re nicely browned. Add the diced onion and cook 4-5 minutes until softened. Stir in the minced garlic and cook 30 seconds until fragrant. Transfer everything to a plate and set aside.
- Make the cream sauce: In the same skillet, melt the remaining 2 tablespoons butter over medium heat. Whisk in the flour and cook for 1-2 minutes, stirring constantly, until the mixture smells slightly nutty. Slowly pour in the chicken broth while whisking continuously to prevent lumps. Whisk in the heavy cream and milk. Bring to a gentle simmer and cook for 3-4 minutes until thickened enough to coat the back of a spoon. Stir in the fresh thyme, black pepper, and salt. Taste and adjust seasoning …
- Combine everything: Return the cooked mushrooms and onions to the skillet with the sauce. Stir in the blanched green beans. Gently fold until the beans are evenly coated. If the sauce is too thick, add a splash of milk; if too thin, let it simmer another minute.
- Assemble the casserole: Preheat oven to 375°F. Transfer half of the green bean mixture to a 9×13-inch baking dish. Sprinkle 1 cup of crispy fried onions evenly over the top. Add the remaining green bean mixture and spread into an even layer. Cover tightly with foil. If making ahead, refrigerate now.
- Bake and finish: Bake the covered casserole for 25 minutes (30 minutes if coming straight from the fridge). Remove the foil, sprinkle the remaining 1 1/2 cups of crispy onions on top, and bake uncovered for 10-12 minutes until the topping is golden and the sauce is bubbly around the edges. Let rest for 5 minutes before serving. Garnish with fresh parsley if desired.
Notes
For gluten-free, use a 1:1 gluten-free flour blend. For dairy-free, use vegan butter or olive oil, full-fat coconut milk or oat cream, and unsweetened oat or almond milk. Add crispy onions only during the last 10-12 minutes of baking to keep them crunchy. The casserole can be assembled up to 24 hours in advance; flavors meld beautifully overnight. To freeze, assemble without the final crispy onion topping, wrap tightly, and freeze for up to 3 months; add 15-20 minutes to covered baking time when baking from frozen.
Nutrition
- Serving Size: 1 serving (1/8 of ca
- Calories: 285
- Sugar: 6
- Sodium: 520
- Fat: 18
- Saturated Fat: 10
- Carbohydrates: 24
- Fiber: 4
- Protein: 7
Keywords: green bean casserole, make-ahead casserole, creamy green bean casserole, holiday side dish, Thanksgiving side dish, crispy onion topping, homemade mushroom sauce


