This was supposed to be a roasted butternut squash soup. I had the squash cubed, the onions diced, and the stock simmering on the stove. My three-year-old was “helping” by stirring his juice box with a spoon, and somewhere between answering his forty-seventh question about why the sky is blue and wiping a spill off the counter, I grabbed the wrong pot. Instead of the stockpot, I grabbed the one with last night’s leftover macaroni still sitting in the colander. I stared at the pasta, then at the squash, and honestly, I almost just dumped everything in the trash and ordered pizza. But I had already peeled that stubborn squash, and my grocery budget was shot for the week. So I tossed the macaroni into the pot with the squash and onions, added some milk I was praying hadn’t soured, and started grating cheddar like my life depended on it. What came out was nothing like the plan — and better. My kid, who typically treats vegetables like they are poison, ate two bowls. My husband asked if we could have it again next week. And I sat there, fork halfway to my mouth, realizing I had accidentally stumbled onto the kind of dinner every parent dreams about: creamy, cheesy, secretly packed with a vegetable, and on the table in half an hour. Maybe you’ve been there too — staring at a half-prepped ingredient and a kitchen timer that is laughing at you. This kid-approved butternut squash mac and cheese is what happens when you stop panicking and start improvising. I have been making it ever since, and it never gets old.
Why You’ll Love This Recipe
Let me tell you, I have tested this recipe more times than I care to count. I have made it with fresh squash, frozen squash, and even leftover squash puree from a baby food phase. I have served it to picky toddlers, skeptical in-laws, and a neighbor who swore she hated butternut squash. Every single time, it works. Here is why this one is different:
- Quick & Easy: From start to table in 30 minutes flat. No roasting the squash first, no complicated steps. Just one pot and a blender.
- Simple Ingredients: You likely already have most of this in your kitchen. No fancy cheese blends or imported pasta shapes.
- Perfect for Family Meals: This is the kind of dinner that pleases everyone without you having to make two separate dishes. The kids eat it, the adults enjoy it, and nobody feels like they are eating “diet food.”
- Crowd-Pleaser: I have brought this to potlucks and watched it disappear faster than the regular mac and cheese. People cannot believe there is squash in it.
- Unbelievably Delicious: The texture is ultra-creamy — like, close-your-eyes-after-the-first-bite creamy. The squash adds a subtle sweetness that balances the sharp cheddar perfectly.
What makes this recipe different from the dozens of other butternut squash mac and cheese recipes out there? Two things. First, I do not roast the squash separately. That saves you a solid 20-30 minutes and a sink full of dishes. Second, I use a trick I learned from a chef friend: blending the squash with the milk and a tiny pinch of nutmeg before adding it to the pasta. It creates this silky, emulsified sauce that coats every single noodle without being gluey or heavy. This is comfort food reimagined — healthier, faster, but with the same soul-soothing satisfaction that makes mac and cheese a weeknight hero.
What Ingredients You Will Need
This recipe uses simple, wholesome ingredients to deliver big flavor without the fuss. Most of these are pantry staples, and the ones that are not — like the squash — are easy to find year-round in most grocery stores.
- Butternut Squash (2 cups, peeled and cubed): Fresh is best, but frozen cubed squash works perfectly in a pinch. If using frozen, do not thaw it first — just toss it straight into the pot. I usually buy pre-cubed squash from the produce section to save time.
- Elbow Macaroni (8 ounces, about 2 cups dry): Any small pasta shape works here — shells, rotini, or even ditalini. I recommend Barilla or De Cecco for pasta that holds its shape without getting mushy.
- Sharp Cheddar Cheese (1 ½ cups, freshly grated): Please, for the love of all things cheesy, grate your own cheese. Pre-shredded cheese has anti-caking agents that prevent it from melting smoothly. I use Cabot or Tillamook for the best flavor.
- Milk (1 ½ cups, whole milk preferred): Whole milk gives the creamiest result, but 2% works fine. Avoid skim milk — it can make the sauce watery. For a dairy-free version, use unsweetened oat milk or canned coconut milk (the full-fat kind).
- Chicken or Vegetable Broth (1 cup): Low-sodium is best so you can control the salt. Vegetable broth keeps this vegetarian-friendly.
- Butter (2 tablespoons, unsalted): Adds richness and helps the sauce cling to the pasta. Salted butter works too — just reduce the added salt.
- Onion (½ medium, roughly chopped): Yellow or white onion works. This gets blended into the sauce, so nobody will find onion chunks in their mac and cheese.
- Garlic (2 cloves, minced): Fresh garlic is non-negotiable here. Do not use the jarred stuff — it has a bitter, metallic taste.
- Nutmeg (¼ teaspoon, freshly grated if possible): This is the secret ingredient. It sounds weird, but nutmeg magically enhances the sweetness of the squash and the sharpness of the cheddar. Use it sparingly — a little goes a long way.
- Salt and Black Pepper (to taste): I start with ½ teaspoon of salt and adjust at the end. Freshly cracked black pepper adds a nice little kick.
- Optional Toppings: Panko breadcrumbs tossed with melted butter for a crunchy topping, or a sprinkle of paprika for color.
If you are feeding a crowd, double everything. The recipe scales beautifully, and leftovers reheat like a dream — just add a splash of milk when warming it up.
Equipment Needed
You do not need a fancy kitchen to make this recipe. Here is what you will need:
- Large Pot or Dutch Oven: A 5-quart pot is ideal. You will cook the squash and pasta in the same pot, so go big. I use my trusty Lodge enameled Dutch oven — it distributes heat evenly and cleans up easily.
- Blender or Immersion Blender: A regular countertop blender works great. Just let the mixture cool slightly before blending, and never fill the blender more than halfway with hot liquid. An immersion blender is even easier — you can blend everything right in the pot.
- Box Grater or Microplane: For grating your own cheese. A microplane is also perfect for grating fresh nutmeg.
- Wooden Spoon or Silicone Spatula: For stirring the pasta and scraping the bottom of the pot.
- Measuring Cups and Spoons: Standard set for accuracy.
- Cutting Board and Chef’s Knife: For cubing the squash and chopping the onion.
If you do not have a blender, you can mash the cooked squash with a potato masher or fork. The texture will be a little chunkier, but it still tastes great. Budget-friendly tip: check your local thrift store for a used immersion blender — I found mine for five dollars, and it has paid for itself a hundred times over.
Preparation Method
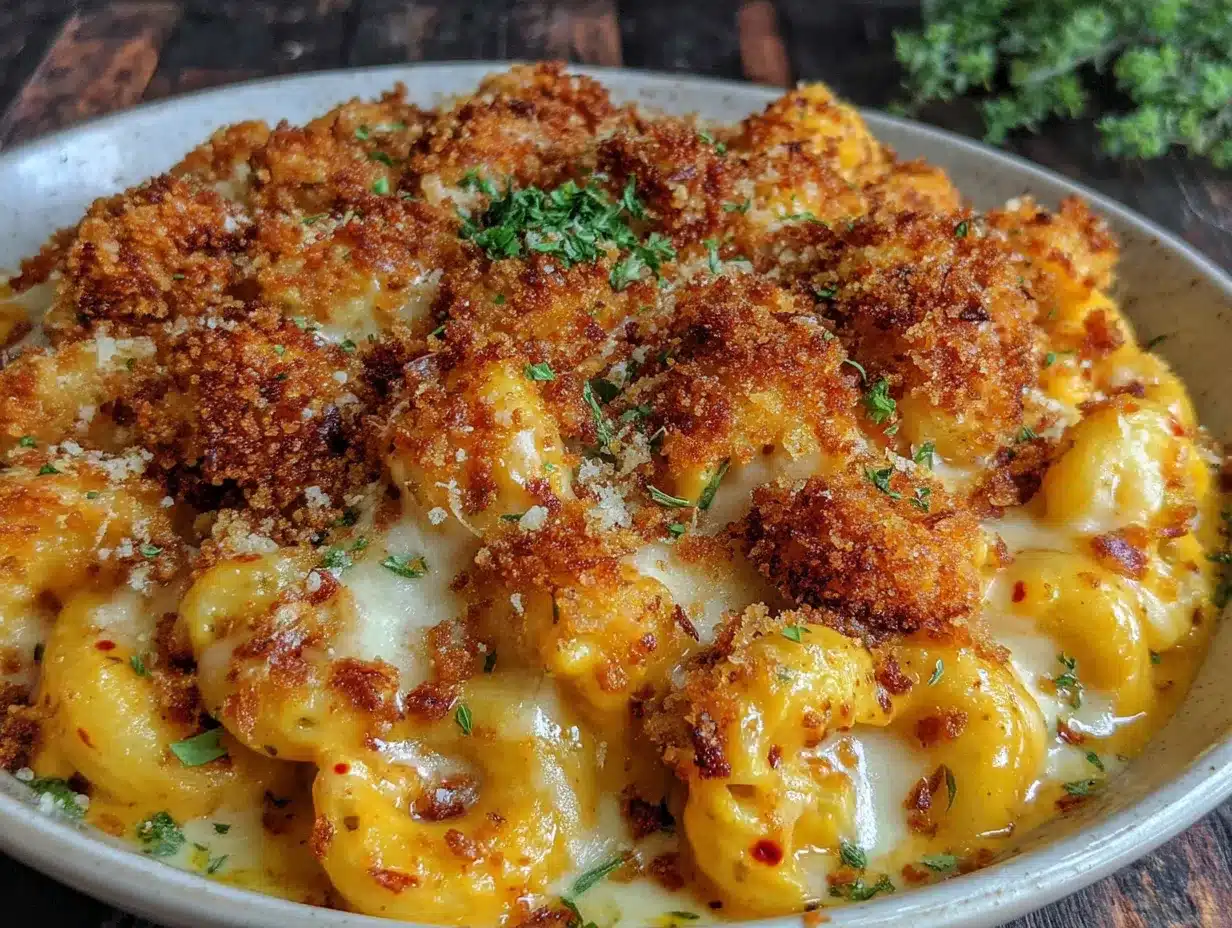
Let me walk you through this step by step. I have made this recipe so many times that I have it memorized, but I still double-check my measurements every time. Trust me, it is worth getting it right.
- Cook the squash and onions (10 minutes): In your large pot, melt the butter over medium heat. Add the chopped onion and cook for 2-3 minutes until it starts to soften and turn translucent. Toss in the cubed butternut squash and minced garlic, then pour in the chicken or vegetable broth. Bring it to a boil, then reduce the heat to medium-low, cover the pot, and let it simmer for 8-10 minutes. The squash should be fork-tender — you should be able to pierce it easily with a fork. If it is still firm, give it another 2 minutes.
- Cook the pasta (8-10 minutes): While the squash is simmering, bring a separate pot of salted water to a boil. Add the macaroni and cook according to package directions until al dente. I usually cook it for 1 minute less than the package says — it will finish cooking when you mix it with the sauce. Drain the pasta and set it aside. Do not rinse it — you want that starchy coating to help the sauce stick.
- Blend the squash mixture (2 minutes): Carefully transfer the cooked squash, onions, garlic, and broth to your blender. Add the milk, nutmeg, ½ teaspoon of salt, and a few cracks of black pepper. Secure the lid tightly (hot liquids expand, so hold the lid down with a kitchen towel) and blend on high until completely smooth. The mixture should be velvety and pale orange. Taste it and adjust the salt — it should be well-seasoned but not salty.
- Combine the sauce and pasta (3 minutes): Return the blended sauce to the pot (or keep it in the blender if you are using an immersion blender). Add the cooked macaroni and the grated cheddar cheese. Stir everything together over low heat until the cheese is fully melted and the sauce coats every noodle. This should take about 2-3 minutes. Do not let it boil — just warm it gently until the cheese is incorporated.
- Finish and serve (2 minutes): Taste one last time and adjust the salt and pepper if needed. If the mac and cheese seems too thick, stir in a splash of warm milk. Serve immediately, topped with extra grated cheese or a sprinkle of paprika if you are feeling fancy.
Here is a sensory cue to watch for: when the sauce is ready, it should look like a thick, creamy soup before you add the pasta. After mixing, each noodle should be coated but not drowning. The cheese should stretch slightly when you lift a spoonful.
Cooking Tips & Techniques
I have made every mistake in the book with this recipe, so you do not have to. Here is what I have learned:
Do not skip the nutmeg. I know it sounds odd, but I once made this without it because I had run out, and the difference was noticeable. The mac and cheese tasted flat — just cheesy and squashy without that little something that makes it sing. Freshly grated nutmeg is best, but pre-ground works in a pinch.
Grate your own cheese. I cannot stress this enough. Pre-shredded cheese is coated in cellulose and potato starch to prevent clumping, which also prevents it from melting into a smooth sauce. You will end up with a grainy, clumpy mess. Spend the two minutes grating a block of cheddar — your taste buds will thank you.
Blend the sauce while it is still hot. Cold squash puree is thick and stubborn. Hot squash puree blends into a silky dream. Just be careful with the blender — work in batches if needed, and always vent the lid slightly to let steam escape.
Undercook the pasta slightly. Pasta continues to cook even after you drain it, especially when you stir it into a hot sauce. If you cook it to al dente according to the package, it will end up mushy by the time you sit down to eat. Cook it 1 minute less, and it will be perfect.
Use a heavy-bottomed pot. Thin pots create hot spots that can scorch the sauce. A Dutch oven or heavy stainless steel pot distributes heat evenly and prevents burning. If you only have a thin pot, stir constantly and keep the heat low.
Make it ahead of time. This mac and cheese reheats beautifully. If you are meal prepping, cook the pasta and sauce separately, then combine them just before serving. Store the sauce in the fridge for up to 3 days and the cooked pasta in a separate container.
Variations & Adaptations
One of the best things about this recipe is how flexible it is. Here are some ways to make it your own:
Gluten-Free Version: Use your favorite gluten-free pasta — I like the brown rice pasta from Jovial. The sauce is naturally gluten-free, so no adjustments needed there. Just be careful not to overcook the gluten-free pasta; it tends to get mushy faster.
Dairy-Free Version: Swap the butter for olive oil or vegan butter, use unsweetened oat milk or canned coconut milk, and replace the cheddar with a good-quality vegan cheddar. I have used Miyoko’s vegan cheddar and it melts surprisingly well. The texture will be slightly less creamy, but still delicious.
Extra Veggie Version: Toss in a handful of frozen peas or steamed broccoli florets right before serving. The green pops against the orange sauce and adds another serving of vegetables. My kids actually eat broccoli this way — they are too busy enjoying the cheese to notice.
Spicy Version: Add ¼ teaspoon of cayenne pepper or a pinch of red pepper flakes to the sauce. The heat cuts through the richness and gives it a grown-up kick. I do this when I am making it just for the adults.
Protein-Packed Version: Stir in 1 cup of shredded rotisserie chicken or cooked ground turkey. This turns it into a complete one-pot meal that will keep everyone full until bedtime.
Baked Version: Pour the prepared mac and cheese into a greased 9×13 baking dish, top with ½ cup of panko breadcrumbs mixed with 2 tablespoons of melted butter, and bake at 375°F for 15-20 minutes until golden and bubbly. This is perfect for when you want that crispy topping.
Serving & Storage Suggestions
This mac and cheese is best served hot, straight from the pot. I like to spoon it into bowls and let everyone add their own toppings — extra cheese, a crack of black pepper, or a sprinkle of fresh parsley. For a complete family meal, serve it alongside a simple green salad with lemon vinaigrette or some roasted broccoli. The acidity of the salad cuts through the richness of the cheese perfectly.
If you have leftovers (lucky you!), store them in an airtight container in the refrigerator for up to 4 days. The sauce will thicken as it sits, so when you reheat it, add a splash of milk or broth to loosen it up. Reheat gently on the stovetop over medium-low heat, stirring frequently, or in the microwave in 30-second bursts, stirring between each. Avoid high heat — it can make the sauce separate and turn grainy.
This mac and cheese also freezes beautifully. Let it cool completely, then transfer it to a freezer-safe container or zip-top bag. It will keep for up to 3 months. To reheat from frozen, thaw it in the refrigerator overnight, then warm it on the stovetop with a splash of milk. The flavor actually deepens after freezing — the squash and cheese meld together even more.
One thing I love about this recipe is that the flavors develop over time. Day-old mac and cheese often tastes even better than fresh, because the sauce has had time to fully coat every noodle and the seasonings have settled in. Do not be shy about making it a day ahead for a busy weeknight.
Nutritional Information & Benefits
Here is the approximate nutritional breakdown for one serving (about 1 cup, based on 6 servings):
- Calories: 380
- Protein: 16g
- Carbohydrates: 42g
- Fat: 16g
- Fiber: 4g
- Sugar: 8g
- Sodium: 520mg
This mac and cheese is packed with vitamin A from the butternut squash — one serving provides over 100% of your daily recommended intake. Vitamin A is essential for healthy vision, immune function, and skin health. The squash also adds fiber, which helps keep everyone full and supports digestive health.
The sharp cheddar provides calcium and protein, making this a more balanced meal than traditional mac and cheese. Using whole milk and real cheese means you are getting actual nutrients instead of processed ingredients. If you are watching your sodium, use low-sodium broth and go easy on the added salt — the cheese already brings plenty of flavor.
For a lower-carb option, swap the pasta for cauliflower florets or cooked zucchini noodles. The sauce works beautifully on almost anything.
Conclusion
Look, I am not going to tell you this is the healthiest meal on the planet, or that it will turn your picky eater into a vegetable lover overnight. But I will tell you this: it is a dinner that works. It is creamy enough to satisfy the kids, clever enough to make you feel good about what you are serving, and easy enough to pull off on a Tuesday night when you are exhausted and the grocery budget is running on fumes. That accidental pot of mac and cheese turned into one of my most-requested recipes, and I honestly think it is because it does not try to be anything other than what it is — comfort food with a little something extra. Give it a try this week. Swap in whatever cheese you have on hand, use frozen squash if that is what is in your freezer, and do not stress about perfection. The beauty of this recipe is that it forgives mistakes. And if your kids ask for seconds? Well, that is just a bonus. I would love to hear how it turns out for you — drop a comment below and let me know if your family loved it as much as mine does.
Frequently Asked Questions
Can I use frozen butternut squash instead of fresh?
Absolutely! Frozen cubed butternut squash works perfectly. You do not even need to thaw it first — just toss it straight into the pot with the broth and cook for an extra 2-3 minutes until tender.
How can I make this recipe vegan?
Use olive oil or vegan butter instead of butter, unsweetened oat milk or canned coconut milk for the milk, and a good-quality vegan cheddar shreds. I have had great results with Miyoko’s and Violife brands. The texture will be slightly less creamy, but still delicious.
Why did my sauce turn out grainy?
Grainy sauce usually happens for two reasons: either you used pre-shredded cheese (which contains anti-caking agents), or you overheated the sauce after adding the cheese. Always grate your own cheese from a block, and keep the heat low when melting it in.
Can I make this ahead of time for a party?
Yes! Make the sauce and cook the pasta separately up to 3 days in advance. Store them in separate containers in the fridge. When you are ready to serve, reheat the sauce gently on the stovetop with a splash of milk, then stir in the pasta and warm through. This prevents the pasta from getting mushy.
My kids are super picky — will they taste the squash?
Honestly, no. The squash blends into a completely smooth sauce, and the sharp cheddar and nutmeg mask any vegetable flavor. My own kids have no idea there is squash in this, and I have served it to dozens of picky eaters without a single complaint. If you are still nervous, start with a smaller amount of squash and work your way up.
Pin This Recipe!
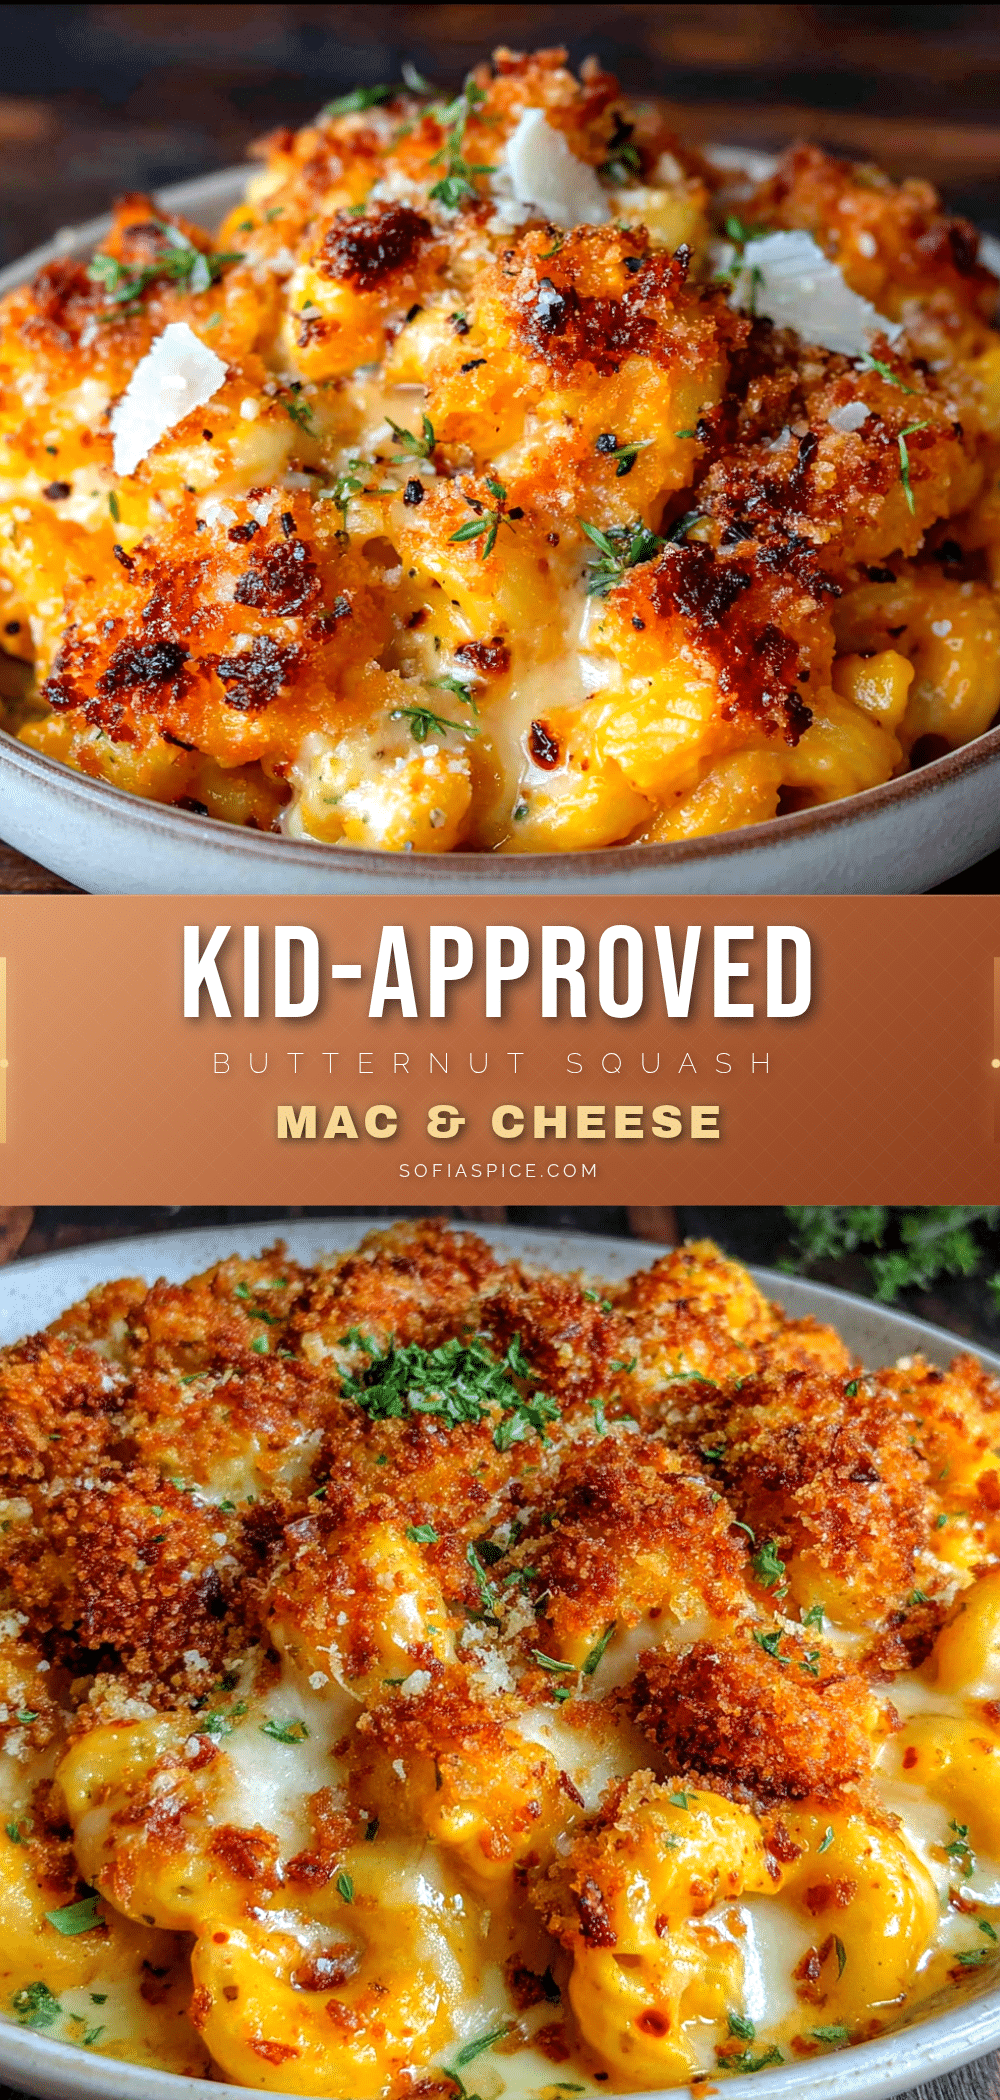
Kid-Approved Butternut Squash Mac and Cheese: Easy 30-Minute Dinner

A creamy, cheesy mac and cheese secretly packed with butternut squash, ready in just 30 minutes. This kid-approved dinner is a weeknight hero that pleases even the pickiest eaters.
- Prep Time: 10 minutes
- Cook Time: 20 minutes
- Total Time: 30 minutes
- Yield: 6 servings 1x
- Category: Main Course
- Cuisine: American
Ingredients
- 2 cups butternut squash, peeled and cubed
- 8 ounces elbow macaroni (about 2 cups dry)
- 1 ½ cups sharp cheddar cheese, freshly grated
- 1 ½ cups whole milk
- 1 cup low-sodium chicken or vegetable broth
- 2 tablespoons unsalted butter
- ½ medium onion, roughly chopped
- 2 cloves garlic, minced
- ¼ teaspoon freshly grated nutmeg
- ½ teaspoon salt, plus more to taste
- Black pepper, to taste
- Optional: Panko breadcrumbs and melted butter for topping, paprika for garnish
Instructions
- In a large pot, melt butter over medium heat. Add chopped onion and cook for 2-3 minutes until softened. Add cubed butternut squash and minced garlic, then pour in broth. Bring to a boil, reduce heat to medium-low, cover, and simmer for 8-10 minutes until squash is fork-tender.
- While squash simmers, bring a separate pot of salted water to a boil. Cook macaroni according to package directions until al dente (cook 1 minute less than recommended). Drain and set aside; do not rinse.
- Carefully transfer cooked squash, onions, garlic, and broth to a blender. Add milk, nutmeg, ½ teaspoon salt, and black pepper. Blend on high until completely smooth and velvety.
- Return blended sauce to the pot. Add cooked macaroni and grated cheddar cheese. Stir over low heat for 2-3 minutes until cheese is fully melted and sauce coats every noodle. Do not let it boil.
- Taste and adjust salt and pepper as needed. If too thick, stir in a splash of warm milk. Serve immediately, topped with extra cheese, paprika, or panko breadcrumbs if desired.
Notes
Do not skip the nutmeg—it enhances the squash and cheese flavors. Always grate your own cheese for a smooth sauce. Undercook pasta slightly to prevent mushiness. For a baked version, top with panko breadcrumbs mixed with melted butter and bake at 375°F for 15-20 minutes. Leftovers keep in the fridge for up to 4 days or freeze for up to 3 months; reheat with a splash of milk.
Nutrition
- Serving Size: 1 cup
- Calories: 380
- Sugar: 8
- Sodium: 520
- Fat: 16
- Saturated Fat: 9
- Carbohydrates: 42
- Fiber: 4
- Protein: 16
Keywords: butternut squash mac and cheese, easy mac and cheese, kid-friendly dinner, 30-minute meal, hidden vegetable mac and cheese, creamy mac and cheese


