The kitchen smelled like a summer orchard gone wild—sweet apricots bursting with sunshine, their tangy scent filling the air as I wrestled with a stubborn batch of jam. Honestly, I wasn’t planning on making homemade apricot jam that afternoon. It started as a “just in case” moment when I found a bargain bag of apricots at the market, a bit too ripe to last the week. I figured, why not try a quick jam? Skeptical at first—because, let’s face it, jam making always seemed a bit intimidating—I was surprised by how straightforward it turned out.
It wasn’t perfect on the first go. The jam was too runny the first time, and then way too sweet the next. But after a couple of tries, I landed on this easy homemade apricot jam recipe with a sweet and tangy flavor that’s just right. The kind of jam that makes you pause, spoon it onto toast, and realize how something so simple can feel like a little victory. There’s something comforting about stirring bubbling fruit on the stove, the way the colors deepen and the kitchen fills with that warm, fruity aroma.
What sticks with me about this homemade apricot jam is how it balances the natural sweetness of the apricots with a subtle tang that keeps it from ever feeling heavy or cloying. It’s not just a spread—it’s a small celebration of fresh fruit and time well spent, perfect for those mornings when you want a little sunshine on your plate. This recipe became my go-to for gifts, breakfast treats, and even a quick fix for dessert toppings, and honestly, I can’t imagine summer without it now.
Why You’ll Love This Recipe
Getting the homemade apricot jam just right took a few tries, but the final recipe is worth every spoonful. I’ve tested it thoroughly to make sure it’s approachable, reliable, and delivers that perfect sweet and tangy punch every time.
- Quick & Easy: This jam comes together in about 30 minutes of active cooking, ideal for those moments when you want fresh preserves without fuss.
- Simple Ingredients: No need for fancy pectin powders or additives—just fresh apricots, sugar, lemon juice, and a pinch of salt. All pantry staples you probably already have.
- Perfect for Breakfast & Beyond: Whether it’s slathered on warm toast, dolloped over yogurt, or stirred into oatmeal, this apricot jam makes any morning feel special.
- Crowd-Pleaser: I’ve shared this with friends during brunches and potlucks, and it always gets raves from both kids and adults alike.
- Unbelievably Delicious: The balance of tangy lemon juice cuts through the natural sweetness of the apricots, making it fresh and vibrant rather than cloying.
What really makes this recipe stand out is the gentle simmering technique I use, which keeps the texture just right—chunky enough to remind you it’s homemade but smooth enough to spread easily. I also like to toss in a little lemon zest for that extra zing, which is a trick I picked up from a local jam maker years ago. Honestly, it’s a recipe I return to again and again, especially when I want that homemade touch without a lot of hassle. If you ever tried jam before and found it too sweet or too gloopy, this one might just change your mind.
What Ingredients You Will Need
This homemade apricot jam recipe uses simple, wholesome ingredients to bring out the fruit’s natural sweetness with a lively tang. The ingredients are easy to find and mostly pantry staples, making it a no-brainer to whip up when apricots are in season or you spot a good deal.
- Fresh apricots (about 3 pounds or 1.4 kg) – ripe but firm, pitted and chopped. The star ingredient, naturally.
- Granulated sugar (2 cups or 400 g) – balances the tartness and helps with preservation. I usually go with organic cane sugar for a cleaner flavor.
- Lemon juice (from 1 large lemon, about 3 tablespoons or 45 ml) – adds brightness and helps with setting the jam.
- Lemon zest (from 1 lemon) – optional but highly recommended for extra zing and aroma.
- Pinch of salt – enhances all the flavors without making it salty.
Substitutions and tips:
- If you want a less sweet jam, reduce sugar by up to 1/4 cup (50 g), but be mindful it might affect the texture.
- For a slightly different flavor, try swapping lemon juice with lime juice — it gives a bit more tropical brightness.
- Organic apricots are great if you can find them, especially since you’re using the skins for texture and color.
- Looking for a lower-sugar option? Consider using a natural sweetener like honey, but add it after cooking to preserve its delicate flavors.
Equipment Needed
Making homemade apricot jam doesn’t require fancy tools—just a few essentials that most kitchens already have.
- Large heavy-bottomed pot or saucepan: A wide pan helps the jam cook evenly and reduces sticking. I prefer one with at least a 4-quart (4-liter) capacity.
- Wooden spoon or heat-resistant spatula: For stirring without scratching your pot.
- Sharp knife and cutting board: For prepping the apricots.
- Measuring cups and spoons: Accuracy helps with consistent results.
- Clean jars with lids: For storing the jam. Mason jars work perfectly.
- Optional: A candy thermometer can be useful if you want to test the jam’s setting point precisely, but it’s not necessary if you trust the visual and texture cues.
If you’re on a budget, you can get by with just a sturdy pot and a spoon. I once made a batch in my grandmother’s old enamel pot, and it turned out just fine! Just be patient with stirring and keep an eye on the jam to avoid burning.
Preparation Method
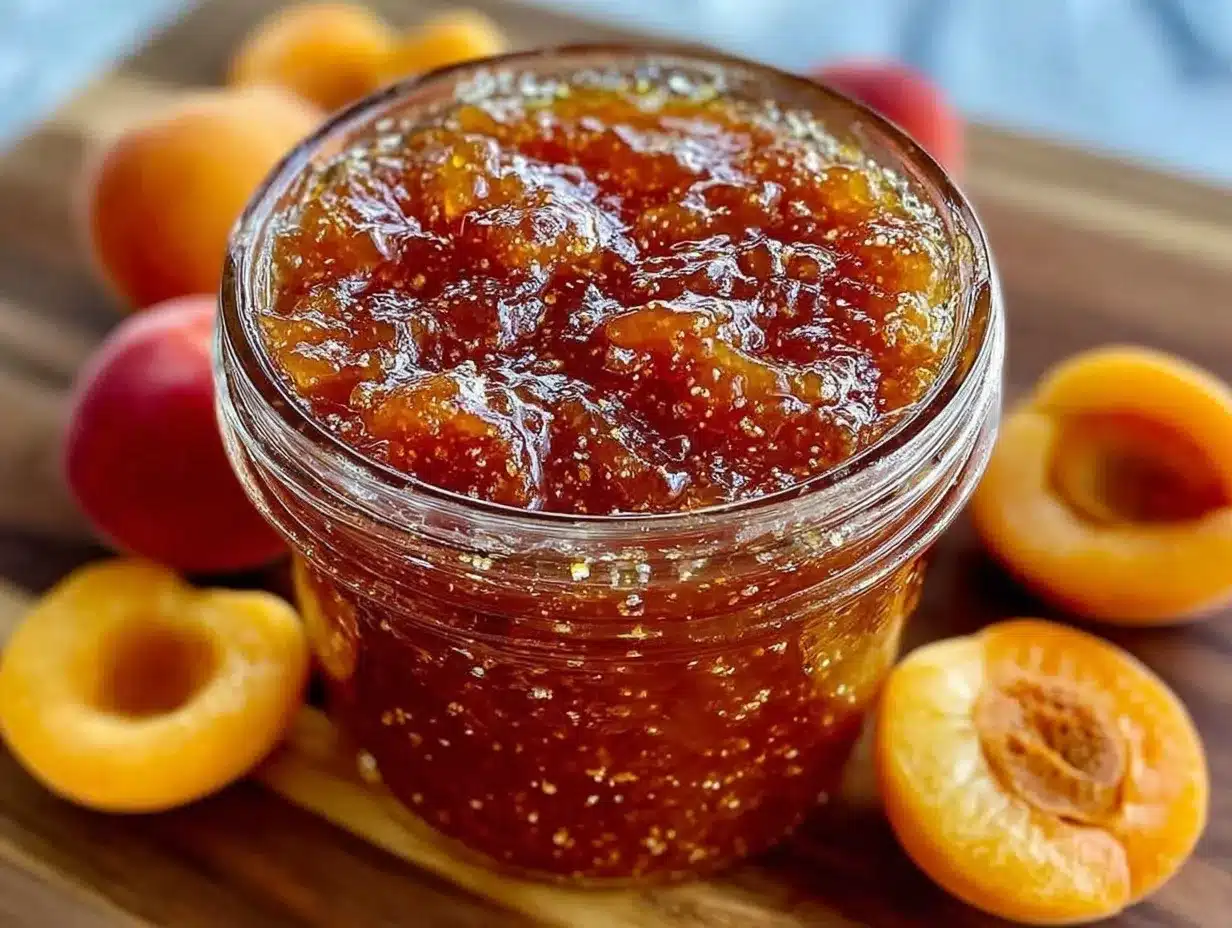
- Prepare the apricots: Wash, pit, and chop about 3 pounds (1.4 kg) of fresh apricots into small chunks. No need to peel unless you want an ultra-smooth jam. The skins add great color and texture. This step takes about 10 minutes.
- Combine apricots, sugar, lemon juice, zest, and salt: Place the chopped apricots in your large pot. Add 2 cups (400 g) of granulated sugar, the fresh lemon juice (about 3 tablespoons or 45 ml), the lemon zest, and a pinch of salt. Stir everything together gently to coat the fruit evenly. Let it sit for 10-15 minutes—this helps the sugar start drawing out the fruit juices.
- Cook the jam: Set the pot over medium heat and bring the mixture to a gentle boil, stirring frequently to prevent sticking. Once boiling, reduce to a simmer and cook uncovered, stirring often, for about 20-25 minutes. The jam will thicken and bubble—keep an eye on it and scrape the sides to release any jam that sticks. If you want to test the setting point, place a spoonful on a cold plate; when it wrinkles as you push it with your finger, it’s ready.
- Adjust texture if needed: If the jam seems too thick, stir in a tablespoon of water and cook a few more minutes. If too thin, continue simmering, stirring frequently. The goal is a spreadable consistency that holds shape but isn’t stiff.
- Jar and cool: Remove the pot from heat. Carefully ladle the hot jam into sterilized jars, leaving about 1/4 inch (0.5 cm) of headspace. Seal jars while warm and let cool to room temperature. The jam will thicken more as it cools. Store in the fridge and enjoy within a month or freeze for longer storage.
Pro tip: Stirring frequently and watching for the jam to thicken naturally will save you from overcooking, which can turn it bitter. The smell of the bubbling apricot mixture is a dead giveaway you’re on the right track—fruity, fresh, and a little like summer sunshine in a pot.
Cooking Tips & Techniques
Jam making is as much art as science, and a few key tips can help you nail this homemade apricot jam every time.
- Use ripe but firm apricots: Overripe fruit can make the jam too runny, while underripe can be too tart and hard to break down.
- Don’t rush the simmer: Patience is key. A steady simmer helps the fruit break down slowly and thickens the jam without burning.
- Stir often: This prevents sticking and burning, especially as the sugar concentrates near the bottom.
- Test the set: Use the classic cold plate test or watch for the jam to coat the back of a spoon thickly.
- Adjust sweetness last: If you find the jam too tart after cooking, you can stir in a little sugar or honey while it’s still warm, but usually the balance is spot on with the recipe.
I once ignored stirring a batch for a few minutes and ended up with a scorched bottom—lesson learned! Also, don’t skip the lemon zest; it adds a fresh layer of aroma that turns homemade apricot jam from good to memorable.
Variations & Adaptations
This apricot jam recipe is a fantastic canvas for tweaks depending on your taste or dietary needs.
- Spiced Apricot Jam: Add a cinnamon stick or a few cloves during cooking for a warm, cozy twist. Remove spices before jarring.
- Low-Sugar Version: Use half the sugar and add 1 tablespoon of chia seeds after cooking to help thicken naturally.
- Herb-Infused: Stir in fresh thyme or rosemary for an herbal note that pairs beautifully with savory dishes or cheeses.
- For Vegan & Paleo Diets: Substitute sugar with raw honey or maple syrup, but add it after cooking to preserve nutrients.
- Freezer Jam: Skip boiling and mash apricots with sugar and lemon juice, then freeze in containers for a fresh, uncooked jam alternative.
My personal favorite is the herb-infused version, especially when serving alongside a cheese platter or alongside a perfect apricot almond frangipane tart. It’s a subtle twist that always surprises guests.
Serving & Storage Suggestions
Serve your homemade apricot jam slightly chilled or at room temperature for the best flavor and spreadability. It’s divine on toast, English muffins, or swirled into oatmeal. It also makes a lovely topping for desserts like yogurt, ice cream, or a drizzle over a warm creamy no-bake lemon icebox pie.
Store jam in airtight jars in the refrigerator for up to one month. For longer storage, freeze in suitable containers for up to six months—just thaw in the fridge overnight before serving. Over time, the flavors meld and deepen, so if you’re patient enough, the jam tastes even richer after a week or two.
When reheating for spreading, warm gently in a small saucepan or microwave for 10-15 seconds to loosen it up without cooking again.
Nutritional Information & Benefits
This homemade apricot jam offers a natural way to enjoy fruit with minimal added sugar. A typical serving (1 tablespoon) contains roughly 50 calories, mostly from natural sugars. Apricots bring vitamin A, vitamin C, and dietary fiber, which support eye health and digestion.
The lemon juice adds a boost of vitamin C and acts as a natural preservative. Using fresh fruit instead of commercial preserves means no artificial additives or preservatives, making it a wholesome choice for your pantry. Just watch sugar intake if you’re managing blood sugar, but overall, this jam is a delightful way to enjoy seasonal fruit.
Conclusion
This homemade apricot jam with sweet and tangy flavor is a small but satisfying project that transforms simple fruit into something special. Whether you’re spreading it on morning toast, gifting it in pretty jars, or layering it in desserts, it’s a recipe that feels both joyful and approachable.
Feel free to tweak the sweetness or add your favorite spices to make it yours. I love how this jam connects me to the season and makes weekday breakfasts feel a little less ordinary. Give it a try, and I bet it’ll become a staple in your kitchen too.
If you want to keep exploring homemade spreads, you might enjoy the soft baked strawberry shortcake cookies that pair wonderfully with fruit jams or even the simple coconut lime popsicles for a refreshing summer treat.
FAQs about Homemade Apricot Jam
Can I use frozen apricots to make this jam?
Yes, frozen apricots work fine. Thaw them completely before cooking, and expect a slightly softer texture.
Do I need to peel the apricots?
Peeling is optional. The skins add color and texture, but if you prefer a smoother jam, you can peel them first.
How long will homemade apricot jam last?
Stored in the fridge, it lasts about 4 weeks. Freezing can extend shelf life to 6 months or more.
Can I use less sugar in this recipe?
You can reduce sugar slightly, but it may affect jam thickness and preservation. Adding a natural thickener like chia seeds can help.
What’s the best way to sterilize jars?
Boil jars and lids in water for 10 minutes or run them through a hot dishwasher cycle before filling with jam.
Pin This Recipe!
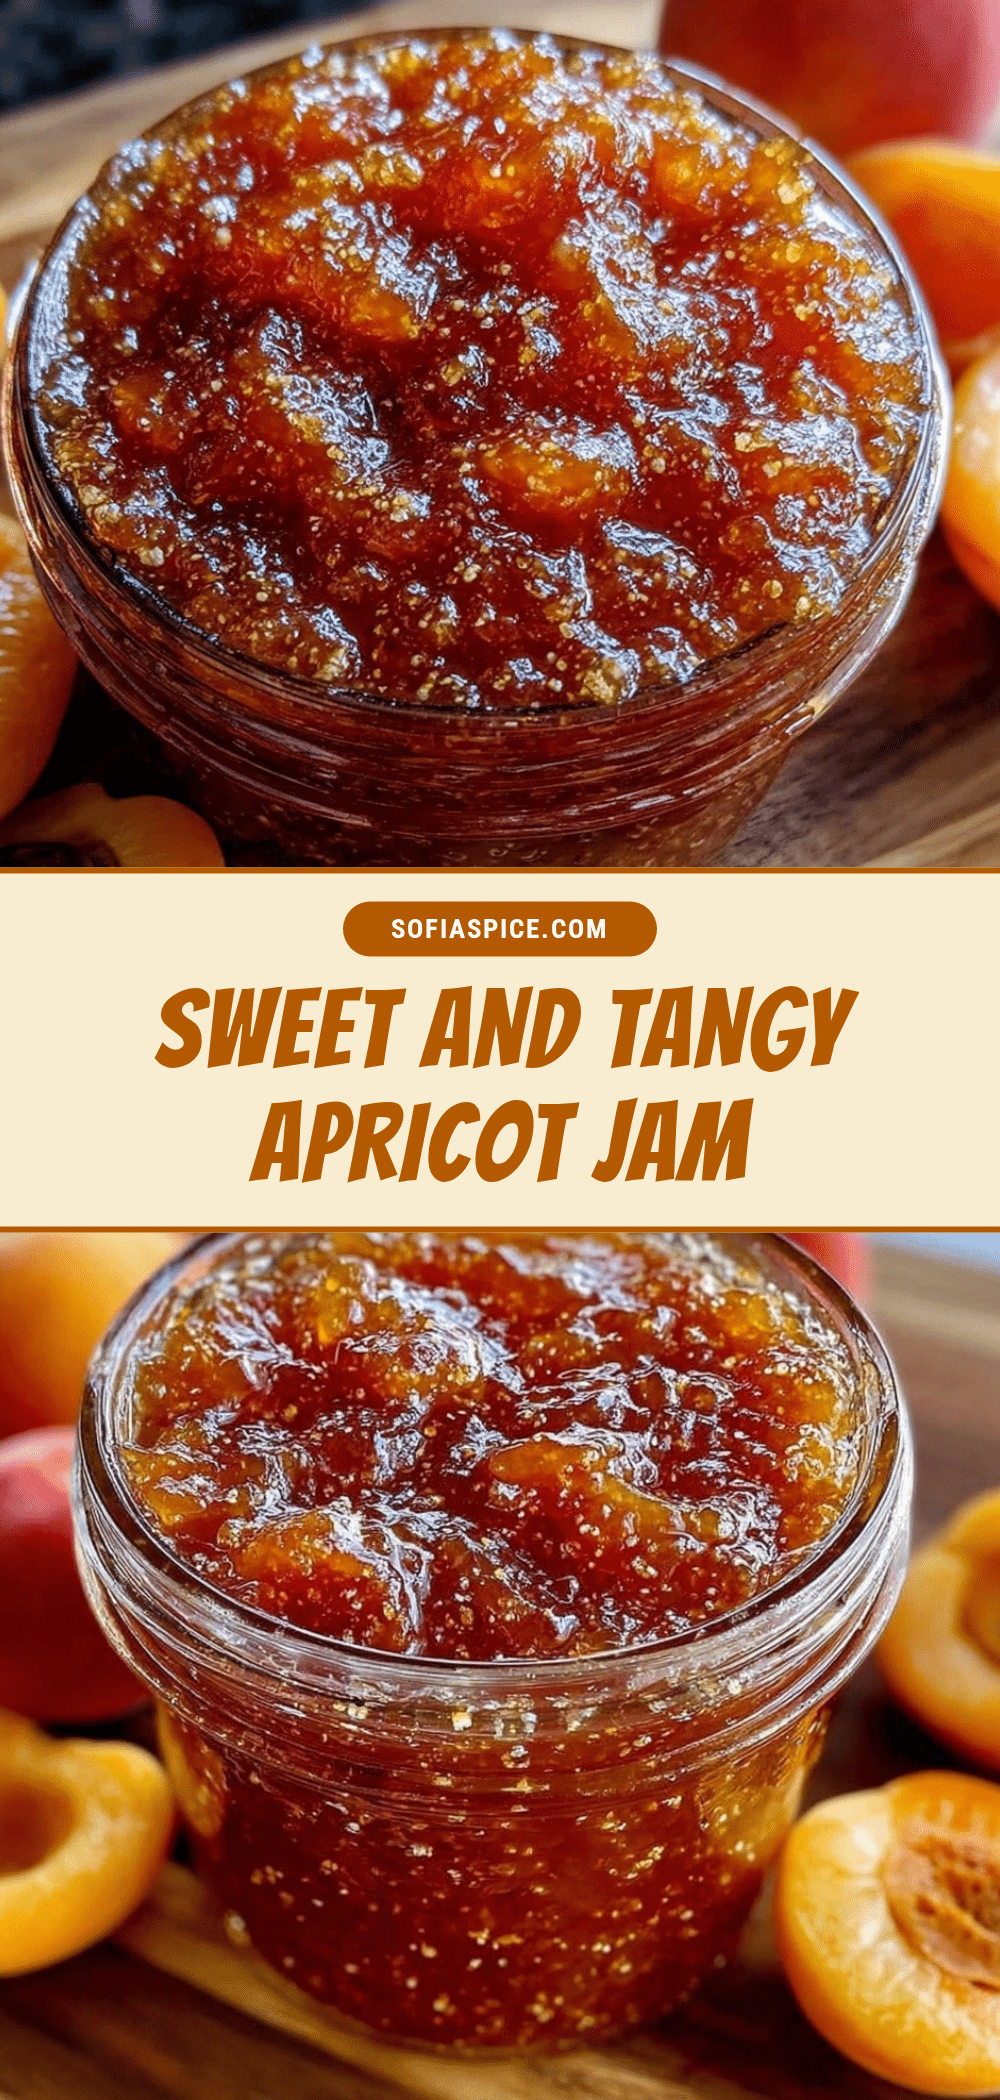
Homemade Apricot Jam Recipe Easy Sweet Tangy Spread in 5 Steps
A quick and easy homemade apricot jam recipe that balances the natural sweetness of apricots with a subtle tang, perfect for breakfast spreads and desserts.
- Prep Time: 10 minutes
- Cook Time: 25 minutes
- Total Time: 35 minutes
- Yield: About 4 cups (approximately 16 servings of 1 tablespoon each) 1x
- Category: Preserves
- Cuisine: American
Ingredients
- 3 pounds fresh apricots, ripe but firm, pitted and chopped
- 2 cups granulated sugar
- 3 tablespoons lemon juice (from 1 large lemon)
- Lemon zest from 1 lemon (optional)
- Pinch of salt
Instructions
- Prepare the apricots: Wash, pit, and chop about 3 pounds of fresh apricots into small chunks. No need to peel unless you want an ultra-smooth jam.
- Combine apricots, sugar, lemon juice, zest, and salt in a large pot. Stir gently to coat the fruit evenly. Let sit for 10-15 minutes to draw out juices.
- Cook the jam over medium heat, bringing it to a gentle boil while stirring frequently. Reduce to a simmer and cook uncovered for 20-25 minutes, stirring often until thickened.
- Adjust texture if needed: if too thick, stir in a tablespoon of water and cook a few more minutes; if too thin, continue simmering until spreadable consistency is reached.
- Remove from heat and ladle hot jam into sterilized jars, leaving 1/4 inch headspace. Seal jars while warm and let cool to room temperature. Store in fridge up to one month or freeze for longer.
Notes
Use ripe but firm apricots for best texture. Stir frequently to prevent burning. Lemon zest adds extra aroma and flavor. Test jam setting with cold plate test. Adjust sweetness after cooking if needed. For less sweet jam, reduce sugar by up to 1/4 cup but texture may vary.
Nutrition
- Serving Size: 1 tablespoon
- Calories: 50
- Sugar: 12
- Sodium: 5
- Carbohydrates: 13
- Fiber: 0.5
Keywords: apricot jam, homemade jam, easy jam recipe, sweet and tangy jam, fruit preserves, breakfast spread


