That’s exactly what my neighbor asked me one lazy Saturday morning as I was stirring a bubbling pot of huckleberry jam on my stove. Honestly, I hadn’t thought about how simple making easy small batch huckleberry jam really is until that moment. I’d been excitedly talking about my recent wild berry-picking adventure and the little stash of huckleberries I’d brought home. This jam recipe, the one I’m sharing with you now, came from that very conversation — a spontaneous, no-fuss approach that anyone can whip up without sweating over giant batches or complicated ingredients.
The kitchen smelled like summer in the mountains, tangy and sweet with just that hint of earthiness the huckleberries carry. My grandma’s old jam jars lined the counter, waiting patiently. I stirred, watched the colors deepen, and thought about how this recipe had stuck with me — simple, authentic, and perfectly suited for those times when you want a fresh, homemade taste without the fuss. It’s not about perfection; it’s about capturing that burst of wild berry magic in a jar.
So why does this easy small batch huckleberry jam recipe feel so special? Because it’s approachable, real, and a little bit nostalgic — the kind of recipe you don’t need a fancy pantry to pull off. It’s a quiet reminder that sometimes, the best things in the kitchen come from just a handful of ingredients and a little patience. This jam has become my go-to for breakfast toast, a swirl in yogurt, or even a spoonful straight from the jar. And I think you’ll find it’s a recipe worth keeping close, too.
Why You’ll Love This Recipe
After a few rounds of testing and tweaking, I’ve landed on this easy small batch huckleberry jam recipe as my favorite for a bunch of reasons. Here’s what makes it stand out:
- Quick & Easy: From start to finish, this jam comes together in under 30 minutes — perfect for busy mornings or when you suddenly find yourself with a fresh berry haul.
- Simple Ingredients: No need to hunt down exotic pectin or weird additives. Just huckleberries, sugar, lemon juice, and a splash of water. That’s it.
- Perfect for Small Batches: If you only have a few cups of berries, it’s no problem. This recipe is designed for small yields so you don’t waste or get overwhelmed.
- Crowd-Pleaser: Family and friends rave about the natural tart-sweet balance and velvety texture. It’s great on everything from toast to desserts.
- Unbelievably Delicious: The jam captures the wild, fresh essence of huckleberries without being overly sweet or sticky — just pure berry goodness.
What sets this jam apart from the rest? It’s the way the berries softly break down, creating a luscious, slightly chunky texture that’s not too runny or too thick. I use a gentle simmer and a bit of lemon juice to brighten the flavors naturally, no artificial pectin needed. Honestly, after making this, you won’t want to go back to store-bought jams.
This recipe isn’t just about the jam itself — it’s about those moments where you get to slow down, stir the pot, and smell that amazing berry aroma filling your kitchen. It’s a small batch, but it makes a big impression.
What Ingredients You Will Need
This easy small batch huckleberry jam recipe sticks to simple, wholesome ingredients to bring out the true flavor of the berries. Everything you need is probably already in your kitchen or easy to find. Here’s the lineup:
- Huckleberries, fresh or frozen, about 2 cups (300 grams) — the star of the show. Fresh is best, but frozen works fine too, just thaw before cooking.
- Granulated sugar, 3/4 cup (150 grams) — balances the natural tartness. I prefer organic cane sugar for a cleaner taste.
- Fresh lemon juice, 1 tablespoon (15 ml) — adds brightness and helps with natural gelling.
- Water, 1/4 cup (60 ml) — just enough to help the berries break down gently.
Optional but nice additions:
- Vanilla bean or extract, a splash — for a subtle warm note (I sometimes add this for a twist).
- Pinch of sea salt — to deepen flavor complexity, especially if your berries taste very sweet.
If you’re looking for substitutions or tweaks, you can swap the granulated sugar for honey or maple syrup, but keep in mind this may change the texture and shelf life slightly. For a low-sugar option, try using a natural sweetener like erythritol, but test small batches first — huckleberries can be tricky!
One tip: If you want a thicker jam, feel free to add a teaspoon of chia seeds towards the end of cooking. They absorb liquid and add a nice gel without pectin. Also, if you enjoy the idea of homemade preserves, you might appreciate the homemade apricot jam recipe I tried last summer — same small batch vibe, different fruit.
Equipment Needed
Making this jam doesn’t require fancy gadgets. Here’s what you’ll need:
- Medium saucepan — a sturdy one with a thick bottom helps prevent burning.
- Wooden spoon or heatproof spatula — for stirring without scratching your pan.
- Measuring cups and spoons — accuracy helps, especially with sugar and lemon juice.
- Fine mesh strainer or ladle (optional) — if you want to remove seeds for a smoother jam.
- Clean glass jars with lids — for storing your jam. Small mason jars work perfectly for small batches.
If you don’t have a thick-bottomed saucepan, just keep a close eye and stir frequently to avoid scorching. I’ve used humble stainless steel pans for this recipe and it still turned out great. For sealing jars, you don’t need a canner unless you want to preserve long-term — this jam is best fresh or refrigerated for up to 3 weeks.
Preparation Method
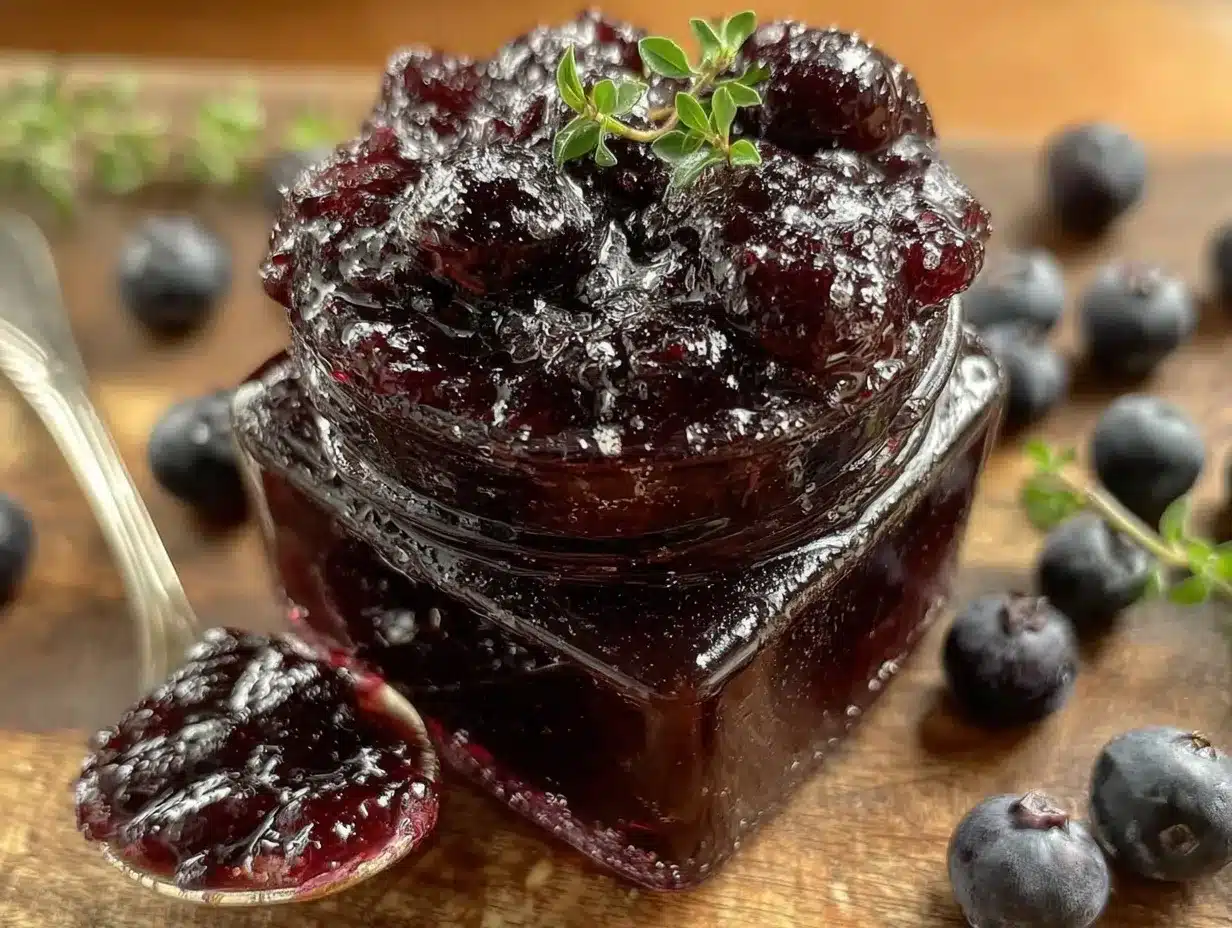
- Prepare your berries: Rinse 2 cups (300 g) of fresh huckleberries gently under cold water. If using frozen, thaw completely and drain excess water. This keeps your jam from becoming too watery.
- Combine ingredients: In your medium saucepan, add the huckleberries, 3/4 cup (150 g) sugar, 1 tablespoon (15 ml) fresh lemon juice, and 1/4 cup (60 ml) water. Stir to mix everything evenly.
- Heat gently: Place the pan over medium heat and bring the mixture to a gentle boil, stirring occasionally. This should take about 5 to 7 minutes. You’ll notice the berries start to soften and release their juices — that’s the magic happening.
- Simmer and stir: Reduce heat to medium-low and simmer for 15 to 20 minutes. Stir frequently to prevent sticking. The jam will thicken slightly and the color will deepen to a rich purple-red.
- Check the consistency: To test if your jam is ready, drop a small spoonful onto a cold plate and let it sit for a minute. If it wrinkles when you push it with your finger, it’s set. If not, simmer a little longer, keeping a close eye so it doesn’t burn.
- Optional: Remove seeds: If you prefer a seedless jam, push the mixture through a fine mesh strainer or blend briefly with an immersion blender before the final simmer.
- Jar it up: Carefully pour the hot jam into clean glass jars, leaving about 1/4 inch (0.5 cm) headspace. Wipe rims clean, seal tightly, and let cool to room temperature.
- Store: Refrigerate once cooled. The jam will thicken further as it cools.
Pro tip: Stirring often and keeping the heat moderate prevents a burnt taste and keeps your jam smooth. I learned this the hard way one summer when I left the stove for a second and ended up with a scorched batch — not fun! Also, don’t rush the simmering stage; that’s where the flavor really develops.
Cooking Tips & Techniques
Working with wild huckleberries is a bit different from your average berry jam, so here are a few things I’ve picked up:
- Don’t rush the simmer: Low and slow is your friend. High heat can cause the jam to scorch or the sugar to caramelize too much, changing the flavor.
- Test your set: That cold plate trick is old but gold. It’s the easiest way to avoid overcooking or ending up with runny jam.
- Use fresh lemon juice: It’s better than bottled for that bright, natural tang that balances the sweetness and helps the jam gel.
- Keep stirring often: Jam can stick and burn quickly once it thickens, especially in smaller batches.
- Seed removal: Huckleberries have more seeds than blueberries, so decide early if you want to strain or not. Personally, I like a bit of texture and don’t bother.
- Small batch care: Because this recipe is small, watch the cooking time closely — it can go from perfect to overdone in minutes.
Honestly, the first few times I made this jam, I was nervous about the texture and sweetness. But once I found the right balance with sugar and lemon juice, it became foolproof. And trust me, if you enjoy making jams, you might want to try the homemade apricot jam too — it’s a great companion recipe for your jam-making adventures.
Variations & Adaptations
Once you’ve got the basics down, feel free to tailor this easy small batch huckleberry jam recipe to your taste or needs:
- Make it vegan and refined sugar-free: Use coconut sugar or maple syrup instead of granulated sugar. The flavor will be earthier but just as delicious.
- Add complementary flavors: A splash of vanilla extract, a pinch of cinnamon, or even a little fresh ginger adds a lovely twist.
- Seedless version: Puree and strain the berries completely for a smooth jelly-like jam.
- Use frozen berries: Perfect for when fresh huckleberries aren’t in season. Just thaw and drain well before cooking.
- Try other wild berries: Substitute or mix in wild blackberries or blueberries for a mixed berry jam.
Personally, I once added a handful of freshly picked mint leaves during the last simmer, which gave a fresh herbal note that surprised and delighted my family. If savory flavors are your thing, this jam pairs surprisingly well with cheese boards — try it alongside a creamy brie for a memorable bite.
Serving & Storage Suggestions
Serving this jam is as flexible as the recipe itself. Here are some ways I love to enjoy it:
- Spread warm or cooled on toasted sourdough or your favorite bread.
- Swirled into plain yogurt or oatmeal for a fruity kick.
- As a topping for pancakes, waffles, or even ice cream.
- Paired with cheese and crackers on a grazing board — speaking of which, the fresh tropical fruit grazing board I shared recently is a perfect match for this jam’s fruity punch.
For storage, keep your jam refrigerated and consume within 3 weeks for best flavor and safety. You can also freeze small portions in ice cube trays for later use — just thaw overnight in the fridge.
The flavors actually mellow and deepen a bit after a day or two in the fridge, so if you can wait, it’s worth it. Just remember to use a clean spoon every time to avoid contamination.
Nutritional Information & Benefits
This small batch huckleberry jam is a sweet treat with some nutritional perks, too. Here’s a rough estimate per 2-tablespoon (30 g) serving:
| Calories | 60 |
|---|---|
| Carbohydrates | 15 g (mostly natural sugars) |
| Fiber | 1 g |
| Vitamin C | 8% of daily value (from lemon and berries) |
Huckleberries are rich in antioxidants and vitamin C, which support immune health and skin vitality. The recipe contains no artificial preservatives or additives, making it a cleaner choice than many store-bought jams.
If you’re mindful of sugar, you can reduce it or use alternative sweeteners as mentioned. This jam is naturally gluten-free and vegan (if you stick to sugar or plant-based sweeteners), making it suitable for many diets.
Conclusion
This easy small batch huckleberry jam recipe is proof that homemade preserves don’t have to be intimidating or complicated. It’s approachable for beginners, uses simple ingredients, and delivers genuine flavor that’s hard to beat. I love this recipe because it reminds me that good things come from simple moments — like sharing a conversation over a pot of simmering berries.
Feel free to make it your own, tweak the sweetness, or add your favorite flavors. And if you end up making a double batch, you might want to try pairing it with the perfect lemon pound cake I baked last week — that combo is a match made in heaven.
Give it a go, and don’t hesitate to share your jam stories or variations below. Homemade jam is about joy, experimentation, and the little wins in the kitchen. Happy cooking!
FAQs
Can I use frozen huckleberries for this jam?
Yes! Just thaw them fully and drain any excess liquid before cooking. Frozen berries work well year-round.
How long does this small batch huckleberry jam last in the fridge?
Stored in a clean, sealed jar, it keeps for about 3 weeks refrigerated. Use a clean spoon each time to avoid contamination.
Do I need to add pectin to this jam?
Nope. The lemon juice and natural berry pectin help the jam set nicely without added commercial pectin.
Can I make this jam without sugar?
You can reduce the sugar or swap it for natural sweeteners like honey or maple syrup, but keep in mind the texture and shelf life may change.
How do I know when the jam has set properly?
Use the cold plate test: put a small spoonful on a chilled plate, let it cool for a minute, then push it gently. If it wrinkles, it’s ready!
Pin This Recipe!
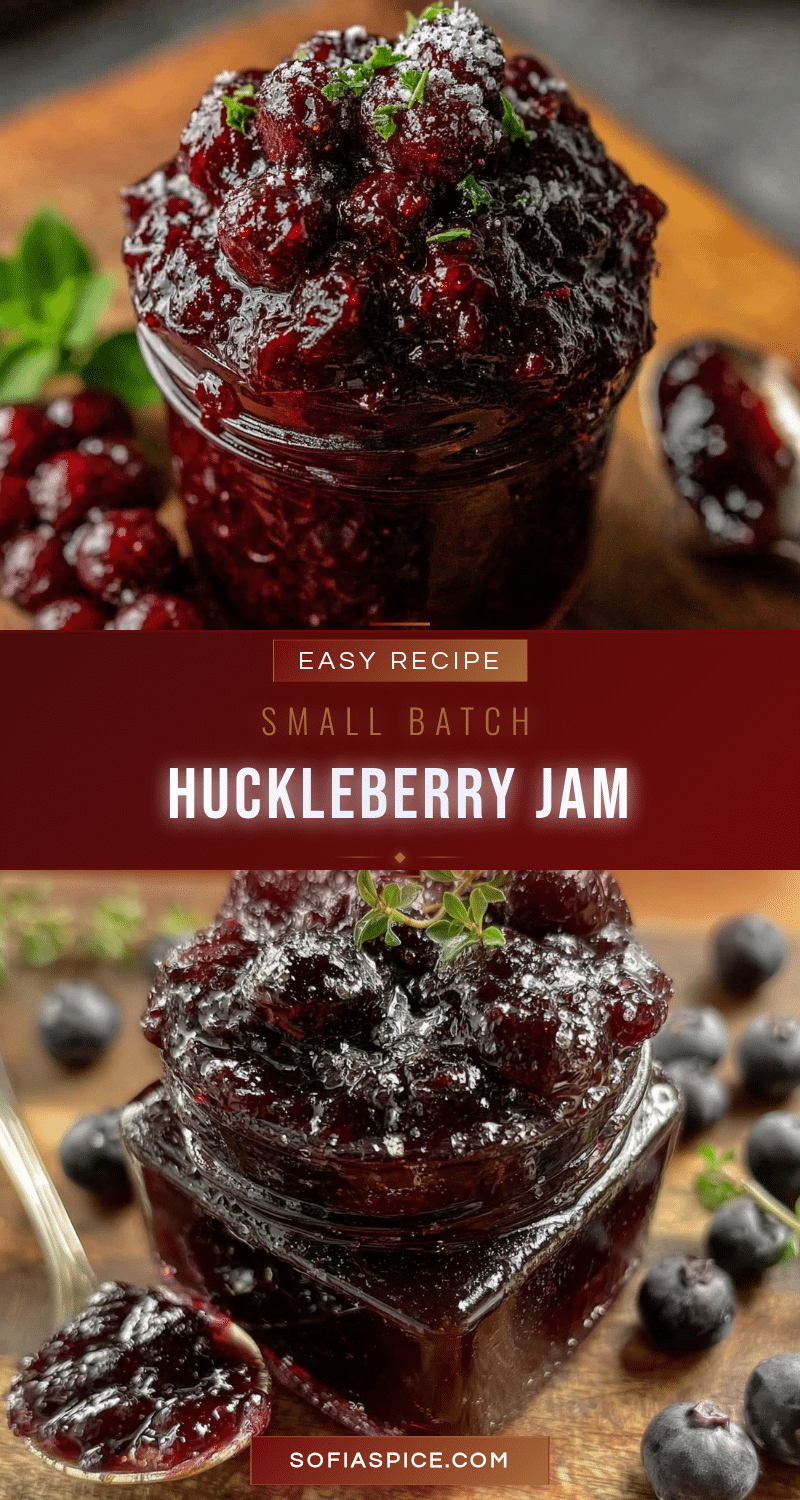
Easy Small Batch Huckleberry Jam Recipe Perfect for Beginners
A simple and approachable small batch huckleberry jam recipe that captures the wild, fresh essence of huckleberries without complicated ingredients or large yields. Perfect for beginners and quick to make.
- Prep Time: 10 minutes
- Cook Time: 20 minutes
- Total Time: 30 minutes
- Yield: About 1 cup (8 servings, 2 tablespoons each) 1x
- Category: Preserves
- Cuisine: American
Ingredients
- 2 cups (300 grams) fresh or frozen huckleberries, thawed and drained if frozen
- 3/4 cup (150 grams) granulated sugar
- 1 tablespoon (15 ml) fresh lemon juice
- 1/4 cup (60 ml) water
- Optional: splash of vanilla bean or extract
- Optional: pinch of sea salt
- Optional: 1 teaspoon chia seeds for thicker jam
Instructions
- Rinse 2 cups (300 g) of fresh huckleberries gently under cold water. If using frozen, thaw completely and drain excess water.
- In a medium saucepan, combine huckleberries, 3/4 cup (150 g) sugar, 1 tablespoon (15 ml) fresh lemon juice, and 1/4 cup (60 ml) water. Stir to mix evenly.
- Place the pan over medium heat and bring the mixture to a gentle boil, stirring occasionally, about 5 to 7 minutes until berries soften and release juices.
- Reduce heat to medium-low and simmer for 15 to 20 minutes, stirring frequently to prevent sticking, until jam thickens and color deepens.
- Test jam consistency by dropping a small spoonful onto a cold plate; if it wrinkles when pushed, it is set. If not, simmer a little longer.
- Optional: For seedless jam, push mixture through a fine mesh strainer or blend briefly before final simmer.
- Pour hot jam carefully into clean glass jars, leaving about 1/4 inch (0.5 cm) headspace. Wipe rims clean and seal tightly.
- Let jars cool to room temperature, then refrigerate. Jam will thicken further as it cools.
Notes
Stir often and keep heat moderate to prevent burning. Use fresh lemon juice for best flavor and natural gelling. The cold plate test is the best way to check jam set. For thicker jam, add chia seeds at the end. Refrigerate and consume within 3 weeks. Use a clean spoon each time to avoid contamination.
Nutrition
- Serving Size: 2 tablespoons (30 gr
- Calories: 60
- Sugar: 14
- Carbohydrates: 15
- Fiber: 1
Keywords: huckleberry jam, small batch jam, easy jam recipe, beginner jam recipe, homemade jam, wild berry jam, no pectin jam


