This was supposed to be a simple limeade. I mean, really simple. I was hosting my annual Halloween party—the one where I go a little overboard with the cobwebs and the fog machine—and I thought, “I’ll just whip up a big batch of limeade, drop in some green food coloring, and call it a day.” Simple, right? Well, I grabbed the wrong bottle from the pantry. Instead of lime juice concentrate, I grabbed a bottle of green sports drink powder my kid had left from soccer season. I was already running late, the doorbell was about to ring, and I just dumped the whole thing into the punch bowl without a second thought.
The color was terrifying. I mean, it was this electric, glowing green that looked like it belonged in a mad scientist’s lab. Honestly, I almost poured it down the sink. But my neighbor, Carol, walked in right then, took one look at the bowl, and said, “What on earth is that?” I had to serve it. I had no backup plan. So I tossed in some dry ice I had lying around for the fog machine (don’t ask), and the whole thing started bubbling like a cauldron. It was a disaster that somehow worked. The taste? Shockingly good. Sweet, tart, and weirdly refreshing. Everyone asked for the recipe, and I had to make up a name on the spot. “Witches’ Brew,” I said. And it stuck.
Maybe you’ve been there—staring at a bowl of something you didn’t mean to make, wondering if you should scrap the whole plan. Let me tell you, sometimes the best recipes come from those moments of panic. This punch is now the star of every Halloween party I throw. It’s the first thing people ask about. And honestly? I still can’t believe it started as a mistake.
Why You’ll Love This Recipe
Listen, I’ve tested a lot of party punches over the years. Some are too sweet, some are too complicated, and some just look boring. This Witches’ Brew Green Punch is none of those things. It’s the recipe I pull out every single Halloween, and it never fails to impress. Here’s why you’re going to love it:
- Quick & Easy: You can throw this together in under 10 minutes. No boiling, no blending, no fuss. Just dump, stir, and serve.
- Simple Ingredients: You probably have most of these in your pantry right now. No fancy grocery trips needed—just a few basics and some dry ice for the wow factor.
- Perfect for Halloween Parties: This punch is designed to be the centerpiece of your spooky spread. It bubbles, it steams, and it glows. It’s a total crowd-pleaser.
- Crowd-Pleaser: Kids and adults both go crazy for it. The flavor is sweet and tangy, not too heavy, and everyone wants a second glass.
- Unbelievably Delicious: I know, it sounds like a gimmick. But the combination of citrus and tropical flavors is genuinely addictive. You’ll be sneaking sips before the guests even arrive.
What makes this recipe different from all the other green punches out there? It’s the balance. Most Halloween punches are either cloyingly sweet or taste like straight-up Kool-Aid. This one has a bright, clean flavor with just the right amount of tartness. Plus, the dry ice effect is just unbeatable. It’s not just a drink—it’s a performance. Your guests will gather around the bowl, oohing and aahing as the fog rolls over the sides. It’s the kind of recipe that makes you feel like a kitchen wizard, even if you barely did any work.
And honestly? This punch is comfort food for the spooky season. It’s the drink that makes you close your eyes after the first sip and think, “Yeah, Halloween is officially here.” Perfect for impressing guests without stress, or turning a simple gathering into something memorable.
What Ingredients You Will Need
This recipe uses simple, easy-to-find ingredients to deliver bold flavor and that signature spooky look. Most of these are pantry staples, so you probably won’t need to make a special trip. Let’s break it down.
For the Punch Base
- 1 (64-ounce) bottle of lemon-lime soda (like Sprite or 7-Up) – This gives the punch its fizz and sweetness. I prefer Sprite for a cleaner taste, but any brand works.
- 1 (46-ounce) can of pineapple juice – Adds a tropical sweetness that balances the tartness. Look for 100% juice, not a blend.
- 1 (12-ounce) can of frozen limeade concentrate, thawed – This is the secret to that bright, tangy flavor. Don’t skip it—it’s what makes the punch taste fresh.
- 1 (12-ounce) can of frozen lemonade concentrate, thawed – Adds another layer of citrus. The combo of lime and lemon is magic.
- 4 cups of cold water – To dilute the concentrates and keep the punch from being too syrupy.
- 1 cup of granulated sugar – Optional, but I find it helps round out the tartness. Adjust to your taste.
- 1 teaspoon of lime juice – Fresh squeezed is best, but bottled works in a pinch.
- Green food coloring – About 10-15 drops, or enough to get that electric green color. I like the gel kind for a more vibrant hue.
For the Spooky Effect
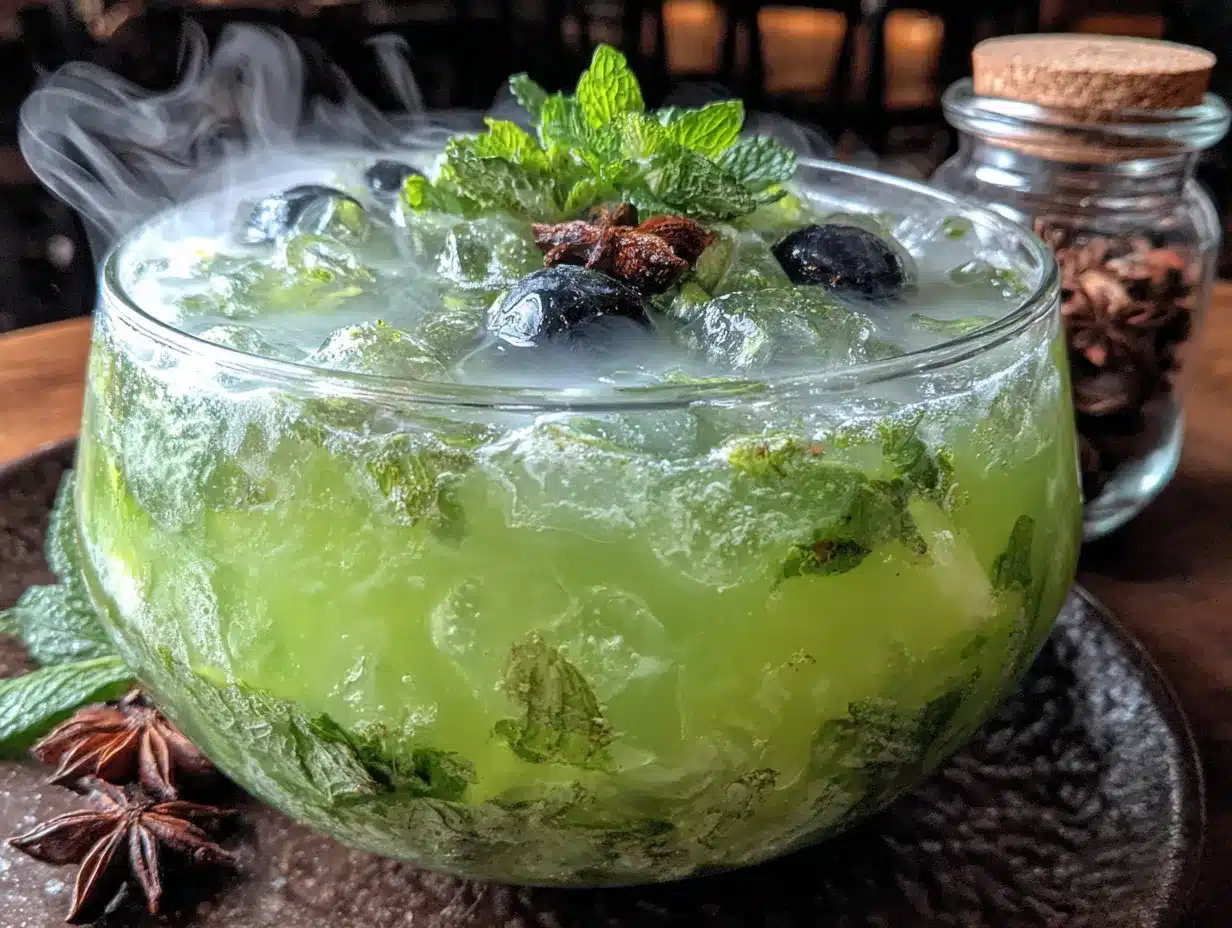
- 1 to 2 pounds of dry ice – This is what makes the punch bubble and steam. You can find it at most grocery stores or ice suppliers. Handle it with gloves!
For Garnish (Optional but Fun)
- Plastic spiders or gummy worms – For that creepy-crawly look.
- Lime slices – Float them on top for a pop of color.
- Fresh mint leaves – Adds a nice aroma and a touch of green.
Ingredient Tips: I recommend using Dole pineapple juice for the best flavor—it’s consistently sweet and not too acidic. For the food coloring, Americolor’s “Electric Green” is my go-to. It gives that neon glow without turning the punch murky. If you’re serving kids, you can use a clear soda like Sierra Mist to keep the color pure. And if you want a less sweet punch, cut the sugar down to 1/2 cup or skip it entirely—the concentrates and soda are already pretty sweet.
Substitution Guidance: Need a non-carbonated version? Swap the lemon-lime soda for ginger ale or even just plain water with extra lime juice. For a lower-sugar option, use diet lemon-lime soda and skip the sugar. You can also use coconut water instead of plain water for a tropical twist—it adds a subtle sweetness that’s really nice.
Equipment Needed
You don’t need much for this recipe, which is part of the beauty. Here’s what you’ll need:
- Large punch bowl – At least 1.5 gallons capacity. Glass or clear plastic is best so everyone can see the bubbling effect.
- Large spoon or ladle – For stirring. A wooden spoon works, but I prefer a plastic one to avoid scratching the bowl.
- Measuring cups and spoons – For the concentrates and sugar.
- Tongs or gloves – For handling the dry ice. Never touch dry ice with bare hands. It can cause frostbite.
- Small hammer or mallet – If your dry ice comes in a large block, you’ll need to break it into smaller pieces.
- Plastic cups or glasses – For serving. Clear cups let guests see the fog effect.
Budget-Friendly Alternatives: Don’t have a fancy punch bowl? A large plastic cauldron from a party store works perfectly and adds to the theme. No ladle? Use a clean plastic cup. And if you don’t have a hammer, a rolling pin will do the job for breaking up the dry ice. I’ve used a wooden spoon handle in a pinch—just be careful not to hurt yourself.
Personal Experience: I once tried to use a metal punch bowl, and the dry ice reacted with the metal, making a weird noise. Stick with glass or plastic. Also, don’t use a bowl that’s too shallow—the fog effect works best when there’s depth for the vapor to pool.
Preparation Method
Alright, let’s get to the fun part. This punch comes together in minutes, but there are a few tricks to getting it just right. Follow these steps, and you’ll have a bubbling cauldron that steals the show.
- Chill everything first. About an hour before your party, put the lemon-lime soda, pineapple juice, and water in the fridge. Cold ingredients help the dry ice last longer and create more fog. Trust me on this—room-temperature punch just doesn’t have the same effect.
- Mix the base. In your punch bowl, combine the chilled lemon-lime soda, pineapple juice, thawed limeade concentrate, thawed lemonade concentrate, and 4 cups of cold water. Stir gently with a large spoon to combine. Don’t stir too vigorously—you’ll lose some carbonation.
- Add the sugar. If you’re using sugar, add it now and stir until it’s completely dissolved. This might take a minute or two. Taste the punch at this point. It should be sweet with a tangy kick. If it’s too tart, add a little more sugar.
- Color it green. Add the green food coloring, starting with 10 drops. Stir and check the color. You want a vibrant, almost neon green—like something out of a witch’s lab. Add more drops until you’re happy with the shade. I usually end up around 15 drops.
- Add the lime juice. Stir in the teaspoon of lime juice. This brightens the flavor and makes the citrus notes pop. It’s a small step, but it makes a difference.
- Prepare the dry ice. Put on your gloves or use tongs. If your dry ice is in a large block, place it in a sturdy bag and break it into smaller chunks with a hammer. You want pieces about the size of a golf ball. Important: Work in a well-ventilated area. Dry ice releases carbon dioxide gas, which can be dangerous in enclosed spaces.
- Add the dry ice. Just before serving, drop the dry ice pieces into the punch bowl. It will start bubbling immediately, releasing thick, white fog that spills over the sides of the bowl. Stir gently to distribute the fog. Never, ever put dry ice in your mouth or swallow it. It’s for visual effect only.
- Garnish and serve. Float lime slices, plastic spiders, or gummy worms on top for extra creepiness. Ladle the punch into clear cups, being careful not to scoop up any dry ice pieces. The fog will follow the punch into the cups, which looks amazing.
- Refresh the dry ice. The fog effect lasts about 15-20 minutes. When it starts to fade, add a few more pieces of dry ice. Keep the rest in a cooler or insulated bag until you need it.
Sensory Cues: When you add the dry ice, you’ll hear a loud sizzle and see a thick, white fog rolling out. The punch will look like a bubbling cauldron. The smell is citrusy and fresh, with a hint of that dry ice “cold” scent. The first sip should be cold, sweet, and tangy, with a pleasant fizz.
Troubleshooting: If the punch isn’t fogging enough, your ingredients might not be cold enough. Add more dry ice or chill the punch further. If the color is too light, add more food coloring. If it’s too sweet, add a splash of lime juice or lemon juice to balance it out.
Cooking Tips & Techniques
I’ve made this punch more times than I can count, and I’ve learned a few things the hard way. Let me save you some trouble.
Tip 1: The dry ice is the star, but it’s also the danger. I cannot stress this enough—handle dry ice with gloves or tongs. The first time I made this, I grabbed a piece with my bare fingers to show off, and I ended up with a minor frostbite burn. It’s not worth it. Also, never seal dry ice in a container. The pressure can cause it to explode. Keep it in a paper bag or a cooler with the lid slightly open.
Tip 2: Chill, chill, chill. The colder the punch, the better the fog effect. I learned this after a party where the punch was lukewarm, and the dry ice just fizzled out without producing much fog. Now I chill everything overnight. It makes a huge difference.
Tip 3: Don’t add the dry ice too early. If you add it before guests arrive, the fog will be gone by the time they start drinking. I once made this mistake and had to fake the effect by waving a fog machine over the bowl. Just add the dry ice right before you serve, and refresh it every 15-20 minutes.
Tip 4: Taste before you add the dry ice. Once the dry ice is in, you can’t taste-test safely. The carbon dioxide can cause a burning sensation on your tongue. So make sure the flavor is perfect before you drop in the dry ice.
Tip 5: Use a clear bowl. I tried this in a ceramic cauldron once, and the fog effect was barely visible. A clear glass or plastic bowl lets everyone see the bubbling and fog. It’s worth the investment.
Common Mistake: Adding too much dry ice. You don’t need a lot. A few small pieces are enough to create a dramatic effect. Too much will make the punch overly carbonated and can even cause the bowl to crack if it’s glass. Start with a small amount and add more if needed.
Variations & Adaptations
This recipe is super versatile. Here are a few ways to switch it up:
Non-Alcoholic “Poison” Punch
Keep it exactly as written—it’s already non-alcoholic! But if you want to make it feel more “grown-up” without the alcohol, add a splash of ginger ale or a few drops of lime bitters. The bitterness adds a nice complexity.
Spiked Witches’ Brew (For Adults Only)
Add 1 to 2 cups of white rum, vodka, or coconut rum to the punch base before adding the dry ice. The coconut rum pairs especially well with the pineapple juice. Just be careful—the dry ice effect can make it easy to lose track of how much you’re drinking.
Dairy-Free “Ghostly” Punch
This punch is naturally dairy-free, so no changes needed. But if you want a creamier version, you can add a can of coconut milk. It’ll turn the punch a lighter green and add a subtle coconut flavor. Just shake the can well before adding.
Low-Sugar “Skinny” Brew
Use diet lemon-lime soda, skip the sugar, and use sugar-free limeade and lemonade concentrates. The flavor will be slightly less sweet, but still tangy and refreshing. You can also add a few drops of stevia if you need extra sweetness.
Berry “Blood” Punch
Swap the pineapple juice for cranberry or pomegranate juice. The color will turn a deep red, which is perfect for a vampire-themed party. The flavor will be more tart, so you might need to add extra sugar.
Personal Variation: I once made this with a splash of blue curacao (non-alcoholic version) to give it a deeper, more mysterious green color. It turned out amazing and looked like something from a haunted lagoon. Just add a little at a time until you get the shade you want.
Serving & Storage Suggestions
This punch is best served immediately, but there are a few tricks to keep it going throughout the party.
Serving Temperature: Serve the punch ice cold. The dry ice will keep it cold for about 30 minutes, but if you’re serving over a longer period, add a few ice cubes made from lemon-lime soda (so they don’t water down the punch).
Presentation Tips: Place the punch bowl on a table with a dark tablecloth to make the green color pop. Arrange plastic spiders, gummy worms, or fake eyeballs around the bowl. You can also add a small fog machine nearby for extra atmosphere. I like to serve the punch in clear plastic cups with a “Witches’ Brew” label on each one.
Complementary Dishes: This punch pairs perfectly with savory snacks like buffalo wings, deviled eggs, or a cheese board. For dessert, serve it alongside pumpkin cupcakes or ghost-shaped cookies. The sweetness of the punch balances out salty and spicy foods.
Storage Instructions: If you have leftover punch (unlikely, but possible), remove any dry ice pieces first. Store the punch in a sealed container in the refrigerator for up to 3 days. The carbonation will fade, but the flavor will still be good. You can re-carbonate it by adding a splash of fresh lemon-lime soda before serving again.
Reheating: Don’t reheat this punch. It’s meant to be served cold. If it’s been in the fridge, just stir it well and add fresh dry ice before serving again.
Flavor Development: The flavors actually meld together beautifully after a few hours in the fridge. The punch tastes even better the next day, if you can believe it. Just don’t add the dry ice until you’re ready to serve.
Nutritional Information & Benefits
Let’s be real—this is a treat, not a health drink. But it’s not as bad as you might think. Here’s a rough estimate per 8-ounce serving (without dry ice):
| Nutrient | Amount |
|---|---|
| Calories | 180 |
| Total Fat | 0g |
| Sodium | 20mg |
| Total Carbohydrates | 45g |
| Sugars | 40g |
| Protein | 0g |
| Vitamin C | 15% DV |
Health Benefits: The pineapple juice is a good source of vitamin C and manganese, which supports bone health. The lime and lemon juices also provide antioxidants. Of course, the sugar content is high, so this is best enjoyed as an occasional treat.
Dietary Considerations: This punch is naturally gluten-free, dairy-free, and vegan. For a lower-sugar option, use diet soda and sugar-free concentrates. For a lower-calorie version, cut the sugar in half or skip it entirely.
Allergens: This recipe is free of the top allergens (dairy, eggs, nuts, soy, wheat). However, always check labels on your ingredients to be sure.
Personal Wellness Perspective: I believe in balance. Halloween is one night a year, and this punch is part of the fun. I don’t stress about the sugar content—I just enjoy it and get back to my regular eating habits the next day. Life is too short to skip the Witches’ Brew.
Conclusion
So there you have it—a punch that started as a total disaster and turned into the star of my Halloween party. This Witches’ Brew Green Punch is everything you want in a party drink: it’s easy, it’s impressive, and it tastes genuinely delicious. The dry ice effect is pure magic, and your guests will be talking about it for weeks.
I want you to make this your own. Play with the flavors, try different garnishes, and don’t be afraid to experiment. Maybe you’ll discover a variation that becomes your signature drink. That’s the beauty of cooking—sometimes the best recipes come from happy accidents.
I’d love to hear how yours turns out. Drop a comment below and tell me about your Halloween party, or share a photo of your bubbling cauldron. And if you have a variation that blew your mind, I want to know about it. Let’s keep the magic alive, one glass at a time!
Cheers, and happy haunting!
Frequently Asked Questions
Can I make this punch ahead of time?
Yes! You can mix the punch base (without the dry ice) up to 3 days in advance. Store it in a sealed container in the fridge. Just give it a good stir and add the dry ice right before serving.
Is dry ice safe to use in drinks?
Yes, as long as you handle it carefully. Never touch dry ice with bare skin, and never put it in your mouth. The dry ice pieces should be small enough that they won’t be accidentally scooped into a cup. Always use gloves or tongs.
How long does the fog effect last?
About 15-20 minutes per batch of dry ice. You can add more pieces as needed to keep the fog going throughout the party. Just remember to refresh it every 20 minutes or so.
Can I use a different color?
Absolutely! This punch is easy to customize. Use purple food coloring for a “poison” look, red for a “blood” punch, or orange for a pumpkin-themed party. Just adjust the food coloring to get the shade you want.
What can I use instead of dry ice?
If you can’t find dry ice, you can use a fog machine to create a similar effect. Just point the nozzle at the punch bowl. Alternatively, you can use ice cubes made from green-colored water or soda to keep the punch cold without diluting it.
Pin This Recipe!
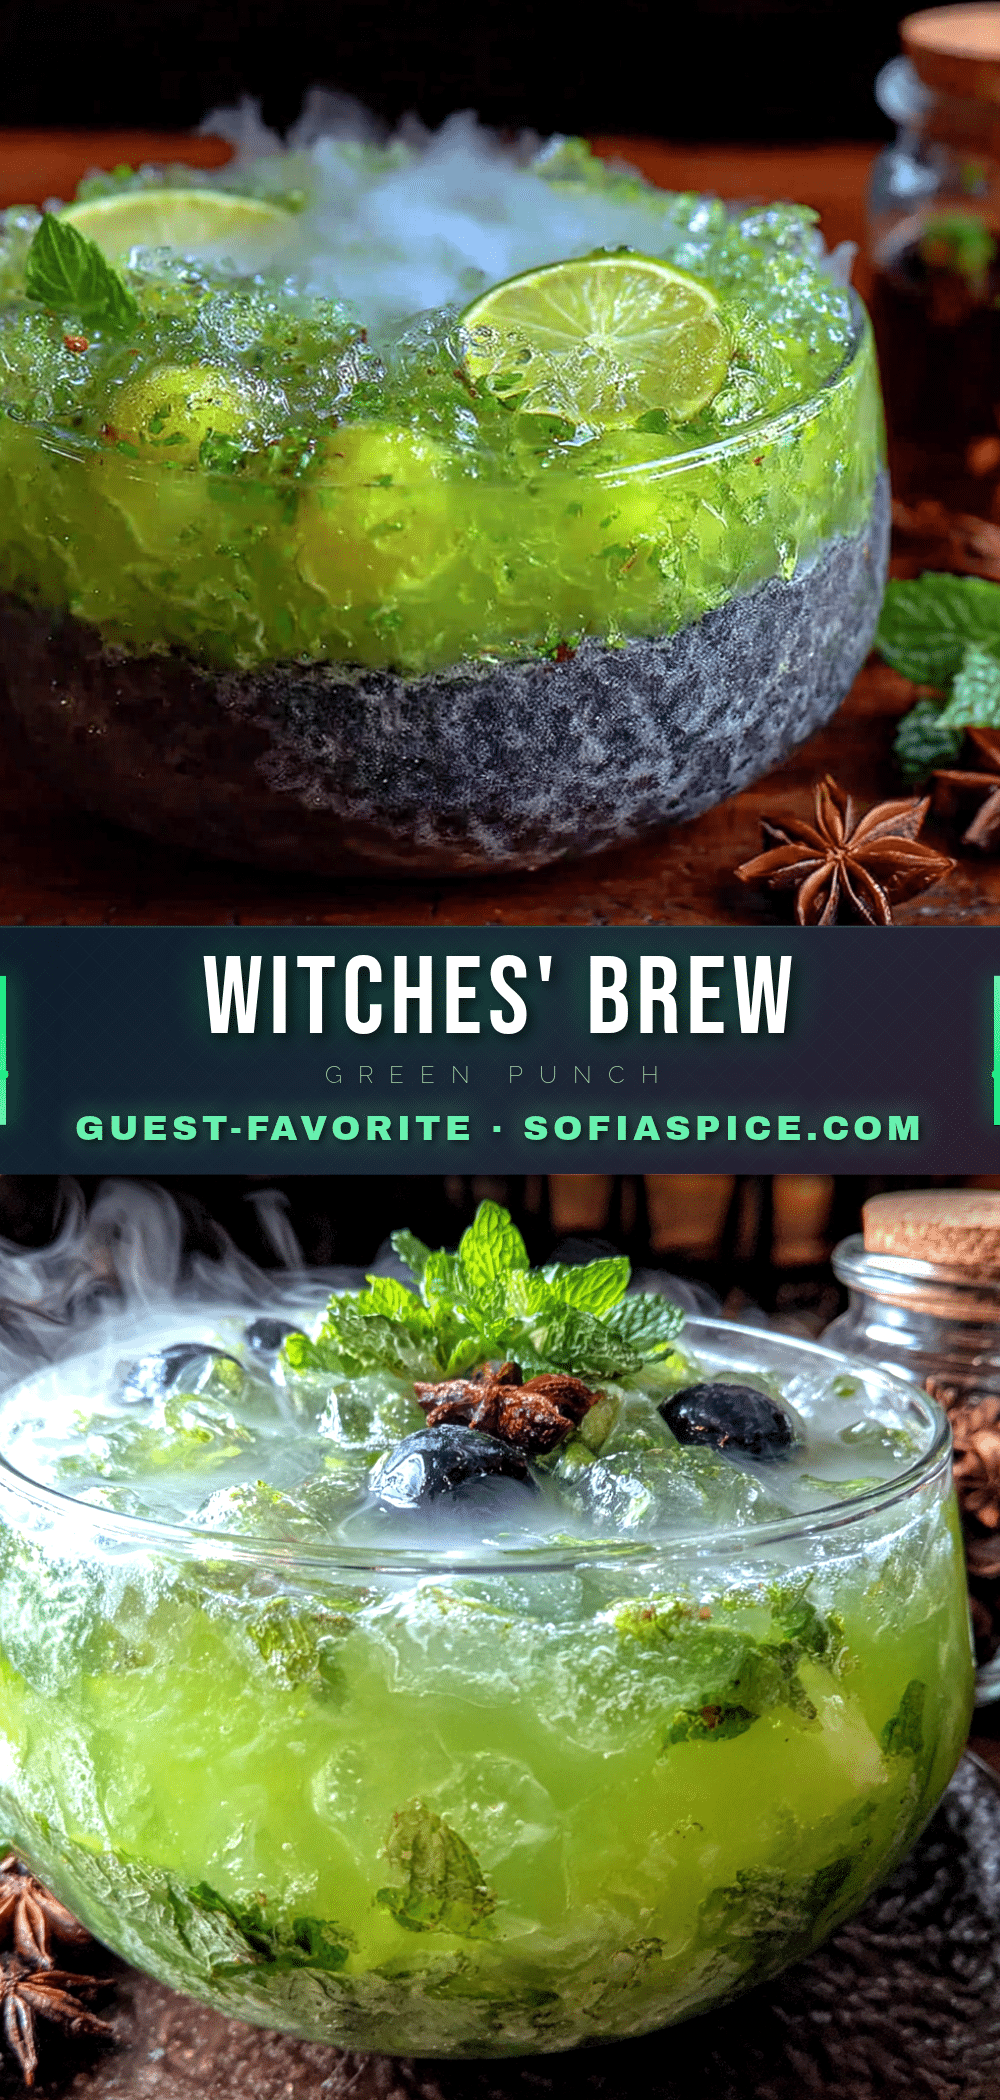
Easy Green Witches Brew Punch with Dry Ice
A spooky, bubbling green punch made with lemon-lime soda, pineapple juice, and citrus concentrates, topped with dry ice for a dramatic fog effect. Perfect for Halloween parties.
- Prep Time: 10 minutes
- Cook Time: 0 minutes
- Total Time: 10 minutes
- Yield: 16 servings 1x
- Category: Beverage
- Cuisine: American
Ingredients
- 1 (64-ounce) bottle of lemon-lime soda (like Sprite or 7-Up)
- 1 (46-ounce) can of pineapple juice
- 1 (12-ounce) can of frozen limeade concentrate, thawed
- 1 (12-ounce) can of frozen lemonade concentrate, thawed
- 4 cups of cold water
- 1 cup of granulated sugar (optional)
- 1 teaspoon of lime juice
- 10–15 drops of green food coloring
- 1 to 2 pounds of dry ice
- Plastic spiders or gummy worms (optional, for garnish)
- Lime slices (optional, for garnish)
- Fresh mint leaves (optional, for garnish)
Instructions
- Chill the lemon-lime soda, pineapple juice, and water in the fridge for at least an hour before serving.
- In a large punch bowl, combine the chilled lemon-lime soda, pineapple juice, thawed limeade concentrate, thawed lemonade concentrate, and 4 cups of cold water. Stir gently.
- Add the sugar (if using) and stir until completely dissolved. Taste and adjust sweetness if needed.
- Add the green food coloring, starting with 10 drops, and stir. Add more drops until you achieve a vibrant green color.
- Stir in the lime juice.
- Put on gloves or use tongs to handle the dry ice. If it’s in a large block, place it in a sturdy bag and break it into golf ball-sized pieces with a hammer.
- Just before serving, drop the dry ice pieces into the punch bowl. Stir gently to distribute the fog.
- Garnish with lime slices, plastic spiders, or gummy worms if desired. Ladle the punch into clear cups, being careful not to scoop up any dry ice pieces.
- Refresh the dry ice every 15-20 minutes as the fog effect fades.
Notes
Handle dry ice with gloves or tongs—never with bare hands. Work in a well-ventilated area. Do not add dry ice too early; add just before serving. Taste the punch before adding dry ice, as it cannot be safely tasted afterward. For a less sweet punch, reduce or omit the sugar.
Nutrition
- Serving Size: 8 ounces
- Calories: 180
- Sugar: 40
- Sodium: 20
- Carbohydrates: 45
Keywords: Halloween punch, green punch, witches brew, dry ice punch, party punch, spooky drink


