December had just started, and I kept watching people post those perfect hot cocoa bars on social media, the kind with the fancy spoons and the little jars of marshmallows. It looked lovely, but I knew if I tried to pull that off at a party, I would end up spending a hundred dollars on stuff I would never use again. So I just accepted that a hot cocoa bar was something other people did, not me.
Then I found myself standing in the baking aisle staring at a bag of crushed peppermint, and it hit me. I didn’t need the full Pinterest-perfect setup. I just needed good hot cocoa, a couple of toppings, and that one flavor that makes everything feel like a holiday movie. That is how this cozy DIY peppermint hot cocoa bar was born. It wasn’t a grand plan. It was a Tuesday night craving that just kept showing up.
The first time I set it up, I used a random cutting board and a few mismatched bowls. It was not pretty. But my husband took one sip, looked at the little pile of crushed candy canes, and said, “This is the best thing you have done all month.” That was it. I knew I had stumbled onto something worth repeating. This is not about being fancy. It is about making a moment that actually feels good.
Why You Will Love This Recipe
This is not just another hot chocolate recipe. It is a full experience that takes almost no effort to pull together. I have tested this setup at family gatherings, lazy Sunday afternoons, and even a virtual holiday hangout with friends. It works every single time because it is built on simple ingredients and a little bit of creativity.
- Quick & Easy : You can have this whole bar ready in under 15 minutes. No complicated steps, no special equipment, and no stress.
- Simple Ingredients : Most of these items are probably already in your pantry. The peppermint and marshmallows are the only things you might need to grab.
- Perfect for Winter Gatherings : This works for holiday parties, snow day activities, or just a quiet night when you want something warm and cozy.
- Crowd-Pleaser : Kids love building their own mug, and adults appreciate the nostalgic flavors. It is a hit across all ages.
- Unbelievably Delicious : The combination of rich chocolate and cool peppermint is a classic for a reason. It just makes you feel good.
What makes this different from every other hot cocoa bar out there is the balance. I do not overload it with twenty toppings that nobody touches. Instead, I focus on quality ingredients and a few thoughtful choices. The result is a setup that looks impressive but feels totally doable. It is the kind of thing that makes you close your eyes after the first sip and forget about the cold outside.
What Ingredients You Will Need
This recipe uses simple, pantry-friendly ingredients to deliver a rich, minty, and completely satisfying cup of hot cocoa. The magic is in the combination of high-quality chocolate and fresh peppermint, not in a long list of obscure items.
- For the Hot Cocoa Base:
- 4 cups whole milk (or any milk you prefer)
- 1/2 cup heavy cream (adds richness, but you can use all milk)
- 1/2 cup unsweetened cocoa powder (I like Ghirardelli or Hershey’s Special Dark)
- 1/2 cup granulated sugar (adjust to your sweetness preference)
- 1/4 teaspoon salt (brings out the chocolate flavor)
- 1 teaspoon vanilla extract
- 4 ounces semi-sweet chocolate, finely chopped (use a good bar, not chips)
- For the Peppermint Toppings:
- 1/2 cup crushed candy canes (about 4-5 large candy canes)
- 4-6 full-size peppermint sticks or candy canes for stirring
- 1/4 teaspoon peppermint extract (optional, for extra minty punch)
- For the Toppings Bar:
- 1 cup mini marshmallows (or homemade, if you are feeling ambitious)
- 1/2 cup whipped cream (homemade is best, but canned works in a pinch)
- 1/4 cup chocolate shavings or curls
- 1/4 cup white chocolate chips or melting wafers
- 1/4 cup crushed pretzels (for that sweet-salty combo)
- 1/4 cup caramel sauce or dulce de leche
For the best results, I recommend using whole milk and real cream. It makes the cocoa velvety and rich. If you need a dairy-free option, oat milk works beautifully and has a creamy texture that mimics whole milk. I have tested it with almond milk too, but it is a bit thinner. If you want a stronger peppermint flavor, add a tiny drop of peppermint extract to each mug before pouring the cocoa. Just be careful—a little goes a long way.
Equipment Needed
You do not need much for this setup, which is part of the appeal. Here is what I use to make everything come together smoothly.
- Large saucepan or Dutch oven : For heating the milk and melting the chocolate. A heavy-bottomed pot prevents scorching.
- Whisk : A good whisk is essential for a smooth, lump-free cocoa.
- Measuring cups and spoons : Precision matters, especially with the cocoa powder and sugar.
- Sharp knife and cutting board : For chopping the chocolate and crushing the candy canes.
- Small bowls or jars : For arranging the toppings. I use a mix of ramekins and small mason jars.
- Mugs : Pick your favorite ones. Clear glass mugs show off the layers nicely.
- Ziploc bag and rolling pin : For crushing candy canes without making a sticky mess.
If you do not have a Dutch oven, any large pot will do. I have even made this in a slow cooker for parties, and it works great. Just keep it on warm and let guests serve themselves. For the candy canes, I learned the hard way that using a food processor turns them into powder. Stick with the bag and rolling pin method for nice, chunky pieces.
Preparation Method
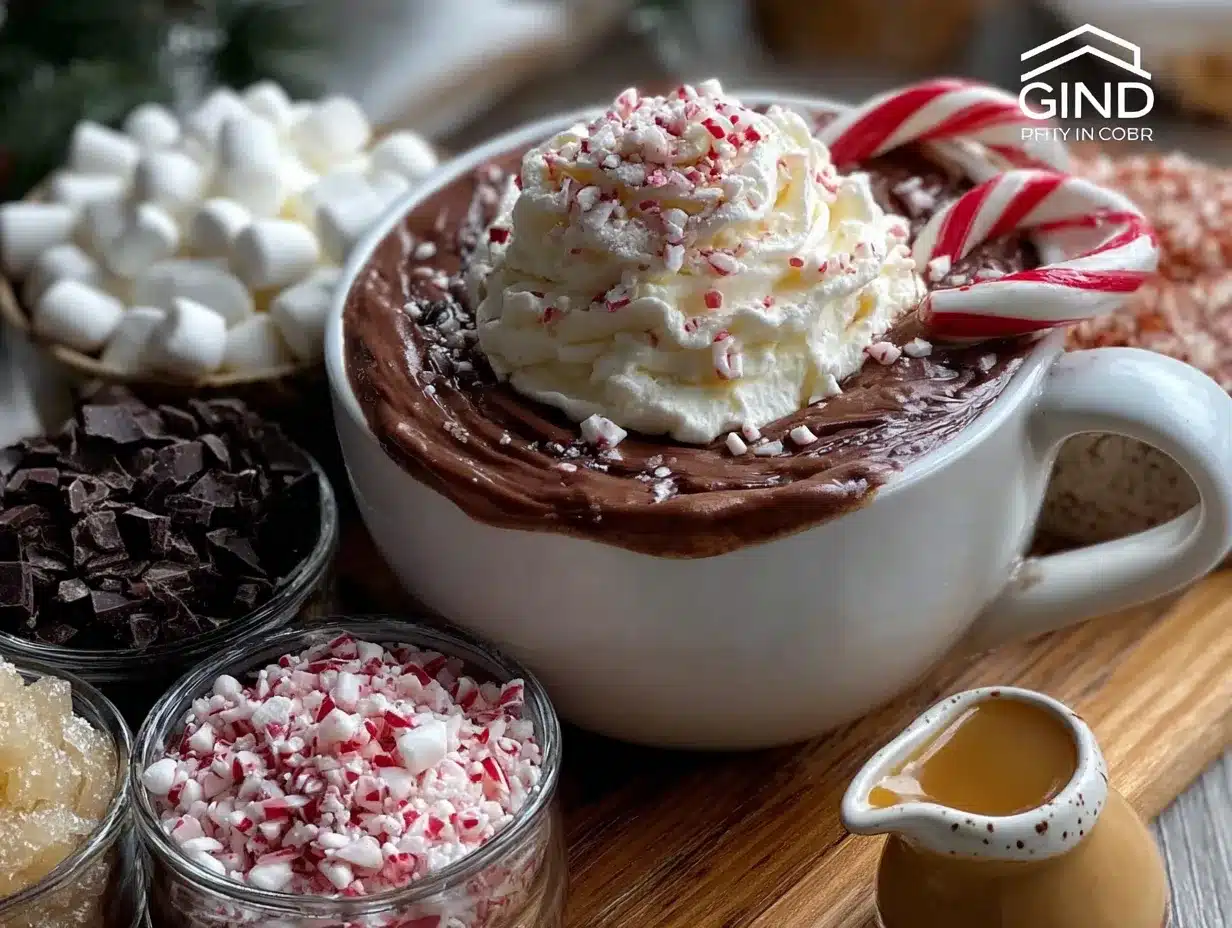
This method is straightforward, but I have included a few notes from my own trial and error so you can avoid the same mistakes I made.
- Crush the candy canes (5 minutes): Place the candy canes in a sturdy Ziploc bag and seal it tightly. Use a rolling pin or the bottom of a heavy pan to gently crush them into small pieces. You want a mix of fine crumbs and small chunks. Set aside in a small bowl.
- Chop the chocolate (3 minutes): Using a sharp knife, finely chop the semi-sweet chocolate bar. The smaller the pieces, the faster they will melt. Do not use chocolate chips here—they contain stabilizers that prevent smooth melting.
- Heat the milk and cream (5-7 minutes): In a large saucepan over medium heat, combine the whole milk and heavy cream. Stir occasionally with a whisk to prevent a skin from forming. Heat until it is steaming but not boiling. If it starts to simmer, reduce the heat immediately.
- Whisk in the dry ingredients (2 minutes): Add the cocoa powder, sugar, and salt to the warm milk. Whisk vigorously until everything is fully dissolved and no lumps remain. This is where a good whisk makes all the difference.
- Add the chocolate and vanilla (3 minutes): Reduce the heat to low and add the chopped chocolate. Stir continuously until the chocolate is completely melted and the mixture is smooth and glossy. Remove from heat and stir in the vanilla extract.
- Prepare the toppings bar (5 minutes): While the cocoa is heating, arrange your toppings in small bowls. I like to put the marshmallows, whipped cream, chocolate shavings, white chocolate chips, crushed pretzels, and caramel sauce in separate containers. Place a small spoon or tongs with each one.
- Assemble the mugs: Pour the hot cocoa into mugs, leaving about an inch of space at the top. If you want extra peppermint flavor, add a tiny drop of peppermint extract to each mug before pouring. Top with a generous dollop of whipped cream, a sprinkle of crushed candy canes, and a few chocolate shavings. Add a peppermint stick for stirring.
- Serve immediately: Let everyone customize their own mug. The peppermint stick will slowly infuse the cocoa as they stir, so encourage them to let it sit for a minute before drinking.
One thing I learned the hard way: do not add the peppermint extract directly to the whole pot of cocoa unless everyone wants it minty. Some people prefer plain hot chocolate. Let each person add their own flavor at the mug level. It is easier and keeps everyone happy.
Cooking Tips & Techniques
I have made this recipe more times than I can count, and I have definitely made my share of mistakes. Here are the things I wish someone had told me the first time.
The biggest mistake people make is overheating the milk. If it boils, the proteins can separate and give the cocoa a grainy texture. Keep the heat at medium and watch it closely. You want steam, not bubbles. If you accidentally let it boil, do not panic. Just remove it from the heat immediately and let it cool for a minute before adding the chocolate.
Another thing I learned is that the type of cocoa powder matters. Natural unsweetened cocoa powder gives a brighter, more intense chocolate flavor. Dutch-processed cocoa is smoother and milder. I prefer a mix of both, but if you only have one, natural cocoa works beautifully here. Just make sure it is not sweetened, or your cocoa will end up cloying.
For the crushed candy canes, timing is everything. If you crush them too far in advance, they can absorb moisture from the air and become sticky. I recommend crushing them right before you set up the bar. If you have leftovers, store them in an airtight container with a silica gel packet to keep them crunchy.
If you are making this for a crowd, you can keep the cocoa warm in a slow cooker on the warm setting. Just transfer the finished cocoa to the slow cooker and let guests ladle it into their own mugs. This frees you up to enjoy the party instead of standing at the stove. I have done this for several gatherings, and it works perfectly.
Variations & Adaptations
One of the best things about this hot cocoa bar is how easy it is to customize. Here are some variations I have tried and loved.
- Dairy-Free Version : Swap the whole milk and heavy cream for full-fat oat milk or canned coconut milk. Coconut milk adds a subtle tropical note that pairs surprisingly well with peppermint. Use dairy-free chocolate chips for the base.
- Spiked Adult Version : Add a shot of peppermint schnapps, crème de menthe, or even a splash of bourbon to each mug. The bourbon adds a warm, smoky depth that balances the sweetness. This is my go-to for holiday parties with friends.
- White Chocolate Peppermint : Replace the semi-sweet chocolate with white chocolate chips or chopped white chocolate bars. The flavor is sweeter and creamier, almost like a peppermint bark in a cup. Top with crushed candy canes and a drizzle of melted dark chocolate.
- Mexican Hot Chocolate Twist : Add 1 teaspoon of ground cinnamon and a pinch of cayenne pepper to the cocoa base. The warmth of the spices plays beautifully with the cool peppermint. This is a favorite in my house when we want something a little different.
- Mint Chocolate Chip Version : Stir in a handful of mini chocolate chips after pouring the cocoa into mugs. The chips melt slightly and create little pockets of chocolate, just like the ice cream.
I once tried a version with a drizzle of raspberry syrup, and it was surprisingly good. The tart fruit cuts through the richness of the chocolate and the coolness of the peppermint. It is not for everyone, but if you like chocolate-raspberry combos, give it a shot.
Serving & Storage Suggestions
This hot cocoa is best enjoyed immediately, while it is hot and the toppings are fresh. I recommend serving it in warm mugs to keep the cocoa hot longer. To warm the mugs, just fill them with hot water for a minute, then dump the water out before pouring the cocoa.
For presentation, I like to arrange the toppings in a gradient from light to dark. White chocolate chips and marshmallows on one end, dark chocolate shavings and crushed pretzels on the other. It looks intentional and makes it easy for guests to see everything at once. If you are using a slow cooker, place it in the center of the table and surround it with the toppings.
If you have leftover cocoa, let it cool completely and store it in an airtight container in the refrigerator for up to 3 days. The texture will thicken as it cools, but you can reheat it gently on the stove or in the microwave. Add a splash of milk when reheating to bring back the silky consistency. Do not freeze the cocoa, as the dairy can separate and become grainy.
The toppings can be stored separately. Crushed candy canes keep well in an airtight container at room temperature for about a week. Whipped cream is best made fresh, but you can store it in the fridge for a day if needed. Just re-whip it briefly before serving.
If you are planning a party, you can make the cocoa base a day ahead and reheat it in the slow cooker. The flavors actually deepen overnight, making it even better the next day. Just give it a good whisk before serving to reincorporate any separated fat.
Nutritional Information & Benefits
This hot cocoa is indulgent, but it also has some surprising benefits. The exact nutritional values will vary based on your milk choice and toppings, but here is an estimate for one serving made with whole milk and topped with whipped cream and crushed candy canes.
- Calories: Approximately 380-420 per mug
- Protein: 10-12 grams (from the milk and cream)
- Calcium: About 30% of the daily recommended intake (from the dairy)
- Iron: About 15% from the cocoa powder and chocolate
- Magnesium: Cocoa is a good source, which supports muscle function and relaxation
Dark chocolate and cocoa powder are rich in antioxidants called flavonoids, which can support heart health and reduce inflammation. Peppermint has natural digestive benefits and can help soothe an upset stomach. Of course, this is still a treat, so enjoy it in moderation. If you are watching your sugar intake, you can reduce the sugar in the base or use a sugar-free sweetener.
This recipe contains dairy and may contain traces of gluten from the pretzels. For a gluten-free version, simply omit the pretzels or use gluten-free pretzels. The candy canes are typically gluten-free, but always check the label to be sure.
Conclusion
This cozy DIY peppermint hot cocoa bar is one of those recipes that feels like a hug in a mug. It is simple enough for a random Tuesday night but impressive enough for a holiday party. The best part is that it invites everyone to be creative. Kids love piling on the toppings, and adults appreciate the nostalgic flavors. I have made this for snow days, Christmas Eve gatherings, and even a virtual hot cocoa date with a friend. It has never let me down.
I encourage you to make this your own. Swap in your favorite toppings, try a different chocolate, or add a splash of something special. The beauty of a hot cocoa bar is that there are no rules. If you make it, I would love to hear how it turned out. Leave a comment below and let me know what toppings you used. And if you share it on social media, tag me so I can see your beautiful setup. Here is to warm mugs, good company, and the simple joy of a perfect cup of cocoa.
Frequently Asked Questions
Can I use hot cocoa mix instead of making it from scratch?
Absolutely. If you are short on time, a good quality hot cocoa mix works perfectly as the base. Just prepare it according to the package directions and set up your toppings bar the same way. The peppermint and toppings will still make it feel special.
How do I crush candy canes without making a mess?
Place the candy canes in a sturdy Ziploc bag and seal it tightly. Lay the bag on a cutting board and use a rolling pin or the bottom of a heavy pan to gently crush them. Start slow to avoid puncturing the bag. This method keeps the sticky dust contained and gives you nice, chunky pieces.
Can I make this recipe vegan?
Yes. Use full-fat oat milk or canned coconut milk instead of dairy milk and cream. Choose a high-quality dark chocolate that is labeled vegan. For the toppings, use vegan marshmallows and coconut whipped cream. The rest of the toppings are naturally vegan or easy to swap.
How do I keep the cocoa warm for a party?
Transfer the finished cocoa to a slow cooker set to the warm setting. It will stay at the perfect temperature for hours without scorching. Place the slow cooker in the center of your toppings bar so guests can ladle their own cocoa. Stir it occasionally to keep the texture smooth.
Can I make the cocoa ahead of time?
Yes. Make the cocoa base up to a day in advance and store it in the refrigerator in an airtight container. Reheat it gently on the stove over low heat, whisking frequently, or in the slow cooker on warm. Add a splash of milk if it has thickened too much. The flavors actually deepen overnight.
Pin This Recipe!
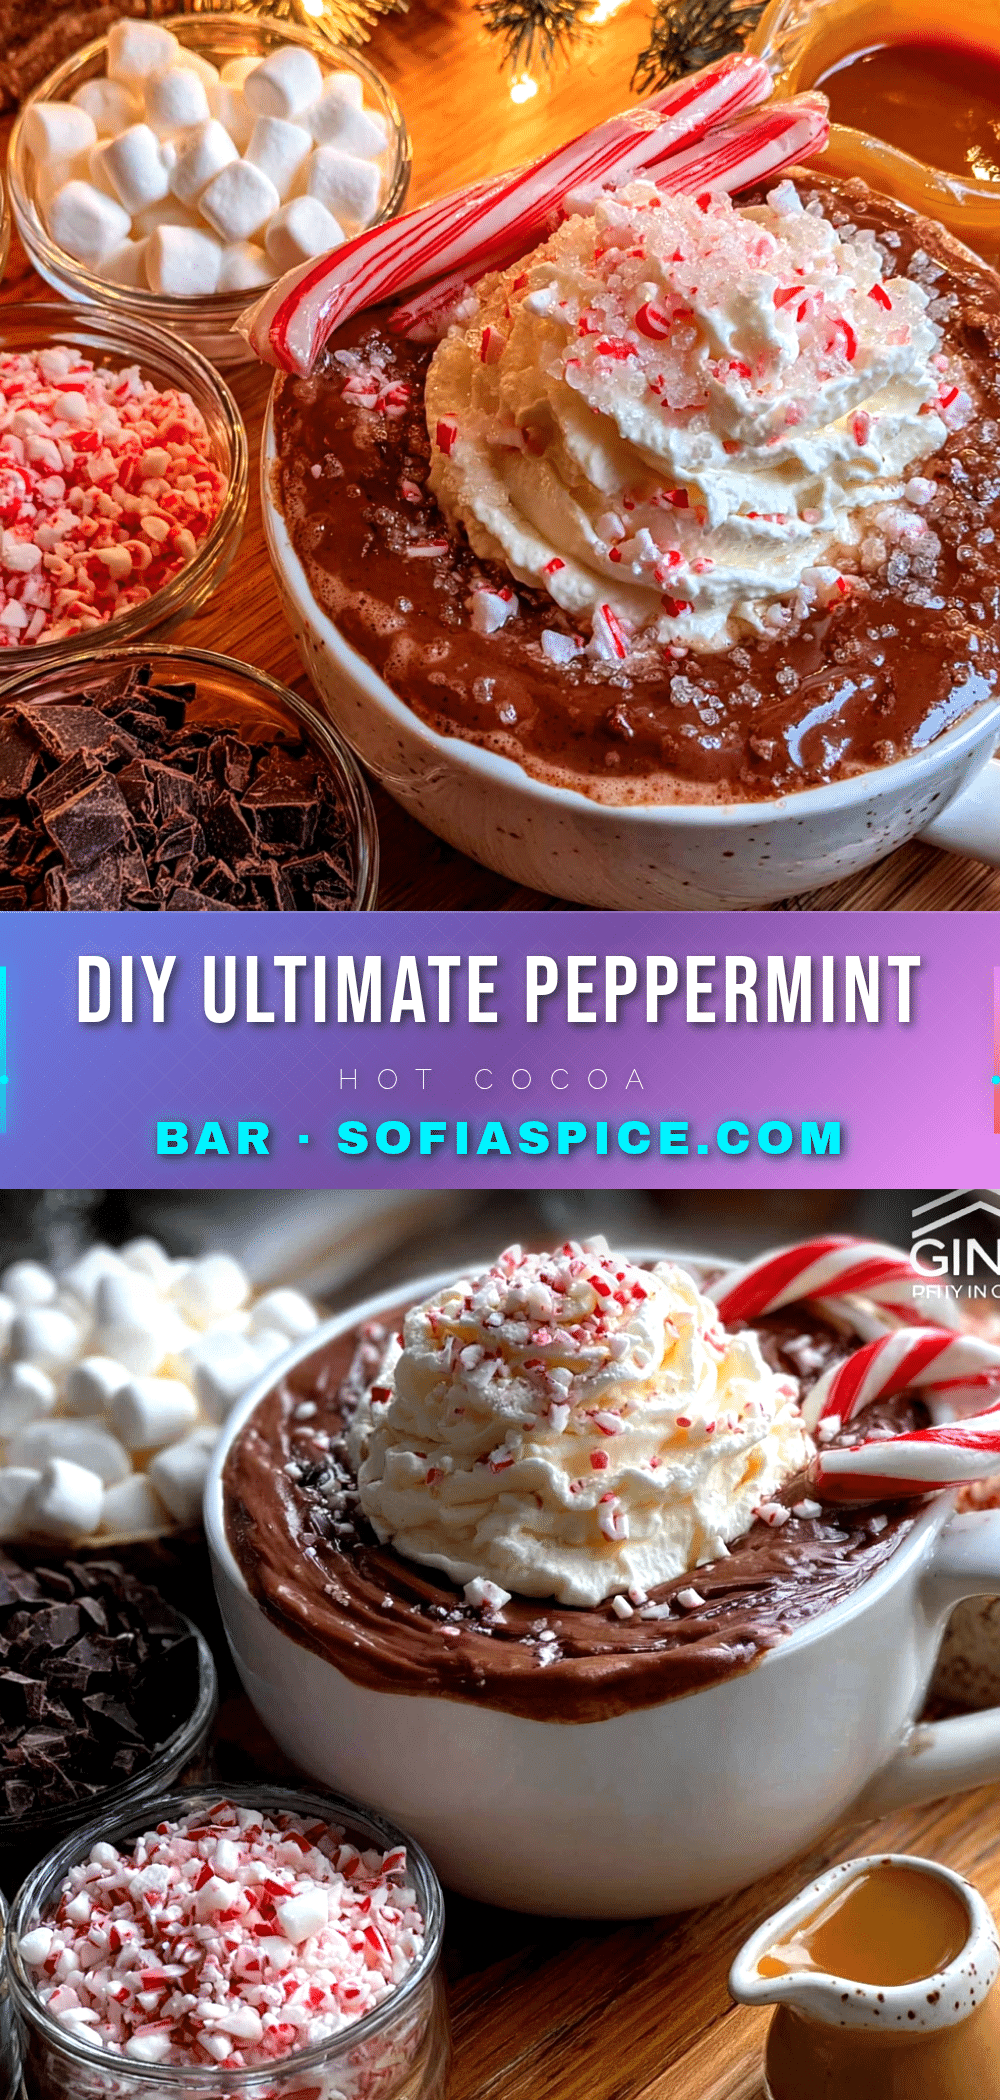
Cozy DIY Peppermint Hot Cocoa Bar: Easy Winter Recipe

A simple yet impressive hot cocoa bar featuring rich chocolate and cool peppermint, perfect for winter gatherings or a cozy night in. This recipe focuses on quality ingredients and a few thoughtful toppings for a stress-free, crowd-pleasing experience.
- Prep Time: 15 minutes
- Cook Time: 15 minutes
- Total Time: 30 minutes
- Yield: 4 servings 1x
- Category: Beverage
- Cuisine: American
Ingredients
- 4 cups whole milk (or any milk you prefer)
- 1/2 cup heavy cream (adds richness, but you can use all milk)
- 1/2 cup unsweetened cocoa powder (I like Ghirardelli or Hershey’s Special Dark)
- 1/2 cup granulated sugar (adjust to your sweetness preference)
- 1/4 teaspoon salt (brings out the chocolate flavor)
- 1 teaspoon vanilla extract
- 4 ounces semi-sweet chocolate, finely chopped (use a good bar, not chips)
- 1/2 cup crushed candy canes (about 4–5 large candy canes)
- 4–6 full-size peppermint sticks or candy canes for stirring
- 1/4 teaspoon peppermint extract (optional, for extra minty punch)
- 1 cup mini marshmallows (or homemade, if you are feeling ambitious)
- 1/2 cup whipped cream (homemade is best, but canned works in a pinch)
- 1/4 cup chocolate shavings or curls
- 1/4 cup white chocolate chips or melting wafers
- 1/4 cup crushed pretzels (for that sweet-salty combo)
- 1/4 cup caramel sauce or dulce de leche
Instructions
- Crush the candy canes (5 minutes): Place the candy canes in a sturdy Ziploc bag and seal it tightly. Use a rolling pin or the bottom of a heavy pan to gently crush them into small pieces. You want a mix of fine crumbs and small chunks. Set aside in a small bowl.
- Chop the chocolate (3 minutes): Using a sharp knife, finely chop the semi-sweet chocolate bar. The smaller the pieces, the faster they will melt. Do not use chocolate chips here—they contain stabilizers that prevent smooth melting.
- Heat the milk and cream (5-7 minutes): In a large saucepan over medium heat, combine the whole milk and heavy cream. Stir occasionally with a whisk to prevent a skin from forming. Heat until it is steaming but not boiling. If it starts to simmer, reduce the heat immediately.
- Whisk in the dry ingredients (2 minutes): Add the cocoa powder, sugar, and salt to the warm milk. Whisk vigorously until everything is fully dissolved and no lumps remain. This is where a good whisk makes all the difference.
- Add the chocolate and vanilla (3 minutes): Reduce the heat to low and add the chopped chocolate. Stir continuously until the chocolate is completely melted and the mixture is smooth and glossy. Remove from heat and stir in the vanilla extract.
- Prepare the toppings bar (5 minutes): While the cocoa is heating, arrange your toppings in small bowls. I like to put the marshmallows, whipped cream, chocolate shavings, white chocolate chips, crushed pretzels, and caramel sauce in separate containers. Place a small spoon or tongs with each one.
- Assemble the mugs: Pour the hot cocoa into mugs, leaving about an inch of space at the top. If you want extra peppermint flavor, add a tiny drop of peppermint extract to each mug before pouring. Top with a generous dollop of whipped cream, a sprinkle of crushed candy canes, and a few chocolate shavings. Add a peppermint stick for stirring.
- Serve immediately: Let everyone customize their own mug. The peppermint stick will slowly infuse the cocoa as they stir, so encourage them to let it sit for a minute before drinking.
Notes
Do not add the peppermint extract directly to the whole pot of cocoa unless everyone wants it minty. Some people prefer plain hot chocolate. Let each person add their own flavor at the mug level. For the best results, use whole milk and real cream. If you need a dairy-free option, oat milk works beautifully. For a stronger peppermint flavor, add a tiny drop of peppermint extract to each mug before pouring the cocoa. Crush candy canes right before setting up the bar to prevent them from becoming sticky.
Nutrition
- Serving Size: 1 mug
- Calories: 400
- Sugar: 38
- Sodium: 280
- Fat: 22
- Saturated Fat: 13
- Carbohydrates: 48
- Fiber: 3
- Protein: 11
Keywords: hot cocoa, peppermint, hot chocolate bar, winter recipe, holiday drink, DIY hot cocoa bar, peppermint hot cocoa


