I was standing in the grocery store parking lot last October, arms full of bags, when the breeze carried the scent of someone’s wood-burning fireplace across the asphalt. And just like that — I was seven years old, standing in my aunt Bea’s tiny kitchen, watching her pull a bubbling apple crisp from the oven. She’d let me scrape the edges of the pan with a rubber spatula, and I’d burn my tongue every single time because I couldn’t wait. That woman could make anything taste like a hug, but her apple crisp was something else entirely. It was the dessert she made when no one was visiting, when it was just us, when she didn’t have to impress anyone. And that made it special in a way I didn’t understand until I was much older.
Aunt Bea passed five years ago, and I’ve been chasing that exact flavor ever since. The problem is, I never wrote down her recipe. I just stood there, licking the spatula, asking a million questions while she laughed and told me to pay attention. So I’ve spent countless autumns testing and tweaking, trying to get back to that moment. This brown butter apple crisp with oat crumble is the closest I’ve come — and honestly, it might be even better. The nuttiness from the brown butter adds this warmth that plain butter just can’t touch. The oats get crispy on top and chewy underneath. And the apples? They break down into this jammy, cinnamon-spiced filling that makes your kitchen smell like a candle store exploded (in the best way). Maybe you’ve been there — trying to recreate a taste from your past, measuring and remeasuring, hoping you’ll nail it. This one’s for you, friend.
Why You’ll Love This Recipe
Let me tell you why this particular apple crisp has earned a permanent spot in our family’s fall rotation. I’ve tested this thing six times in the last two months alone, and my neighbors have started texting me when they smell brown butter wafting through the vents. That’s how you know it’s good.
- Quick & Easy : From start to table in about an hour, and most of that is hands-off oven time. You can throw this together while the kids do homework or while you’re catching up on laundry.
- Simple Ingredients : You probably have most of this in your pantry right now. Apples, oats, flour, butter, sugar, cinnamon. No trips to specialty stores required.
- Perfect for Family Dinners : This is the dessert that pleases everyone — picky toddlers, diet-conscious teens, and grandparents who swear they “don’t have a sweet tooth anymore.”
- Crowd-Pleaser : I brought this to a potluck last month and three people asked for the recipe before I even sat down. It’s that kind of dessert.
- Unbelievably Delicious : The brown butter changes everything. It adds this deep, almost caramel-like richness that regular butter just can’t match. The oat crumble gets perfectly crispy on top while staying tender underneath.
What makes this recipe different from the rest? It’s the technique. Most apple crisp recipes skip the brown butter step, but taking those extra five minutes to brown the butter transforms the entire dish. It’s not just another version — it’s the version. The one you’ll make every single time apple season rolls around.
This recipe isn’t just good — it’s the kind that makes you close your eyes after the first bite. It’s comfort food at its finest, but it comes together fast enough for a Tuesday night. Perfect for impressing guests without any stress, or turning a simple family dinner into something memorable.
What Ingredients You Will Need
This recipe uses simple, wholesome ingredients that deliver big flavor without any fuss. Most of these are pantry staples, and I’ve included notes on substitutions so you can work with what you have.
For the Apple Filling:
- 6 medium apples, peeled, cored, and sliced (I recommend Honeycrisp or Granny Smith — Honeycrisp for sweetness, Granny Smith for tartness, or a mix of both)
- 1/4 cup granulated sugar
- 2 tablespoons brown sugar, packed (adds depth and moisture)
- 1 tablespoon lemon juice (prevents browning and brightens the flavor)
- 1 teaspoon ground cinnamon
- 1/4 teaspoon ground nutmeg (freshly grated if you have it — worth the extra effort)
- 1/4 teaspoon salt (trust me on this — it balances the sweetness)
- 1 tablespoon cornstarch (helps thicken the filling so it’s not watery)
For the Brown Butter Oat Crumble:
- 1/2 cup unsalted butter (I use Kerrygold for the best flavor, but any good quality butter works)
- 1 cup old-fashioned rolled oats (not quick oats — they get mushy)
- 3/4 cup all-purpose flour
- 1/2 cup brown sugar, packed
- 1/4 cup granulated sugar
- 1 teaspoon ground cinnamon
- 1/4 teaspoon salt
- 1/2 cup chopped pecans or walnuts (optional, but highly recommended for crunch)
Ingredient Tips and Substitutions:
- For the apples: If you’re on a budget, Gala or Fuji apples work great. Avoid Red Delicious — they turn into mush. I’ve used frozen sliced apples in a pinch (thaw and drain them first), and they worked fine.
- For the butter: You can use salted butter if that’s all you have — just reduce the added salt in the crumble to 1/8 teaspoon.
- For gluten-free: Substitute the all-purpose flour with a 1:1 gluten-free baking flour blend. The oat crumble still works beautifully.
- For dairy-free: Use a high-quality vegan butter for browning. Miyoko’s or Country Crock Plant Butter work well.
- For the oats: If you only have quick oats, pulse them a few times in a food processor to mimic the texture of old-fashioned oats.
- For nuts: Leave them out if you’re feeding kids or someone with allergies — the crumble is still amazing without them.
Equipment Needed
You don’t need a fancy kitchen to make this apple crisp, and that’s part of the beauty. Here’s what you’ll need:
- 9×13-inch baking dish — This is my go-to size for feeding a family. An 8×8 dish works too, but you’ll need to adjust the baking time (add about 10 minutes).
- Large skillet or saucepan — For browning the butter. A light-colored pan helps you see when the butter changes color.
- Mixing bowls — One large, one medium. I use my grandmother’s old ceramic bowls, but anything works.
- Sharp knife and cutting board — For peeling and slicing apples. A vegetable peeler saves time if you have one.
- Wooden spoon or silicone spatula — For stirring the brown butter and mixing the crumble.
- Measuring cups and spoons — Accuracy matters in baking, even for a rustic dessert like this.
- Cooling rack — Lets the crisp cool evenly so the filling sets properly.
If you don’t have a 9×13 dish, you can use a cast-iron skillet instead — it actually gives the crisp a gorgeous rustic look and helps the edges get extra crispy. I’ve also made this in individual ramekins for a dinner party, and everyone felt so fancy. Just reduce the baking time to about 25-30 minutes.
One tip: if you’re buying a new baking dish, go for glass or ceramic. Metal pans can react with the acidic apples and give the filling a slightly metallic taste. Learned that one the hard way.
Preparation Method
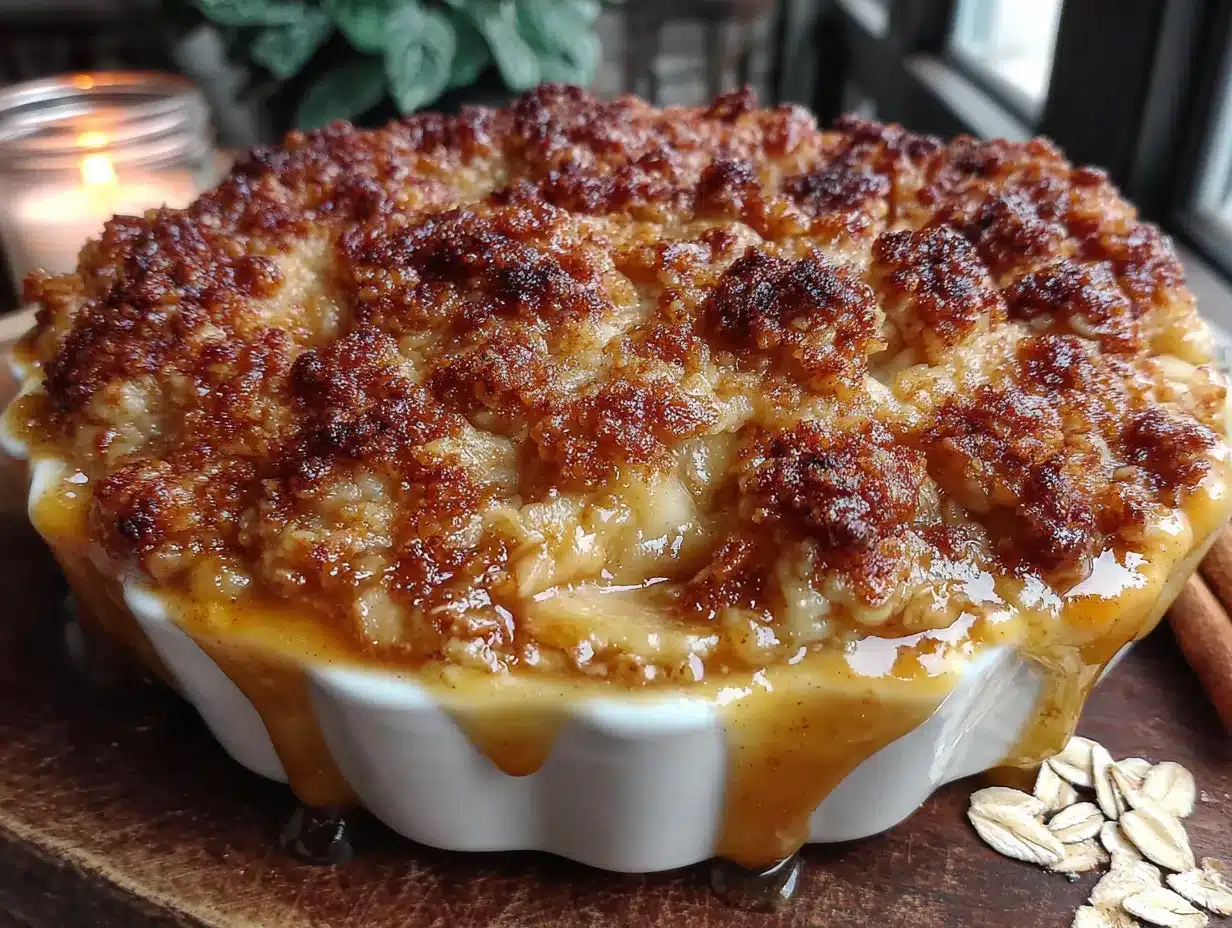
Alright, let’s get to it. This recipe comes together in about an hour, and I promise it’s worth every minute.
Step 1: Preheat and Prep (5 minutes)
Preheat your oven to 375°F (190°C). Grease your 9×13-inch baking dish with a little butter or non-stick spray. Set it aside while you work on the apples.
Step 2: Make the Brown Butter (10 minutes)
Place the 1/2 cup unsalted butter in a large skillet or saucepan over medium heat. Let it melt completely, then swirl the pan occasionally. After about 3-4 minutes, the butter will start to foam and bubble — that’s normal. Keep watching. The foam will subside, and you’ll see golden brown specks forming at the bottom of the pan. The butter will smell nutty and amazing. This whole process takes about 5-7 minutes from start to finish. Once it’s golden brown and smells like toasted hazelnuts, remove it from the heat immediately. Pour it into a heat-safe bowl to stop the cooking process. Don’t walk away during this step — brown butter can go from perfect to burnt in about 30 seconds. I may or may not have learned this the hard way twice.
Step 3: Prepare the Apple Filling (15 minutes)
Peel, core, and slice your apples into roughly 1/4-inch thick slices. You want them all about the same size so they cook evenly. Toss the apple slices in a large bowl with the granulated sugar, brown sugar, lemon juice, cinnamon, nutmeg, salt, and cornstarch. Use your hands or a big spoon to make sure every slice is coated. Let them sit for about 5 minutes while you make the crumble — this helps the apples release some juice, which will create that lovely syrupy filling.
Step 4: Make the Oat Crumble (5 minutes)
In a medium bowl, combine the rolled oats, all-purpose flour, brown sugar, granulated sugar, cinnamon, and salt. Pour the browned butter over the dry ingredients (make sure to scrape all those brown bits from the bottom of the bowl — that’s where the flavor lives). Stir with a fork or your fingers until the mixture looks like wet sand with some larger clumps. If you’re using nuts, fold them in now. The crumble should hold together when you squeeze a handful, but still look crumbly. If it’s too dry, add a tablespoon of melted butter. If it’s too wet, add a tablespoon of flour.
Step 5: Assemble the Crisp (5 minutes)
Spread the apple mixture evenly in your prepared baking dish. Sprinkle the oat crumble over the top in an even layer. Don’t press it down — you want those craggy bits to get crispy. Some apples should peek through the crumble here and there.
Step 6: Bake (35-40 minutes)
Place the dish on a baking sheet to catch any drips (trust me on this one). Bake for 35-40 minutes, until the filling is bubbly and the topping is golden brown. If the top is browning too quickly, tent it loosely with foil after 25 minutes. You’ll know it’s done when you see thick bubbles breaking through the crumble around the edges. The kitchen should smell like a cozy autumn dream at this point.
Step 7: Cool and Serve (15 minutes)
Let the crisp cool on a wire rack for at least 15 minutes before serving. This is the hardest part, I know, but it’s crucial — the filling needs time to set so it doesn’t run all over your plate. Serve warm, preferably with a scoop of vanilla ice cream or a dollop of whipped cream.
Cooking Tips & Techniques
After testing this recipe more times than I care to admit, I’ve picked up a few tricks that make a real difference.
Master the Brown Butter: Use a light-colored pan so you can actually see the color change. Keep the heat at medium — too high and the butter burns before the milk solids have a chance to toast. Swirl the pan constantly in the last minute. The moment you see golden specks and smell that nutty aroma, pull it off the heat. Pour it into a cool bowl immediately — the hot pan will keep cooking it otherwise.
Choose Your Apples Wisely: A mix of apple varieties gives you the best texture and flavor. I use 3 Honeycrisp (sweet and firm) and 3 Granny Smith (tart and holds its shape). If you use all soft apples like McIntosh, you’ll end up with applesauce. If you use all firm apples, the filling won’t soften enough. Balance is key.
Don’t Skip the Cornstarch: I know it’s tempting to leave it out, but cornstarch is what gives you that thick, jammy filling instead of watery apple juice. If you’re out of cornstarch, use 2 tablespoons of all-purpose flour instead.
Let It Rest: I cannot stress this enough. If you dig into the crisp straight out of the oven, the filling will be runny and the crumble will fall apart. Give it at least 15 minutes. The filling thickens as it cools, and the crumble sets into those perfect, crunchy clusters.
Toast Your Oats: For extra crunch, you can toast the oats in a dry skillet for 2-3 minutes before mixing them into the crumble. It adds a deeper, nuttier flavor that pairs beautifully with the brown butter.
Make It Ahead: You can assemble the entire crisp (without baking) up to 24 hours in advance. Just cover it and refrigerate. Add about 10 minutes to the baking time if starting from cold. I’ve done this for Thanksgiving multiple times, and it’s a lifesaver.
Variations & Adaptations
One of the best things about this apple crisp is how adaptable it is. Here are some variations I’ve tried and loved:
Gluten-Free Version: Substitute the all-purpose flour with a 1:1 gluten-free baking blend. Make sure your oats are certified gluten-free if you’re sensitive. The texture stays remarkably close to the original — I actually preferred it in some ways because the oat flavor comes through more.
Vegan Version: Use vegan butter for browning (Miyoko’s works beautifully). Replace the cornstarch with arrowroot powder. The crumble might be slightly less crispy, but it’s still delicious. Serve with coconut whipped cream or vegan ice cream.
Pear-Apple Crisp: Replace half the apples with firm, ripe pears (Bosc or Anjou are great). The pears add a lovely floral sweetness and a slightly different texture. This is my favorite fall variation when pears are in season.
Spiced Apple Crisp: Add 1/4 teaspoon cardamom and 1/8 teaspoon cloves to the apple mixture. The warm spices complement the brown butter beautifully. I made this for a holiday dinner and it was gone in minutes.
Individual Ramekins: Divide the filling and crumble among 6-8 ramekins. Bake for 20-25 minutes instead of 35-40. These are perfect for dinner parties — everyone gets their own little serving with maximum crispy edges.
Low-Sugar Option: Reduce the sugar in the filling to 2 tablespoons total, and use only 1/4 cup brown sugar in the crumble. The apples provide plenty of natural sweetness. Add an extra 1/2 teaspoon of cinnamon to compensate for the missing sugar.
Serving & Storage Suggestions
This apple crisp is best served warm, but honestly, I’ve eaten it cold straight from the fridge and it’s still fantastic.
Serving Temperature: Aim for warm — let it rest 15 minutes after baking, then serve. The contrast between the warm, soft apples and cold ice cream is perfection.
What to Serve With It:
- Vanilla bean ice cream (classic for a reason)
- Whipped cream (add a pinch of cinnamon on top)
- Crème fraîche (the tanginess cuts through the sweetness)
- Caramel sauce (drizzle it right before serving)
- A cup of hot coffee or spiced chai (trust me on this pairing)
Storage Instructions: Cover the baking dish tightly with foil or plastic wrap and store in the refrigerator for up to 5 days. The crumble will soften over time, but it’s still delicious. To reheat, place individual portions in the microwave for 30-45 seconds, or reheat the whole dish in a 350°F oven for 10-15 minutes.
Freezing Instructions: This crisp freezes beautifully. Let it cool completely, then wrap the dish tightly in plastic wrap, then foil. Freeze for up to 3 months. To serve, thaw overnight in the refrigerator, then reheat in a 350°F oven for 20 minutes. The crumble won’t be quite as crispy, but the flavor is still amazing.
Flavor Development: Here’s a little secret — this apple crisp actually tastes better the next day. The flavors meld together overnight, and the apples absorb more of the cinnamon and brown butter. I often make it a day ahead on purpose.
Nutritional Information & Benefits
While I wouldn’t call apple crisp a health food, it does have some redeeming qualities. Here’s the breakdown per serving (based on 8 servings):
- Calories: Approximately 380
- Fat: 18g
- Carbohydrates: 54g
- Fiber: 5g
- Sugar: 32g
- Protein: 4g
Health Benefits: Apples are packed with fiber and vitamin C. The oats provide soluble fiber that’s good for heart health. Cinnamon has anti-inflammatory properties and may help regulate blood sugar. The nuts add healthy fats and protein. So while this is definitely a treat, it’s not entirely empty calories.
Dietary Considerations: This recipe can be made gluten-free, dairy-free, and vegan with simple substitutions (see Variations section). It contains nuts if you choose to add them. It’s naturally egg-free and soy-free.
My Take: I believe in balance. This apple crisp is a celebration of fall flavors, and it’s meant to be enjoyed without guilt. Use real butter, good apples, and serve it with a generous scoop of ice cream. Life’s too short for anything less.
Conclusion
This brown butter apple crisp with oat crumble is more than just a dessert — it’s a memory in the making. It’s the smell that fills your kitchen on a chilly October evening. It’s the dish your family will request year after year. It’s the recipe you’ll pull out when you need comfort, when you want to impress, or when you just want to make something that tastes like home.
I’ve spent years chasing my aunt Bea’s apple crisp, and while I’ll never have her exact recipe, this version has become its own thing. It’s my family’s favorite now, and I hope it becomes yours too. Don’t be afraid to make it your own — swap in different apples, add extra cinnamon, skip the nuts if that’s your thing. The best recipes are the ones that evolve with you.
So go ahead — brown that butter, slice those apples, and fill your kitchen with the coziest smell on earth. And when you take that first bite, close your eyes and let yourself be seven years old again, just for a moment.
I’d love to hear how yours turns out! Drop a comment below and let me know what variations you tried, or tag me in your photos on social media. Happy baking, friends!
Frequently Asked Questions
Can I use quick oats instead of old-fashioned oats?
You can, but I don’t recommend it. Quick oats absorb more liquid and get mushy, while old-fashioned oats hold their texture and give you that nice, crunchy crumble. If quick oats are all you have, pulse them a few times in a food processor to break them up a bit, and reduce the baking time by 5 minutes.
Why did my apple crisp turn out watery?
This usually happens for one of three reasons: you used apples that release too much liquid (like McIntosh or Red Delicious), you skipped the cornstarch, or you didn’t let the crisp rest long enough after baking. Next time, try using firmer apples and make sure to let it cool for at least 15 minutes before serving.
Can I make this apple crisp ahead of time?
Absolutely! You can assemble the entire crisp (without baking) up to 24 hours ahead. Just cover it and refrigerate. When you’re ready to bake, add about 10 minutes to the baking time since you’re starting from cold. It also tastes great the next day — the flavors actually meld together overnight.
How do I reheat leftover apple crisp?
The best way is in the oven — 350°F for about 10-15 minutes. This helps re-crisp the topping. If you’re in a hurry, the microwave works fine (30-45 seconds per serving), but the crumble will be softer. For a crispy topping from the microwave, try using an air fryer at 350°F for 3-4 minutes.
Can I freeze apple crisp?
Yes! Let it cool completely, then wrap the dish tightly in plastic wrap and foil. Freeze for up to 3 months. To serve, thaw overnight in the fridge, then reheat in a 350°F oven for 20 minutes. The crumble won’t be quite as crispy as fresh, but it’s still delicious. For best results, freeze it before baking — assemble the crisp, wrap it well, and bake straight from frozen (add 15-20 minutes to the baking time).
Pin This Recipe!
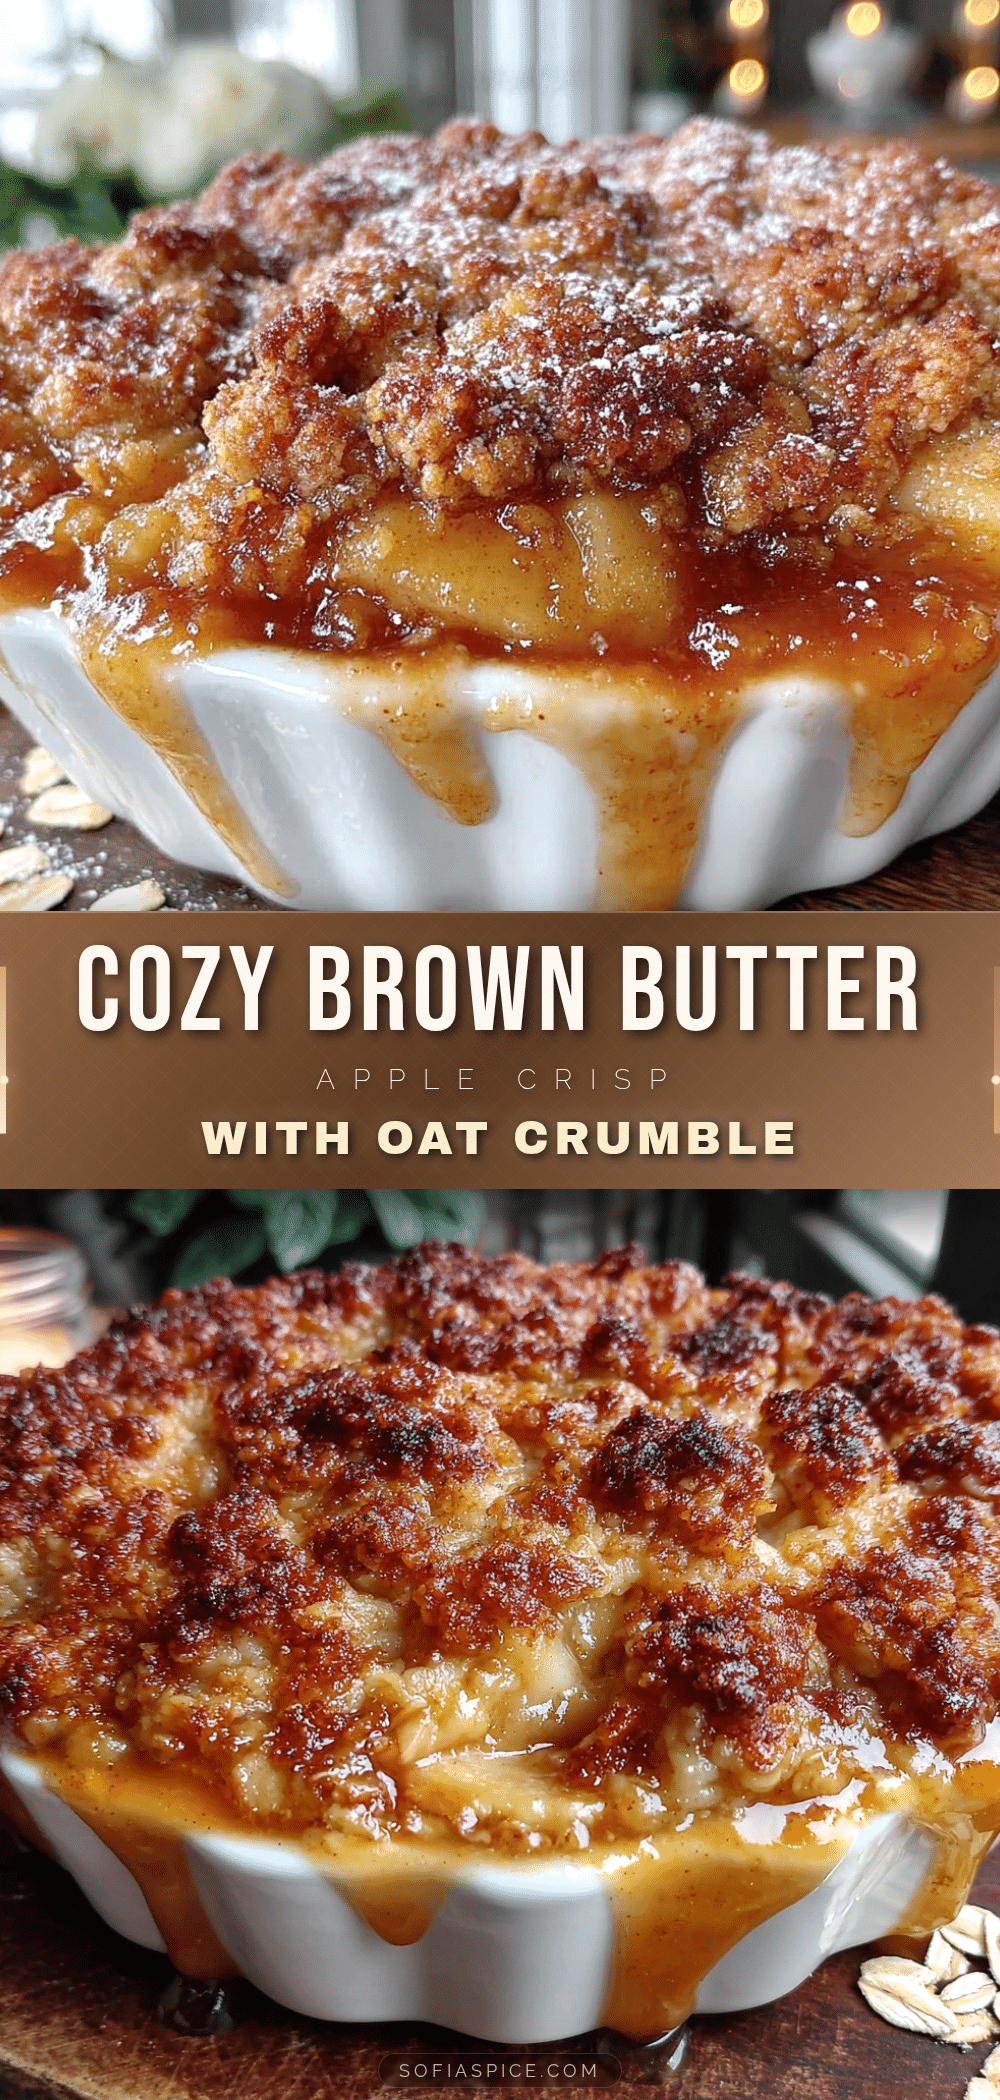
Cozy Brown Butter Apple Crisp with Oat Crumble

This brown butter apple crisp with oat crumble is a cozy, comforting dessert that fills your kitchen with the warm scents of autumn. The nutty brown butter adds a deep, caramel-like richness, while the oat crumble gets perfectly crispy on top and tender underneath.
- Prep Time: 15 minutes
- Cook Time: 35 minutes
- Total Time: 50 minutes
- Yield: 8 servings 1x
- Category: Dessert
- Cuisine: American
Ingredients
- 6 medium apples, peeled, cored, and sliced (Honeycrisp or Granny Smith recommended)
- 1/4 cup granulated sugar
- 2 tablespoons brown sugar, packed
- 1 tablespoon lemon juice
- 1 teaspoon ground cinnamon
- 1/4 teaspoon ground nutmeg
- 1/4 teaspoon salt
- 1 tablespoon cornstarch
- 1/2 cup unsalted butter
- 1 cup old-fashioned rolled oats
- 3/4 cup all-purpose flour
- 1/2 cup brown sugar, packed
- 1/4 cup granulated sugar
- 1 teaspoon ground cinnamon
- 1/4 teaspoon salt
- 1/2 cup chopped pecans or walnuts (optional)
Instructions
- Preheat your oven to 375°F (190°C). Grease a 9×13-inch baking dish with butter or non-stick spray.
- Make the brown butter: Place 1/2 cup unsalted butter in a large skillet or saucepan over medium heat. Melt completely, then swirl occasionally. After 3-4 minutes, the butter will foam and bubble. Continue until golden brown specks form and it smells nutty (about 5-7 minutes total). Remove from heat immediately and pour into a heat-safe bowl to stop cooking.
- Prepare the apple filling: In a large bowl, toss the sliced apples with 1/4 cup granulated sugar, 2 tablespoons brown sugar, 1 tablespoon lemon juice, 1 teaspoon cinnamon, 1/4 teaspoon nutmeg, 1/4 teaspoon salt, and 1 tablespoon cornstarch. Let sit for 5 minutes.
- Make the oat crumble: In a medium bowl, combine 1 cup rolled oats, 3/4 cup flour, 1/2 cup brown sugar, 1/4 cup granulated sugar, 1 teaspoon cinnamon, and 1/4 teaspoon salt. Pour the browned butter over the dry ingredients and stir until the mixture resembles wet sand with some larger clumps. Fold in nuts if using.
- Assemble the crisp: Spread the apple mixture evenly in the prepared baking dish. Sprinkle the oat crumble over the top in an even layer. Do not press down.
- Bake for 35-40 minutes, until the filling is bubbly and the topping is golden brown. If the top browns too quickly, tent with foil after 25 minutes.
- Cool on a wire rack for at least 15 minutes before serving. Serve warm, preferably with vanilla ice cream or whipped cream.
Notes
Let the crisp rest for at least 15 minutes after baking to allow the filling to set. For best results, use a mix of apple varieties like Honeycrisp and Granny Smith. The brown butter can burn quickly, so watch it carefully. The crisp can be assembled up to 24 hours in advance and refrigerated; add 10 minutes to the baking time if starting from cold.
Nutrition
- Serving Size: 1 serving (1/8 of re
- Calories: 380
- Sugar: 32
- Sodium: 180
- Fat: 18
- Saturated Fat: 10
- Carbohydrates: 54
- Fiber: 5
- Protein: 4
Keywords: apple crisp, brown butter, oat crumble, fall dessert, apple dessert, comfort food


