My husband looked at me with that expression. You know the one. It’s the look that says “you bought another kitchen gadget, didn’t you?” And honestly, he wasn’t wrong. I had just unboxed a new baking sheet, and I was desperate to break it in. But it was 9 PM on a Tuesday. I did not want a giant batch of cookies staring at me from the counter for the next week. I did not want to freeze dough logs. I wanted exactly 12 warm, chewy chocolate chip cookies, and I wanted them now. That’s when I realized most recipes are designed for a crowd. They assume you have a family of six or a bake sale to attend. But what if you just want a small batch of perfection for yourself? That night, I started tinkering. I halved, quartered, and adjusted ratios until I got it right. The result was a single egg yolk, a precise amount of butter, and a texture that finally beat my full-sized recipe. This isn’t a compromise. It’s a better version of the classic, designed for the nights when you just need a little bit of something good.
Why You’ll Love This Recipe
Let’s be real. Most cookie recipes make 36 cookies. That’s great for a party, but terrible for a Tuesday night when you just want a few without the commitment. This recipe solves that problem perfectly.
- Perfectly Sized Batch: This recipe makes exactly 12 cookies. No more, no less. It’s the ideal amount for a small household, a date night treat, or just satisfying a craving without an army of cookies lingering around.
- Unbelievably Chewy Texture: We are using a specific technique here. Melting the butter and using a single egg yolk creates that dense, fudgy, chewy center with slightly crisp edges. It’s a texture you cannot get from a standard creamed-butter recipe.
- Simple Pantry Ingredients: You don’t need anything fancy. No bread flour, no cake flour, no obscure extracts. Just butter, sugar, an egg, flour, and chocolate chips. Chances are, you already have all of this.
- Quick & Easy: From start to finish, you are looking at about 25 minutes. The dough comes together in one bowl, and there is no chilling time required. Instant gratification, my friends.
- No Leftover Egg Whites: Using just one yolk means you don’t have to figure out what to do with the white. No mini meringues or scrambled egg whites for breakfast. It’s a small win, but it feels huge.
I have tested this recipe more times than I care to admit. I tried it with cold butter, room temperature butter, and melted butter. I tried different ratios of brown to white sugar. I even tried adding an extra yolk once (don’t do it—too cakey). This version is the winner. It’s the one I make when I need a guaranteed win.
What Ingredients You Will Need
This recipe relies on a few key ingredients working together to create that signature chewy texture. Each one has a specific job, and using the right type makes a real difference.
- Unsalted Butter (6 tablespoons): We use unsalted butter to control the salt level. Melting the butter is the secret to the chewy texture. It reduces the water content and coats the flour proteins, preventing too much gluten formation. This keeps the cookies dense and tender instead of puffy and cakey.
- Brown Sugar (½ cup, packed): This is non-negotiable for chewiness. Brown sugar contains molasses, which is hygroscopic. That means it attracts and holds onto moisture. This keeps your cookies soft and chewy for days. I prefer dark brown sugar for a deeper flavor, but light brown works great too.
- Granulated Sugar (¼ cup): White sugar adds a bit of crunch to the edges and helps with spreading. The balance of brown to white sugar is crucial. Too much white sugar, and your cookies will spread into thin, crispy discs. Too much brown, and they might be too soft and not spread enough.
- Large Egg Yolk (1): Using just the yolk gives you all the richness and fat of an egg without the excess moisture and protein from the white. Egg whites add structure and can make cookies cakey. The yolk alone creates that fudgy, almost brownie-like center.
- Vanilla Extract (1 teaspoon): Use pure vanilla extract if you have it. It adds a warmth and depth that imitation vanilla just can’t match. It’s a small ingredient with a big impact.
- All-Purpose Flour (1 cup, spooned and leveled): Standard all-purpose flour is perfect here. The way you measure it matters. Spoon the flour into your measuring cup and level it off with a knife. Scooping directly from the bag packs the flour, leading to dry, dense cookies.
- Baking Soda (½ teaspoon): This is our leavening agent. It helps the cookies spread just a little and creates a tender crumb. Make sure your baking soda is fresh. You can test it by dropping a little into vinegar—it should fizz vigorously.
- Salt (½ teaspoon): Salt is not just for flavor. It balances the sweetness and strengthens the gluten structure just enough to give the cookies a little chew. I use fine sea salt for the dough and a sprinkle of flaky sea salt on top before baking.
- Semi-Sweet Chocolate Chips (¾ cup): I prefer semi-sweet chips because they are not too sweet and they hold their shape well during baking. You can use dark chocolate, milk chocolate, or even chopped chocolate bars. Chopped chocolate gives you those beautiful puddles of chocolate.
Equipment Needed
You don’t need a professional bakery setup for this. A few basic tools will get the job done beautifully.
- Mixing Bowls: You will need one medium bowl for the wet ingredients and one small bowl for the dry ingredients.
- Whisk: A standard wire whisk is perfect for combining the melted butter and sugars. It helps break up any lumps.
- Rubber Spatula: This is for folding in the flour and chocolate chips. It’s gentler than a mixer and prevents over-mixing.
- Cookie Scoop (1.5 tablespoon): A scoop ensures all your cookies are the same size, so they bake evenly. If you don’t have one, use two spoons to portion the dough.
- Baking Sheet: A light-colored, rimmed baking sheet works best. Dark sheets can cause the bottoms of the cookies to burn before the centers are done. My personal favorite is the Nordic Ware half-sheet pan. It heats evenly and never warps.
- Parchment Paper or Silicone Baking Mat: This is essential for preventing sticking and ensuring even browning. Parchment paper is cheap and disposable. A silicone mat is reusable and works just as well.
Preparation Method
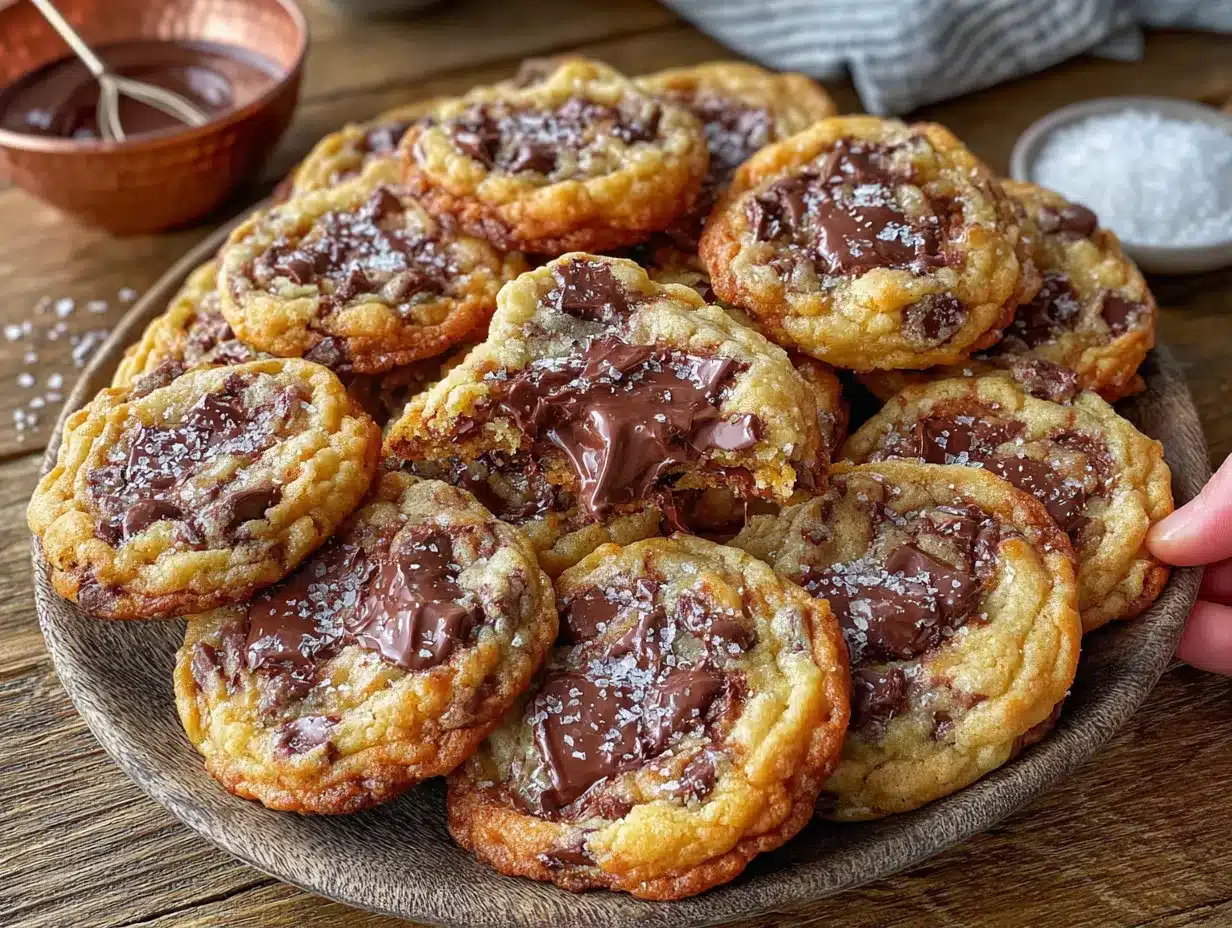
Follow these steps carefully, and you will have perfect cookies every single time. The process is simple, but the details matter.
- Preheat and Prep: Preheat your oven to 350°F (175°C). Line a large baking sheet with parchment paper or a silicone mat. This ensures the cookies release easily and the bottoms don’t burn.
- Melt the Butter: Place the 6 tablespoons of unsalted butter in a medium microwave-safe bowl. Microwave in 20-second bursts until it is just melted. It should be liquid but not hot. You can also melt it in a small saucepan over low heat. Let it cool for 2 minutes. If it’s too hot, it will cook the egg yolk.
- Combine Sugars and Butter: Add the ½ cup packed brown sugar and ¼ cup granulated sugar to the melted butter. Whisk vigorously for about 1 minute. The mixture should look like a thick, grainy paste. It will smell incredible. This step is important—it helps dissolve some of the sugar and creates a smooth base.
- Add the Yolk and Vanilla: Crack your egg and separate the yolk from the white. Add the yolk and 1 teaspoon of vanilla extract to the butter-sugar mixture. Whisk again until the mixture is smooth, glossy, and slightly lighter in color. It should look like a thick caramel sauce.
- Add the Dry Ingredients: In a separate small bowl, whisk together 1 cup of all-purpose flour, ½ teaspoon of baking soda, and ½ teaspoon of salt. This ensures the baking soda and salt are evenly distributed. Add the dry ingredients to the wet ingredients all at once.
- Fold Gently: Use your rubber spatula to fold the flour into the wet ingredients. Use a cutting motion through the center of the bowl, then scrape around the edges. Stop as soon as you no longer see streaks of flour. Over-mixing at this stage develops gluten, which will make your cookies tough instead of tender.
- Add the Chocolate: Pour in ¾ cup of semi-sweet chocolate chips. Fold them in with the spatula until they are evenly distributed throughout the dough. The dough will be thick, sticky, and gorgeous.
- Portion the Dough: Use your cookie scoop to portion the dough into 12 equal balls, about 1.5 tablespoons each. Place them on the prepared baking sheet, spacing them about 2 inches apart. Do not flatten them. They will spread on their own.
- Optional: Top with Flaky Salt: If you have flaky sea salt, sprinkle a tiny pinch on top of each dough ball. This is not mandatory, but it takes the cookies from great to unforgettable. The salt cuts the sweetness and enhances the chocolate.
- Bake: Place the baking sheet on the center rack of your preheated oven. Bake for 9 to 11 minutes. The cookies are done when the edges are golden brown and the centers look slightly puffy and underdone. They will look soft and a little shiny in the middle. Do not over-bake. They will continue to set on the hot pan as they cool.
- Cool on the Pan: Let the cookies cool on the baking sheet for 5 minutes. This is critical. If you try to move them immediately, they will fall apart. The residual heat finishes cooking the centers. After 5 minutes, transfer them to a wire rack to cool completely. Or, you know, eat one warm. I won’t judge.
Cooking Tips & Techniques
I have made a lot of mistakes with cookies. Burnt bottoms, flat puddles, hockey pucks. Here is what I have learned so you don’t have to repeat my errors.
The Butter Temperature is Everything: I once used butter that was too hot. It melted the sugar completely, and my cookies spread into thin, greasy discs. Let your melted butter cool for a couple of minutes before adding the sugar and egg. It should be warm, not hot.
Don’t Skip the Whisking: When you whisk the melted butter with the sugars, you are doing more than just mixing. You are dissolving some of the sugar crystals. This creates a smoother, more uniform dough and helps the cookies spread evenly. Spend a full minute on this step.
Resist the Urge to Over-Bake: This is the number one mistake. People want golden brown cookies, so they leave them in the oven until they look done. But cookies continue to bake on the hot pan. Pull them out when the centers are still soft and puffy. They will look slightly underdone. Trust the process. You want a chewy center, not a crunchy one.
Chill the Dough if You Must: This recipe is designed to work without chilling. However, if you are making the dough in a very hot kitchen or if your butter got too soft, you can chill the portioned dough balls for 20 minutes. This will prevent excessive spreading. Just add a minute to the bake time.
Use a Cookie Scoop for Consistency: I cannot stress this enough. A scoop ensures every cookie is the same size, so they bake at the same rate. If you have one giant cookie and one tiny one, one will be burnt and the other will be raw. A 1.5-tablespoon scoop is the perfect size for this recipe.
Variations & Adaptations
This base recipe is a fantastic starting point for experimentation. Here are a few ways I like to change it up depending on my mood or what I have in the pantry.
Double Chocolate Chip: Replace 2 tablespoons of the all-purpose flour with 2 tablespoons of unsweetened cocoa powder. Use dark chocolate chips instead of semi-sweet. You get a rich, fudgy, brownie-like cookie that is absolutely divine.
Chocolate Chip & Walnut: Reduce the chocolate chips to ½ cup and add ¼ cup of chopped toasted walnuts. Toast the walnuts in a dry skillet over medium heat for 3-4 minutes until they smell nutty. This adds a wonderful crunch and a savory note that balances the sweetness.
Gluten-Free Option: Substitute the all-purpose flour with a good quality 1-to-1 gluten-free baking flour blend. I have had great success with King Arthur Measure for Measure. The texture will be slightly more delicate, but the cookies will still be chewy and delicious. Add 1 extra tablespoon of the gluten-free flour to help with structure.
Mint Chocolate Chip: Add ¼ teaspoon of peppermint extract along with the vanilla extract. Use dark chocolate chips or even Andes mint baking chips. It tastes like a thin mint cookie in cookie form. Perfect for the holidays.
Peanut Butter Swirl: Warm 2 tablespoons of creamy peanut butter in the microwave for 10 seconds. Drop small teaspoons of the peanut butter onto the portioned dough balls and swirl it in gently with a toothpick. Bake as directed. The salty peanut butter against the sweet chocolate is a classic combination.
Serving & Storage Suggestions
These cookies are best enjoyed warm, fresh from the oven. That moment when the chocolate is still a little melty and the edges are crisp is the peak experience. But they are also fantastic the next day.
Serving: Serve these cookies with a tall glass of cold milk. It is a classic for a reason. They also pair beautifully with a scoop of vanilla ice cream for an impromptu ice cream sandwich. If you are feeling fancy, serve them alongside a hot coffee or a cold brew. For a game day treat, these are a perfect sweet counterpoint to something savory like our easy crockpot buffalo chicken sliders.
Storage: Store the cooled cookies in an airtight container at room temperature. They will stay soft and chewy for up to 5 days. To keep them extra soft, add a slice of plain bread to the container. The cookies will absorb the moisture from the bread. Replace the bread slice every couple of days.
Freezing: You can freeze the baked cookies for up to 3 months. Place them in a single layer in a freezer-safe bag or container. To thaw, let them sit at room temperature for about 15 minutes. You can also freeze the raw dough balls. Place the portioned dough on a baking sheet and freeze until solid. Then transfer the frozen dough balls to a freezer bag. You can bake them directly from frozen, adding 2-3 minutes to the bake time.
Reheating: To revive a day-old cookie, pop it in a 300°F (150°C) oven for 3-4 minutes. It will crisp up the edges and soften the center. You can also microwave a cookie for 10 seconds for a quick, warm treat.
Nutritional Information & Benefits
Let’s be honest. These are cookies. They are a treat. But knowing what is in them helps you enjoy them mindfully. This information is an estimate and will vary based on specific brands and substitutions.
| Nutrient | Per Cookie (1 of 12) |
|---|---|
| Calories | ~185 kcal |
| Fat | 10g |
| Saturated Fat | 6g |
| Carbohydrates | 24g |
| Sugar | 16g |
| Protein | 2g |
| Sodium | 115mg |
Dark chocolate is a source of antioxidants, and the butter provides a small amount of vitamin A. The main benefit here is portion control. By making a small batch, you are less likely to over-indulge. This recipe is not gluten-free by default, but it can be easily adapted. It contains dairy and eggs, so it is not suitable for a vegan diet without substitutions.
Conclusion
This small batch chewy chocolate chip cookie recipe has become my go-to for those quiet nights when I just need a little sweetness. It is reliable, fast, and it delivers exactly what it promises: 12 perfect cookies with a texture that rivals any bakery. The best part? You get to eat the first one warm, straight off the pan, without any guilt about the other 24 cookies waiting for you. I love that this recipe respects my time and my cravings. It does not ask for a huge commitment. It just asks for 25 minutes and a few simple ingredients. If you give this recipe a try, I would love to hear how it turns out. Did you add walnuts? Did you use dark chocolate? Drop a comment below and let me know. And if you love small batch baking as much as I do, you will definitely want to check out our other small batch chocolate chip cookie recipe for a slightly different take. Happy baking, friends.
Frequently Asked Questions
Can I use salted butter instead of unsalted?
Yes, you can. Just reduce the added salt in the recipe to ¼ teaspoon instead of ½ teaspoon. This will prevent the cookies from becoming too salty.
Why did my cookies turn out cakey instead of chewy?
The most common reason is using the whole egg instead of just the yolk. The egg white adds moisture and protein, which creates a lighter, cake-like structure. Stick with just the yolk for that dense, fudgy texture.
Do I have to chill the dough?
No. This recipe is designed to be baked immediately. The melted butter and specific sugar ratios allow the cookies to set properly without chilling. However, if your kitchen is very hot, chilling for 20 minutes can help prevent excessive spreading.
Can I double this recipe?
Absolutely. To make 24 cookies, simply double all the ingredients. Use 2 egg yolks instead of 1 whole egg. The bake time should remain roughly the same, but keep an eye on them.
How do I make these cookies dairy-free?
Substitute the unsalted butter with a good quality vegan butter stick. I recommend using one with a high fat content, like Earth Balance or Miyoko’s. The texture will be slightly different, but they will still be delicious and chewy.
Pin This Recipe!
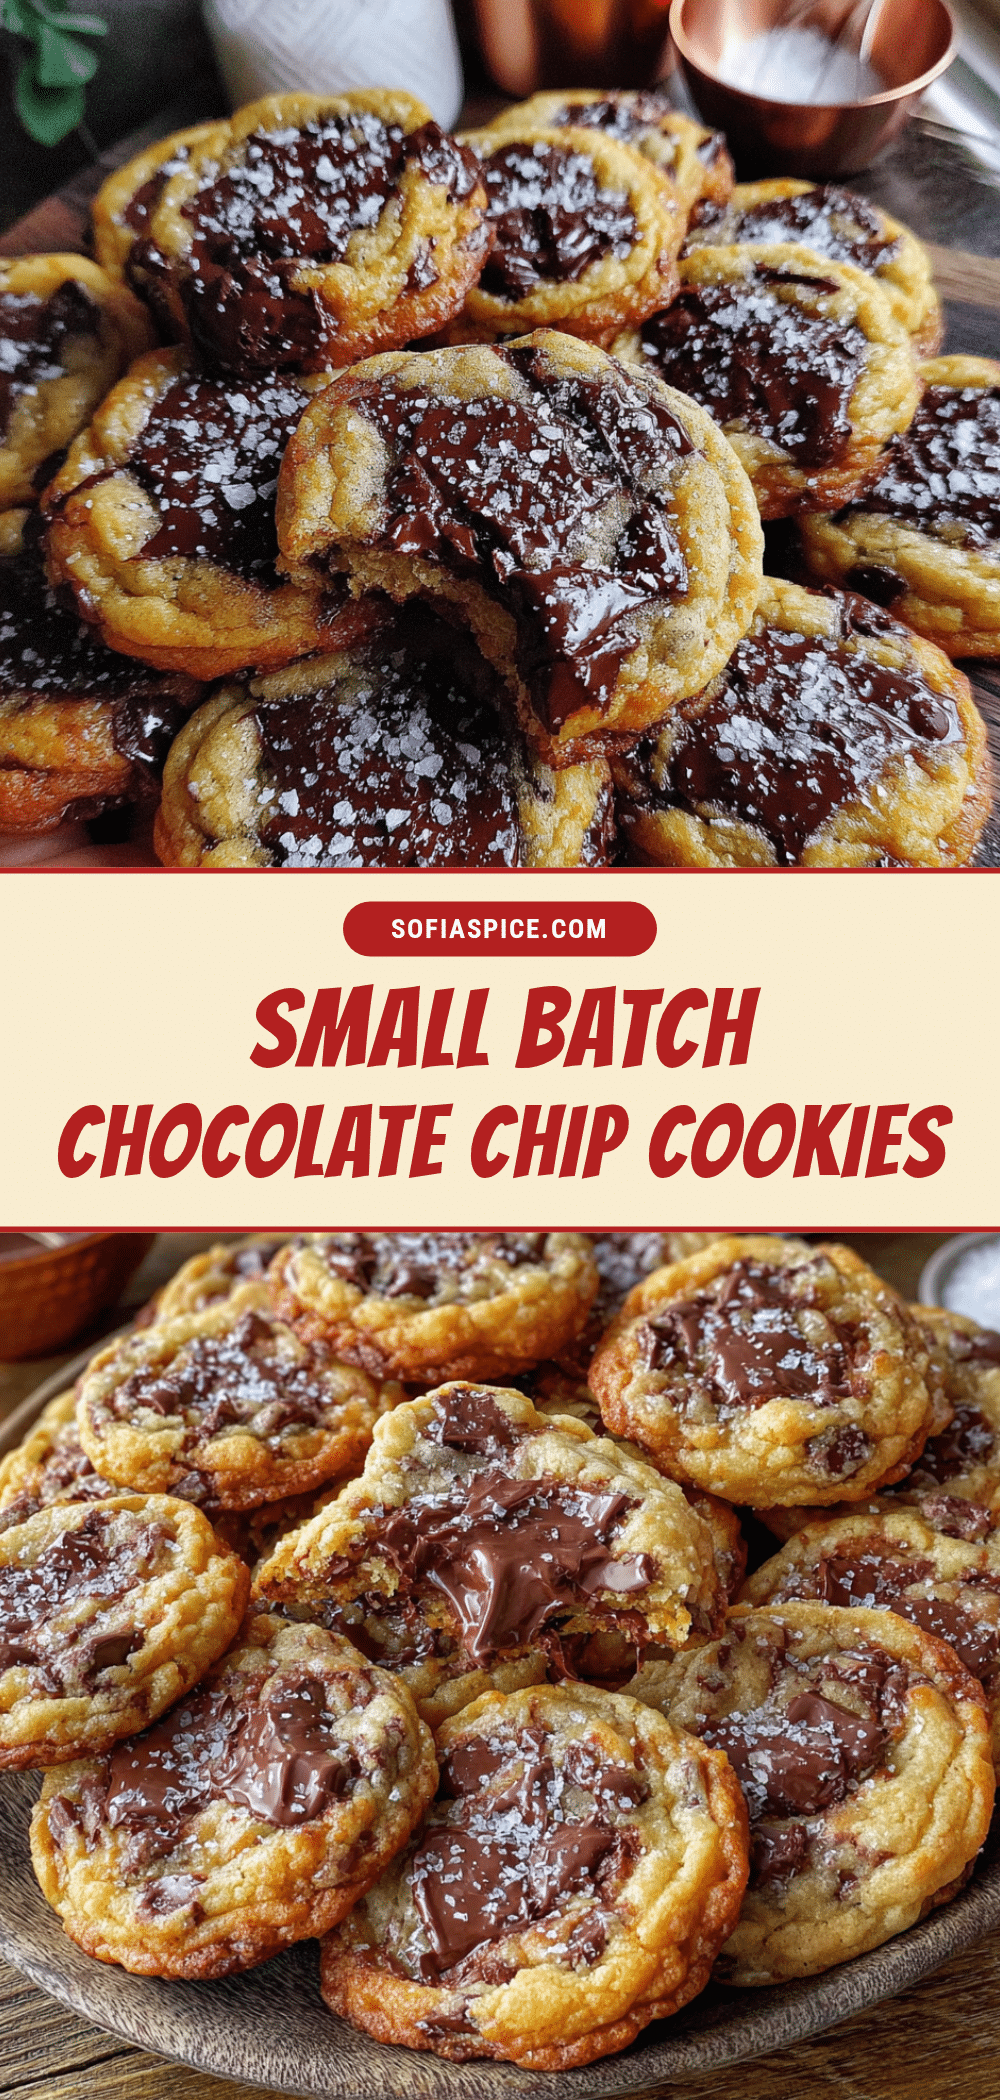
Best Small Batch Chewy Chocolate Chip Cookies – Easy 12 Cookie Recipe

This small batch recipe makes exactly 12 perfectly chewy chocolate chip cookies with crisp edges and a fudgy center, using melted butter and a single egg yolk for an unbeatable texture. No chilling required, ready in about 25 minutes.
- Prep Time: 15 minutes
- Cook Time: 10 minutes
- Total Time: 25 minutes
- Yield: 12 cookies 1x
- Category: Dessert
- Cuisine: American
Ingredients
- 6 tablespoons unsalted butter
- ½ cup packed brown sugar
- ¼ cup granulated sugar
- 1 large egg yolk
- 1 teaspoon vanilla extract
- 1 cup all-purpose flour, spooned and leveled
- ½ teaspoon baking soda
- ½ teaspoon salt
- ¾ cup semi-sweet chocolate chips
- Flaky sea salt (optional, for topping)
Instructions
- Preheat oven to 350°F (175°C). Line a large baking sheet with parchment paper or a silicone mat.
- Melt the butter in a medium microwave-safe bowl in 20-second bursts until just melted. Let cool for 2 minutes.
- Add brown sugar and granulated sugar to the melted butter. Whisk vigorously for about 1 minute until it forms a thick, grainy paste.
- Add the egg yolk and vanilla extract. Whisk until smooth, glossy, and slightly lighter in color.
- In a separate small bowl, whisk together flour, baking soda, and salt. Add to the wet ingredients all at once.
- Fold gently with a rubber spatula using a cutting motion until no streaks of flour remain. Do not over-mix.
- Fold in the chocolate chips until evenly distributed. Dough will be thick and sticky.
- Portion the dough into 12 equal balls (about 1.5 tablespoons each) using a cookie scoop. Place on prepared baking sheet, spacing 2 inches apart. Do not flatten. Optionally, sprinkle with flaky sea salt.
- Bake on the center rack for 9 to 11 minutes, until edges are golden brown and centers look slightly puffy and underdone.
- Let cookies cool on the baking sheet for 5 minutes, then transfer to a wire rack to cool completely.
Notes
For best results, use melted butter that is warm but not hot. Do not over-bake; cookies will continue to set on the hot pan. If your kitchen is very hot, chill the dough balls for 20 minutes before baking to prevent excessive spreading.
Nutrition
- Serving Size: 1 cookie
- Calories: 185
- Sugar: 16
- Sodium: 115
- Fat: 10
- Saturated Fat: 6
- Carbohydrates: 24
- Fiber: 1
- Protein: 2
Keywords: small batch chocolate chip cookies, chewy chocolate chip cookies, easy cookie recipe, 12 cookies, no chill cookies


