Megan wasn’t trying to impress anyone. I’d stopped by her place that Saturday to pick up a book I’d lent her, and the smell hit me before I even got through the front door. Something tangy and sweet and just a little bit savory, wafting from the kitchen like it had been waiting for me.
“Oh, that’s just the cheese ball,” she said when I asked, waving her hand like it was nothing. Like she hadn’t just created something that made me forget why I’d come over in the first place. She was wearing an old sweatshirt, had flour on her jeans, and was clearly in the middle of cleaning out her pantry. The cheese ball sat on the counter, unassuming, wrapped in plastic wrap, looking like it had no idea how good it was.
I mean, honestly, I almost didn’t ask for the recipe. There’s something about watching someone make something extraordinary look so ordinary that makes you feel like you’re missing some secret gene. But I did ask, and she shrugged and rattled off ingredients like she was reading a grocery list. Cranberries. Jalapeño. Cream cheese. Sharp cheddar. It sounded too simple to be good. But let me tell you, that first bite? I closed my eyes. You know that feeling when something is so unexpectedly perfect that you have to pause? That was it.
That cheese ball became my go-to for every gathering after that. It’s the one I bring to holiday parties, the one that disappears before the main course, the one people stand around and ask about while trying to look casual. And every time I make it, I think about Megan in her messy kitchen, making something incredible without even trying. Maybe that’s the secret, honestly — not trying too hard.
Why You’ll Love This Recipe
This isn’t just another cheese ball recipe. After testing this version at least a dozen times — for Christmas parties, New Year’s Eve gatherings, and random Sunday football games — I can tell you it’s the one that gets the most attention. Here’s why it works so well for hosting:
- Made for a Crowd : This recipe scales beautifully. Double it for a big party, or make two smaller ones for different tables. It never feels like there’s too much or too little.
- Prep-Ahead Friendly : You can make this up to three days in advance. That’s huge when you’re hosting and already have a million things to do. Just wrap it tight and let the flavors meld in the fridge.
- Show-Stopping Presentation : The red and green flecks from the cranberries and jalapeños make it look festive without any extra effort. Roll it in nuts or herbs, and it looks like you spent hours on it.
- Perfect Balance of Flavors : The creaminess of the cheese, the tartness of the cranberries, the subtle heat from the jalapeños, and the crunch from the coating — every bite has something different going on.
- Always Gets Rave Reviews : I’ve brought this to potlucks where people asked for the recipe before they even finished their first cracker. It’s that kind of recipe — the one that makes you look like a hero without breaking a sweat.
What makes this version different from all the other cheese ball recipes out there? It’s the ratio, honestly. Most recipes use way too much cream cheese and not enough sharp cheddar, so the flavor falls flat. This one uses a mix of both, plus a hit of garlic powder and Worcestershire sauce that deepens everything without being obvious. The jalapeños are fresh, not pickled, so you get that bright, grassy heat instead of vinegar. And the dried cranberries? They’re not just for sweetness — they add that chewy texture that makes every bite interesting.
This is the kind of appetizer that makes people close their eyes after the first bite. It’s comfort food for a party — familiar enough to feel safe, but surprising enough to be memorable. Perfect for impressing guests without stress, or turning a simple gathering into something that feels special.
What Ingredients You Will Need
This recipe uses simple, mostly pantry-staple ingredients to deliver big flavor without the fuss. Most of these you probably already have on hand, which is exactly what you want when you’re hosting and don’t have time for a specialty grocery run.
For the Cheese Ball Base
- 16 ounces cream cheese, softened to room temperature (I prefer Philadelphia for its consistent texture, but any full-fat block cream cheese works well)
- 2 cups sharp cheddar cheese, freshly shredded (please don’t use pre-shredded — it has anti-caking agents that make the texture grainy. Shred it yourself from a block for that smooth, creamy melt)
- 1/2 cup dried cranberries, finely chopped (look for ones that are soft and plump, not hard and dry. Craisins work perfectly here)
- 1/4 cup fresh jalapeño, seeded and finely diced (about 1 medium jalapeño. Remove the seeds and membranes for less heat, or leave some in if you want more kick)
- 1 tablespoon Worcestershire sauce (Lea & Perrins is my go-to — it adds that umami depth that makes people wonder what’s in it)
- 1/2 teaspoon garlic powder (not garlic salt — you’ll control the salt separately)
- 1/4 teaspoon onion powder
- 1/4 teaspoon black pepper, freshly ground
- Pinch of salt (start with 1/4 teaspoon and adjust to taste)
For the Coating
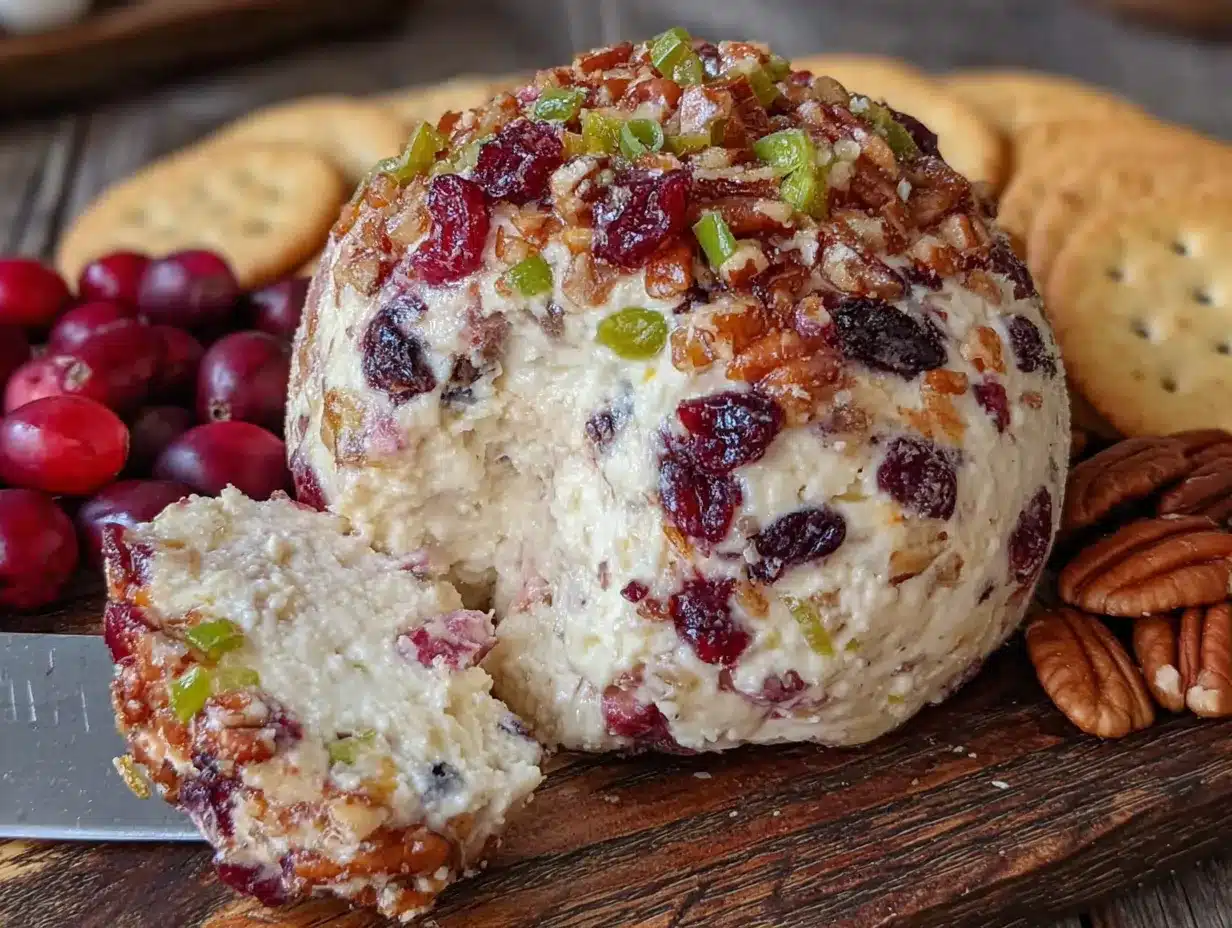
- 1 cup pecans or walnuts, finely chopped (toast them first for extra flavor — 5 minutes in a dry pan over medium heat until fragrant)
- 2 tablespoons fresh parsley, finely chopped (optional, but adds a nice fresh color contrast)
- 1 tablespoon dried cranberries, finely chopped (for extra color on the outside)
For Serving
- Assorted crackers (butter crackers, water crackers, or baguette slices work beautifully)
- Fresh apple slices or celery sticks (for a lighter option)
- Pretzel crisps (the saltiness pairs perfectly with the creamy cheese)
Ingredient Selection Tips: When choosing your jalapeño, look for one that’s firm and bright green with no soft spots. If you want less heat, go for a larger jalapeño — they tend to be milder than smaller ones. For the cranberries, I recommend Ocean Spray dried cranberries — they’re consistently soft and sweet. If you can find them, the orange-flavored dried cranberries add a lovely citrus note that works beautifully here.
Substitution Guidance: Need to make this gluten-free? Just use gluten-free crackers for serving and skip the Worcestershire sauce (or use a gluten-free version like Lea & Perrins which is actually gluten-free). Want it dairy-free? Use a plant-based cream cheese and shredded vegan cheddar — just note the texture will be slightly different. For a nut-free coating, try crushed pretzels, sesame seeds, or simply more dried cranberries and fresh herbs.
Equipment Needed
You don’t need much for this recipe, which is part of why I love it for hosting. Here’s what you’ll need:
- Large mixing bowl — Any medium-to-large bowl works. I use my grandmother’s old ceramic mixing bowl, but glass or stainless steel is fine too.
- Hand mixer or stand mixer — A hand mixer makes this so much easier. You can do it by hand with a wooden spoon, but your arm will thank you for using a mixer. I’ve used my KitchenAid hand mixer for years and it’s never let me down.
- Rubber spatula — For scraping down the sides of the bowl and getting every last bit of cheese mixture. A silicone spatula is ideal — it won’t scratch your bowls.
- Plastic wrap or wax paper — For shaping and wrapping the cheese ball. Plastic wrap works best because it clings tightly and helps the ball hold its shape.
- Cutting board and sharp knife — For dicing the jalapeño and chopping the cranberries and nuts. A sharp knife makes all the difference — dull knives are dangerous and frustrating.
- Small skillet (optional) — If you want to toast the nuts before coating the cheese ball. A dry pan over medium heat for 3-5 minutes is all you need.
- Serving platter or cheese board — Something flat and wide to show off your creation. A wooden board or slate tile looks beautiful.
Budget-Friendly Tip: Don’t have a hand mixer? No problem. Let your cream cheese soften completely (at least 2 hours on the counter) and use a sturdy fork to mash and mix everything together. It takes a little more elbow grease, but the result is the same. Also, skip the fancy cheese board — a simple dinner plate works perfectly.
Preparation Method
This recipe comes together in about 20 minutes of active time, plus at least 2 hours of chilling. The chilling is crucial, so don’t skip it. Here’s how to make it:
- Soften the cream cheese. Take your cream cheese out of the fridge at least 2 hours before you start. It needs to be at room temperature — soft enough that you can easily press your finger into it. Cold cream cheese will give you lumpy, uneven results. I usually set mine out when I start cleaning the kitchen in the morning, and by afternoon it’s perfect.
- Prep your mix-ins. While the cream cheese softens, finely dice your jalapeño. Remove the seeds and white membranes unless you want serious heat. You want about 1/4 cup of finely diced jalapeño — pieces no bigger than a pea. Then chop your dried cranberries into similar-sized pieces. A sharp knife makes this much easier — the cranberries can be sticky, so I sometimes spray my knife with a little cooking spray to prevent sticking.
- Shred the cheddar. Grate your sharp cheddar cheese on the small holes of a box grater. You want fine shreds, not thick strips. Pre-shredded cheese from a bag won’t melt into the cream cheese the same way — it stays separate and grainy. Trust me on this one. I learned the hard way when I was in a hurry once and regretted it.
- Mix the base. In your large mixing bowl, beat the softened cream cheese with your hand mixer on medium speed until it’s smooth and fluffy — about 2 minutes. Scrape down the sides of the bowl with your spatula. Add the shredded cheddar, Worcestershire sauce, garlic powder, onion powder, black pepper, and salt. Mix on low speed until everything is just combined — don’t overmix, or the texture can become dense.
- Fold in the add-ins. Switch to your rubber spatula. Gently fold in the chopped cranberries and diced jalapeño until they’re evenly distributed throughout the cheese mixture. You should see little red and green flecks throughout — that’s what makes it look so pretty on the platter. Taste the mixture at this point (on a clean spoon!) and adjust the salt or pepper if needed.
- Chill the mixture. This step is non-negotiable. Scrape the cheese mixture onto a large piece of plastic wrap. Form it into a rough ball shape, then wrap it tightly. Refrigerate for at least 2 hours, or up to 3 days. The chilling firms up the cheese so you can shape it properly and helps the flavors meld together. If you try to shape it without chilling, it’ll be too soft and sticky to work with.
- Shape the cheese ball. Once chilled, unwrap the cheese mixture and place it on a clean surface. Using your hands (lightly dampened with water to prevent sticking), shape it into a smooth, round ball. Don’t worry if it’s not perfect — the coating will cover any imperfections. If the mixture feels too soft to shape, pop it back in the fridge for 30 minutes.
- Prepare the coating. On a cutting board, finely chop your nuts (pecans or walnuts), parsley, and the extra tablespoon of dried cranberries. Mix them together on a flat plate or in a shallow dish. The mixture should be uniform so every bite of the coating has a little bit of everything.
- Coat the cheese ball. Roll the shaped cheese ball in the nut mixture, pressing gently so the coating adheres to all sides. Use your hands to pat the coating into any bare spots. The goal is complete coverage — every surface should have some crunch and color. If you want a thicker coating, roll it twice.
- Final chill. Wrap the coated cheese ball loosely in plastic wrap and refrigerate for at least 30 minutes before serving. This lets the coating set and makes slicing easier. You can also make it a day ahead up to this point — just keep it wrapped in the fridge.
- Serve. Unwrap the cheese ball and place it on your serving platter about 20 minutes before guests arrive. Let it sit at room temperature so it softens slightly — a cold cheese ball doesn’t spread well. Surround it with crackers, apple slices, and pretzel crisps. I like to put out a small knife for spreading, though honestly, most people just grab a cracker and dig in.
Sensory Cues: At step 4, the mixture should look smooth and pale yellow with no streaks of cream cheese. At step 5, you should see distinct red and green flecks throughout — it should look like confetti. When you taste it, the cranberries should hit first with sweetness, then the jalapeño warmth should creep in at the back of your throat. If it’s too spicy, add more cream cheese next time. Too mild? Leave some jalapeño seeds in.
Cooking Tips & Techniques
After making this cheese ball more times than I can count, I’ve learned a few things the hard way. Here are my best tips for getting it right every time:
Don’t rush the cream cheese. I know, I know — you’re in a hurry and you think microwaving it for 15 seconds will work. It won’t. Microwaved cream cheese gets hot spots that melt unevenly, and then your cheese ball has weird greasy patches. Leave it on the counter for 2 hours. Set a timer if you have to. Your patience will be rewarded.
Toast your nuts. This is the single easiest thing you can do to make your cheese ball taste like it came from a fancy catering company. Just 3-5 minutes in a dry skillet over medium heat, shaking the pan frequently until they smell nutty and look slightly darker. Let them cool completely before chopping. The difference is night and day — raw nuts are fine, but toasted nuts are memorable.
Use a microplane for the garlic. If you want to use fresh garlic instead of powder (which I sometimes do), grate it on a microplane instead of mincing it. Fresh garlic can be overpowering, and nobody wants a chunk of raw garlic in their cheese ball. The microplane turns it into a paste that distributes evenly. Start with one small clove and taste before adding more.
Make it ahead — really ahead. This cheese ball actually gets better after a day or two in the fridge. The flavors meld together, the cranberries soften slightly, and the jalapeño heat mellows into something more rounded. I usually make mine on Wednesday for a Saturday party. Just don’t add the coating until the day you’re serving it, or the nuts will get soft.
Common mistake: overmixing. I did this once when I was distracted by a phone call. The cheese ball came out dense and almost rubbery. Mix just until everything is combined — no more. You want it light and creamy, not tough.
Timing strategy for hosting: Make the cheese ball base 2-3 days before your party. Coat it the morning of. Take it out of the fridge 20 minutes before guests arrive. That way you’re not scrambling at the last minute, and you can focus on other things — like making sure you have enough wine.
Variations & Adaptations
One of the best things about this recipe is how flexible it is. Here are some variations I’ve tried and loved:
Spicy Mango Version: Swap the dried cranberries for dried mango, chopped into small pieces. Add an extra jalapeño (with seeds) for more heat. The sweetness of the mango with the spicy kick is incredible — I made this for a summer barbecue and it was gone in 20 minutes.
Herb & Garlic Version: Skip the cranberries and jalapeño entirely. Add 1/4 cup each of fresh chopped chives, parsley, and dill, plus 2 minced garlic cloves (grated on a microplane). Roll in fresh herbs instead of nuts. This version is more elegant and works beautifully for a bridal shower or tea party.
Bacon Lover’s Version: Cook 6 strips of bacon until crispy, then crumble them. Mix half into the cheese ball and reserve half for the coating. Combine the reserved bacon with the nuts and parsley for a smoky, salty crust. I mean, bacon makes everything better, right?
Dietary Adaptations: For a dairy-free version, use your favorite plant-based cream cheese and shredded vegan cheddar. Kite Hill makes a great cream cheese alternative. For a lower-fat version, use Neufchâtel cheese instead of cream cheese — it has about a third less fat but the same creamy texture. For a keto-friendly option, skip the dried cranberries and use chopped sun-dried tomatoes instead (rehydrate them first if they’re dry).
Different Cooking Methods: Want to make this in a food processor? Pulse the cream cheese and cheddar first until smooth, then add the remaining ingredients and pulse just a few times. Be careful not to overprocess — you want the cranberries and jalapeño to stay in distinct pieces, not get pureed into the cheese.
Personal Variation I Love: My favorite version is what I call the “Everything Bagel” cheese ball. I add 2 tablespoons of everything bagel seasoning to the cheese mixture and roll it in more everything seasoning mixed with the nuts. The sesame, poppy seeds, garlic, and onion flavors are incredible with the creamy cheese and sweet cranberries. I honestly can’t make the regular version anymore without thinking about how good this one is.
Serving & Storage Suggestions
This cheese ball is incredibly versatile when it comes to serving. Here’s how I like to do it:
Serving Temperature: Take the cheese ball out of the fridge about 20-30 minutes before serving. You want it soft enough to spread easily but still firm enough to hold its shape. If it’s too cold, it’ll be hard and won’t spread. Too warm, and it’ll turn into a puddle. Room temperature is the sweet spot.
Presentation Ideas: Place the cheese ball in the center of a large wooden board or slate tile. Arrange crackers in a fan pattern around one side, apple slices on another, and pretzel crisps on the third. I like to scatter a few extra dried cranberries and jalapeño slices (for decoration, not eating) around the board for color. A small ramekin of honey or hot honey on the side is a nice touch — people can drizzle it over their cracker for extra sweetness or heat.
What to Serve Alongside: This cheese ball pairs beautifully with a crisp white wine like Sauvignon Blanc or a light Pinot Grigio. For beer drinkers, a wheat beer or pale ale works wonderfully. If you’re serving cocktails, a cranberry margarita or a simple gin and tonic complements the flavors perfectly. For a non-alcoholic option, sparkling water with a splash of cranberry juice and a lime wedge is lovely.
Storage Instructions: Leftover cheese ball (if there is any!) can be wrapped tightly in plastic wrap and stored in the refrigerator for up to 5 days. The coating might soften a bit, but it’ll still taste great. You can also freeze the uncoated cheese ball for up to 3 months — just wrap it well in plastic wrap and then foil. Thaw it overnight in the fridge, then coat and serve.
Reheating Notes: You don’t really reheat a cheese ball, but if you’ve frozen it, let it thaw in the fridge overnight. Then let it sit at room temperature for 20 minutes before serving. If the coating has gotten soggy during storage, you can roll it in a fresh batch of nuts and herbs right before serving.
Flavor Development: Here’s something interesting — this cheese ball actually tastes better on day two or three. The flavors meld together, the cranberries soften and release some of their sweetness into the cheese, and the jalapeño heat becomes more subtle and integrated. So don’t worry about making it ahead. In fact, I’d recommend it.
Nutritional Information & Benefits
While this is definitely a treat-yourself appetizer, it does have some redeeming nutritional qualities. Here’s a rough breakdown:
| Nutrient | Amount per serving (2 tablespoons) |
|---|---|
| Calories | 120 |
| Total Fat | 10g |
| Saturated Fat | 5g |
| Cholesterol | 25mg |
| Sodium | 180mg |
| Total Carbohydrates | 5g |
| Dietary Fiber | 1g |
| Sugars | 3g |
| Protein | 4g |
Health Benefits: The cream cheese and cheddar provide calcium and protein, which are important for bone health and muscle function. The cranberries are packed with antioxidants and vitamin C — they’re known for supporting urinary tract health and reducing inflammation. Jalapeños contain capsaicin, which has anti-inflammatory properties and can boost metabolism. And the nuts (pecans or walnuts) are full of healthy fats, fiber, and vitamin E. So while this isn’t health food, it’s not empty calories either.
Dietary Considerations: This recipe is gluten-free as written (check your Worcestershire sauce label — most brands are gluten-free, but some contain malt vinegar from barley). It’s also low-carb and keto-friendly if you serve it with low-carb crackers or vegetables instead of regular crackers. It contains dairy and nuts, so it’s not suitable for those with dairy allergies or nut allergies.
Personal Wellness Perspective: I believe in balance. This cheese ball is meant for celebrations and gatherings — it’s not something you eat every day. And honestly, the joy of sharing good food with people you care about has its own health benefits. So enjoy it, savor it, and don’t stress about the numbers.
Conclusion
This cranberry jalapeño cheese ball has become my signature party dish, and for good reason. It’s simple enough to make without a recipe after the first time, but impressive enough that people think you spent hours on it. It’s the kind of appetizer that makes you look like a hero without actually having to do much — and isn’t that the dream when you’re hosting?
I love that this recipe is forgiving. You can adjust the spice level, swap in different nuts, add bacon or herbs, and it still works. It’s a template for creativity, not a rigid formula. And honestly, the fact that it gets better after a day in the fridge? That’s the real hosting hack right there.
So whether you’re hosting a holiday party, a game day gathering, or just a casual get-together with friends, give this cheese ball a try. Make it your own. Add a little extra jalapeño if you’re feeling brave, or double the cranberries if you like it sweet. And then watch it disappear — because trust me, it will.
I’d love to hear how yours turns out! Leave a comment below and let me know what variations you tried, or tag me in your photos on social media. Happy hosting, friends!
Frequently Asked Questions
Can I make this cheese ball vegan or dairy-free?
Absolutely! Use a plant-based cream cheese like Kite Hill or Tofutti, and look for vegan shredded cheddar. The texture will be slightly softer, so chill it well before shaping. Everything else in the recipe is naturally vegan-friendly.
How spicy is this cheese ball?
It’s mild to medium, depending on your jalapeño. If you remove all the seeds and membranes, it’s very mild — just a gentle warmth at the end. If you leave some seeds in, it has more kick. For a truly mild version, use a bell pepper instead of jalapeño and add a pinch of cayenne for just a hint of heat.
Can I use pickled jalapeños instead of fresh?
You can, but I don’t recommend it. Pickled jalapeños have a vinegary taste that changes the flavor profile significantly. Fresh jalapeños give you that bright, grassy heat that complements the creamy cheese and sweet cranberries. If fresh jalapeños aren’t available, use canned green chiles instead — they’re mild but still have that fresh pepper flavor.
How far ahead can I make this?
You can make the cheese ball base up to 3 days ahead and keep it wrapped in the fridge. Add the coating the day you’re serving it. You can also freeze the uncoated cheese ball for up to 3 months — just thaw it overnight in the fridge before coating and serving.
What crackers go best with this cheese ball?
I love a mix of textures. Butter crackers like Ritz are always a hit — they’re rich and flaky. Water crackers or plain rice crackers let the cheese shine. For something heartier, try pretzel crisps or baguette slices. And for a lighter option, apple slices or celery sticks are perfect. The key is variety — put out a few different options so people can mix and match.
Pin This Recipe!
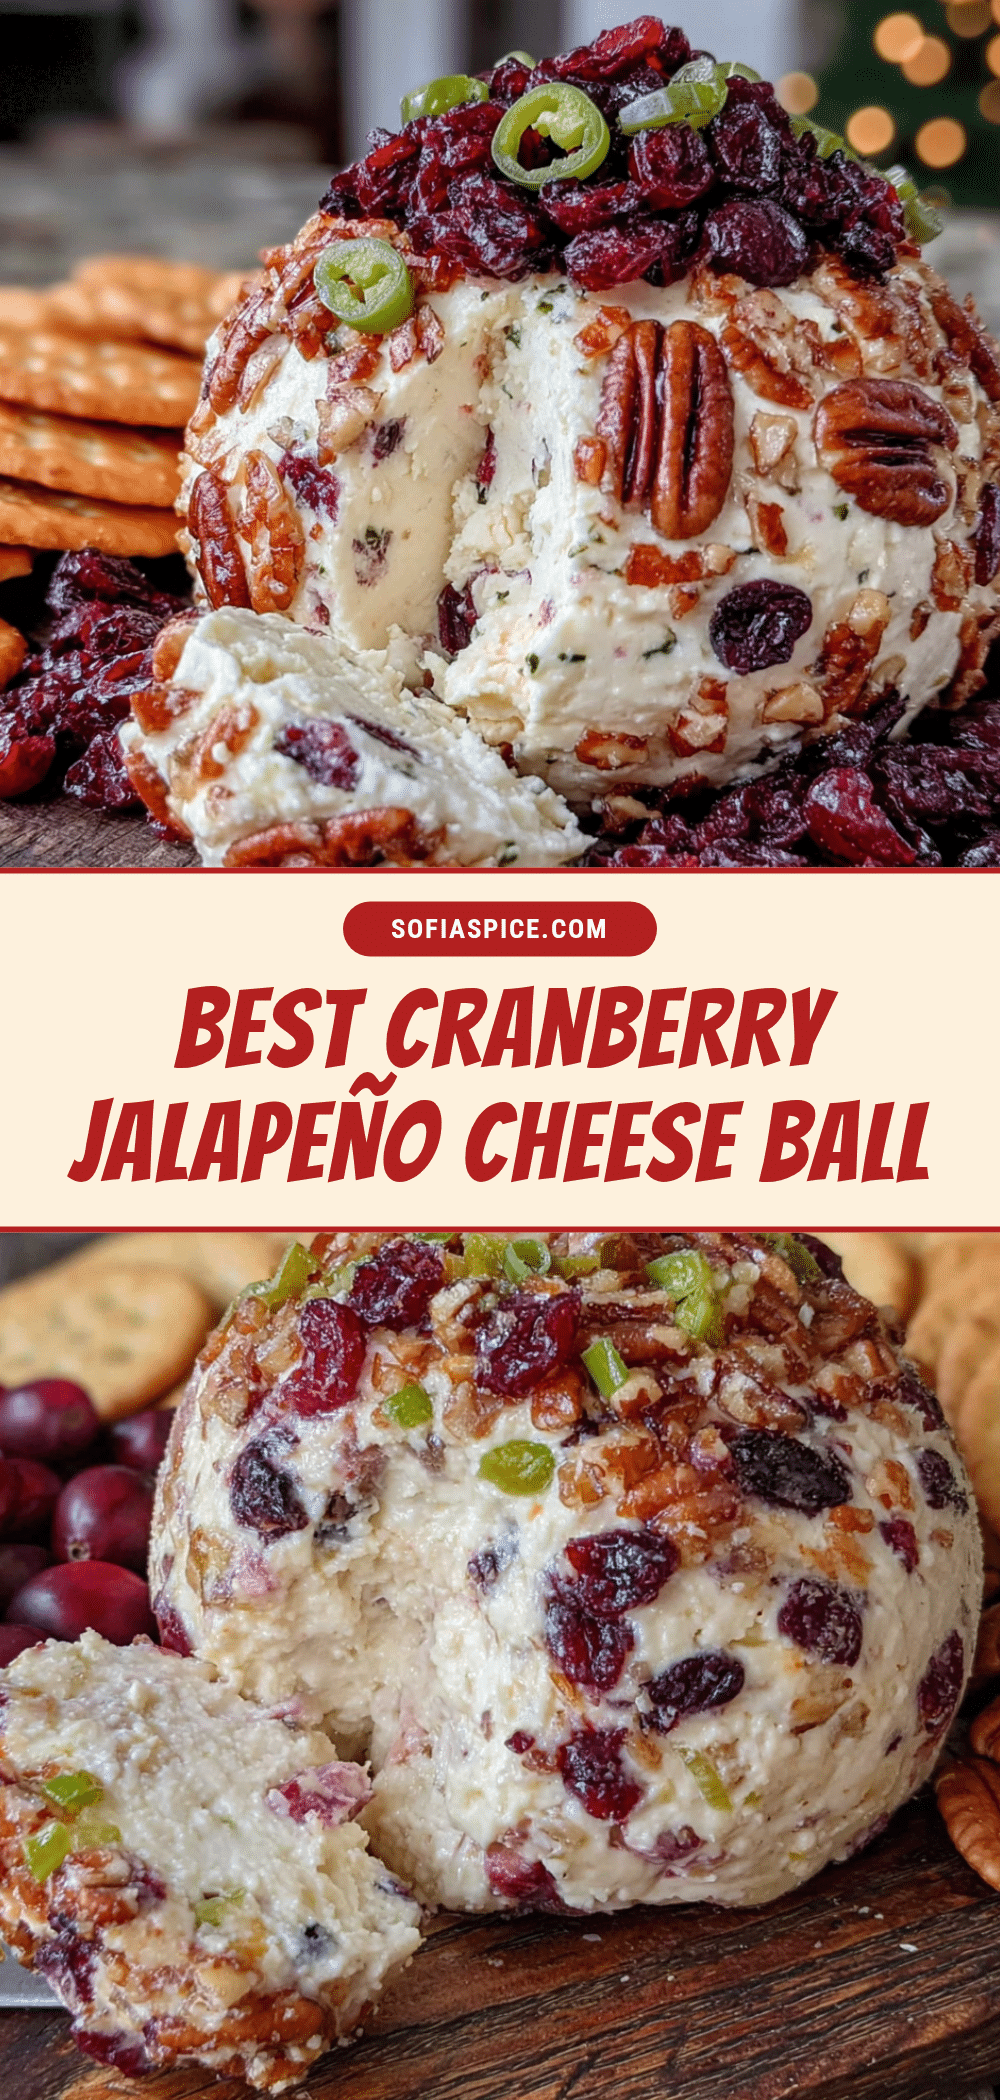
Best Easy Cranberry Jalapeño Cheese Ball Recipe

This cranberry jalapeño cheese ball is the perfect party appetizer—creamy, tangy, and with a subtle kick. It’s easy to make ahead and always gets rave reviews.
- Prep Time: 20 minutes
- Cook Time: 0 minutes
- Total Time: 2 hours 50 minutes (includes chilling)
- Yield: 12 servings 1x
- Category: Appetizer
- Cuisine: American
Ingredients
- 16 ounces cream cheese, softened to room temperature
- 2 cups sharp cheddar cheese, freshly shredded
- 1/2 cup dried cranberries, finely chopped
- 1/4 cup fresh jalapeño, seeded and finely diced (about 1 medium jalapeño)
- 1 tablespoon Worcestershire sauce
- 1/2 teaspoon garlic powder
- 1/4 teaspoon onion powder
- 1/4 teaspoon black pepper, freshly ground
- Pinch of salt (start with 1/4 teaspoon and adjust to taste)
- 1 cup pecans or walnuts, finely chopped
- 2 tablespoons fresh parsley, finely chopped (optional)
- 1 tablespoon dried cranberries, finely chopped (for coating)
- Assorted crackers, for serving
- Fresh apple slices or celery sticks, for serving (optional)
- Pretzel crisps, for serving (optional)
Instructions
- Soften the cream cheese: Take your cream cheese out of the fridge at least 2 hours before you start. It needs to be at room temperature—soft enough that you can easily press your finger into it.
- Prep your mix-ins: While the cream cheese softens, finely dice your jalapeño. Remove the seeds and white membranes unless you want serious heat. You want about 1/4 cup of finely diced jalapeño—pieces no bigger than a pea. Then chop your dried cranberries into similar-sized pieces.
- Shred the cheddar: Grate your sharp cheddar cheese on the small holes of a box grater. You want fine shreds, not thick strips.
- Mix the base: In your large mixing bowl, beat the softened cream cheese with your hand mixer on medium speed until it’s smooth and fluffy—about 2 minutes. Scrape down the sides of the bowl with your spatula. Add the shredded cheddar, Worcestershire sauce, garlic powder, onion powder, black pepper, and salt. Mix on low speed until everything is just combined—don’t overmix.
- Fold in the add-ins: Switch to your rubber spatula. Gently fold in the chopped cranberries and diced jalapeño until they’re evenly distributed throughout the cheese mixture. Taste the mixture and adjust the salt or pepper if needed.
- Chill the mixture: Scrape the cheese mixture onto a large piece of plastic wrap. Form it into a rough ball shape, then wrap it tightly. Refrigerate for at least 2 hours, or up to 3 days.
- Shape the cheese ball: Once chilled, unwrap the cheese mixture and place it on a clean surface. Using your hands (lightly dampened with water to prevent sticking), shape it into a smooth, round ball.
- Prepare the coating: On a cutting board, finely chop your nuts (pecans or walnuts), parsley, and the extra tablespoon of dried cranberries. Mix them together on a flat plate or in a shallow dish.
- Coat the cheese ball: Roll the shaped cheese ball in the nut mixture, pressing gently so the coating adheres to all sides. Use your hands to pat the coating into any bare spots.
- Final chill: Wrap the coated cheese ball loosely in plastic wrap and refrigerate for at least 30 minutes before serving.
- Serve: Unwrap the cheese ball and place it on your serving platter about 20 minutes before guests arrive. Let it sit at room temperature so it softens slightly. Surround it with crackers, apple slices, and pretzel crisps.
Notes
Make the cheese ball base up to 3 days ahead. Add the coating the day you’re serving it. The cheese ball actually tastes better on day two or three as the flavors meld. For a nut-free coating, try crushed pretzels, sesame seeds, or more dried cranberries and fresh herbs.
Nutrition
- Serving Size: 2 tablespoons
- Calories: 120
- Sugar: 3
- Sodium: 180
- Fat: 10
- Saturated Fat: 5
- Carbohydrates: 5
- Fiber: 1
- Protein: 4
Keywords: cheese ball, cranberry jalapeño, party appetizer, holiday appetizer, easy appetizer, make ahead


