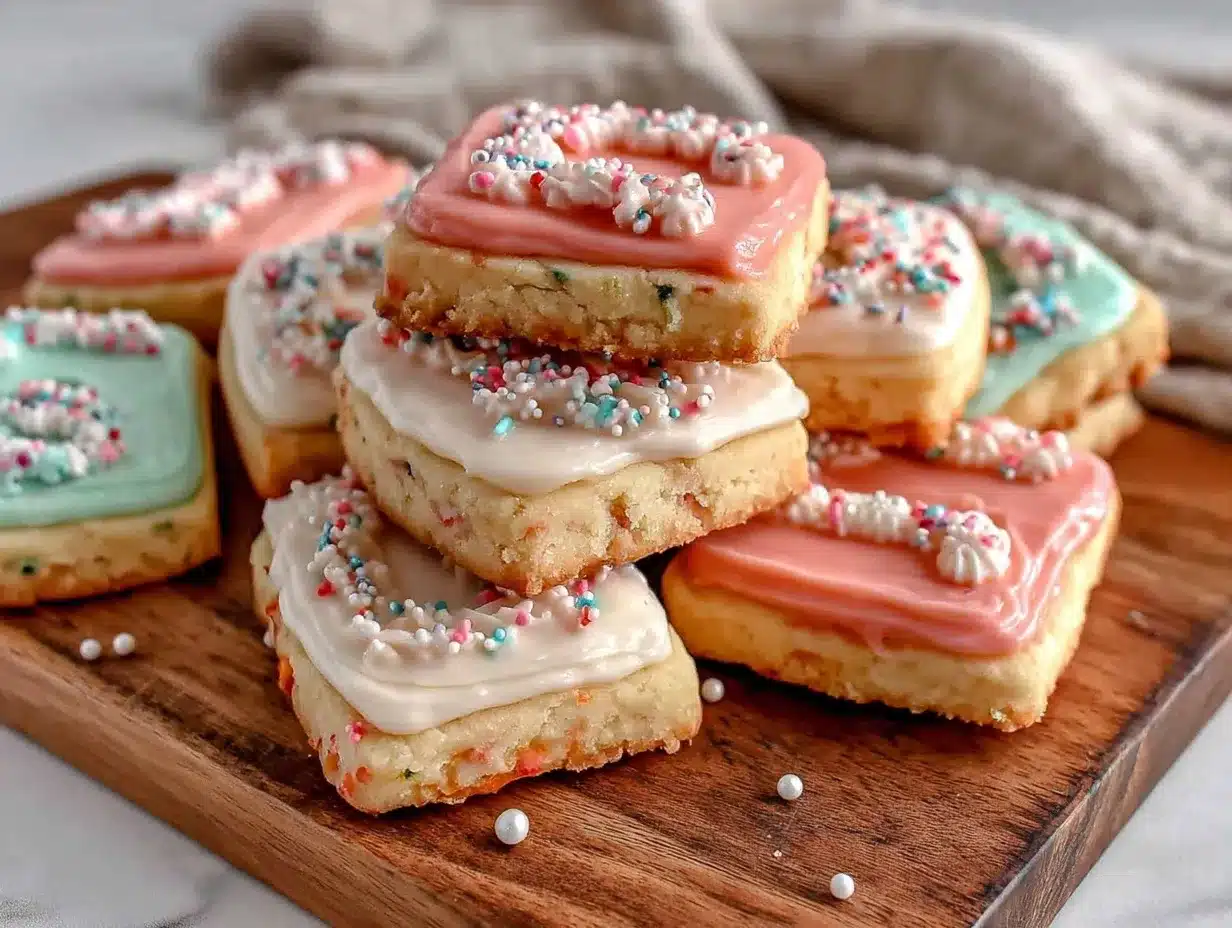
Soft, pillowy edges dusted lightly with sugar granules — and that’s the whole point. The way these Perfect Soft ABC Alphabet Sugar Cookies feel under your fingertips before you even take a bite is what made me start baking them in the first place. They’re not those flat, crunchy sugar cookies that snap loudly when you break them; no, these are tender, almost cloud-like, with just enough structure to hold their shape and the delicate royal icing decorations that turn them into edible art. I remember the first time I rolled out this dough, watching the alphabet cutters press smoothly through, leaving crisp imprints ready for a splash of color. The texture was so inviting that I found myself touching the dough more than necessary — a tactile obsession, honestly.
When I first made these alphabet cookies, it was less about the taste and more about the feel — the way the dough yielded softly but didn’t stick, the gentle bounce when you pressed a finger into the baked cookie’s surface, the smooth canvas that the royal icing created after drying. That tactile satisfaction hooked me. It felt like crafting little edible letters that could spell out anything — names, messages, secret codes. Baking became a sensory experience, not just a recipe to follow.
Over time, the recipe stuck with me because it offered this quiet joy: a way to make special moments tangible, and frankly, a little bit playful. Whether it’s for a kid’s birthday party, a school event, or just a calm afternoon with the family, these cookies bring a softness that comforts and a neatness that impresses. I trust this recipe because it balances texture and ease perfectly — no dry crumbs, no overly sweet icing, just a soft bite and a smooth finish that feels as good as it tastes.
Why You’ll Love This Recipe
- Quick & Easy: Comes together in under 45 minutes, perfect for busy afternoons or last-minute cookie cravings.
- Simple Ingredients: No obscure items needed; pantry staples like butter, sugar, and eggs make this recipe accessible.
- Perfect for Educational Fun: Great for birthdays, classroom treats, or teaching little ones the alphabet in a delicious way.
- Crowd-Pleaser: Kids and adults alike rave about the soft texture and charming icing designs.
- Unbelievably Delicious: The soft cookie base with the smooth royal icing strikes a balance of comfort and sweetness that feels just right.
- Special Touch: The secret to softness lies in a mix of cornstarch and baking powder that keeps these cookies tender while holding their shape beautifully.
- Royal Icing Made Easy: The icing recipe is straightforward but yields a shiny, smooth finish that hardens perfectly for stacking or gifting.
- Memorable Experience: This isn’t just baking; it’s a small celebration in every bite — spelling out love, laughter, and learning.
I often pair these with a warm cup of tea or a cold glass of milk, creating those moments when you close your eyes after the first bite and just savor the comfort. And honestly, the way these cookies look on a platter — all lined up with colorful letters — makes any gathering feel a little more special. It’s like edible joy, one letter at a time.
What Ingredients You Will Need
This recipe uses simple, wholesome ingredients to deliver bold flavor and satisfying texture without the fuss. Most are kitchen staples, so you probably have everything on hand already. The balance of butter, sugar, and a touch of cornstarch is what keeps these sugar cookies soft yet sturdy enough for detailed royal icing decoration.
- Unsalted butter, softened (for richness and tenderness)
- Granulated sugar (adds sweetness and slight crispness on edges)
- Large eggs, room temperature (binding agent and moisture)
- Pure vanilla extract (flavor enhancer)
- All-purpose flour (foundation of the dough)
- Cornstarch (helps keep the cookies soft and tender)
- Baking powder (for slight lift without toughness)
- Salt (balances sweetness and boosts flavor)
For the royal icing:
- Powdered sugar, sifted (for smooth, lump-free icing)
- Meringue powder or egg whites (for that stable, glossy finish)
- Warm water (to adjust icing consistency)
- Gel food coloring (optional, for vibrant colors without thinning the icing)
When selecting butter, I usually go for a high-quality brand like Kerrygold, which brings a subtle creaminess that you can notice in the cookie’s mouthfeel. For the meringue powder, Wilton is a trusted brand that gives consistent results in royal icing. If you want to switch things up, you can substitute cornstarch with arrowroot powder, but I’ve found cornstarch gives the softest outcome. In the summertime, adding a pinch of lemon zest to the dough gives a fresh brightness, which is nice when pairing with iced treats like no-bake strawberry cheesecake cups.
Equipment Needed
- Mixing bowls (preferably medium and large sizes)
- Electric mixer or stand mixer (for creaming butter and sugar smoothly)
- Rolling pin (to roll dough evenly to about 1/4 inch thickness)
- Alphabet cookie cutters (various sizes to fit your design needs)
- Baking sheets lined with parchment paper or silicone baking mats
- Cooling racks (to let cookies cool completely before icing)
- Small piping bags or squeeze bottles (for applying royal icing precisely)
- Toothpicks or fine brushes (for detail work or fixing small icing mistakes)
If you don’t have a stand mixer, a sturdy hand mixer works just fine — I’ve used both, and honestly, the stand mixer just makes the creaming a bit easier and more consistent. For rolling out dough, a silicone rolling pin can help prevent sticking, but a classic wooden one dusted lightly with flour works just as well. When it comes to piping bags, disposable ones are budget-friendly and easy to clean up, but I personally like reusable silicone bags for less waste. If you don’t have alphabet cookie cutters, you can carefully freehand shapes with a small knife or use number cutters for a similar educational effect.
Preparation Method
- Cream the Butter and Sugar: In a large bowl, beat 1 cup (227 g) of softened unsalted butter with 1 cup (200 g) granulated sugar until pale and fluffy, about 3 to 4 minutes. This step is crucial for that soft texture because it traps air in the dough.
- Add Eggs and Vanilla: Beat in 1 large egg and 1 teaspoon pure vanilla extract until combined. The dough will start to come together and smell wonderfully fragrant.
- Mix Dry Ingredients: In a separate bowl, whisk together 2 ¾ cups (345 g) all-purpose flour, 2 tablespoons (16 g) cornstarch, 1 teaspoon baking powder, and ½ teaspoon salt. Cornstarch is the secret here — it helps keep these cookies tender without making them crumbly.
- Combine Wet and Dry: Gradually add the dry ingredients to the wet mixture, mixing on low speed just until the dough forms. Avoid overmixing — when the flour disappears, stop.
- Chill the Dough: Wrap the dough in plastic wrap and refrigerate for at least 1 hour. This resting period firms the dough, making it easier to roll and cut sharp, clean shapes.
- Roll and Cut: On a lightly floured surface, roll the dough to about ¼ inch (6 mm) thickness. Use your alphabet cookie cutters to stamp out letters, gently pressing straight down for crisp edges. Transfer the cookies to a lined baking sheet using a thin spatula to keep shapes intact.
- Bake: Bake in a preheated oven at 350°F (175°C) for 8-10 minutes. The cookies should be set but still pale — no browning on edges. This keeps them soft and chewy.
- Cool Completely: Transfer cookies to wire racks and let cool fully before decorating. This prevents the royal icing from melting or sliding off.
- Prepare Royal Icing: In a clean bowl, combine 3 cups (360 g) powdered sugar with 2 tablespoons meringue powder. Add 5 tablespoons warm water slowly, mixing until glossy and thick but pipeable. Adjust water for flood or detail consistency. Tint with gel colors if desired.
- Decorate: Use piping bags or squeeze bottles to outline and flood the cookies. Let the first layer dry about 15 minutes, then add details or another color layer. Allow icing to harden for several hours or overnight before stacking or storing.
Pro tip: If the dough feels too sticky, chill it a bit longer. When piping, keep the icing covered with a damp cloth to prevent drying out. I learned the hard way that rushing the icing process causes cracks or smudges — patience really pays off here.
Cooking Tips & Techniques
The key to perfect soft sugar cookies is balancing moisture and structure. Too much flour and you get a tough cookie; too little and they spread into sad puddles. The cornstarch addition is my go-to hack for softness without compromising shape. When creaming the butter and sugar, don’t skimp on the mixing time — that fluffy base sets the tone.
For royal icing, consistency is everything. I usually start with a thicker batch for outlines (think toothpaste thickness) and thin it out with a few drops of water for flooding (like honey). This two-step piping method gives cookies that smooth, glossy finish with defined edges. If you make a mistake, don’t panic — a toothpick dipped in water can gently smooth out small errors.
Common mistakes include overbaking, which dries out the cookies and ruins the softness, and rushing the icing before cookies are fully cooled — this can cause the icing to pool or crack. Multitasking helps — while cookies bake, prepare your icing and piping bags so you’re ready once they cool.
Also, I recommend chilling the decorated cookies on a flat surface to prevent icing from sliding. If you want to speed up drying, a fan set on low helps, but avoid direct heat. I learned these the hard way after a few batches of cracked icing!
Variations & Adaptations
- Gluten-Free Option: Swap all-purpose flour with a 1:1 gluten-free baking blend. Add an extra 1 teaspoon xanthan gum for structure.
- Flavor Twists: Add ½ teaspoon almond extract or lemon zest to the dough for a subtle flavor boost. For a cozy fall twist, mix in 1 teaspoon pumpkin pie spice.
- Vegan Adaptation: Use vegan butter and replace the egg with a flaxseed “egg” (1 tablespoon ground flaxseed mixed with 3 tablespoons water, chilled). For royal icing, use aquafaba instead of egg whites or meringue powder.
- Colorful Icing Themes: Customize icing colors seasonally — pastels for spring, jewel tones for holidays, or primary colors for kids’ parties.
- Personal Favorite Variation: Once, I made a batch using coconut sugar and added shredded coconut to the dough. The texture was slightly denser but deliciously soft with a tropical hint — perfect for summer gatherings like with sweet peach preserves on the side.
Serving & Storage Suggestions
These soft ABC sugar cookies are best served at room temperature, allowing the icing to retain its smooth shine and the cookie to stay tender. They make a lovely centerpiece on platters for birthday parties, baby showers, or classroom events. Pair them with a simple beverage like milk, tea, or a fresh fruit smoothie.
For storing, place cookies in an airtight container separated by parchment paper layers to prevent sticking or smudging. They keep well at room temperature for up to 3 days. For longer storage, freeze them uniced or fully decorated for up to a month; just thaw at room temperature before serving.
Reheating isn’t necessary — these cookies are soft and fresh right out of the box. Over time, the flavors meld and the icing hardens fully, making them perfect for gifting. I find the icing flavor deepens slightly if you wait a day, so if you have patience, letting them rest overnight before serving is worth it.
Nutritional Information & Benefits
Per cookie (based on 24 cookies per batch): approximately 120 calories, 6 g fat, 16 g carbohydrates, 1 g protein. These cookies are a treat rather than a health food, but the simple ingredients mean there are no artificial additives or preservatives.
The use of real butter offers some vitamins like A and E, and the egg adds protein and essential nutrients. Choosing natural food coloring or making your own fruit-based dyes can reduce synthetic additives in icing. If you’re mindful of sugar intake, reducing the sugar in the dough by ¼ cup can slightly lower calories without compromising texture too much.
This recipe fits well into a balanced diet when enjoyed in moderation and is a fun way to engage kids in learning letters through food.
Conclusion
Perfect Soft ABC Alphabet Sugar Cookies with Royal Icing are more than just a sweet treat — they’re a tactile joy and a playful way to celebrate words and learning. The balance of tender dough and smooth, glossy icing makes them a standout on any dessert table, while the simple ingredients and straightforward method keep them approachable for all skill levels.
Feel free to customize colors, flavors, and textures to fit your occasion or personal taste. I love how these cookies bring a little extra magic to everyday moments, whether spelling out a loved one’s name or creating fun messages with friends. If you try this recipe, I’d love to hear how your alphabet cookies turned out — and what words you spelled!
Happy baking, and may your kitchen be filled with soft dough, bright colors, and plenty of smiles.
FAQs About Perfect Soft ABC Alphabet Sugar Cookies
How do I keep the sugar cookies soft instead of crunchy?
Adding cornstarch to the dough and avoiding overbaking keeps these cookies soft. Bake just until the edges are set but not browned.
Can I make the royal icing ahead of time?
Yes! Royal icing can be stored in an airtight container in the fridge for up to 3 days. Stir well before using.
What if I don’t have alphabet cookie cutters?
You can carefully cut shapes with a small knife or use number cutters for a similar fun effect. Alternatively, freehand simple shapes or decorate plain round cookies with letter piping.
How do I fix cracked royal icing?
Cracks usually happen if the icing is too thick or dries too quickly. Try adding a few drops of water to thin it slightly and apply in thinner layers.
Can these cookies be frozen?
Yes, freeze uniced cookies in an airtight bag for up to a month. Decorated cookies freeze best when fully dried and stored in layers with parchment paper.
Pin This Recipe!
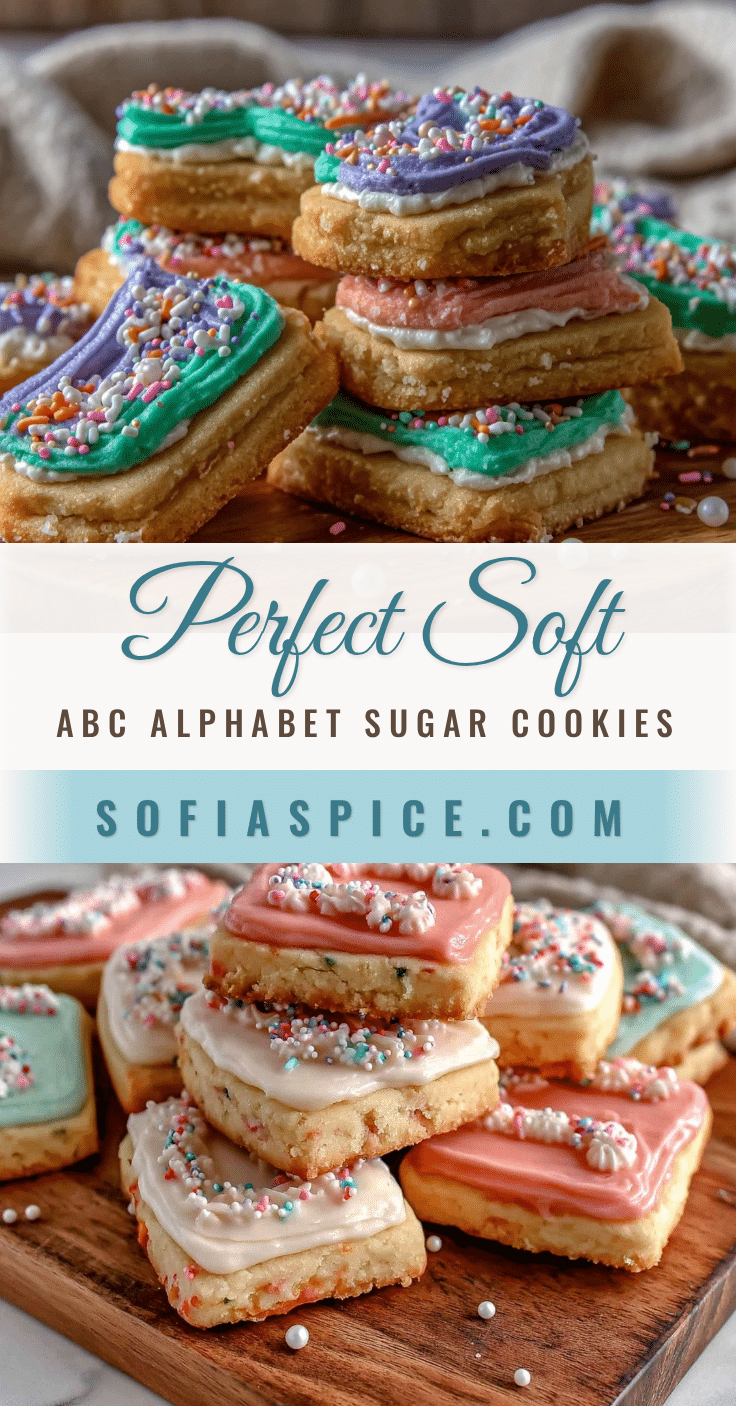
Perfect Soft ABC Alphabet Sugar Cookies Recipe with Easy Royal Icing Tutorial

Soft, pillowy sugar cookies with a tender texture perfect for detailed royal icing decorations. These alphabet cookies are ideal for educational fun, celebrations, and gifting.
- Prep Time: 15 minutes
- Cook Time: 10 minutes
- Total Time: 1 hour 25 minutes
- Yield: 24 cookies 1x
- Category: Dessert
- Cuisine: American
Ingredients
- 1 cup (227 g) unsalted butter, softened
- 1 cup (200 g) granulated sugar
- 1 large egg, room temperature
- 1 teaspoon pure vanilla extract
- 2 ¾ cups (345 g) all-purpose flour
- 2 tablespoons (16 g) cornstarch
- 1 teaspoon baking powder
- ½ teaspoon salt
- For royal icing:
- 3 cups (360 g) powdered sugar, sifted
- 2 tablespoons meringue powder or egg whites
- 5 tablespoons warm water
- Gel food coloring (optional)
Instructions
- Cream the butter and sugar in a large bowl until pale and fluffy, about 3 to 4 minutes.
- Beat in the egg and vanilla extract until combined.
- In a separate bowl, whisk together the flour, cornstarch, baking powder, and salt.
- Gradually add the dry ingredients to the wet mixture, mixing on low speed just until the dough forms. Avoid overmixing.
- Wrap the dough in plastic wrap and refrigerate for at least 1 hour.
- Roll the dough on a lightly floured surface to about ¼ inch (6 mm) thickness.
- Use alphabet cookie cutters to cut out letters and transfer to lined baking sheets.
- Bake at 350°F (175°C) for 8-10 minutes until set but not browned.
- Cool cookies completely on wire racks before decorating.
- Prepare royal icing by combining powdered sugar and meringue powder, then slowly add warm water until glossy and pipeable. Tint with gel colors if desired.
- Decorate cookies using piping bags or squeeze bottles. Let the first layer dry about 15 minutes before adding details.
- Allow icing to harden for several hours or overnight before stacking or storing.
Notes
Chill dough for at least 1 hour to make rolling and cutting easier. Avoid overbaking to keep cookies soft. Keep royal icing covered with a damp cloth to prevent drying. Use a two-step piping method for smooth, glossy icing. Store cookies in airtight containers separated by parchment paper. Freeze uniced or fully decorated cookies for up to a month.
Nutrition
- Serving Size: 1 cookie
- Calories: 120
- Fat: 6
- Carbohydrates: 16
- Protein: 1
Keywords: soft sugar cookies, alphabet cookies, royal icing, educational cookies, kid-friendly dessert, easy sugar cookies, baking with kids


