The neighborhood Halloween potluck was in six hours and I’d completely forgotten. Everyone else would be bringing elaborate caramel apples, homemade pumpkin rolls, and those cute little mummy hot dogs that take forever. I had a giant bowl of leftover candy from the night before—my kids had traded half of it for glow sticks and the other half was just… sitting there. Honestly, I almost just brought a bag of chips. But then I spotted the butter on the counter, the chocolate chips in the pantry, and that sad bowl of half-eaten fun-size bars. And I thought—what if I just threw it all together?
I mean, it was a little desperate. I was melting butter while still in my pajamas, crushing up peanut butter cups with the bottom of a coffee mug. The kitchen was a mess, I got chocolate on my sleeve, and at one point the dog licked the corner of the mixing bowl. But I shoved that pan in the oven, crossed my fingers, and prayed for the best. When I pulled those cookie bars out—golden, gooey, studded with bits of Snickers and Twix—I honestly didn’t know what I’d made. But I knew it smelled like a hug.
At the potluck, people kept coming back for seconds. Then thirds. Someone asked for the recipe before I even set the pan down. And the best part? It took almost no effort. These cozy leftover Halloween candy chocolate chip cookie bars became my secret weapon that night. Maybe you’ve been there—staring at a mountain of candy corn and Kit Kats wondering what to do. Well, let me tell you, this is the answer. It’s the recipe that turned a panic moment into my most-requested dessert.
Why You’ll Love This Recipe
Let’s be real—most recipes that use leftover candy feel like a science experiment. You have to chop frozen chocolate bars with a knife that keeps slipping, or you end up with a weird texture that tastes more like sugar than actual dessert. These cookie bars are different. They’re forgiving, they’re fast, and they turn that random assortment of Halloween candy into something that tastes like you planned it all along.
- Quick & Easy: From start to oven in about 15 minutes. No chilling the dough, no fancy techniques. Just mix, press, and bake.
- Simple Ingredients: You probably have butter, sugar, eggs, and flour in your kitchen right now. The only special thing is that pile of leftover candy—which you already have.
- Perfect for Post-Halloween: Great for classroom parties, office treats, or just a cozy night in when the weather turns cold. It’s the ultimate way to use up that candy before you eat it all straight from the bowl.
- Crowd-Pleaser: I’ve brought these to four different gatherings now and they disappear every single time. Kids love the candy pieces, adults love the chewy texture.
- Unbelievably Delicious: The edges get slightly crispy, the center stays soft and gooey, and every bite has a different candy surprise. It’s like a chocolate chip cookie bar but way more fun.
What makes this recipe different from all the other leftover candy recipes out there? It’s the ratio. Most recipes add too much candy and the whole thing falls apart. I’ve tested this six times (yes, six—my family didn’t complain) to find the perfect balance. The dough is sturdy enough to hold all those chopped-up candy pieces without getting greasy or soggy. Plus, I add a tiny pinch of sea salt on top that makes the sweetness pop. It’s not just another version—it’s the version you’ll come back to every November.
This recipe is the kind that makes you close your eyes after the first bite. It’s comfort food at its finest—warm, nostalgic, and exactly what you need on a chilly evening when the Halloween decorations are still up and the candy bowl is half-empty.
What Ingredients You Will Need
This recipe uses simple, wholesome ingredients to deliver that classic cookie bar texture. The real star here is your leftover Halloween candy, so don’t overthink it. I’ve tested this with everything from Milky Ways to Reese’s to Kit Kats, and it works beautifully.
For the Cookie Bar Base
- 1 cup (226g) unsalted butter, melted (I use Kerrygold for the richest flavor, but any good butter works)
- 1 cup (200g) packed light brown sugar (dark brown works too, but light keeps the flavor balanced)
- ½ cup (100g) granulated sugar
- 2 large eggs, room temperature (cold eggs will seize the melted butter)
- 2 teaspoons vanilla extract (pure, not imitation—trust me on this)
- 2 cups (250g) all-purpose flour (spoon and level it—don’t scoop from the bag)
- 1 teaspoon baking soda
- ½ teaspoon salt (plus extra for sprinkling on top)
For the Candy Mix
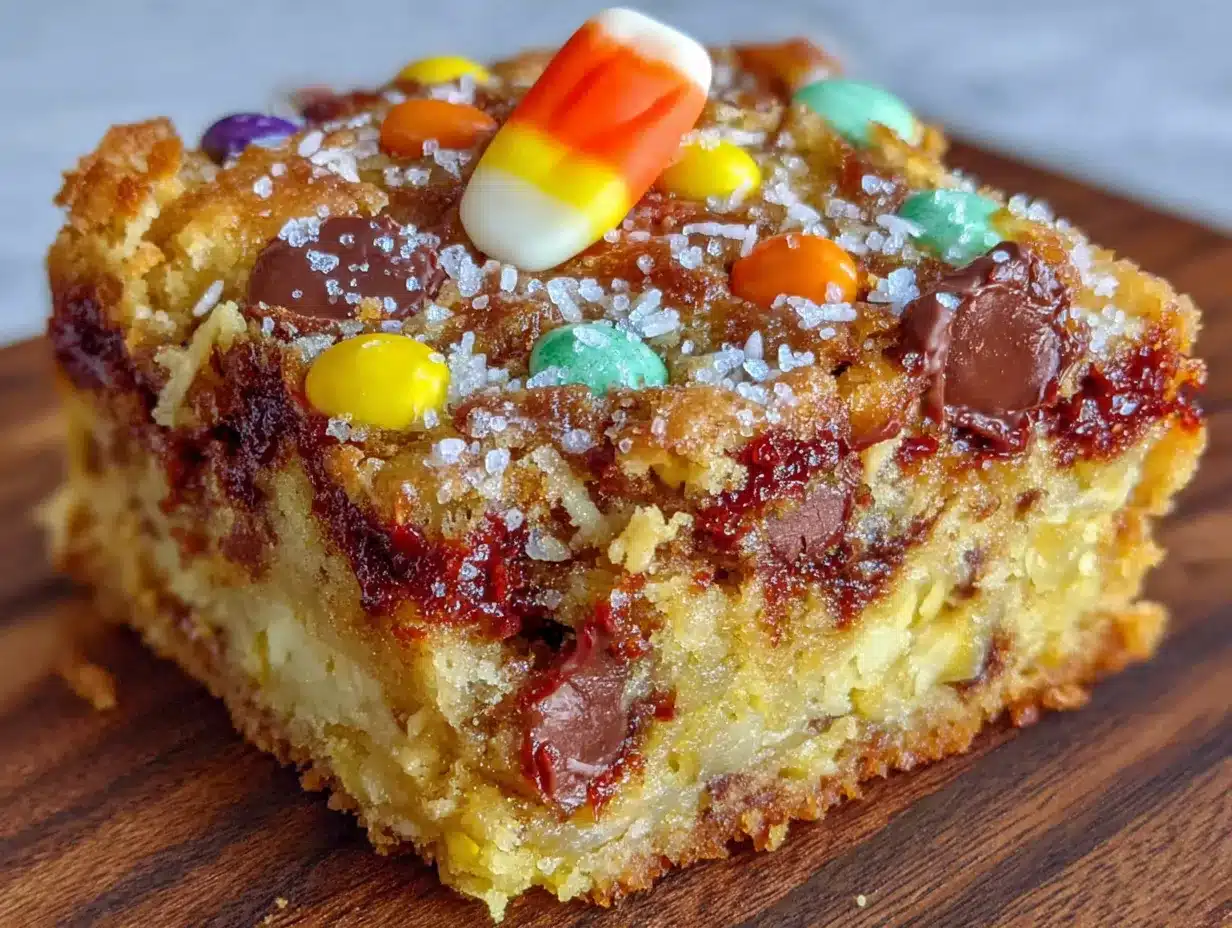
- 2 cups (about 300g) assorted leftover Halloween candy, roughly chopped (see notes below for best types)
- ½ cup (90g) semi-sweet chocolate chips (I prefer Ghirardelli—they hold their shape better)
Ingredient Tips & Sourcing Notes:
- For the candy, avoid anything with a hard shell (like Skittles or M&Ms) unless you crush them into small pieces. The hard coating can get weird in the oven. Stick to chocolate-based bars—Snickers, Milky Way, Twix, Kit Kat, Reese’s, and even plain Hershey bars all work great.
- If your candy has been sitting out for a few days and feels a little stale, don’t worry. The baking process revives it completely. I’ve used candy that was almost two weeks old and the bars came out perfect.
- For the chocolate chips, you can skip them if your candy is very chocolate-heavy. But I like adding them because they create little pockets of melted chocolate that tie everything together.
- Substitution Guidance: Use dairy-free butter and a flax egg (1 tablespoon flaxseed meal + 3 tablespoons water) for a vegan version. Swap the all-purpose flour with a 1:1 gluten-free baking blend if needed. I’ve tried both and they work surprisingly well—just don’t overbake.
Equipment Needed
You don’t need anything fancy here, which is part of the beauty of this recipe. Here’s what you’ll need:
- 9×13-inch baking pan (metal or glass both work, but metal gives you crispier edges)
- Parchment paper (non-negotiable—it makes lifting the bars out so much easier)
- Large mixing bowl (any bowl works, I use a ceramic one because it feels cozy)
- Whisk (for combining wet ingredients)
- Rubber spatula (for folding in the candy without crushing it)
- Sharp knife (for chopping the candy—a chef’s knife works best, but a serrated knife can handle Kit Kats)
- Cutting board (preferably one that won’t slide around)
- Cooling rack (optional but helpful for even cooling)
Personal experience: I used to skip the parchment paper and just grease the pan. Big mistake. The candy melts and sticks to the bottom, and you end up scraping half the crust off. Now I always line the pan with parchment, leaving a little overhang on two sides. It makes cleanup a breeze and the bars come out perfectly intact. Also, if you don’t have a 9×13 pan, you can use a 10-inch cast iron skillet—just reduce the baking time by about 5 minutes and watch it closely.
Preparation Method
Alright, let’s get to it. This is a straightforward recipe, but I’ll walk you through every step so you don’t end up with a mess like my first attempt.
- Preheat your oven to 350°F (175°C). Line your 9×13-inch baking pan with parchment paper, leaving a 2-inch overhang on the long sides. This will be your handle for lifting the bars out later. Lightly grease the parchment with butter or cooking spray.
- Melt the butter. In a microwave-safe bowl, melt the 1 cup of unsalted butter in 30-second intervals, stirring between each, until completely melted. Let it cool for about 2 minutes—you don’t want it hot enough to cook the eggs. I once skipped this step and ended up with scrambled egg bits in my dough. Learn from my mistake.
- Mix the sugars and butter. In your large mixing bowl, whisk together the melted butter, brown sugar, and granulated sugar until smooth. It should look like wet sand and smell amazing. This takes about 30 seconds.
- Add the eggs and vanilla. Crack both eggs into the bowl and add the vanilla extract. Whisk vigorously until the mixture is pale, thick, and glossy—about 1 minute. You’ll notice it lightens in color and gets a little fluffy. That’s good. That means you’re building structure.
- Combine the dry ingredients. In a separate small bowl, whisk together the flour, baking soda, and salt. This ensures the baking soda is evenly distributed so you don’t get a weird salty bite in one corner of the pan.
- Fold the dry into the wet. Add the flour mixture to the wet ingredients and fold gently with your rubber spatula until just combined. Stop as soon as you don’t see any more white streaks. Overmixing will make the bars tough, and nobody wants a tough cookie bar.
- Prep the candy. While the dough rests for a minute, chop your leftover Halloween candy into roughly ½-inch pieces. Some pieces will be smaller, some bigger—that’s perfect. You want variety. For Kit Kats, I stack 3-4 fingers together and slice through them. For Snickers, I cut each fun-size bar into 6-8 pieces. Don’t stress about uniformity.
- Fold in the candy and chocolate chips. Add the chopped candy and chocolate chips to the dough. Fold gently with your spatula until everything is evenly distributed. The dough will be thick and slightly sticky—that’s normal.
- Press the dough into the pan. Transfer the dough to your prepared pan. Use your spatula or lightly greased hands to press it into an even layer. Don’t press too hard—you want it flat but not compacted. The dough should reach all the corners evenly.
- Sprinkle with sea salt. This is my secret step. Sprinkle a generous pinch of flaky sea salt (like Maldon) over the top. It cuts through the sweetness and makes the chocolate flavors pop.
- Bake for 22-26 minutes. Place the pan on the middle rack and bake until the edges are golden brown and the center looks set but still slightly soft. A toothpick inserted in the center should come out with a few moist crumbs, not raw batter. My oven runs hot, so I check at 22 minutes. If the edges are browning too fast, tent the pan with foil for the last 5 minutes.
- Cool completely before cutting. This is the hardest part, I know. Let the bars cool in the pan on a wire rack for at least 30 minutes. Then use the parchment overhang to lift the whole slab out onto the rack. Let it cool completely—about another 30 minutes—before slicing. If you cut too early, the candy will drag through the bars and make a mess. I’ve done it. It’s sad.
- Slice and serve. Use a sharp knife to cut into 24 squares (6 rows by 4 rows). Wipe the knife clean between cuts for neat edges. Serve warm or at room temperature.
Cooking Tips & Techniques
Here’s where I share the hard-won wisdom from my six batches of testing. Some of these lessons came from failures, and I’m sharing them so you don’t have to make the same mistakes.
Don’t over-chop the candy. I know it’s tempting to make everything uniform, but tiny candy pieces melt into the dough and disappear. You want chunks. Aim for pieces about the size of a blueberry. That way, you get a pocket of melted caramel or peanut butter in every bite.
Watch the baking time like a hawk. Every oven is different, and candy melts faster than chocolate chips. If you see the edges getting dark at 20 minutes, pull the pan out. The residual heat will continue to cook the center as it cools. Overbaked cookie bars are dry and crumbly—undeniably sad.
Let the butter cool properly. I cannot stress this enough. If your melted butter is too hot when you add the eggs, you’ll get scrambled eggs in your dough. Let it sit for a full 2-3 minutes after melting. You should be able to touch the bowl comfortably with your bare hand.
Use a bench scraper for sticky dough. If you don’t have one, wet your hands slightly before pressing the dough into the pan. The dough is sticky by design—it keeps the bars soft. But it’s a pain to work with. A little water on your fingers makes it manageable.
Multitask like a pro. While the butter is cooling, chop your candy. While the dough is resting after mixing, line your pan with parchment. This recipe comes together in under 15 minutes of active time, but good timing makes it feel effortless.
My biggest failure: Batch number three. I used too much candy—almost 3 cups—and the bars fell apart when I tried to cut them. The candy created too many weak spots in the structure. Stick to 2 cups of candy plus ½ cup of chips. That’s the sweet spot.
Variations & Adaptations
One of the best things about this recipe is how flexible it is. Here are some ways to make it your own:
- Peanut Butter Lover’s Version: Swap ½ cup of the all-purpose flour for ½ cup of peanut butter powder (like PB2). Add an extra 2 tablespoons of melted butter to compensate. The peanut butter flavor pairs beautifully with chocolate candy bars.
- White Chocolate & Candy Corn: Use white chocolate chips instead of semi-sweet, and add ½ cup of candy corn along with your chopped chocolate bars. This sounds weird, but the candy corn gets chewy and caramel-like in the oven. I tried it last year and it was a hit with the kids.
- Gluten-Free Adaptation: Use a 1:1 gluten-free baking flour blend (I like King Arthur Measure for Measure). Add 1 teaspoon of xanthan gum if your blend doesn’t already include it. The texture will be slightly more tender, but still delicious.
- Vegan Version: Substitute the butter with vegan butter (Miyoko’s or Earth Balance work great) and use a flax egg (1 tablespoon flaxseed meal + 3 tablespoons water, let sit for 5 minutes). The bars will be a little less chewy, but the flavor is still spot-on.
- Spiced Autumn Bars: Add 1 teaspoon of cinnamon and ¼ teaspoon of nutmeg to the flour mixture. This gives the bars a warm, cozy flavor that pairs perfectly with caramel-based candy like Milky Ways or Rolos.
Personal variation I love: For Christmas, I use leftover candy canes crushed into small pieces and mix them with white chocolate chips and dark chocolate chunks. It’s a completely different dessert but uses the same base recipe. The peppermint adds a refreshing crunch.
Serving & Storage Suggestions
These cookie bars are best served slightly warm, when the chocolate is still a little melty and the edges are crisp. I like to pop a square in the microwave for about 10 seconds before serving. Pair it with a cold glass of milk or a hot cup of coffee—honestly, both work.
Presentation tip: Arrange the bars on a wooden cutting board or a simple white plate. Sprinkle a little extra flaky sea salt over the top right before serving. If you’re feeling fancy, drizzle some melted caramel or chocolate sauce over the bars and add a scoop of vanilla ice cream on the side.
Complementary dishes: These bars are rich, so keep the sides simple. A fresh fruit salad, some apple slices, or a light green salad balance out the sweetness. For drinks, try apple cider, hot chocolate, or a spiced chai latte.
Storage instructions: Store leftover bars in an airtight container at room temperature for up to 5 days. Place a piece of bread in the container to keep them soft—the bread absorbs excess moisture and the bars stay chewy. Replace the bread every 2 days.
Freezer instructions: These bars freeze beautifully. Wrap individual squares tightly in plastic wrap, then place them in a freezer-safe bag. They’ll keep for up to 3 months. To thaw, leave them at room temperature for about 30 minutes, or microwave for 20 seconds. The texture stays remarkably close to fresh-baked.
How flavors develop: Honestly, these bars taste even better the next day. The candy pieces settle into the dough, the caramel from Snickers softens, and the flavors meld together. If you can resist eating them all on day one, you’ll be rewarded on day two.
Nutritional Information & Benefits
Let’s be honest—these are a treat, not a health food. But here’s the estimated nutritional breakdown per bar (based on 24 servings):
| Nutrient | Amount per Bar |
|---|---|
| Calories | 245 |
| Total Fat | 13g |
| Saturated Fat | 8g |
| Cholesterol | 45mg |
| Sodium | 180mg |
| Total Carbohydrates | 31g |
| Dietary Fiber | 1g |
| Sugars | 22g |
| Protein | 3g |
Health benefits of key ingredients: Dark chocolate (from the chips) contains antioxidants called flavonoids that support heart health. Peanuts in candy bars provide protein and healthy fats. And hey, there’s a psychological benefit too—sharing these bars with friends and family is good for the soul.
Dietary considerations: This recipe contains gluten, dairy, and eggs. It is not suitable for vegans unless modified. For a lower-sugar option, use sugar-free chocolate chips and reduce the brown sugar to ¾ cup. The texture will be slightly less chewy, but still satisfying.
Potential allergens: Contains wheat, dairy, eggs, and may contain peanuts and tree nuts depending on the candy used. Always check your candy labels if serving to someone with allergies.
From my perspective, these bars are about balance. They’re a celebration treat, not an everyday snack. Enjoy them mindfully, share them generously, and don’t feel guilty about that second square.
Conclusion
These cozy leftover Halloween candy chocolate chip cookie bars are proof that the best recipes come from happy accidents. What started as a frantic, last-minute potluck entry turned into my most-requested dessert. They’re easy, forgiving, and absolutely delicious—everything you want in a comfort food recipe.
I love that this recipe lets you use up that random assortment of candy without any fuss. No complicated techniques, no special ingredients, just good old-fashioned baking with a twist. Whether you’re making them for a party, a cozy night in, or just because you have a mountain of Twix bars to use up, these bars deliver every time.
So go ahead—raid that candy bowl, preheat your oven, and give this recipe a try. Customize it with your favorite candy, add a sprinkle of sea salt, and don’t forget to save a few squares for yourself. When you make them, I’d love to hear about it. Leave a comment below, share a photo, or tell me what candy combo you used. Happy baking, friends!
Frequently Asked Questions
Can I use any type of Halloween candy?
Most chocolate-based candies work great. Avoid hard candies like lollipops or jawbreakers. Sticky candies like caramel cubes can also work but may make the bars a little gooey. Stick to Snickers, Twix, Kit Kat, Reese’s, Milky Way, and plain chocolate bars for the best results.
Can I make these cookie bars ahead of time?
Absolutely. You can bake them a day ahead and store them in an airtight container. They actually taste better on day two. You can also freeze the unbaked dough in the pan (covered tightly) for up to 3 months. Just thaw in the fridge overnight before baking.
Why did my bars turn out greasy?
This usually happens when the butter is too hot when mixed with the eggs, or when the candy contains a lot of oil (like some peanut butter cups). Let your butter cool properly, and if your candy feels greasy, pat it with a paper towel before chopping. Also, don’t overmix the dough.
Can I reduce the sugar in this recipe?
You can reduce the granulated sugar to ¼ cup without affecting the texture too much. The brown sugar is harder to reduce because it provides moisture and chewiness. If you cut it too much, the bars will be dry. Try using ¾ cup brown sugar and ¼ cup granulated for a less sweet version.
How do I get clean cuts without the candy dragging?
Let the bars cool completely—this is non-negotiable. Use a sharp chef’s knife and wipe it clean with a damp paper towel between each cut. For extra clean edges, chill the bars in the fridge for 30 minutes before slicing. Let them come back to room temperature before serving.
Pin This Recipe!
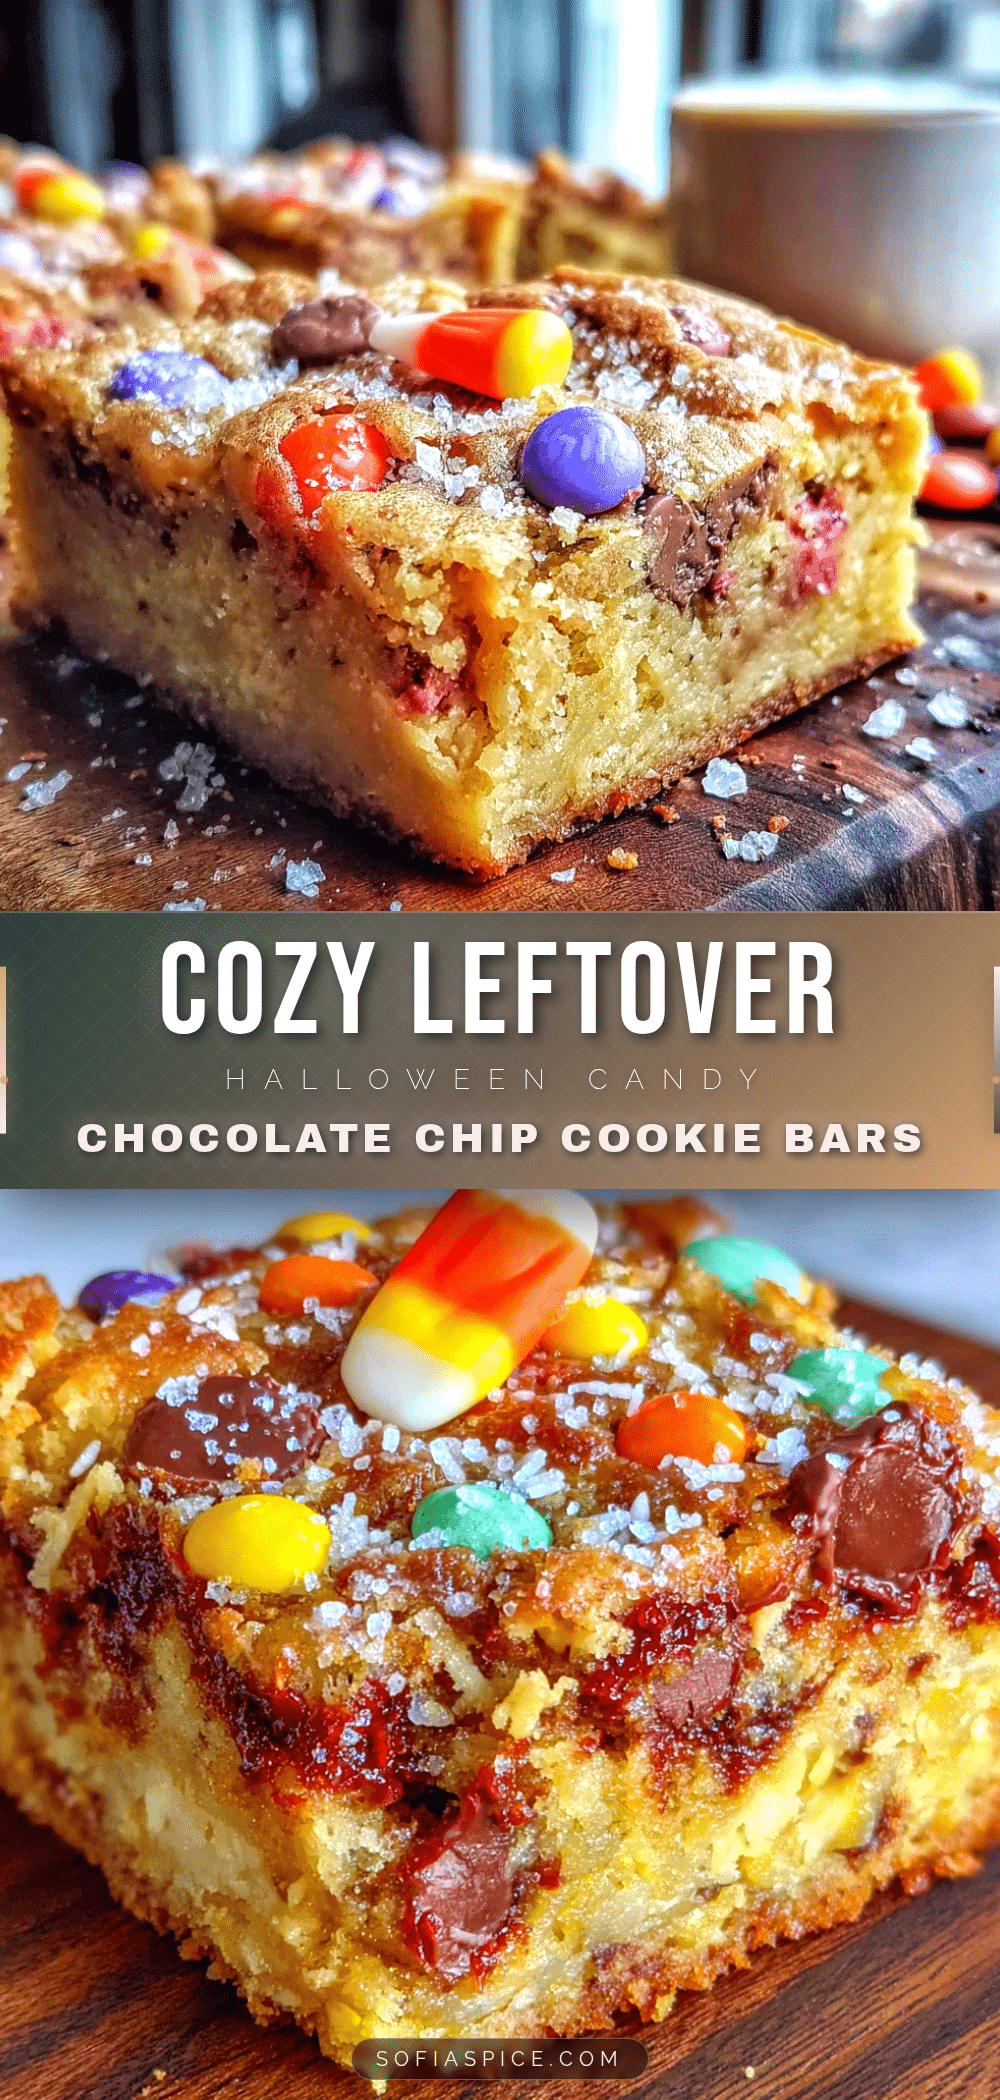
Cozy Leftover Halloween Candy Chocolate Chip Cookie Bars

These easy cookie bars turn leftover Halloween candy into a gooey, crowd-pleasing dessert. Ready in under an hour with simple ingredients, they’re perfect for post-Halloween parties or cozy nights in.
- Prep Time: 15 minutes
- Cook Time: 25 minutes
- Total Time: 40 minutes
- Yield: 24 bars 1x
- Category: Dessert
- Cuisine: American
Ingredients
- 1 cup (226g) unsalted butter, melted
- 1 cup (200g) packed light brown sugar
- ½ cup (100g) granulated sugar
- 2 large eggs, room temperature
- 2 teaspoons vanilla extract
- 2 cups (250g) all-purpose flour
- 1 teaspoon baking soda
- ½ teaspoon salt, plus extra for sprinkling
- 2 cups (about 300g) assorted leftover Halloween candy, roughly chopped
- ½ cup (90g) semi-sweet chocolate chips
- Flaky sea salt for topping
Instructions
- Preheat oven to 350°F (175°C). Line a 9×13-inch baking pan with parchment paper, leaving a 2-inch overhang on the long sides. Lightly grease the parchment.
- Melt the butter in a microwave-safe bowl in 30-second intervals. Let cool for 2 minutes.
- In a large bowl, whisk together melted butter, brown sugar, and granulated sugar until smooth.
- Add eggs and vanilla extract; whisk vigorously until pale, thick, and glossy (about 1 minute).
- In a separate bowl, whisk together flour, baking soda, and salt.
- Fold the dry ingredients into the wet mixture until just combined. Do not overmix.
- Chop the Halloween candy into roughly ½-inch pieces.
- Fold the chopped candy and chocolate chips into the dough until evenly distributed.
- Press the dough evenly into the prepared pan. Sprinkle with flaky sea salt.
- Bake for 22-26 minutes, until edges are golden and center is set but still soft. Cool in the pan on a wire rack for 30 minutes, then lift out and cool completely.
- Slice into 24 squares (6×4 rows). Serve warm or at room temperature.
Notes
For best results, use chocolate-based candies (Snickers, Twix, Kit Kat, Reese’s). Avoid hard-shell candies. Let bars cool completely before slicing to prevent candy from dragging. Store in an airtight container at room temperature for up to 5 days. Freeze individual bars for up to 3 months.
Nutrition
- Serving Size: 1 bar
- Calories: 245
- Sugar: 22
- Sodium: 180
- Fat: 13
- Saturated Fat: 8
- Carbohydrates: 31
- Fiber: 1
- Protein: 3
Keywords: Halloween candy, cookie bars, chocolate chip, leftover candy, easy dessert, potluck


