My husband did not trust pumpkin in a chocolate bread. That was the sticking point for a solid two years. Every fall, I’d pull out my favorite one bowl chocolate zucchini bread recipe and he’d ask, “Are you going to ruin it with pumpkin this time?” He was convinced the two flavors had no business being in the same loaf. And honestly, I kind of saw his point. Pumpkin and chocolate sounded like a collision of worlds—earthy squash meeting rich cacao. It felt risky.
But here’s the thing about fall in our house. It comes with a certain kind of kitchen chaos. There are apples on the counter, a half-used can of pumpkin puree in the fridge, and bags of chocolate chips calling my name from the pantry. One rainy Saturday afternoon, I found myself staring at that leftover puree and thinking, “What if I just tried it?” Not with any grand expectations. Just a quiet experiment while the kids were napping and the rain tapped against the window.
I grabbed my biggest mixing bowl, dumped in the wet ingredients, and held my breath as I folded in the chocolate chips. The batter looked promising—a warm, golden-brown swirl dotted with dark specks. When the loaf came out of the oven, the kitchen smelled like a bakery that couldn’t decide what season it was. I sliced it warm, and that first bite? It was the moment my husband walked in, grabbed a piece without asking, and ate the entire thing before saying a word. Then he looked at me and said, “Okay. You were right.”
That loaf became the reason I stopped second-guessing flavor combinations. It taught me that sometimes the best recipes come from a little bit of doubt and a whole lot of curiosity. And honestly, this One Bowl Pumpkin Chocolate Chip Bread is the kind of recipe that makes you believe in happy accidents.
Why You’ll Love This Recipe
Let me tell you why this bread has earned a permanent spot in my fall baking rotation. It’s not just another pumpkin recipe—it’s the one I turn to when I need something reliable, delicious, and almost embarrassingly easy.
- One Bowl Wonder: No need to dirty a mixer or multiple bowls. Everything comes together in a single bowl, which means less cleanup and more time enjoying that warm slice.
- Perfectly Moist: The combination of pumpkin puree and oil creates a bread that stays tender for days. It’s the kind of moist that makes you close your eyes after the first bite.
- Bold Chocolate Flavor: The chocolate chips melt into pockets of richness throughout the loaf, balancing the subtle earthiness of the pumpkin. It’s not too sweet, not too heavy—just right.
- Fall Comfort Without the Fuss: This bread delivers all the cozy vibes of autumn without requiring a complicated technique or hard-to-find ingredients.
- Crowd-Pleaser: I’ve brought this to potlucks, book club meetings, and neighbor drop-offs. It disappears fast, and people always ask for the recipe.
- Budget-Friendly: Canned pumpkin, pantry staples, and chocolate chips—you probably have most of these on hand right now.
What makes this recipe different from the rest is the texture. I’ve tested versions with too much flour, not enough pumpkin, and the wrong type of chocolate. This one hits the sweet spot. The crumb is tender but sturdy enough to hold up to a generous spread of butter or cream cheese. It’s the kind of bread that feels special enough for a holiday brunch but simple enough for a random Tuesday afternoon.
Honestly, this recipe is my answer to the question, “What should I bake when I want something that tastes like fall but doesn’t take all day?” It’s comfort food at its most accessible—warm, chocolatey, and just a little bit unexpected.
What Ingredients You Will Need
This recipe uses simple, wholesome ingredients that come together to create something truly special. Most of these are pantry staples, which makes this bread perfect for spontaneous baking sessions.
- All-purpose flour (1 ¾ cups / 220g) – Provides structure without making the bread dense. Spoon and level your flour for the best results.
- Granulated sugar (¾ cup / 150g) – Adds sweetness and helps create a tender crumb. You can reduce it slightly if you prefer a less sweet bread.
- Brown sugar (½ cup / 100g, packed) – Brings moisture and a hint of molasses flavor that pairs beautifully with pumpkin.
- Baking soda (1 teaspoon) – Helps the bread rise and creates a light texture.
- Baking powder (½ teaspoon) – Provides additional lift for a fluffy crumb.
- Salt (½ teaspoon) – Balances the sweetness and enhances the chocolate flavor.
- Pumpkin pie spice (1 ½ teaspoons) – A warm blend of cinnamon, nutmeg, ginger, and cloves. You can use store-bought or make your own.
- Cinnamon (½ teaspoon) – Adds an extra layer of warmth.
- Pumpkin puree (1 cup / 240g) – Not pumpkin pie filling. Use 100% pure pumpkin puree for the best texture and flavor.
- Vegetable oil (½ cup / 120ml) – Keeps the bread incredibly moist. Canola or melted coconut oil also work well.
- Large eggs (2, room temperature) – Bind the ingredients together and add richness.
- Vanilla extract (2 teaspoons) – Enhances the overall flavor profile.
- Milk (¼ cup / 60ml) – Adds moisture and helps create a tender crumb. Any milk works, including dairy-free options.
- Semi-sweet chocolate chips (1 cup / 175g) – The star of the show. I prefer Ghirardelli or Guittard for consistent melting and rich flavor.
For the best results, make sure your eggs are at room temperature. Cold eggs can cause the batter to seize up, leading to a denser loaf. If you’re in a hurry, place the eggs in a bowl of warm water for 5 minutes before using them.
If you want to switch things up, dark chocolate chips add a more intense flavor, while milk chocolate makes the bread sweeter and more kid-friendly. White chocolate chips also work surprisingly well here—they create a lovely contrast with the spiced pumpkin.
Equipment Needed
The beauty of this recipe is that it doesn’t require fancy equipment. Here’s what you’ll need:
- Large mixing bowl – Big enough to hold all the ingredients comfortably. I use a 4-quart ceramic bowl.
- Whisk – For combining the dry ingredients and smoothing out the wet mixture.
- Rubber spatula – Essential for folding in the chocolate chips and scraping down the sides of the bowl.
- 9×5-inch loaf pan – The standard size for this recipe. If you use an 8×4-inch pan, the bread will take longer to bake and may have a domed top.
- Parchment paper – Lining the pan makes removal effortless. You can also grease the pan with butter or non-stick spray.
- Cooling rack – Allows air to circulate around the bread, preventing a soggy bottom.
- Measuring cups and spoons – For accurate measurements. I recommend using dry measuring cups for flour and sugar, and a liquid measuring cup for the oil and milk.
- Toothpick or cake tester – For checking doneness without opening the oven too early.
If you don’t have a loaf pan, you can bake this batter in a 9×9-inch square pan for about 25-30 minutes to make pumpkin chocolate chip cake bars. Just adjust the baking time accordingly.
Preparation Method
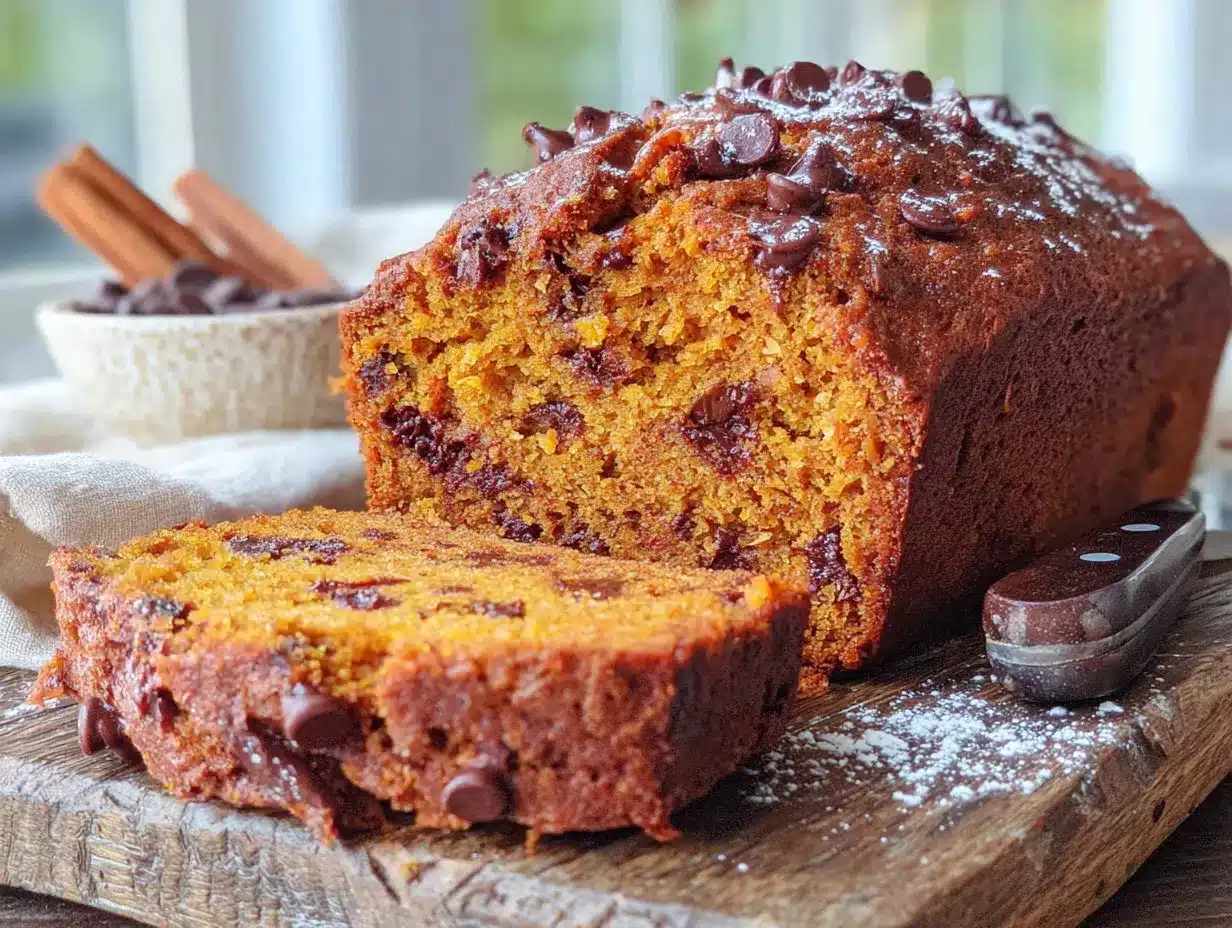
Ready to bake? Let me walk you through this step by step. I’ve included all the little details that make a difference—the things I learned through trial and error so you don’t have to.
- Preheat your oven to 350°F (175°C). Position the rack in the center of the oven. While it’s heating, line your 9×5-inch loaf pan with parchment paper, leaving some overhang on the long sides for easy lifting. Give the exposed ends a light spray of non-stick cooking spray.
- In your large mixing bowl, whisk together the dry ingredients. Add the all-purpose flour, granulated sugar, brown sugar, baking soda, baking powder, salt, pumpkin pie spice, and cinnamon. Whisk until everything is evenly distributed—about 30 seconds. Breaking up any clumps of brown sugar with your fingers helps ensure even sweetness.
- Make a well in the center of the dry ingredients. Pour in the pumpkin puree, vegetable oil, room-temperature eggs, vanilla extract, and milk. Stir with a rubber spatula or wooden spoon until just combined. Be careful not to overmix—a few small lumps are perfectly fine. Overmixing can lead to a tough, dense bread.
- Fold in the chocolate chips. Reserve about 2 tablespoons of chocolate chips to sprinkle on top later. Gently fold the remaining chocolate chips into the batter using a rubber spatula. Scrape the bottom of the bowl to make sure everything is incorporated.
- Pour the batter into the prepared loaf pan. Use the spatula to spread it evenly into the corners. Tap the pan gently on the counter a few times to release any air bubbles. Sprinkle the reserved chocolate chips on top—this gives the bread a beautiful, bakery-style look.
- Bake for 50-60 minutes. Start checking at the 50-minute mark. The bread is done when a toothpick inserted into the center comes out clean or with just a few moist crumbs attached. If the top is browning too quickly, tent the pan loosely with aluminum foil after 35-40 minutes.
- Cool in the pan for 10 minutes. This allows the bread to set and makes it easier to remove. After 10 minutes, lift the bread out using the parchment paper overhang and transfer it to a wire cooling rack.
- Cool completely before slicing. I know this is the hardest part, but trust me—slicing warm bread can cause it to crumble and fall apart. Let it cool for at least 1 hour. If you can wait, the flavor actually improves after a few hours as the spices meld together.
One thing I’ve learned the hard way: don’t open the oven door during the first 30 minutes of baking. The sudden temperature drop can cause the bread to sink in the middle. Be patient, and let the oven do its magic.
Cooking Tips & Techniques
Over the years, I’ve made this bread more times than I can count. Here are the tips and tricks I’ve picked up along the way—including a few mistakes I’d rather you avoid.
Don’t overmix the batter. This is the number one mistake I see with quick breads. Mix until the flour disappears into the wet ingredients, then stop. Overmixing develops gluten, which makes the bread tough and rubbery. A few streaks of flour are okay—they’ll disappear as you fold in the chocolate chips.
Use room temperature ingredients. Cold eggs and milk can cause the batter to seize up, creating a dense loaf. If you forget to take them out ahead of time, place the eggs in a bowl of warm water for 5 minutes and microwave the milk for 15 seconds.
Measure your flour correctly. Scooping flour directly from the bag can pack it down, leading to too much flour and a dry bread. Instead, spoon the flour into your measuring cup and level it off with a knife. This simple step makes a huge difference.
Check your pumpkin puree. Make sure you’re using 100% pure pumpkin, not pumpkin pie filling. The filling has added sugar and spices that can throw off the balance of the recipe. I once grabbed the wrong can in a hurry and ended up with a bread that was way too sweet and oddly spiced.
Toast your chocolate chips. This is a pro tip I picked up from a pastry chef friend. Spread the chocolate chips on a baking sheet and toast them in a 300°F oven for 5-7 minutes before folding them into the batter. It deepens the chocolate flavor and adds a subtle nuttiness. Totally optional, but worth trying if you have the time.
Bake on the center rack. Placing the loaf pan too close to the bottom can cause the bottom to burn before the center is done. The center rack ensures even heat distribution.
Let it rest overnight. I know this sounds crazy, but this bread is even better the next day. The flavors have time to meld, and the texture becomes more moist and tender. Wrap it tightly in plastic wrap once it’s completely cool, and let it sit at room temperature overnight.
Variations & Adaptations
One of the things I love about this recipe is how adaptable it is. Here are some of my favorite variations—each one tested and approved by my family.
Gluten-Free Version: Substitute the all-purpose flour with a 1:1 gluten-free baking flour blend. I’ve had great results with Bob’s Red Mill and King Arthur brands. Add an extra tablespoon of milk to compensate for the drier texture of gluten-free flours.
Dairy-Free Version: Use a plant-based milk like almond, oat, or coconut milk. The oil already makes this bread dairy-friendly—just make sure your chocolate chips are dairy-free as well. Enjoy Life makes excellent dairy-free chocolate chips.
Vegan Version: Replace the eggs with flax eggs (2 tablespoons ground flaxseed mixed with 6 tablespoons water, let sit for 5 minutes). Use a plant-based milk and dairy-free chocolate chips. The texture will be slightly denser but still delicious.
Spiced-Up Version: Add ¼ teaspoon of ground ginger, ¼ teaspoon of ground cloves, and a pinch of cardamom to the dry ingredients. This creates a more complex spice profile that’s perfect for holiday baking.
Nutty Version: Fold in ½ cup of toasted pecans or walnuts along with the chocolate chips. The crunch adds a lovely contrast to the tender crumb. I love this version for Thanksgiving brunch.
Mini Loaf Version: Divide the batter among 4 mini loaf pans (about 5×3 inches each). Bake for 30-35 minutes, checking for doneness with a toothpick. These make wonderful gifts during the holiday season.
Muffin Version: Scoop the batter into a lined muffin tin, filling each cup about ⅔ full. Bake for 18-22 minutes at 350°F. You’ll get about 14-16 muffins. They’re perfect for grab-and-go breakfasts or lunchbox treats.
I once made a batch of these muffins for a fall bake sale and they sold out in 20 minutes. The woman who bought the last one came back asking if I had more hidden somewhere. That’s when I knew this recipe was a keeper.
Serving & Storage Suggestions
This bread is incredibly versatile when it comes to serving. Here’s how I like to enjoy it, along with tips for keeping it fresh.
How to Serve: This bread is delicious at room temperature, but I prefer it slightly warm. Pop a slice in the microwave for 10-15 seconds, or toast it lightly in a toaster oven. The chocolate chips get melty and the edges become just a little crisp. Spread a pat of salted butter on top, or go all out with a smear of cream cheese frosting. For an extra indulgent treat, serve it alongside a scoop of vanilla ice cream or a drizzle of caramel sauce.
What to Pair It With: A hot cup of coffee or chai tea is my go-to pairing. The warm spices in the bread complement the bitterness of coffee beautifully. For a cozy fall breakfast, serve slices with a side of spiced apple cider or a pumpkin spice latte. It also pairs wonderfully with a bowl of creamy tomato basil soup for a comforting lunch.
Storing at Room Temperature: Wrap the cooled bread tightly in plastic wrap or aluminum foil and store it at room temperature for up to 3 days. I like to keep it in an airtight container to prevent it from drying out. If your kitchen is particularly humid, the bread may stay moister in the refrigerator.
Refrigerating: For longer storage, wrap the bread in plastic wrap followed by a layer of foil and refrigerate for up to a week. Let it come to room temperature before serving, or warm it in the microwave for a few seconds.
Freezing: This bread freezes beautifully. Slice it first, then wrap each slice individually in plastic wrap and place them in a freezer-safe bag. This way, you can pull out one slice at a time. Frozen slices will keep for up to 3 months. To thaw, leave a slice at room temperature for about 30 minutes, or microwave for 20-30 seconds.
Flavor Development: Here’s a little secret—this bread actually tastes better on day two. The spices have time to meld, and the moisture distributes more evenly throughout the loaf. If you can resist the urge to devour it immediately, wrap it up and let it sit overnight. You’ll be rewarded with an even more flavorful and tender bread.
Nutritional Information & Benefits
While I wouldn’t call this a health food, it does have some redeeming qualities. Here’s a rough nutritional breakdown for one slice (based on 10 slices per loaf):
- Calories: Approximately 320-350
- Fat: 14-16g
- Carbohydrates: 45-50g
- Fiber: 2-3g
- Sugar: 28-32g
- Protein: 4-5g
Pumpkin puree is packed with Vitamin A, which supports eye health and immune function. It’s also a good source of fiber and antioxidants. The chocolate chips, especially if you use dark chocolate, provide flavonoids that may benefit heart health.
For a lighter version, you can reduce the sugar to 1 cup total (using ½ cup granulated and ½ cup brown sugar) and substitute half the oil with unsweetened applesauce. The texture will be slightly less tender but still delicious.
This recipe contains gluten, dairy (if using regular milk and chocolate chips), and eggs. For allergen-friendly versions, check the variations section above.
Conclusion
This One Bowl Pumpkin Chocolate Chip Bread has become a fall tradition in my kitchen, and I have a feeling it will become one in yours too. It’s the recipe I turn to when I want something that feels special but doesn’t require a day of effort. The kind of bread that makes your house smell like autumn and brings people into the kitchen asking, “What’s baking?”
What I love most about this recipe is how forgiving it is. You can swap out ingredients, adjust the spices, or double the chocolate chips, and it still turns out beautifully. It’s a recipe that invites experimentation and rewards curiosity.
I’d love to hear how this bread turns out for you. Did you add extra chocolate chips? Try it with white chocolate? Serve it warm with butter? Drop a comment below and let me know your favorite way to enjoy it. And if you’re looking for more fall baking inspiration, check out my soft pumpkin spice snickerdoodle cookies or these copycat pumpkin cream cheese muffins for even more seasonal goodness.
Happy baking, and remember—sometimes the best recipes come from a little bit of doubt and a whole lot of chocolate chips.
Frequently Asked Questions
Can I use fresh pumpkin instead of canned?
Yes, you can use fresh pumpkin puree. Roast a sugar pumpkin until tender, scoop out the flesh, and blend until smooth. Just make sure to drain any excess liquid—fresh pumpkin can be more watery than canned. You may need to reduce the milk slightly to compensate.
Why did my bread sink in the middle?
This usually happens for one of three reasons: the oven temperature was too low, the batter was overmixed, or the bread was underbaked. Make sure your oven is properly preheated to 350°F and avoid opening the door during the first 30 minutes of baking. Also, check for doneness with a toothpick before removing it from the oven.
Can I use a different type of chocolate?
Absolutely. Dark chocolate chips create a more intense, less sweet bread. Milk chocolate chips make it sweeter and more kid-friendly. White chocolate chips add a creamy sweetness that pairs beautifully with the pumpkin spice. You can even use a combination of different chocolates for variety.
How do I make this bread more pumpkin-flavored?
Increase the pumpkin puree to 1 ¼ cups and reduce the oil to ⅓ cup. You can also add an extra teaspoon of pumpkin pie spice. Just note that the bread will be slightly denser with more pumpkin, but the flavor will be more pronounced.
Can I double this recipe?
Yes, this recipe doubles beautifully. Use a large bowl and mix everything as directed. You can bake it in two 9×5-inch loaf pans, or use one 9×13-inch pan for a cake-like version. Adjust the baking time—the cake version will take about 35-40 minutes, while two loaves will take the same time as the original recipe.
Pin This Recipe!
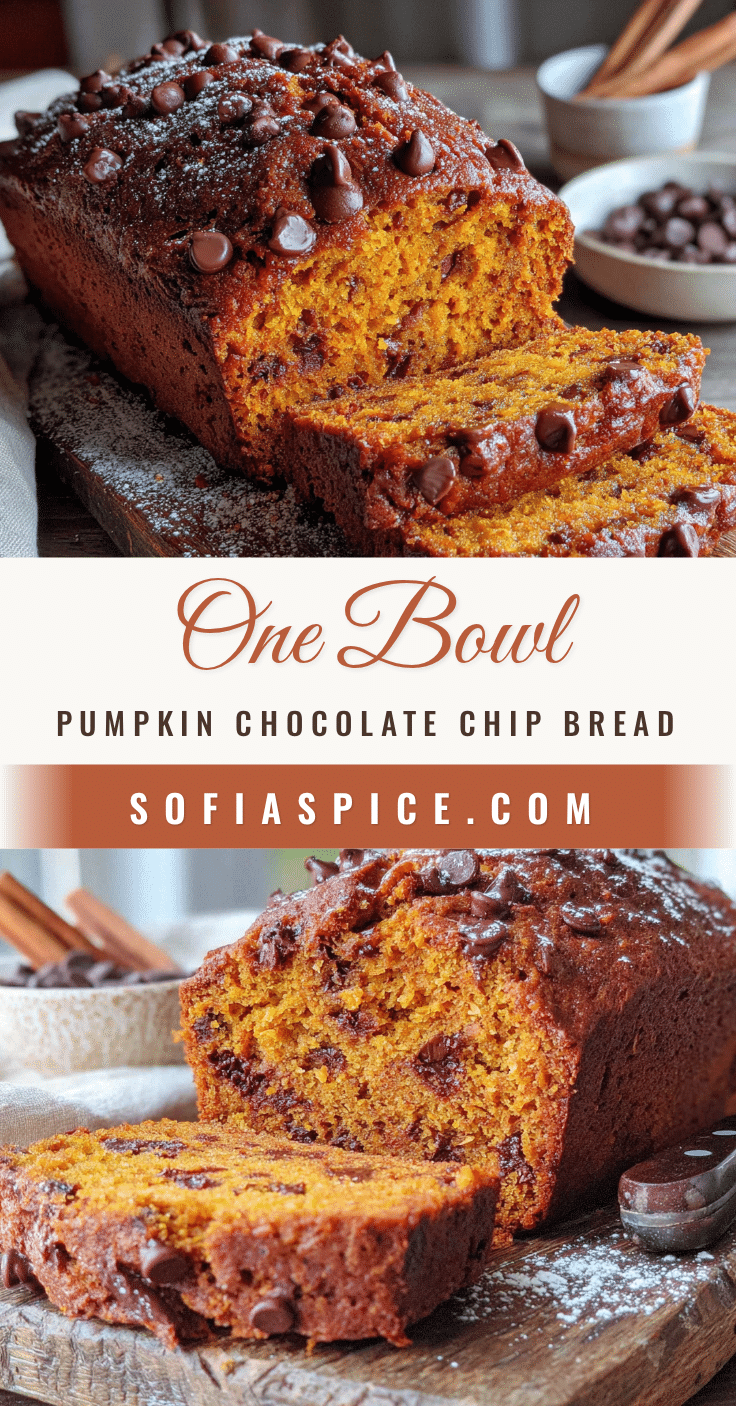
Easy One Bowl Pumpkin Chocolate Chip Bread Recipe
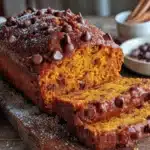
This one-bowl pumpkin chocolate chip bread is incredibly moist, packed with rich chocolate flavor, and perfect for fall baking. It’s a simple, crowd-pleasing recipe that comes together in minutes with minimal cleanup.
- Prep Time: 15 minutes
- Cook Time: 55 minutes
- Total Time: 1 hour 10 minutes
- Yield: 10 servings 1x
- Category: Dessert
- Cuisine: American
Ingredients
- 1 ¾ cups (220g) all-purpose flour
- ¾ cup (150g) granulated sugar
- ½ cup (100g) packed brown sugar
- 1 teaspoon baking soda
- ½ teaspoon baking powder
- ½ teaspoon salt
- 1 ½ teaspoons pumpkin pie spice
- ½ teaspoon cinnamon
- 1 cup (240g) pumpkin puree (100% pure, not pie filling)
- ½ cup (120ml) vegetable oil (or canola/melted coconut oil)
- 2 large eggs, room temperature
- 2 teaspoons vanilla extract
- ¼ cup (60ml) milk (any kind, including dairy-free)
- 1 cup (175g) semi-sweet chocolate chips
Instructions
- Preheat oven to 350°F (175°C). Line a 9×5-inch loaf pan with parchment paper, leaving overhang on long sides. Lightly spray exposed ends with non-stick spray.
- In a large mixing bowl, whisk together flour, granulated sugar, brown sugar, baking soda, baking powder, salt, pumpkin pie spice, and cinnamon until evenly distributed (about 30 seconds). Break up any brown sugar clumps with fingers.
- Make a well in the center of dry ingredients. Add pumpkin puree, oil, eggs, vanilla, and milk. Stir with a rubber spatula or wooden spoon until just combined. Do not overmix; a few small lumps are fine.
- Reserve 2 tablespoons of chocolate chips for topping. Gently fold remaining chocolate chips into batter with a rubber spatula, scraping bottom of bowl.
- Pour batter into prepared loaf pan, spreading evenly. Tap pan gently on counter to release air bubbles. Sprinkle reserved chocolate chips on top.
- Bake for 50-60 minutes, until a toothpick inserted in center comes out clean or with a few moist crumbs. If top browns too quickly, tent loosely with foil after 35-40 minutes.
- Cool in pan for 10 minutes, then lift bread out using parchment overhang and transfer to a wire rack.
- Cool completely before slicing (at least 1 hour). For best flavor, wrap tightly and let sit overnight at room temperature.
Notes
Do not overmix batter; overmixing develops gluten and makes bread tough. Use room temperature eggs and milk for best texture. Measure flour by spooning into cup and leveling off. Use 100% pure pumpkin puree, not pumpkin pie filling. For deeper chocolate flavor, toast chocolate chips at 300°F for 5-7 minutes before folding in. Bread tastes even better the next day. For gluten-free, use a 1:1 gluten-free flour blend and add 1 tablespoon extra milk. For dairy-free, use plant-based milk and dairy-free chocolate chips. For vegan, replace eggs with flax eggs (2 tbsp ground flaxseed + 6 tbsp water, let sit 5 minutes).
Nutrition
- Serving Size: 1 slice
- Calories: 335
- Sugar: 30
- Sodium: 280
- Fat: 15
- Saturated Fat: 4
- Carbohydrates: 48
- Fiber: 3
- Protein: 5
Keywords: pumpkin chocolate chip bread, one bowl pumpkin bread, easy pumpkin bread, fall baking, quick bread, pumpkin chocolate chip loaf