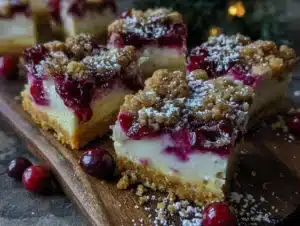
My next-door neighbor, Mrs. Gable, wasn’t trying to impress anyone. I’d stopped by to borrow a cup of sugar—a cliché, I know, but my baking stash was woefully low—and the smell hit me before I even made it past her screen door. It was tart and sweet, warm and buttery, and it wrapped around me like a hug. She was shuffling around her kitchen in slippers, humming along to some oldies station, and there on her counter sat a pan of these gorgeous, ruby-red bars. She handed me the sugar with one hand and a still-warm bar with the other, saying, “Oh, it’s nothing, just a little something I threw together.” Let me tell you, that “nothing” was everything. I stood in her kitchen, crumbs on my shirt, trying to act cool while mentally begging for the recipe. Honestly, the casualness of it all was the whole point. She wasn’t performing. She was just making something cozy and delicious, and I was lucky enough to be in the splash zone.
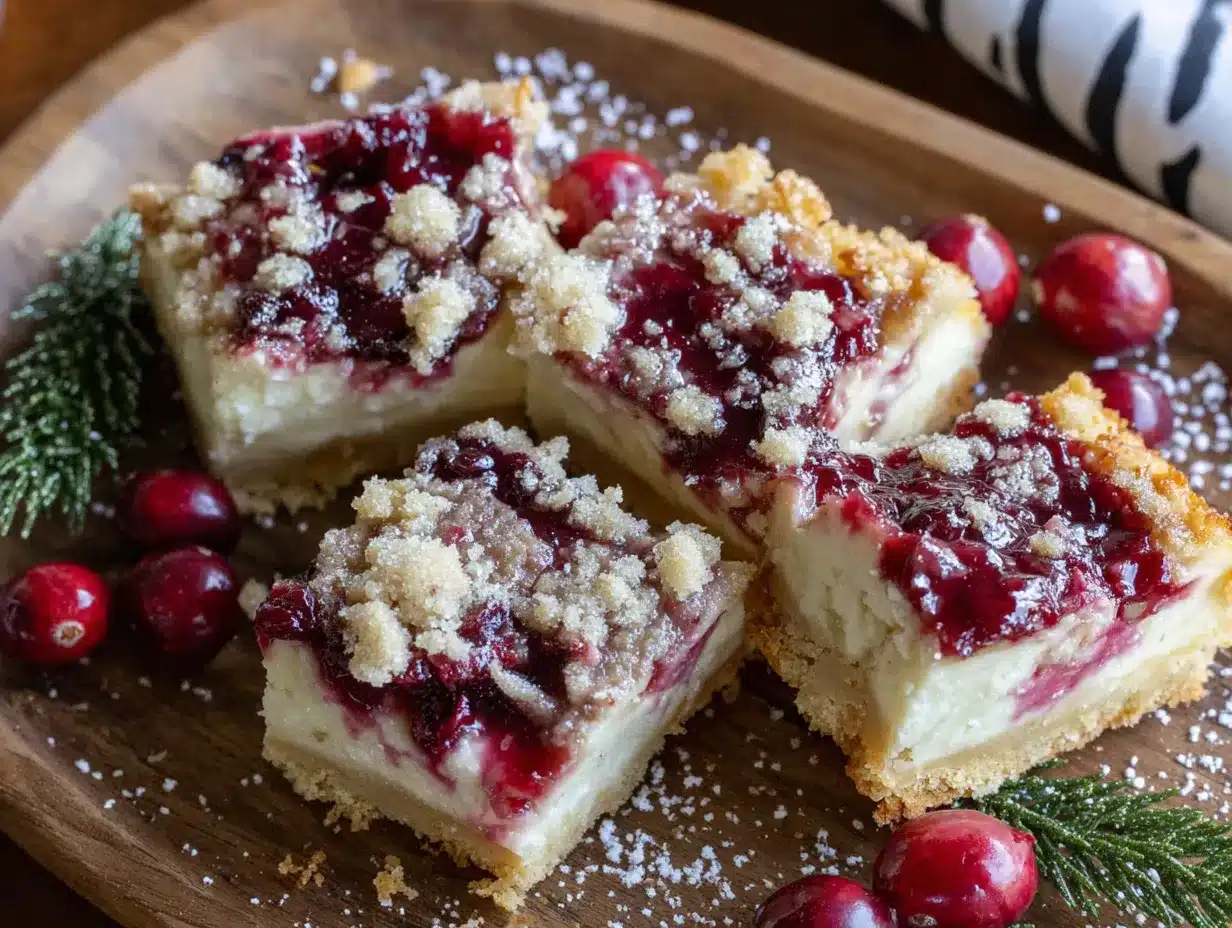
These Cozy Cranberry Cheesecake Crumble Bars are the dessert equivalent of a warm blanket on a cold night. They have a buttery, golden crust, a luscious and creamy cheesecake layer, and a tart, jammy cranberry topping that’s all finished with a crunchy, sweet streusel. The first time I made them after that day at Mrs. Gable’s, I burned my tongue because I couldn’t wait for them to cool. Maybe you’ve been there—the impatience is real. The contrast of textures is what gets me every time: the crumbly base, the silky center, and the pop of fruit. It’s the kind of dessert that makes you close your eyes after the first bite. I’ve tweaked her recipe just a little over the years, perfecting the balance of sweet and tart, and I’m so excited to finally share it with you. This is comfort food at its finest, and it’s about to become your new holiday staple.
Why You’ll Love This Recipe
I’ve made these bars more times than I can count, and they never fail to get the same reaction—a moment of quiet, followed by a chorus of “Oh, these are so good!” Here’s why this recipe is a keeper, tested and approved by my family, my neighbors, and my own very critical taste buds.
- Quick & Easy: The total active time is about 20 minutes. The oven does the heavy lifting, so you can get back to wrapping presents or just relaxing with a cup of tea.
- Simple Ingredients: No need for a special trip to a gourmet store. You probably have butter, sugar, flour, and cream cheese in your kitchen right now.
- Perfect for the Holidays: These bars are a showstopper for Thanksgiving, Christmas, or any cozy winter gathering. They look impressive but are secretly low-stress.
- Crowd-Pleaser: I’ve served them to kids, grandparents, and picky eaters. The combination of tangy cranberries and creamy cheesecake is universally adored.
- Unbelievably Delicious: The texture is next-level. You get a crunchy, buttery crumble, a smooth, rich cheesecake, and a burst of tart fruit in every single bite.
What makes this recipe different from the rest? It’s the method. Instead of a complicated water bath for the cheesecake, we’re using a simple press-in crust and a no-fuss filling. The cranberries are cooked down just enough to release their juice but still hold their shape, giving you little pockets of jammy goodness. I also add a pinch of orange zest to the crumble, which brightens the whole thing up and makes it taste like Christmas morning. This isn’t just another bar cookie—it’s your new go-to for every holiday party, every potluck, and every time you need a little edible hug.
What Ingredients You Will Need
This recipe uses simple, wholesome ingredients to deliver that bold, comforting flavor. Most of these are pantry staples, which is part of the beauty. Let’s break down what you’ll need and why each one matters.
For the Cranberry Filling
- 3 cups fresh or frozen cranberries (about 12 oz). Fresh are great if you can find them, but frozen work perfectly—no need to thaw! I personally love the tart pop of fresh cranberries.
- ½ cup granulated sugar. This balances the natural tartness of the cranberries. You can adjust this to your taste, but I find this is the sweet spot.
- ¼ cup orange juice (freshly squeezed is best, but store-bought works). The acidity of the orange juice brightens the cranberries and adds a lovely depth.
- 1 tablespoon cornstarch. This helps thicken the filling so it doesn’t make the crust soggy. It’s a little secret for a perfect texture.
- 1 teaspoon vanilla extract. A must for warmth and complexity.
For the Crust & Crumble Topping
- 2 cups all-purpose flour (250g). I use unbleached all-purpose flour for a sturdy but tender base. For a gluten-free option, you can use a 1:1 gluten-free baking flour blend.
- 1 cup granulated sugar (200g). Divided between the crust and the topping.
- 1 cup packed light brown sugar (200g). The molasses in brown sugar gives the crumble a deeper, almost caramel-like flavor.
- 1 teaspoon baking powder. This gives the crumble a little lift, making it light and crunchy instead of dense.
- ½ teaspoon salt. Don’t skip it—it balances the sweetness and makes all the flavors pop.
- 1 cup cold unsalted butter (2 sticks, 226g), cut into small cubes. Cold butter is key for a flaky, sandy texture. I recommend using a good quality butter like Kerrygold for the best flavor.
- 1 large egg, lightly beaten. This helps bind the crumble together.
- Zest of 1 orange. This is my secret weapon! It adds a fragrant, citrusy note that pairs beautifully with the cranberries.
For the Cheesecake Layer
- 16 oz (two 8-oz blocks) cream cheese, softened to room temperature. Full-fat cream cheese is non-negotiable here for that rich, creamy texture. Low-fat versions can turn out watery.
- ½ cup granulated sugar (100g). Just enough to sweeten the tangy cream cheese.
- 2 large eggs, room temperature. Room temperature eggs blend in more smoothly, giving you a silky cheesecake layer.
- 1 teaspoon vanilla extract. For that classic cheesecake flavor.
- 2 tablespoons all-purpose flour. This helps stabilize the cheesecake layer so it doesn’t crack. (I know, it’s a little unconventional, but it works!)
Substitution Guidance: If you’re dairy-free, you can use a plant-based cream cheese and a vegan butter stick. The texture will be slightly less rich, but still delicious. For a nutty twist, swap ½ cup of the all-purpose flour in the crumble for almond flour.
Equipment Needed
You don’t need a professional bakery setup to make these bars. Here’s what I use every time, and a few tips I’ve picked up along the way.
- 9×13-inch baking pan: This is the perfect size for a generous batch. I prefer a metal pan over glass because it conducts heat more evenly, giving you a crispier crust. My go-to is a simple, light-colored metal pan.
- Parchment paper: This is your best friend. Line the pan with parchment, leaving some overhang on the long sides. This creates “handles” that let you lift the whole slab of bars out cleanly for easy cutting. Trust me, it’s a game-changer.
- Medium saucepan: For cooking down the cranberry filling. A heavy-bottomed saucepan prevents scorching.
- Large mixing bowls: You’ll need one for the crumble and one for the cheesecake filling.
- Electric hand mixer or stand mixer: A hand mixer works perfectly for the cheesecake layer. A stand mixer is great, too, just don’t overmix.
- Pastry cutter or two forks: For cutting the cold butter into the flour mixture for the crumble. You can also use your fingertips, but a pastry cutter is faster and keeps the butter cold.
- Rubber spatula: For scraping down the sides of the bowl and spreading the layers evenly.
Budget-friendly tips: Don’t have a pastry cutter? No problem. Just use two knives in a scissor-like motion, or get your hands in there—just work quickly so the butter doesn’t melt.
Preparation Method
Alright, let’s get baking. I’ve broken this down into clear steps, with all the little details I’ve learned from making these bars dozens of times. Take your time, and don’t rush the chilling step—it makes a difference.
- Preheat and Prep: Preheat your oven to 350°F (175°C). Line your 9×13-inch baking pan with parchment paper, leaving a 2-inch overhang on the long sides. This is your lifeline for clean slices later.
- Make the Cranberry Filling: In a medium saucepan, combine the 3 cups of cranberries, ½ cup granulated sugar, and ¼ cup orange juice. Cook over medium heat, stirring occasionally, until the cranberries start to pop and the mixture thickens, about 8-10 minutes. You’ll hear them pop—that’s the sound of magic. Stir in the cornstarch and vanilla extract, and cook for another minute until it’s nice and jammy. Remove from heat and set aside to cool slightly.
- Make the Crumble Base & Topping: In a large bowl, whisk together the 2 cups of flour, 1 cup granulated sugar, 1 cup brown sugar, baking powder, salt, and orange zest. Add the cold, cubed butter. Using a pastry cutter or your fingers, work the butter into the flour mixture until it looks like coarse sand with some pea-sized butter lumps. This texture is what gives you those crunchy, buttery pockets. Stir in the beaten egg until the mixture is just combined. It will be crumbly.
- Press the Crust: Reserve about 1 ½ cups of the crumble mixture for the topping. Press the remaining crumble mixture firmly and evenly into the bottom of your prepared pan. Use the bottom of a flat measuring cup or a glass to get it really compact. This is your foundation—a solid crust means no crumbling bars later.
- Make the Cheesecake Layer: In a separate bowl using a hand mixer, beat the softened cream cheese and ½ cup sugar until smooth and creamy, about 2 minutes. Scrape down the sides. Add the eggs one at a time, beating on low after each until just combined. Mix in the vanilla extract and the 2 tablespoons of flour. Beat just until smooth—don’t overmix, or the cheesecake can puff up and crack.
- Assemble the Layers: Pour the cheesecake mixture over the pressed crust and spread it evenly with a spatula. Spoon the cooled cranberry filling over the cheesecake layer in dollops, then gently spread it into an even layer. It’s okay if it swirls a little with the cheesecake—that’s part of the charm.
- Add the Topping: Sprinkle the reserved crumble mixture evenly over the cranberry layer. Don’t press it down; just let it fall naturally. This will create those lovely crunchy clusters.
- Bake: Bake for 40-45 minutes, or until the edges are golden brown and the center is just set. It might still have a slight jiggle in the very middle, and that’s perfect. The bars will firm up as they cool. If the top is browning too quickly, tent loosely with foil after 30 minutes.
- Cool Completely: This is the hardest part. Let the bars cool in the pan on a wire rack for at least 1 hour. Then, transfer the pan to the refrigerator and chill for at least 3 hours, or overnight. Chilling is non-negotiable for clean slices. The bars are much easier to cut when they’re cold.
- Slice and Serve: Once fully chilled, use the parchment handles to lift the entire slab out of the pan. Place it on a cutting board. Use a sharp chef’s knife to cut into squares. Wipe the knife clean between cuts for the neatest edges.
Cooking Tips & Techniques
After making these bars more times than I can count, I’ve collected a few hard-won lessons. Trust me on these.
Don’t overwork the crumble. The first time I made this, I was so enthusiastic about getting the butter incorporated that I overmixed it, and the crust turned out tough. You want to see some pea-sized chunks of butter. Those chunks melt in the oven, creating steam pockets that make the crumble light and flaky. Stop when it looks like a shaggy, sandy mixture.
Room temperature ingredients are your friend. I know it’s tempting to use cold cream cheese straight from the fridge, but it will give you a lumpy cheesecake layer. Let your cream cheese and eggs sit on the counter for about 30 minutes before you start. If you’re in a hurry, you can cut the cream cheese into cubes and microwave it in 10-second bursts until it’s soft—just don’t melt it.
The chilling step is not optional. I learned this the hard way when I tried to cut a warm pan of bars. It was a beautiful, tragic mess. The cheesecake layer needs time to set completely. Three hours in the fridge is the minimum, but overnight is best. The bars slice like a dream when they’re well-chilled.
Watch your oven. Every oven runs a little differently. Mine runs hot, so I start checking at the 35-minute mark. The edges should be a deep golden brown, and the center should be set but still have a slight wiggle. If you see the top browning too fast, just lay a piece of foil loosely over the pan for the last 10 minutes.
Use a sharp knife for clean cuts. A dull knife will drag through the cheesecake layer and make a mess. Run your knife under hot water, wipe it dry, and then make your cut. Wipe the blade clean between each cut. It takes an extra minute, but the results are worth it.
Variations & Adaptations
One of the best things about this recipe is how flexible it is. Here are a few ways I’ve played around with it, and they’ve all been delicious.
- Berry Swap: Not a fan of cranberries? No problem. Use fresh or frozen raspberries, blueberries, or a mix of both. If using sweeter berries like blueberries, reduce the sugar in the filling to ¼ cup. I made a batch with raspberries last summer, and it was incredible.
- Citrus Twist: I love adding the zest of one lemon along with the orange zest. It gives the whole bar a brighter, more complex flavor. You could also swap the orange juice in the filling for lemon juice.
- Nutty Crunch: Add ½ cup of chopped pecans or walnuts to the reserved crumble topping. Toast them lightly first for extra flavor. The crunch is a wonderful textural contrast to the creamy cheesecake.
- White Chocolate Drizzle: After the bars have chilled and been cut, melt ½ cup of white chocolate chips with 1 tablespoon of coconut oil and drizzle it over the top. It adds a lovely sweetness and makes them look extra fancy for a holiday party.
- Gluten-Free Version: Use a good quality 1:1 gluten-free baking flour blend in both the crust and the cheesecake layer. I’ve tested this with Bob’s Red Mill 1:1 blend, and the results were fantastic—just as crumbly and delicious.
- Spiced Cranberry: Add ½ teaspoon of cinnamon and ¼ teaspoon of ground ginger to the cranberry filling while it cooks. It gives the bars a warm, chai-like flavor that’s perfect for fall.
Serving & Storage Suggestions
These bars are incredibly versatile when it comes to serving. Here’s how I like to enjoy them, and how to keep them fresh.
Serving Temperature: I prefer them cold, straight from the fridge. The cheesecake layer is firm and creamy, and the crumble is perfectly crunchy. But they’re also fantastic at room temperature—just let them sit out for about 15 minutes before serving. For an extra indulgent treat, warm a bar in the microwave for 10 seconds and serve with a scoop of vanilla bean ice cream. The warm cranberries and cold ice cream are a match made in heaven.
Presentation Ideas: For a holiday party, I like to cut the bars into small, bite-sized squares and arrange them on a festive platter. A light dusting of powdered sugar and a few fresh cranberries on top make them look like they came from a fancy bakery.
Storage: Store the bars in an airtight container in the refrigerator for up to 5 days. I like to place a piece of parchment paper between layers to prevent them from sticking. The flavors actually get better after a day or two as everything melds together.
Freezing: These bars freeze beautifully! Once they are completely chilled and cut, place the squares on a baking sheet and freeze for 1 hour until solid. Then transfer them to a freezer-safe bag or container. They will keep for up to 3 months. To thaw, just let them sit in the refrigerator overnight or at room temperature for about 30 minutes.
Reheating: If you want that just-baked warmth, pop a bar in a 300°F (150°C) oven for 5-7 minutes, or microwave for 15-20 seconds. Be careful not to overheat, or the cheesecake can get too soft.
Nutritional Information & Benefits
Let’s be real—this is a dessert, and it’s meant to be enjoyed. But I’ve made a few tweaks to make it a little more balanced than your average bar. Here’s the estimated breakdown per bar (based on 24 servings).
| Nutrient | Per Bar |
|---|---|
| Calories | 285 |
| Total Fat | 16g |
| Saturated Fat | 10g |
| Carbohydrates | 33g |
| Sugar | 22g |
| Protein | 4g |
| Fiber | 1g |
Health Benefits: Cranberries are packed with antioxidants and vitamin C, which are great for your immune system—especially during the winter months. The cream cheese provides a good dose of calcium and protein. And honestly, there’s a mental health benefit to enjoying a delicious, homemade treat. It’s good for the soul.
Dietary Considerations: This recipe can be made gluten-free with a simple flour swap. For a lower-sugar option, you can reduce the sugar in the cranberry filling to ¼ cup and use a sugar substitute like monk fruit in the crust and cheesecake. Please note that this recipe contains dairy, eggs, and gluten (in the standard version).
FAQs
Can I use frozen cranberries?
Absolutely! Frozen cranberries work perfectly. You don’t even need to thaw them first. Just add them directly to the saucepan and cook for an extra 2-3 minutes to account for the extra moisture. The result will be just as jammy and delicious.
My cheesecake layer cracked. What went wrong?
Don’t worry, it happens to the best of us! Cracks usually happen from overmixing the cheesecake batter (which incorporates too much air) or from baking it too long. Make sure your cream cheese and eggs are at room temperature, and mix on low speed just until smooth. Also, be careful not to overbake—the center should still have a slight jiggle when you pull it out.
Can I make these bars ahead of time?
Yes, and I actually recommend it! These bars taste even better the next day after the flavors have had time to meld. You can make them up to 3 days in advance and store them in the refrigerator. They’re the perfect make-ahead dessert for holiday entertaining.
How do I get clean, neat slices?
The secret is patience. The bars must be fully chilled—at least 3 hours in the fridge. Use a sharp chef’s knife, and wipe the blade clean with a damp paper towel between each cut. For the cleanest cuts, you can even run the knife under hot water and dry it off before slicing. It takes a little extra effort, but it’s worth it for those perfect squares.
Can I use a different fruit instead of cranberries?
Absolutely! This recipe is very adaptable. Try using fresh or frozen raspberries, blueberries, or chopped strawberries. If you use a sweeter fruit like blueberries, reduce the sugar in the filling to ¼ cup. For a tropical twist, try diced mango and a splash of lime juice. The possibilities are endless!
Conclusion
These Cozy Cranberry Cheesecake Crumble Bars are more than just a dessert—they’re a little moment of joy. They’re the kind of thing you make when you want to fill your home with a warm, inviting smell, or when you need a sweet treat to share with the people you love. They’re forgiving, they’re flexible, and they’re absolutely delicious. I’ve made them for holiday dinners, for casual get-togethers, and for no reason at all except that I had a bag of cranberries and a craving for something cozy.
I hope you make these your own. Add a little extra orange zest, swap in your favorite berries, or just follow the recipe as written—it’s hard to go wrong. I’d love to hear how they turn out for you. Did you try a fun variation? Did your family love them? Drop a comment below and share your experience. And if you’re looking for another comforting dessert, you might also enjoy my cranberry orange bread or these brown butter chocolate chip cookies. Happy baking, friends—here’s to finding a little sweetness in every day.
Pin This Recipe!
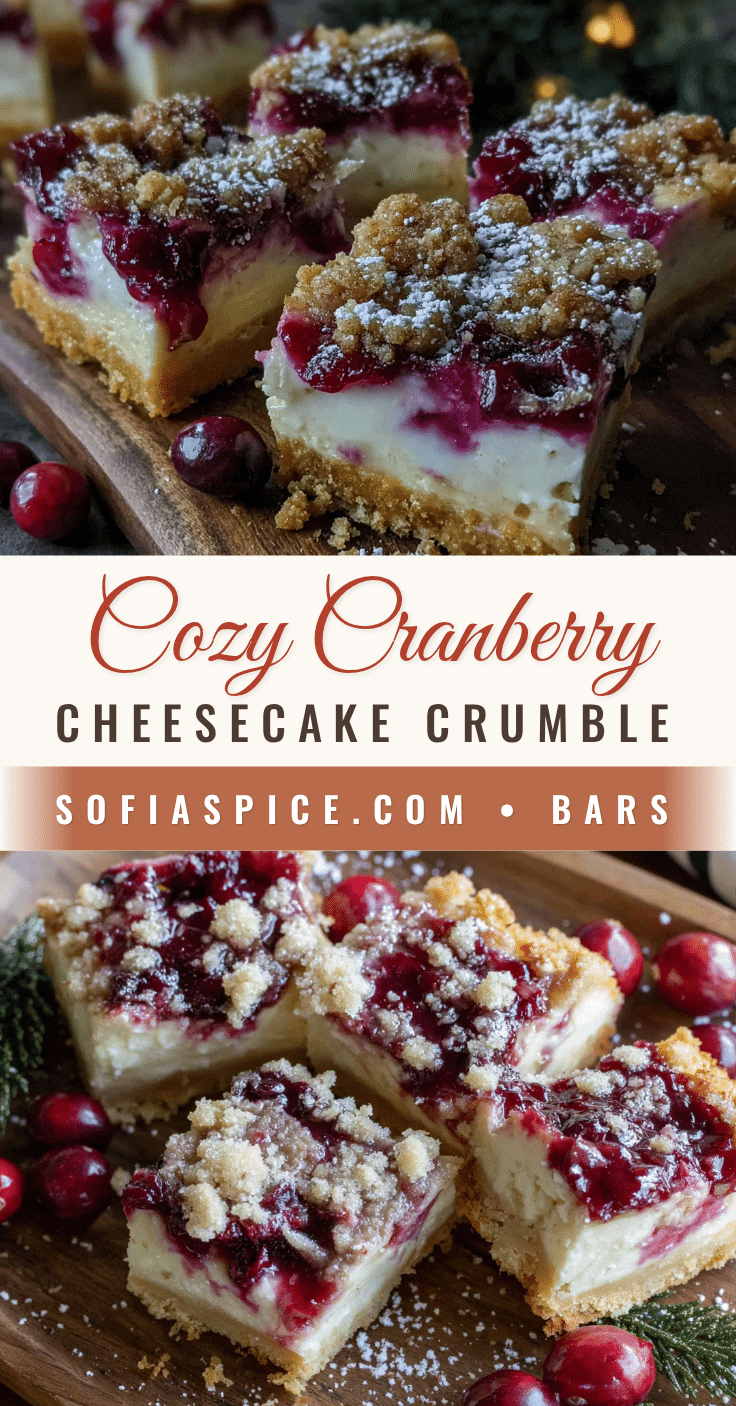
Cozy Cranberry Cheesecake Crumble Bars: Easy Holiday Dessert
These Cozy Cranberry Cheesecake Crumble Bars are the dessert equivalent of a warm blanket on a cold night. They have a buttery, golden crust, a luscious and creamy cheesecake layer, and a tart, jammy cranberry topping that’s all finished with a crunchy, sweet streusel.
- Prep Time: 20 minutes
- Cook Time: 45 minutes
- Total Time: 4 hours 5 minutes (includes chilling)
- Yield: 24 servings 1x
- Category: Dessert
- Cuisine: American
Ingredients
- 3 cups fresh or frozen cranberries (about 12 oz)
- ½ cup granulated sugar
- ¼ cup orange juice
- 1 tablespoon cornstarch
- 1 teaspoon vanilla extract
- 2 cups all-purpose flour (250g)
- 1 cup granulated sugar (200g)
- 1 cup packed light brown sugar (200g)
- 1 teaspoon baking powder
- ½ teaspoon salt
- 1 cup cold unsalted butter (2 sticks, 226g), cut into small cubes
- 1 large egg, lightly beaten
- Zest of 1 orange
- 16 oz (two 8-oz blocks) cream cheese, softened to room temperature
- ½ cup granulated sugar (100g)
- 2 large eggs, room temperature
- 1 teaspoon vanilla extract
- 2 tablespoons all-purpose flour
Instructions
- Preheat your oven to 350°F (175°C). Line your 9×13-inch baking pan with parchment paper, leaving a 2-inch overhang on the long sides.
- In a medium saucepan, combine the 3 cups of cranberries, ½ cup granulated sugar, and ¼ cup orange juice. Cook over medium heat, stirring occasionally, until the cranberries start to pop and the mixture thickens, about 8-10 minutes. Stir in the cornstarch and vanilla extract, and cook for another minute until it’s nice and jammy. Remove from heat and set aside to cool slightly.
- In a large bowl, whisk together the 2 cups of flour, 1 cup granulated sugar, 1 cup brown sugar, baking powder, salt, and orange zest. Add the cold, cubed butter. Using a pastry cutter or your fingers, work the butter into the flour mixture until it looks like coarse sand with some pea-sized butter lumps. Stir in the beaten egg until the mixture is just combined. It will be crumbly.
- Reserve about 1 ½ cups of the crumble mixture for the topping. Press the remaining crumble mixture firmly and evenly into the bottom of your prepared pan.
- In a separate bowl using a hand mixer, beat the softened cream cheese and ½ cup sugar until smooth and creamy, about 2 minutes. Scrape down the sides. Add the eggs one at a time, beating on low after each until just combined. Mix in the vanilla extract and the 2 tablespoons of flour. Beat just until smooth.
- Pour the cheesecake mixture over the pressed crust and spread it evenly with a spatula. Spoon the cooled cranberry filling over the cheesecake layer in dollops, then gently spread it into an even layer.
- Sprinkle the reserved crumble mixture evenly over the cranberry layer. Don’t press it down.
- Bake for 40-45 minutes, or until the edges are golden brown and the center is just set. If the top is browning too quickly, tent loosely with foil after 30 minutes.
- Let the bars cool in the pan on a wire rack for at least 1 hour. Then, transfer the pan to the refrigerator and chill for at least 3 hours, or overnight.
- Once fully chilled, use the parchment handles to lift the entire slab out of the pan. Place it on a cutting board. Use a sharp chef’s knife to cut into squares. Wipe the knife clean between cuts for the neatest edges.
Notes
Don’t overwork the crumble; leave pea-sized butter chunks. Room temperature ingredients are key for a smooth cheesecake layer. Chilling is non-negotiable for clean slices. Watch your oven and tent with foil if browning too quickly. Use a sharp knife for clean cuts.
Nutrition
- Serving Size: 1 bar
- Calories: 285
- Sugar: 22
- Fat: 16
- Saturated Fat: 10
- Carbohydrates: 33
- Fiber: 1
- Protein: 4
Keywords: cranberry cheesecake bars, holiday dessert, crumble bars, easy dessert, cranberry dessert, cheesecake bars