I was standing in my kitchen at 6:47 AM, staring into the open freezer, and I just couldn’t do it anymore. Not the morning—I can handle mornings. It was the box. The big, colorful box of frozen sealed sandwiches that my kids had been eating for two years straight. They loved them, sure. But I was tired of paying for bread that tasted like cardboard and jam that had more corn syrup in it than actual fruit. And honestly? The price kept going up while the package kept getting smaller. So I finally grabbed a loaf of bread, a jar of real peanut butter, and some strawberry jam that actually listed strawberries first. I figured, how hard could it be? Turns out, not hard at all. And now I have a freezer drawer full of homemade Uncrustables that taste better, cost less, and don’t come with a single ingredient I can’t pronounce. That first bite of my own version? Quietly satisfying. I knew I wasn’t going back.
Why You’ll Love This Recipe
Let me tell you why these homemade Uncrustables have completely taken over my meal prep routine. I’ve tested this method about seven times now, tweaking the sealing technique and experimenting with different fillings, so you don’t have to guess.
- Quick & Easy: You can make a whole batch in under 20 minutes. Seriously. That’s faster than a trip to the store.
- Simple Ingredients: No weird preservatives or stabilizers. Just bread, your favorite spread, and maybe a little butter.
- Perfect for Lunchboxes: These are a lifesaver for school lunches, road trips, or those afternoons when the kids are hangry and you need something fast.
- Crowd-Pleaser: My kids actually eat these faster than the store-bought kind. And I’ve caught my husband grabbing one for a midnight snack.
- Unbelievably Delicious: The bread stays soft, the filling stays centered, and the sealed edges give you that perfect pocket of peanut butter and jelly in every bite.
What makes this recipe different? It’s the sealing method. Instead of fighting with a fancy gadget, I use a simple fork or a cheap sandwich sealer. And the trick to keeping the bread from getting soggy? A thin layer of peanut butter on both slices of bread before adding the jelly. That little barrier changes everything. This isn’t just another copycat recipe—it’s the version I actually trust for my own family’s lunches.
These sandwiches are the kind of thing that makes you feel like you’ve hacked the system. Better ingredients, lower cost, and you get to control exactly what goes inside. Plus, there’s something deeply satisfying about pulling a homemade sandwich out of the freezer on a busy morning.
What Ingredients You Will Need
This recipe uses simple, pantry-friendly ingredients to create freezer sandwiches that taste fresh and homemade. The key is choosing quality components that freeze well and thaw beautifully.
- Bread: 12 slices of soft white bread, whole wheat, or brioche. I prefer a sturdy sandwich bread that won’t tear when you seal the edges. (I use Pepperidge Farm Farmhouse brand for best results.)
- Peanut Butter: 1 cup creamy or crunchy peanut butter. Natural peanut butter works, but you’ll want to stir it really well first. The oil separation can make the bread soggy if you’re not careful.
- Jelly or Jam: ¾ cup strawberry jam, grape jelly, or your favorite fruit spread. Look for one with real fruit and less added sugar. (Seedless jam works best for kids.)
- Butter: 2 tablespoons unsalted butter, softened. This is optional, but brushing the outside of the bread before freezing gives it a golden, toasty finish when you heat it up.
- Optional Fillings: Nutella, honey, sliced bananas, cream cheese, or even a sprinkle of cinnamon sugar for variety.
For the peanut butter, I recommend using a brand like Jif or Skippy for consistency. Natural peanut butter can separate in the freezer, leaving you with a greasy sandwich. If you’re avoiding nuts, sunflower seed butter works beautifully as a substitute.
When it comes to bread, avoid anything too thin or airy. You need a slice that can hold up to the sealing process without ripping. I’ve found that a standard loaf of white bread or a soft whole wheat works perfectly. Sourdough can be too dense and doesn’t seal as well.
If you’re looking for a lower-sugar option, use a reduced-sugar jam or make your own. I’ve tried this with my small batch fig jam and it was incredible—just a different flavor profile that worked surprisingly well.
Equipment Needed
You don’t need much to make these, and that’s part of the beauty. Here’s what you’ll need:
- Sandwich Sealer or Cookie Cutter: A round sandwich sealer (about 4 inches in diameter) is ideal. If you don’t have one, a large round cookie cutter or even a clean tuna can works. I’ve used both, and honestly, the cheap plastic sealer from Amazon does the job.
- Rolling Pin: To flatten the bread slightly before sealing. A wine bottle works in a pinch.
- Fork: For crimping the edges if you’re not using a sealer. This is the budget-friendly option.
- Parchment Paper: To separate the sandwiches in the freezer so they don’t stick together.
- Freezer-Safe Bag or Container: A gallon-sized zip-top bag works great. Just squeeze out the air before sealing.
- Butter Knife: For spreading the fillings evenly.
I started with just a fork and a knife, and it worked fine. The sandwiches weren’t perfectly round, but they tasted just as good. If you’re making these regularly, a sandwich sealer is a nice investment—they’re usually under $10.
Preparation Method
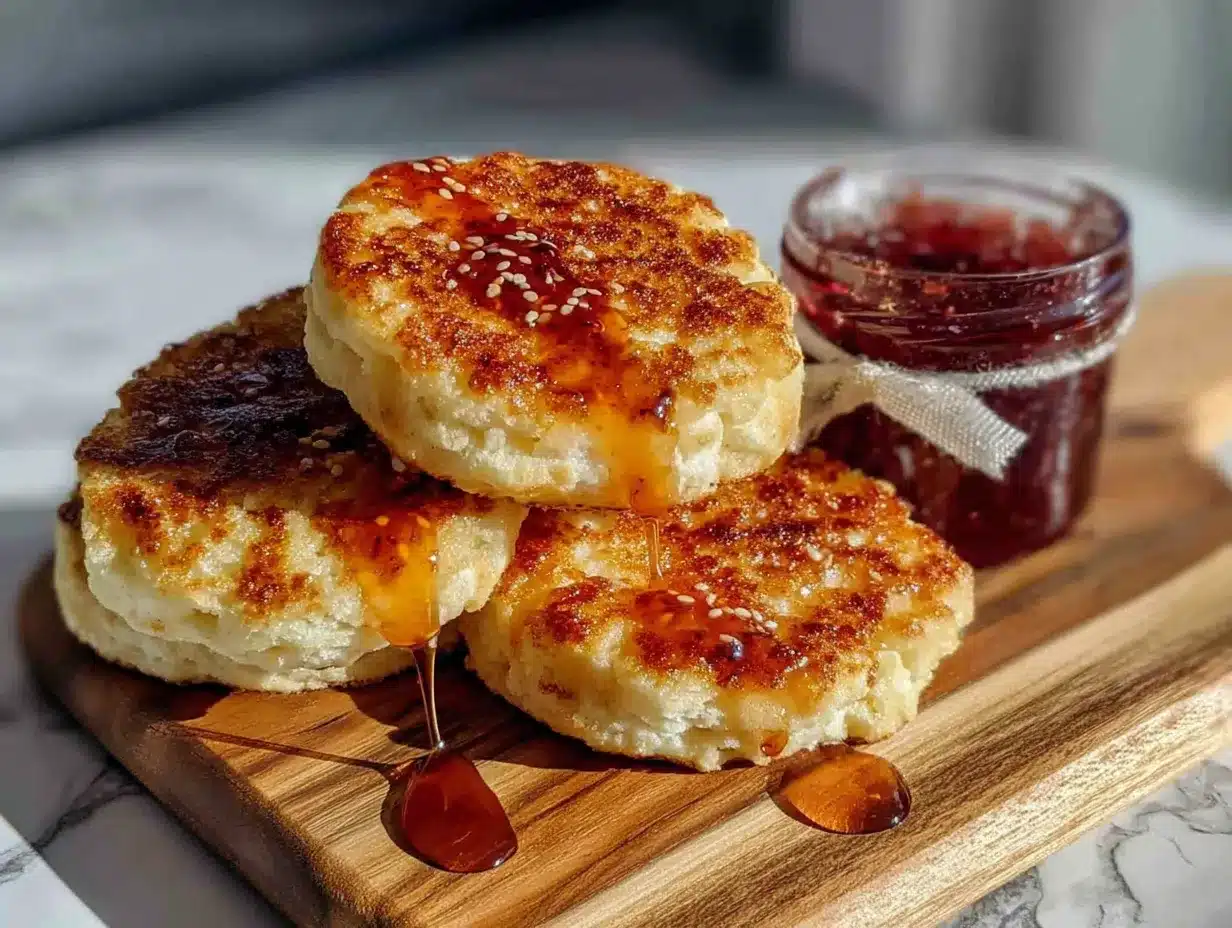
Let’s walk through this step by step. I’ll include all the little details I wish someone had told me the first time.
- Flatten the bread slices. Take your 12 slices of bread and gently roll them with a rolling pin until they’re about ¼ inch thick. Don’t press too hard or the bread will tear. You just want to compress it slightly so it seals better. (I learned this the hard way after my first batch came apart in the freezer bag.)
- Spread a thin layer of peanut butter on each slice. This is the barrier trick I mentioned. Use about 1 tablespoon of peanut butter per slice. Spread it all the way to the edges. This prevents the jelly from soaking into the bread and making it soggy. Trust me on this one—it makes all the difference.
- Add the jelly to half the slices. Take 6 of the peanut-buttered slices and add about 1 tablespoon of jelly or jam to the center. Spread it gently, leaving a ½-inch border around the edge. If you spread it too close to the edge, it will leak out when you seal the sandwich.
- Top with the remaining slices. Place the other 6 peanut-buttered slices on top, peanut butter side down. Press gently around the edges to help them stick together.
- Seal the sandwiches. Use your sandwich sealer or a large round cookie cutter to press down firmly around the filling. If you’re using a fork, press the tines into the edges all the way around, creating a tight seal. (I prefer the fork method for a more rustic look, but the sealer gives you that classic Uncrustable shape.)
- Trim the excess bread (optional). If you used a sealer, it will cut the crust off automatically. If you used a fork, you can trim the crust with a knife or leave it on. My kids prefer them crustless, so I trim mine.
- Flash freeze the sandwiches. Place the sealed sandwiches on a baking sheet lined with parchment paper, making sure they’re not touching. Pop the sheet in the freezer for 1-2 hours, or until the sandwiches are firm to the touch. This prevents them from sticking together when you bag them up.
- Wrap and store. Once frozen, transfer the sandwiches to a freezer-safe bag or container. You can wrap each one individually in parchment paper if you want, but I just stack them with small pieces of parchment between each sandwich. Squeeze out as much air as possible before sealing the bag.
- Label and date. Write the date and contents on the bag. These will keep for up to 3 months in the freezer.
A few more notes: If you’re adding Nutella or cream cheese, spread it on the same side as the peanut butter. And if you’re using bananas, slice them thin and pat them dry with a paper towel first to remove excess moisture.
Cooking Tips & Techniques
I’ve made plenty of mistakes with these, so you don’t have to. Here’s what I’ve learned:
Don’t overfill. I know it’s tempting to pile on the jelly, but too much filling will squeeze out when you seal the sandwich. Stick to about 1 tablespoon of each spread. You want the filling to stay inside the sealed pocket, not all over your fingers.
Use room temperature ingredients. Cold peanut butter doesn’t spread well and can tear the bread. Let your peanut butter sit out for 10 minutes before you start. Same goes for the jelly—cold jam is harder to spread evenly.
Press firmly but gently. When sealing, you want a tight seal without crushing the bread. If you’re using a fork, press down firmly enough to create a crimp but not so hard that you cut through the bread. It takes a little practice, but you’ll get the feel for it.
Flash freezing is non-negotiable. I skipped this step once because I was in a hurry, and the sandwiches all froze together into one giant blob. Don’t be like me. Give them the hour on the baking sheet. It’s worth it.
Toast or thaw? For a soft, lunchbox-ready sandwich, just pull one out of the freezer in the morning and it will be thawed by lunch. If you want it warm, pop it in the toaster or air fryer at 350°F for 3-4 minutes. My kids actually prefer them cold, straight from the lunchbox.
Batch size matters. I usually make 6 sandwiches at a time, which is two weeks’ worth for my family. Any more than that and the bread starts to get stale before I can seal it all. If you need a bigger batch, work in smaller groups.
Variations & Adaptations
One of the best things about this recipe is how customizable it is. Here are some variations I’ve tried and loved:
Nut-Free Version: Swap the peanut butter for sunflower seed butter or WowButter. The flavor is slightly different, but the texture works the same. Just note that sunflower seed butter can turn green when baked or frozen—it’s totally safe, just a little off-putting visually.
Low-Sugar Option: Use a sugar-free jam and a natural peanut butter with no added sugar. You can also skip the butter brushing to reduce calories. These are still satisfying and much healthier than the store-bought versions.
Flavor Combos: Try Nutella with strawberry jam, cream cheese with raspberry preserves, or honey with a sprinkle of cinnamon. My personal favorite is peanut butter with a thin layer of honey and sliced bananas—it’s like a frozen Elvis sandwich.
Savory Version: For a lunchbox twist, make savory Uncrustables with cream cheese and cucumber, or turkey and cheddar. Just skip the sweet spreads and use a savory filling. They freeze just as well.
Gluten-Free Adaptation: Use your favorite gluten-free bread. You’ll need to be extra gentle when rolling and sealing because gluten-free bread is more fragile. I’ve had good luck with Canyon Bakehouse brand.
Air Fryer Method: If you want a warm, crispy version, pop a frozen Uncrustable in the air fryer at 350°F for 4 minutes. The outside gets golden and the inside stays soft and warm. It’s a game-changer for breakfast.
Serving & Storage Suggestions
These sandwiches are incredibly versatile when it comes to serving and storing. Here’s how I handle them:
Serving Temperature: For a classic lunchbox experience, just pull a sandwich from the freezer and pack it in the morning. It will be perfectly thawed and soft by lunchtime. For a warm treat, toast it lightly or pop it in the air fryer for a few minutes. The butter brushing gives it a beautiful golden crust when heated.
Presentation Ideas: Pack these alongside some fresh fruit, veggie sticks, or a handful of pretzels for a complete lunch. I love pairing them with my no-bake peanut butter oat energy bars for a double-dose of lunchbox goodness. For a fun snack board, arrange them with cheese cubes, apple slices, and a few crackers.
Storage: These sandwiches will keep in the freezer for up to 3 months. Make sure your freezer bag is well-sealed and the air is squeezed out to prevent freezer burn. I like to write the date on the bag so I know which batch to use first.
Reheating: From frozen, microwave for 20-30 seconds for a soft, warm sandwich. For a crispy exterior, use a toaster oven or air fryer at 350°F for 3-4 minutes. If you’re packing them for lunch, no reheating needed—they thaw perfectly in the lunchbox.
Flavor Development: The flavors actually meld together nicely after a day or two in the freezer. The peanut butter and jelly sort of marry together, and the bread absorbs just a hint of the filling. It’s subtle, but noticeable. I actually prefer them after they’ve been frozen for at least a week.
Nutritional Information & Benefits
Here’s a rough estimate for one homemade Uncrustable (using white bread, creamy peanut butter, and strawberry jam):
- Calories: Approximately 280-320 calories per sandwich
- Protein: 8-10 grams
- Carbohydrates: 30-35 grams
- Fat: 14-16 grams
- Fiber: 2-3 grams
- Sugar: 12-15 grams
Compared to store-bought Uncrustables, these have less sugar and more protein. The peanut butter provides healthy fats and protein that help keep kids full longer. If you use whole wheat bread, you’ll add more fiber and nutrients.
Dietary Considerations: This recipe can be made gluten-free, nut-free, and low-sugar with simple substitutions. Always check labels if you’re accommodating allergies. The sandwiches are naturally vegetarian and can be made vegan by using plant-based butter and a vegan-friendly bread.
Health Benefits: Peanut butter is a great source of protein, healthy fats, and vitamin E. It also contains magnesium and potassium. Using a fruit jam with real fruit adds antioxidants and natural sweetness without the high fructose corn syrup found in many commercial versions.
I feel good about packing these in my kids’ lunches because I know exactly what’s in them. No preservatives, no artificial flavors, no weird stabilizers. Just real food that tastes better and costs less.
Conclusion
These freezer-friendly homemade Uncrustables have genuinely changed our morning routine. No more scrambling for lunchbox ideas, no more overpriced boxes of processed sandwiches. Just a quick grab from the freezer and we’re out the door. The best part? My kids actually prefer these to the store-bought version, and I feel good about what they’re eating.
I encourage you to experiment with your own favorite fillings and find what works for your family. Maybe it’s Nutella and banana, or cream cheese and jam, or even a savory version with ham and cheese. The possibilities are endless, and the process is so simple you’ll wonder why you didn’t start sooner.
If you give these a try, I’d love to hear about it. Drop a comment below with your favorite filling combination, or tag me in your photos. And if you’re looking for more lunchbox inspiration, check out my mini chicken Caesar wraps or these mini bagel cream cheese snack boards for even more easy ideas.
Happy prepping, and may your freezer always be full of good things.
Frequently Asked Questions
Can I use any type of bread for homemade Uncrustables?
Yes, but softer breads like white, whole wheat, or brioche work best. Avoid very dense or crusty breads like sourdough or rye, as they don’t seal as well and can crack in the freezer.
How long do these stay fresh in the freezer?
These homemade Uncrustables will stay fresh for up to 3 months in the freezer if stored properly in an airtight bag with all the air squeezed out. After that, they’re still safe to eat but the texture may decline.
Can I make these without a sandwich sealer?
Absolutely! A fork works perfectly for sealing the edges. Just press the tines firmly around the edges of the sandwich to create a crimped seal. A round cookie cutter also works well for cutting the crust off.
Do I need to thaw them before eating?
Not at all. You can eat them straight from the freezer—they thaw in about 30 minutes at room temperature. For a warm sandwich, microwave for 20-30 seconds or toast for 3-4 minutes.
Can I use natural peanut butter in this recipe?
Yes, but stir it very well first to incorporate the oil. Natural peanut butter can separate in the freezer, making the sandwich greasy. If you’re using it, spread a very thin layer and consider adding an extra barrier of butter on the bread.
Pin This Recipe!
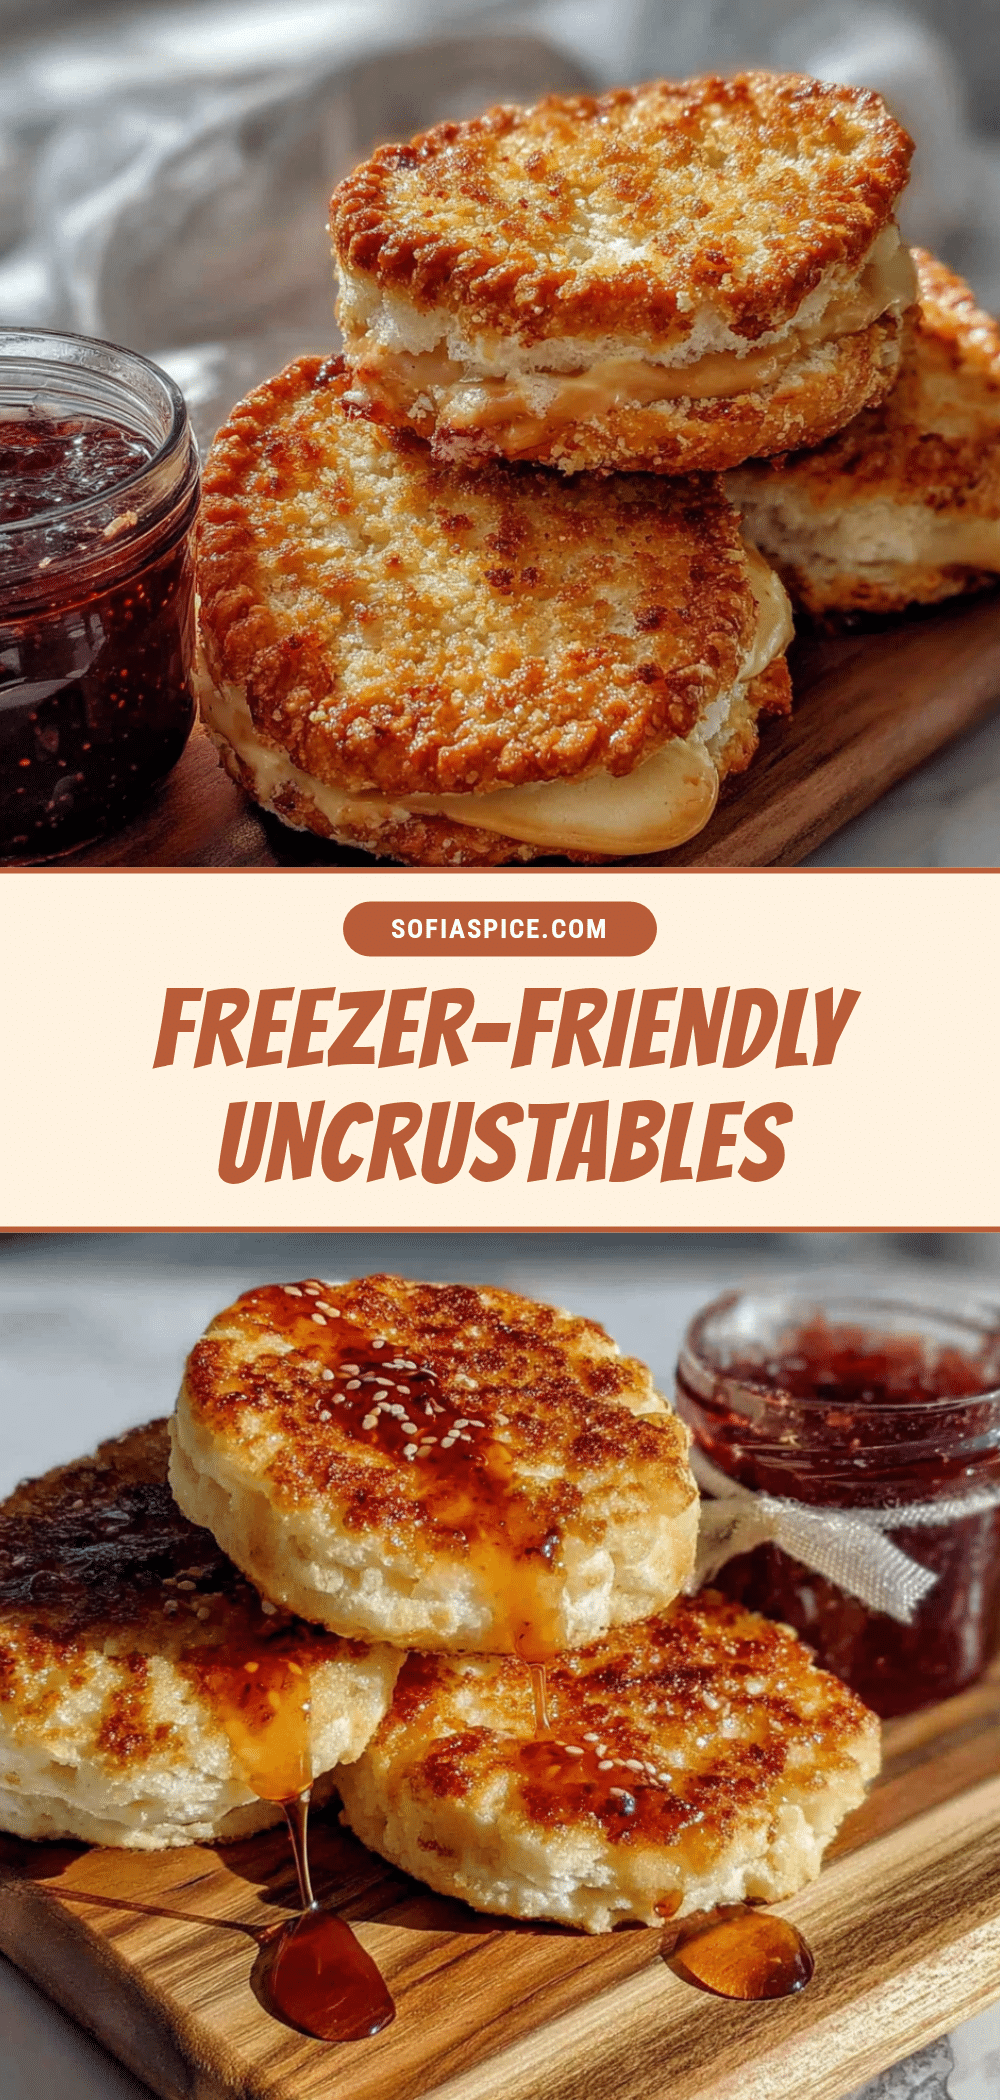
Best Freezer-Friendly Homemade Uncrustables Recipe

These homemade Uncrustables are quick, easy, and made with simple ingredients. Perfect for lunchboxes, road trips, or busy mornings, they taste better than store-bought and cost less.
- Prep Time: 15 minutes
- Cook Time: 0 minutes
- Total Time: 15 minutes (plus 1-2 hours freezing)
- Yield: 6 sandwiches 1x
- Category: Snack
- Cuisine: American
Ingredients
- 12 slices soft white bread, whole wheat, or brioche
- 1 cup creamy or crunchy peanut butter
- 3/4 cup strawberry jam, grape jelly, or fruit spread
- 2 tablespoons unsalted butter, softened (optional)
- Optional fillings: Nutella, honey, sliced bananas, cream cheese, cinnamon sugar
Instructions
- Flatten the bread slices: Gently roll each slice with a rolling pin until about 1/4 inch thick.
- Spread a thin layer of peanut butter on each slice (about 1 tablespoon per slice), all the way to the edges.
- Add the jelly to half the slices: On 6 of the peanut-buttered slices, add about 1 tablespoon of jelly to the center, leaving a 1/2-inch border.
- Top with the remaining slices: Place the other 6 peanut-buttered slices on top, peanut butter side down. Press gently around the edges.
- Seal the sandwiches: Use a sandwich sealer, large round cookie cutter, or a fork to press down firmly around the filling, creating a tight seal.
- Trim the excess bread (optional): If using a sealer, it will cut the crust automatically. If using a fork, trim the crust with a knife or leave it on.
- Flash freeze the sandwiches: Place sealed sandwiches on a parchment-lined baking sheet, not touching. Freeze for 1-2 hours until firm.
- Wrap and store: Transfer frozen sandwiches to a freezer-safe bag or container, separating with parchment paper. Squeeze out air and seal.
- Label and date: Write the date and contents on the bag. Store for up to 3 months.
Notes
For best results, use room temperature peanut butter and jelly. Flash freezing is essential to prevent sandwiches from sticking together. To serve, thaw at room temperature for 30 minutes or microwave for 20-30 seconds. For a crispy exterior, toast or air fry at 350°F for 3-4 minutes.
Nutrition
- Serving Size: 1 sandwich
- Calories: 300
- Sugar: 14
- Sodium: 200
- Fat: 15
- Saturated Fat: 3
- Carbohydrates: 33
- Fiber: 3
- Protein: 9
Keywords: homemade uncrustables, freezer sandwiches, peanut butter and jelly, lunchbox ideas, easy meal prep


