I swore I’d never buy another Lunchable. It wasn’t some lofty parenting principle or a stand against processed food — honestly, it was the price. Three dollars and fifty cents for a handful of crackers, four sad slices of meat, and a “dessert” that tastes like chalk? My wallet started staging its own protest every time I hit the checkout. So I did what any reasonable, slightly stubborn parent would do: I decided to make my own. The first attempt was a disaster — crackers got soggy, cheese dried out, and my kid looked at me like I’d packed a science experiment. But after about six tries (and a few tears on my part), this Easy Copycat Lunchable DIY Snack Box for Kids was born. And honestly? It’s better than anything that comes in a plastic tray.
There’s something deeply satisfying about opening the fridge at 7 AM and knowing you’ve got everything ready to go. No wrestling with impossible-to-open plastic packaging, no tiny portions that leave a hungry kid staring at you. Just real food, arranged in a way that makes little eyes light up. It took me a while to figure out the balance — enough variety to keep it interesting, but simple enough that I’m not spending my Sunday meal-prepping like I’m running a catering business. This DIY snack box hits that sweet spot perfectly.
The best part? It actually costs less than half of what you’d pay for those store-bought kits. And when my daughter comes home with an empty box and tells me she traded her friend for an extra yogurt tube, I know I’ve won. Not just at budgeting — but at making lunch something she actually looks forward to.
Why You’ll Love This Recipe
- Budget-Friendly: Making these at home costs about $1.50 per box compared to $3.50+ for store-bought versions. Your wallet will thank you.
- Totally Customizable: Picky eater? No problem. You control every single ingredient that goes in. No more picking out “gross” crackers or trading mystery meat with friends.
- Prep Once, Eat All Week: Spend 20 minutes on Sunday and you’ve got lunch sorted for five days. That’s a game-changer for busy mornings.
- Healthier Without Being Obvious: You can sneak in whole-grain crackers, reduced-sodium meats, and fresh fruit without your kid noticing. They just see a fun snack box.
- School-Friendly: These fit perfectly in standard lunchboxes and keep everything separate until lunchtime. No more soggy cracker complaints.
- Picky Eater Approved: My daughter went from leaving half her lunch untouched to cleaning her box every single day. The power of choice — they get to decide what to eat first.
This isn’t just another lunch idea. It’s the solution to the daily “what do I pack?” panic that hits every parent around 9 PM. It’s the kind of recipe that makes you feel like you’ve got your act together, even when the rest of your life feels chaotic. And let’s be real — that feeling is priceless.
What Ingredients You Will Need
This recipe uses simple, everyday ingredients that you probably already have in your kitchen. The beauty of this DIY snack box is that nothing is set in stone — you can swap, substitute, and adjust based on what your kids actually eat. Here’s what I typically use:
The Main Event (Protein & Crackers)
- 4 oz turkey or ham slices — I prefer Boar’s Head or Applegate for cleaner ingredients, but any deli meat works. Roll them up into little pinwheels or cut them into fun shapes with cookie cutters.
- 1/2 cup whole-wheat crackers — Ritz, Wheat Thins, or even Annie’s bunny crackers. The key is choosing ones that won’t get crushed in the lunchbox.
- 2 oz cheddar cheese, cubed — Sharp cheddar holds up better than soft cheeses. Pre-cut cubes from the store work great, but I buy blocks and cut them myself for better value.
The Sweet Side
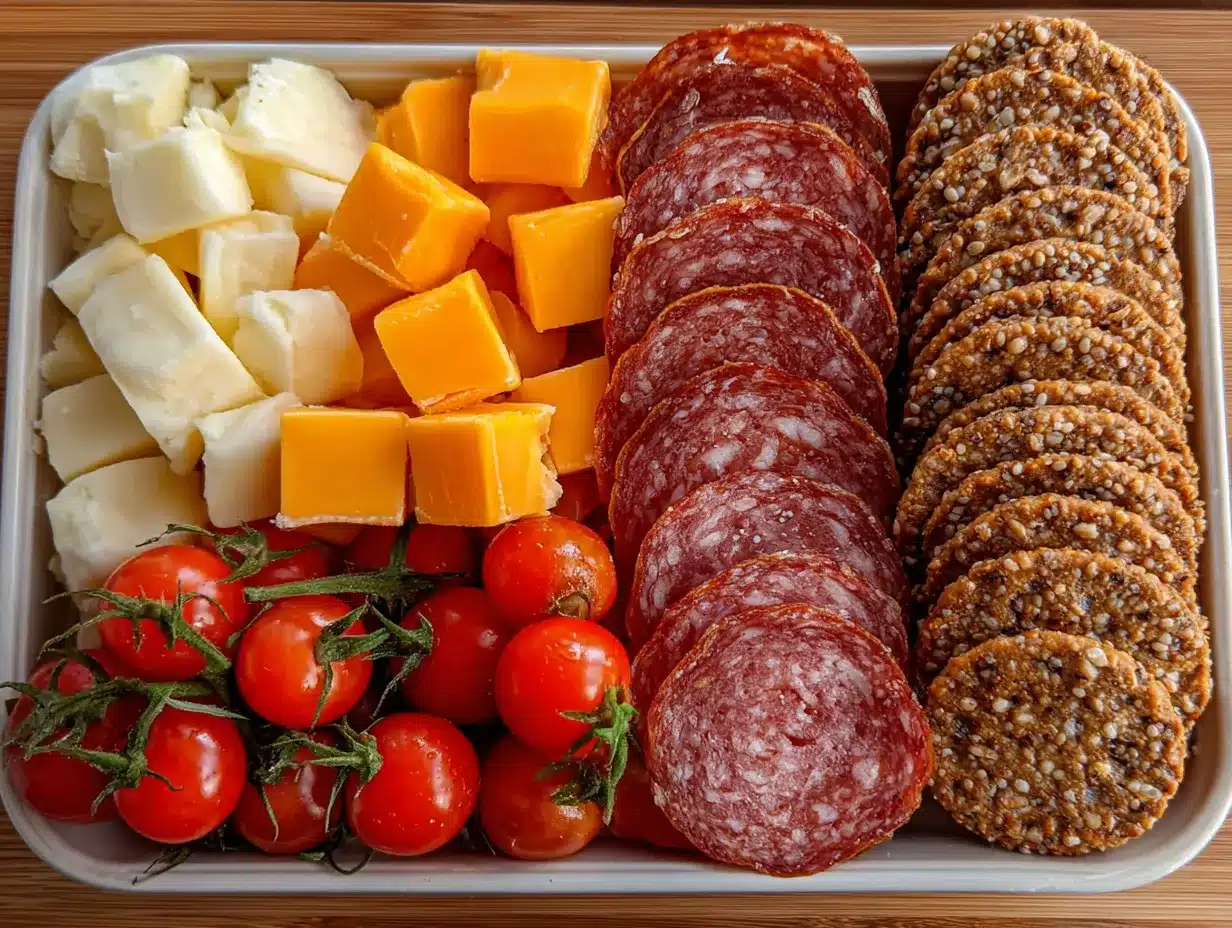
- 1/4 cup grapes or apple slices — Red grapes are always a hit, but sliced apples with a little lemon juice to prevent browning work beautifully. In summer, swap in fresh berries or melon balls.
- 2 tbsp yogurt-covered raisins or dark chocolate chips — This is the “dessert” component. My kids go crazy for the yogurt raisins, but mini chocolate chips are a close second.
The Crunch Factor
- 2 tbsp baby carrots or cucumber slices — Something crunchy and fresh to balance out the richness. I use a crinkle cutter for carrots — it makes them feel more fun.
- 1 tbsp ranch dip or hummus — A small container of dip makes everything more exciting. I use single-serving containers from the store or portion out homemade ranch.
The Extras (Optional but Fun)
- 1 string cheese, peeled and separated — Because peeling string cheese is half the fun of eating it.
- 2 tbsp pretzel sticks or popcorn — Adds another texture and keeps things interesting.
- 1 small fruit pouch or applesauce cup — For days when you need a little extra something.
If you’re looking for more lunchbox inspiration, check out our Fresh Mini Bagel Cream Cheese Snack Board — it’s another easy option that toddlers absolutely love.
Equipment Needed
- Bento-style lunchbox or compartment container — I use the Bentgo boxes because they’re leak-proof and dishwasher safe. But any container with separate compartments works.
- Small cookie cutters — Star, heart, or dinosaur shapes make everything more fun. I found a set of 12 on Amazon for under $10.
- Cheese knife or crinkle cutter — For cutting cheese and veggies into fun shapes. A regular knife works fine, but the crinkle cutter adds that special touch.
- Small silicone muffin cups — Perfect for separating wet ingredients like grapes or dip from dry crackers. They’re reusable and come in fun colors.
- Meal prep containers — If you’re making several boxes at once, these help keep everything organized. I use glass ones for the fridge and assemble the boxes each morning.
Preparation Method
- Prep your protein (5 minutes): Lay out your deli meat slices on a cutting board. If using turkey or ham, roll each slice into a tight log, then slice into 1-inch pinwheels. For a fun twist, use a small cookie cutter to cut shapes from the meat. My daughter loves when I cut her turkey into little stars.
- Cut the cheese (3 minutes): If using a block of cheese, cut it into 1/2-inch cubes. Aim for uniform sizes so they’re easy for little hands to pick up. If you’re using string cheese, just peel and separate the strips — no cutting needed.
- Prep your fruits and veggies (5 minutes): Wash and slice grapes in half lengthwise (safety first for little ones). For apple slices, toss them in a bowl with a squeeze of lemon juice to prevent browning. Cut carrots into sticks or use a crinkle cutter for fun shapes. Cucumber slices can be cut into quarters or stamped with small cookie cutters.
- Portion out the extras (2 minutes): Count out your crackers — I usually do 8-10 per box depending on size. Measure your yogurt raisins or chocolate chips into a small container. If using dip, portion it into a small leak-proof container.
- Assemble the boxes (5 minutes): Now the fun part. Arrange everything in your bento box or compartment container. I like to put the crackers in one large compartment, meat and cheese together in another, fruits and veggies in separate spots, and the sweet treat in its own little corner. Use silicone muffin cups to keep wet ingredients separate from dry.
- Add the finishing touches (2 minutes): If you’re including string cheese, place it diagonally across the box — it looks more appealing that way. Add a small ice pack if you’re packing for school, and you’re done.
- Store or pack (1 minute): If making ahead, cover the assembled box and refrigerate for up to 3 days. For best texture, add crackers and pretzels on the morning of serving to keep them crunchy.
For another quick lunch idea that comes together in minutes, try our Easy Turkey Pesto Pinwheel Wraps — they’re perfect for alternating with these snack boxes.
Cooking Tips & Techniques
The first time I made these, I made the mistake of putting everything in the box the night before. By morning, the crackers were soft, the grapes had made everything damp, and my daughter refused to eat it. Lesson learned. Here’s what actually works:
Keep crackers separate until the last minute. Store them in a small ziplock bag inside the lunchbox, or add them to the box right before you pack it. Same goes for pretzels and popcorn — anything crunchy needs to stay dry.
Use the “wet barrier” trick. If you’re including grapes, cherry tomatoes, or cucumber slices, put them in a silicone muffin cup or small container. This keeps their moisture from seeping into the crackers and cheese. Trust me on this one — I learned the hard way.
Prep in batches, assemble daily. On Sunday, I cut all the cheese, slice all the fruit, and portion out the crackers and treats into separate containers. Then each morning, I spend 3 minutes assembling the box. It’s faster than trying to keep pre-assembled boxes fresh for five days.
Let your kid help. My daughter loves choosing which cookie cutter shapes to use and arranging everything in her box. When she helps make it, she’s way more likely to eat it. Plus, it teaches her about making good food choices.
Variations & Adaptations
Dietary Swaps
- Gluten-free: Use gluten-free crackers (Schar and Simple Mills are my favorites) and check that your deli meat is gluten-free — most are, but some have added wheat starch.
- Dairy-free: Swap cheddar for dairy-free cheese cubes (Violife melts less than others) and use hummus instead of ranch dip. Skip the string cheese or use a dairy-free alternative.
- Vegetarian: Replace deli meat with hard-boiled egg slices, edamame, or chickpea “tuna” salad. My vegetarian niece loves the egg version.
Flavor Twists
- Italian-inspired: Use salami or pepperoni, mozzarella cubes, and add a few olives. Pair with rosemary crackers or breadsticks.
- Breakfast-for-lunch: Mini pancakes or waffles, turkey sausage links, and apple slices with a side of maple syrup for dipping. My kids beg for this version.
- Taco Tuesday: Shredded chicken or seasoned ground beef, shredded cheese, tortilla chips, and a small container of salsa. Add a dollop of sour cream if you’re feeling fancy.
Seasonal Ideas
- Fall: Use apple slices, cheddar cheese, and add a few dried cranberries. Pumpkin-shaped crackers if you can find them.
- Summer: Fresh berries, melon balls, and cucumber sticks. Swap crackers for cold pasta salad in a separate compartment.
- Winter: Clementine segments, cubed cheese, and whole-grain crackers. Add a small thermos of warm soup on the side.
For another fun lunchbox option, check out our Crispy Cheesy Quesadilla Snack Box — it’s a warm option that travels surprisingly well.
Serving & Storage Suggestions
These DIY snack boxes are best served cold or at room temperature — perfect for school lunches or afternoon snacks. If you’re packing for school, add a small ice pack to keep everything fresh until lunchtime, especially if you’re including dairy or deli meat.
Storage tips: Pre-assembled boxes will keep in the refrigerator for up to 3 days, but the texture of crackers and crunchy veggies will start to decline after day 2. For best results, store the components separately and assemble the morning of serving. The meat and cheese can be pre-cut and stored together in an airtight container for up to 5 days.
Freezer option: You can freeze the cheese cubes and deli meat (separately) for up to 2 months. Thaw overnight in the refrigerator before using. Grapes can also be frozen — they’re like little popsicles and kids love them. Just don’t freeze crackers or fresh veggies — they’ll turn into a sad, soggy mess.
Reheating: This is a cold lunch, so no reheating needed. But if you’re using leftover cooked chicken or hard-boiled eggs, make sure they’re fully cooled before assembling to prevent condensation inside the box.
For another make-ahead lunch idea, our Easy No-Bake Peanut Butter Oat Energy Bars are perfect for adding to the snack box as a filling treat.
Nutritional Information & Benefits
Per serving (one DIY snack box with turkey, cheddar, whole-wheat crackers, grapes, carrots, and yogurt raisins):
- Calories: 380-420
- Protein: 22g
- Carbohydrates: 35g
- Fiber: 4g
- Fat: 18g
- Calcium: 15% DV
- Iron: 10% DV
The beauty of this DIY snack box is that it offers a balanced mix of protein, healthy fats, and complex carbohydrates — everything a growing kid needs to power through the school day. The turkey provides lean protein for sustained energy, while the cheese adds calcium for strong bones. The whole-wheat crackers offer fiber, and the fresh fruit and veggies deliver essential vitamins and antioxidants.
Compared to a store-bought Lunchable (which averages 320 calories but only 10g of protein and loads of sodium), this homemade version is a nutritional upgrade without sacrificing the fun factor. Plus, you control the sodium content by choosing low-sodium deli meats and skipping the processed “dessert” that comes in the box.
If your child has allergies, this recipe is easily adaptable. Just swap the cheese for a dairy-free alternative, use gluten-free crackers, and choose a nut-free dip if needed. The possibilities are endless.
Conclusion
This Easy Copycat Lunchable DIY Snack Box for Kids has honestly changed our mornings. No more scrambling to find something packable, no more guilt about handing over another plastic-wrapped meal, and no more uneaten lunches coming home. It’s simple, it’s affordable, and it gives my daughter a sense of ownership over her lunch — she gets to choose what goes in and what she eats first.
I’d love to hear how your kids react to their DIY snack boxes. Do they have a favorite combination? Something they absolutely refuse to eat? Drop a comment below and share your creations — I’m always looking for new ideas to try. And if you make a batch for the week, tag me on social media so I can see your beautiful lunchbox arrangements.
Here’s to happier lunchtimes, fuller bellies, and a little less plastic in our lives. You’ve got this, parent-friend!
Frequently Asked Questions
How long do these DIY snack boxes stay fresh in the fridge?
Pre-assembled boxes will stay fresh for up to 3 days in the refrigerator. However, for the best texture, I recommend storing crackers and crunchy items separately and adding them the morning of serving. The meat, cheese, and fruits can be prepped and stored together for up to 5 days.
Can I use leftover cooked meat instead of deli meat?
Absolutely! Leftover grilled chicken, meatballs, or even sliced hard-boiled eggs work beautifully. Just make sure any cooked meat is fully cooled before assembling to prevent condensation. My kids love when I use leftover chicken nuggets cut into bite-sized pieces.
What’s the best way to keep crackers from getting soggy?
The secret is separation. Use small silicone muffin cups or separate compartments to keep crackers away from anything moist. You can also pack crackers in a small ziplock bag inside the lunchbox and let your kid add them to the box at lunchtime. This is especially important if you’re including grapes or cherry tomatoes.
How do I make these snack boxes nut-free for school?
Easy! Skip any nut-based dips or spreads and use sunflower seed butter or WowButter instead of peanut butter. Check your crackers and granola bars for nut contamination if your school has strict policies. Most deli meats and cheeses are naturally nut-free, but always read labels to be safe.
Can I make these for adults too?
Totally! Just scale up the portions and swap in adult-friendly ingredients. Think salami and provolone, olives, artichoke hearts, and fancy crackers. Add a small container of hummus or tzatziki for dipping. My husband takes an adult version to work and his coworkers are always jealous.
Pin This Recipe!
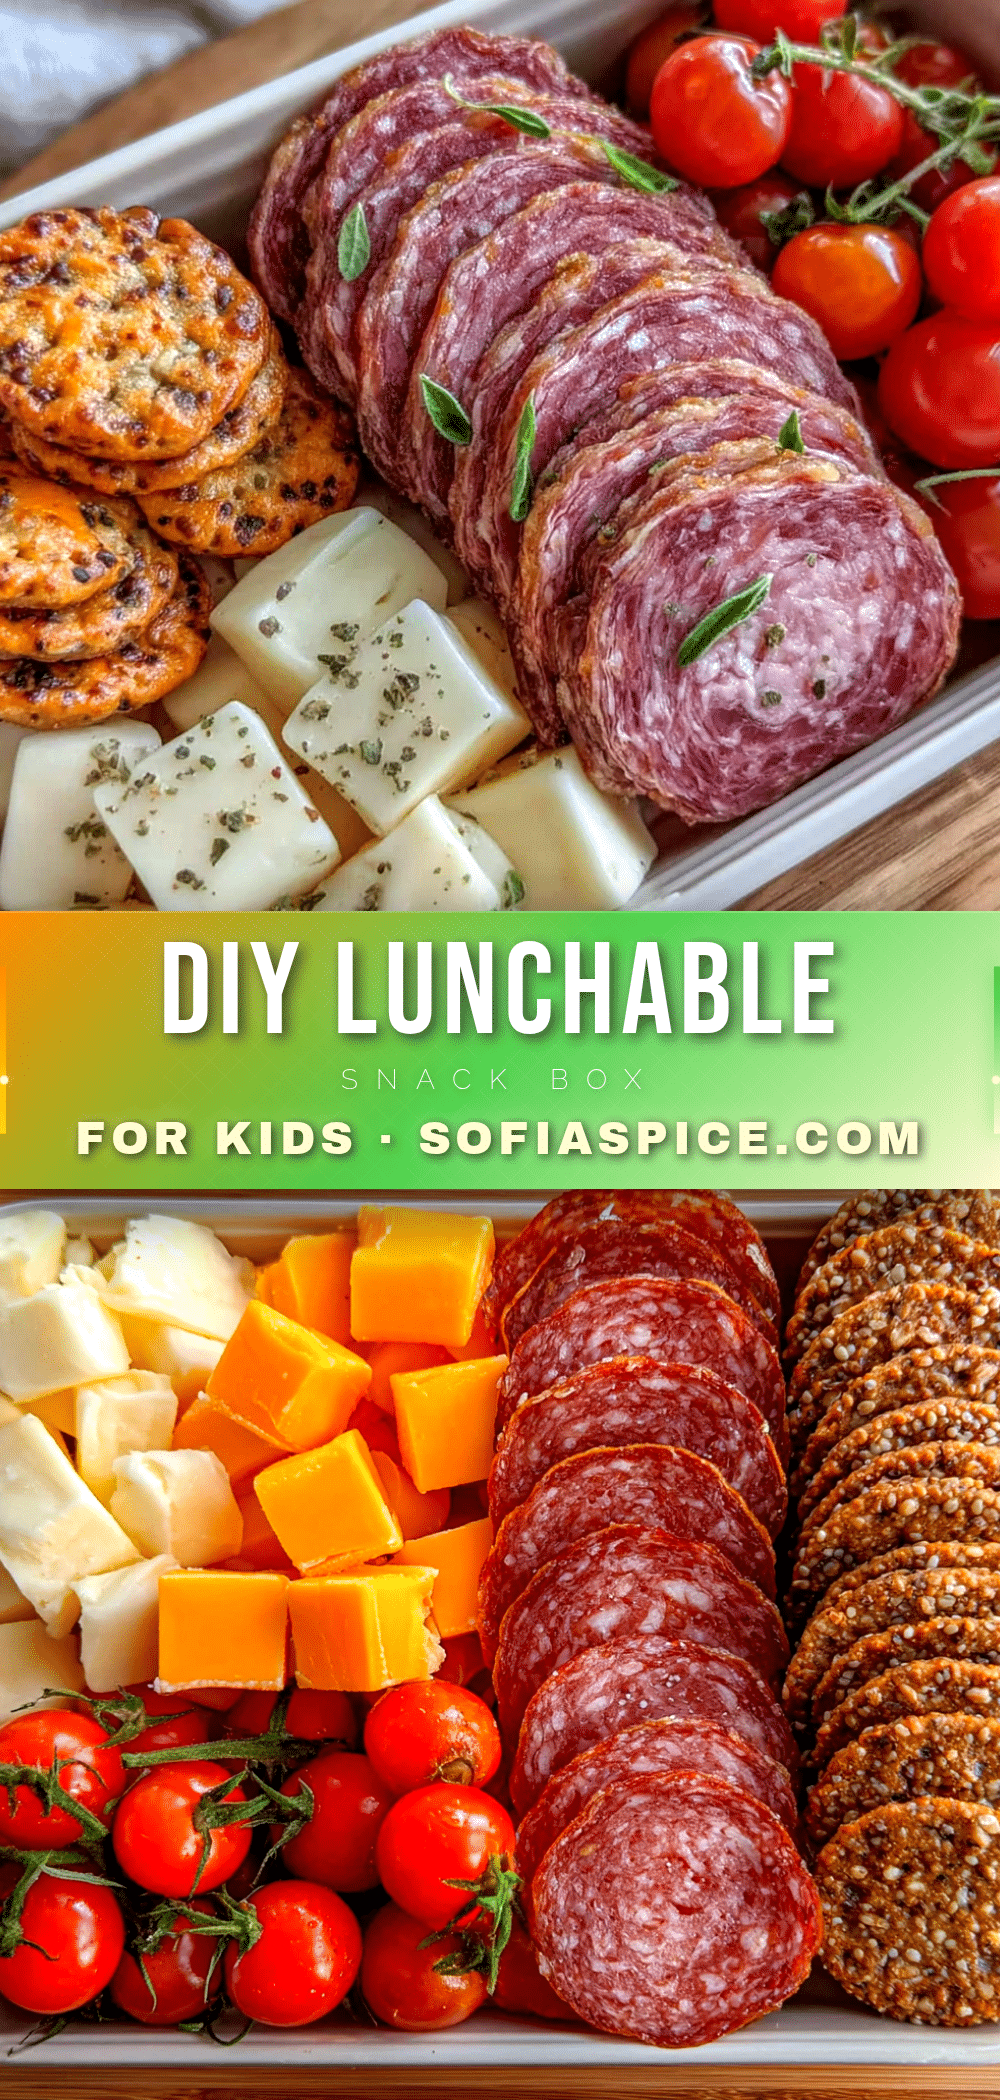
Easy DIY Lunchable Snack Box for Kids

A budget-friendly, customizable, and healthier homemade version of store-bought Lunchables that kids love. Perfect for school lunches, these snack boxes are easy to prep in advance and packed with balanced nutrition.
- Prep Time: 20 minutes
- Cook Time: 0 minutes
- Total Time: 20 minutes
- Yield: 1 serving 1x
- Category: Lunch
- Cuisine: American
Ingredients
- 4 oz turkey or ham slices
- 1/2 cup whole-wheat crackers
- 2 oz cheddar cheese, cubed
- 1/4 cup grapes or apple slices
- 2 tbsp yogurt-covered raisins or dark chocolate chips
- 2 tbsp baby carrots or cucumber slices
- 1 tbsp ranch dip or hummus
- 1 string cheese, peeled and separated (optional)
- 2 tbsp pretzel sticks or popcorn (optional)
- 1 small fruit pouch or applesauce cup (optional)
Instructions
- Prep your protein: Lay out deli meat slices on a cutting board. Roll each slice into a tight log, then slice into 1-inch pinwheels. For a fun twist, use a small cookie cutter to cut shapes from the meat.
- Cut the cheese: If using a block of cheese, cut it into 1/2-inch cubes. If using string cheese, peel and separate the strips.
- Prep your fruits and veggies: Wash and slice grapes in half lengthwise. For apple slices, toss them in a bowl with a squeeze of lemon juice to prevent browning. Cut carrots into sticks or use a crinkle cutter for fun shapes. Cucumber slices can be cut into quarters or stamped with small cookie cutters.
- Portion out the extras: Count out 8-10 crackers per box. Measure yogurt raisins or chocolate chips into a small container. If using dip, portion it into a small leak-proof container.
- Assemble the boxes: Arrange everything in a bento box or compartment container. Place crackers in one large compartment, meat and cheese together in another, fruits and veggies in separate spots, and the sweet treat in its own corner. Use silicone muffin cups to keep wet ingredients separate from dry.
- Add the finishing touches: If including string cheese, place it diagonally across the box. Add a small ice pack if packing for school.
- Store or pack: If making ahead, cover the assembled box and refrigerate for up to 3 days. For best texture, add crackers and pretzels on the morning of serving to keep them crunchy.
Notes
Keep crackers separate until serving to prevent sogginess. Use the ‘wet barrier’ trick by placing moist ingredients like grapes in silicone cups. Prep components in batches and assemble daily for best freshness. Let kids help choose shapes and arrange their box to encourage eating.
Nutrition
- Serving Size: 1 snack box
- Calories: 380420
- Sugar: 12
- Sodium: 600
- Fat: 18
- Saturated Fat: 8
- Carbohydrates: 35
- Fiber: 4
- Protein: 22
Keywords: DIY Lunchable, kids lunch, snack box, school lunch, healthy lunch, copycat Lunchable, bento box lunch


