The snap of a perfect dill pickle is what this recipe is all about — that crisp, satisfying crunch that almost echoes in your mouth before the tangy flavor even hits. Honestly, the texture is what made me fall for quick refrigerator dill pickles in the first place. Not soggy, not limp—just that fresh, lively bite that tells you this pickle means business. I remember the first time I sliced into one of these homemade pickles, the sound was so sharp it startled my dog. It’s funny how something so simple can have that kind of presence.
It’s not about soaking in a vat of brine for weeks or wrestling with complicated fermentation. This recipe nails the balance between speedy prep and that unmistakable pickle crunch — the kind that feels like it was just plucked from the garden and tossed into a jar. The dill, the garlic, and the tiny kick of peppercorns all come together to create a textured harmony that’s addictive. Even my pickiest eaters can’t get enough of these, and the best part? You can have them ready in just a few hours sitting in the fridge.
What sticks with me is how this recipe quietly changed my approach to pickling. No fuss, no waiting forever, just straightforward ingredients and a method that respects the crunch. It’s like a little miracle for your taste buds every time you pop open the jar. Plus, it pairs beautifully with salads, sandwiches, or even a simple snack on its own. If texture is your obsession like it is mine, these quick refrigerator dill pickles will feel like a small victory in your kitchen.
So, if you’ve been hesitant about making pickles because of time or complexity, this recipe might just be the one to win you over. A little jar of crunch that promises a fresh, homemade touch without a long wait. That’s why I keep coming back to it — it’s reliable, fun to make, and honestly, it feels like a secret weapon for adding that zingy crunch to any meal.
Why You’ll Love This Easy Quick Refrigerator Dill Pickles Recipe
After testing countless pickle recipes, this easy quick refrigerator dill pickles recipe stands out for its simplicity and texture. I’ve tried everything from slow fermentations to vinegar-heavy brines, but nothing hits the sweet spot like this one. Here’s why this recipe became a staple in my kitchen:
- Quick & Easy: Ready in under 4 hours, perfect for when you want homemade pickles without the wait.
- Simple Ingredients: Uses pantry staples you probably already have—no fancy spices or hard-to-find stuff.
- Perfect for Snacking or Meals: Ideal for topping sandwiches, like my favorite grilled lemon herb chicken thighs, or adding crunch to salads.
- Crowd-Pleaser: Family and friends always ask for the recipe, and it’s a hit at potlucks.
- Unbelievably Delicious: The dill and garlic flavors are bold but balanced, with that satisfying snap that sets it apart.
What really makes this recipe different is the emphasis on preserving that fresh crunch. The quick refrigeration method keeps cucumbers crisp, unlike the mushy results I’ve had with longer, slower pickling. Plus, the brine is perfectly seasoned—not too sour, not too salty—making it a versatile addition to everything from a fresh caprese sandwich to savory bug bites snacks I love to make for gatherings.
This recipe isn’t just about making pickles; it’s about making them right for your busy life. It’s the kind of quick fix that still feels homemade and special, so you don’t have to settle for store-bought when you want quality and crunch. Honestly, it’s a little reminder that homemade can be easy and rewarding.
What Ingredients You Will Need
This recipe uses simple, wholesome ingredients to deliver bold flavor and that satisfying crispness without any fuss. Most are pantry staples, and substitutions are easy if needed.
- Cucumbers: 4-5 small to medium pickling cucumbers, washed and sliced (I prefer Kirby cucumbers for their firmness and crunch)
- Fresh Dill: 3-4 sprigs (the star herb for that classic dill flavor)
- Garlic: 3 cloves, peeled and crushed (adds a nice savory punch)
- White Vinegar: 1 cup (the acidity preserves and flavors the pickles; you can swap with apple cider vinegar for a milder taste)
- Water: 1 cup (balances the vinegar intensity)
- Salt: 1 tablespoon kosher salt or pickling salt (avoid iodized salt, as it can cloud the brine)
- Sugar: 1 teaspoon (just enough to round out the acidity)
- Black Peppercorns: 1 teaspoon (whole for subtle heat)
- Red Pepper Flakes (Optional): ¼ teaspoon (for a gentle kick)
Ingredient Tips: Look for firm, unblemished cucumbers to keep that crunch going strong. If fresh dill isn’t available, dill seeds can work, but the fresh herb really makes a difference. For a salt brand, I usually reach for Diamond Crystal kosher salt—it dissolves nicely without overpowering the flavor.
Seasonal variation: In summer, feel free to swap sliced cucumbers with zucchini or even green beans for a fresh twist. And if you want to try a lower-sodium version, reduce the salt slightly and add a splash more vinegar to keep things tangy.
Equipment Needed
- Glass Jar with Lid: A quart-sized mason jar or any clean glass jar that seals well is perfect. I’ve tried plastic containers before, but glass keeps the flavor pure and is easier to clean.
- Measuring Cups and Spoons: For precise brine balance—trust me, eyeballing vinegar can get messy!
- Small Saucepan: To gently heat the brine ingredients for better dissolution.
- Cutting Board and Sharp Knife: For slicing cucumbers evenly (thin or thick, depending on your crunch preference).
- Tongs or Fork: Handy for pressing down cucumbers in the jar so they’re fully submerged.
If you don’t have a mason jar, any clean jar with a tight lid works well. Just avoid metal lids that might corrode from the vinegar. I also recommend rinsing your jar and tools with hot water before starting to keep everything fresh and crisp. For budget-friendly options, dollar stores often carry basic mason jars that do the job perfectly.
Preparation Method
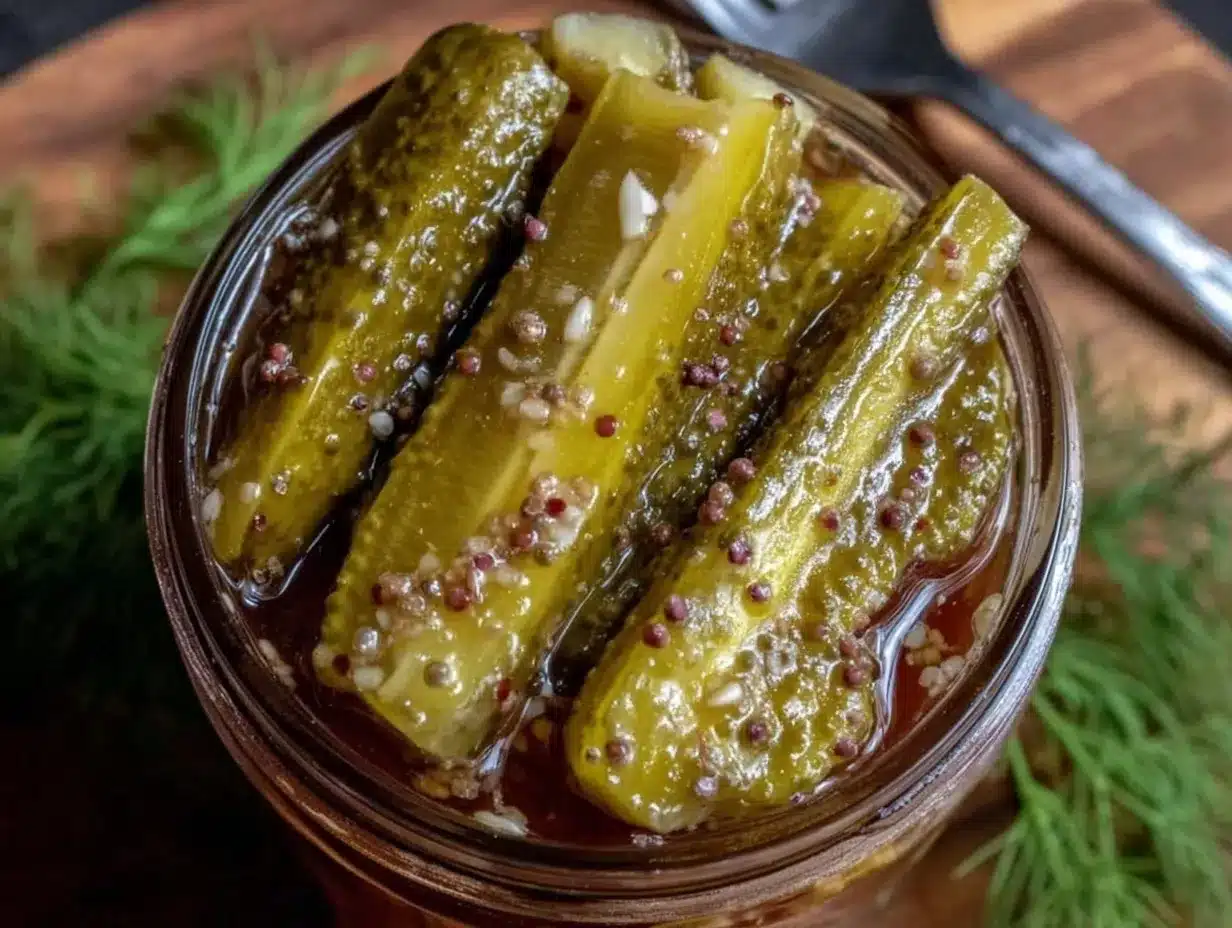
- Slice the Cucumbers: Cut 4-5 small pickling cucumbers into your preferred thickness—about ¼ inch (6 mm) slices work great for that classic bite. You can also slice lengthwise into spears for a different texture. Time estimate: 5 minutes.
- Prepare the Brine: In a small saucepan, combine 1 cup (240 ml) white vinegar, 1 cup (240 ml) water, 1 tablespoon kosher salt, and 1 teaspoon sugar. Heat gently over medium, stirring until the salt and sugar dissolve completely. Remove from heat and let cool slightly. Time estimate: 7 minutes. Tip: Don’t boil the vinegar mixture; it can alter the flavor.
- Pack the Jar: Place 3-4 sprigs of fresh dill, 3 crushed garlic cloves, 1 teaspoon black peppercorns, and optional ¼ teaspoon red pepper flakes into a clean quart-sized jar. Then pack the sliced cucumbers snugly but without crushing them. Time estimate: 5 minutes.
- Pour the Brine: Carefully pour the warm (not hot) brine over the cucumbers until they’re fully submerged. Use a fork or tongs to press cucumbers down if needed. Seal the jar tightly with its lid. Time estimate: 3 minutes.
- Refrigerate and Wait: Place the jar in the refrigerator for at least 3-4 hours before tasting. For best flavor, wait 24 hours. The pickles will keep for up to 2 weeks refrigerated. Time estimate: 3-4 hours minimum.
Preparation Notes: Make sure cucumbers are fully submerged to avoid them turning soft or moldy. If they float, use a clean weight or a smaller jar lid inside the bigger jar to keep them down. Also, using fresh garlic crushed just before packing helps avoid any bitterness.
When you first open the jar, expect a burst of tang mingled with herbal dill and garlic aromas. The crunch should be immediate and satisfying, a sure sign you did it right. This method allows for quick pickling without sacrificing texture or flavor, a win-win for any home cook.
Cooking Tips & Techniques
Making perfect quick refrigerator dill pickles is all about getting the details right. Here are some things I’ve learned (sometimes the hard way!) that can help your pickles come out crisp and flavorful every time.
- Use Fresh, Firm Cucumbers: Avoid those that are waxed or too large—they tend to be watery and mushy. Kirby or pickling cucumbers are the best choice for crunch.
- Don’t Skip the Salt Dissolving Step: Heating the brine until the salt and sugar dissolve ensures even flavor distribution and a clearer brine.
- Keep Cucumbers Submerged: Exposure to air leads to softening or spoilage. Press down with a weight if necessary to keep them underwater.
- Refrigerate Promptly: Since this is a quick pickle, refrigeration is key to prevent fermentation and maintain crispness.
- Slice Uniformly: Even thickness helps cucumbers pickle at the same rate and keeps texture consistent.
- Test Flavors Early: After 4 hours, taste to see if the balance suits you. You can always adjust brine ingredients in your next batch.
I once tried to speed things up by slicing cucumbers too thin and skipping the cooling step for the brine—big mistake. The pickles turned out mushy and overly salty. These lessons stuck, and now I stick to the timing and steps to avoid that soggy disappointment.
Multitasking tip: While your pickles chill, you can prep a fresh caprese sandwich or whip up savory bug bites to round out your snack spread—both pair beautifully with the bright flavor and crunch of these pickles.
Variations & Adaptations
This easy quick refrigerator dill pickles recipe is a great base to customize. Here are some ideas to make it your own:
- Garlic-Free Version: Omit garlic and add a teaspoon of mustard seeds for a milder, slightly tangy flavor.
- Spicy Pickles: Increase red pepper flakes to ½ teaspoon or add sliced jalapeños to the jar for a fiery kick.
- Low-Sodium Option: Cut the salt by half and add a splash more vinegar or a squeeze of lemon juice to keep acidity strong.
- Herb Twists: Swap fresh dill for fresh tarragon or fresh basil for a different herbal note.
- Alternate Vegetables: Use green beans, zucchini slices, or even carrot sticks for pickled crunch with a twist.
Personally, I once made a batch with fresh tarragon instead of dill, and it paired surprisingly well with my grilled lemon herb chicken thighs recipe. It felt like an entirely new pickle experience without extra effort.
Serving & Storage Suggestions
These refrigerator dill pickles are best served cold straight from the fridge. Their crisp texture shines when chilled, so keep them refrigerated until ready to eat. They make a fantastic crunchy side for sandwiches, burgers, and salads, or just a tangy snack to nibble on throughout the day.
For storage, keep pickles in a sealed glass jar in the refrigerator. They’ll stay crisp and flavorful for up to two weeks (if they last that long!). Avoid leaving them out at room temperature for extended periods, as that can soften the cucumbers.
When reheating isn’t really needed here, but if you like, you can use the pickles as an ingredient in warm dishes—like chopped into a creamy potato salad or added to a hot sandwich for contrast.
Flavors deepen slightly the longer they sit, so if you’re patient enough to wait 24 hours or more, you’ll get a more pronounced garlic and dill punch. That said, I often can’t resist snacking after just a few hours!
Nutritional Information & Benefits
These quick refrigerator dill pickles are a low-calorie, flavorful snack with some surprising benefits. A typical serving (about 3-4 slices) contains roughly:
| Calories | 10-15 |
|---|---|
| Sodium | 500-700 mg (varies by salt used) |
| Carbohydrates | 2-3 g |
| Fiber | 0.5 g |
| Vitamin K | Good source from cucumbers and dill |
The cucumbers provide hydration and some fiber, while dill offers antioxidants and vitamin C. Since this recipe uses vinegar, it may aid digestion and help regulate blood sugar when eaten in moderation. Just watch the sodium content if you’re salt-sensitive.
For those on gluten-free or low-carb diets, this pickle recipe fits perfectly as a tangy, crunchy snack alternative. It’s free from dairy, nuts, and common allergens, making it accessible to many dietary needs.
Conclusion
This easy quick refrigerator dill pickles recipe is a small but satisfying way to add homemade crunch and tang to your meals without complicated steps or long waits. I love how it respects the texture obsession I have with pickles, delivering that snap you crave every time. Customizable, simple, and quick, it’s a recipe I keep coming back to when I want a fresh bite of something bright and crisp.
Feel free to tweak the herbs, spice level, or veggies to make it your own. And hey, if you try it alongside a fresh caprese sandwich or pair it with my savory bug bites, you’ve got yourself a snack lineup that’ll impress with very little effort. If you give this recipe a shot, I’d love to hear how you made it yours!
Happy pickling and crunching — your taste buds will thank you.
Frequently Asked Questions
How long do quick refrigerator dill pickles last?
They keep well in the fridge for up to two weeks. After that, the texture and flavor may start to degrade.
Can I use regular cucumbers instead of pickling cucumbers?
Yes, but pickling cucumbers like Kirby are preferred because they stay crisp. Regular slicing cucumbers can get mushy faster.
Do I need to boil the cucumbers before pickling?
Nope! This quick recipe uses raw cucumbers to keep the crunch intact.
Can I make these dill pickles without vinegar?
Vinegar is key here for preservation and flavor. Without it, the pickles won’t keep as well and won’t have the classic tang.
What if I don’t have fresh dill? Can I use dried?
Fresh dill is best for vibrant flavor, but if you only have dried, use about 1 teaspoon per jar. The flavor will be less pronounced.
Pin This Recipe!
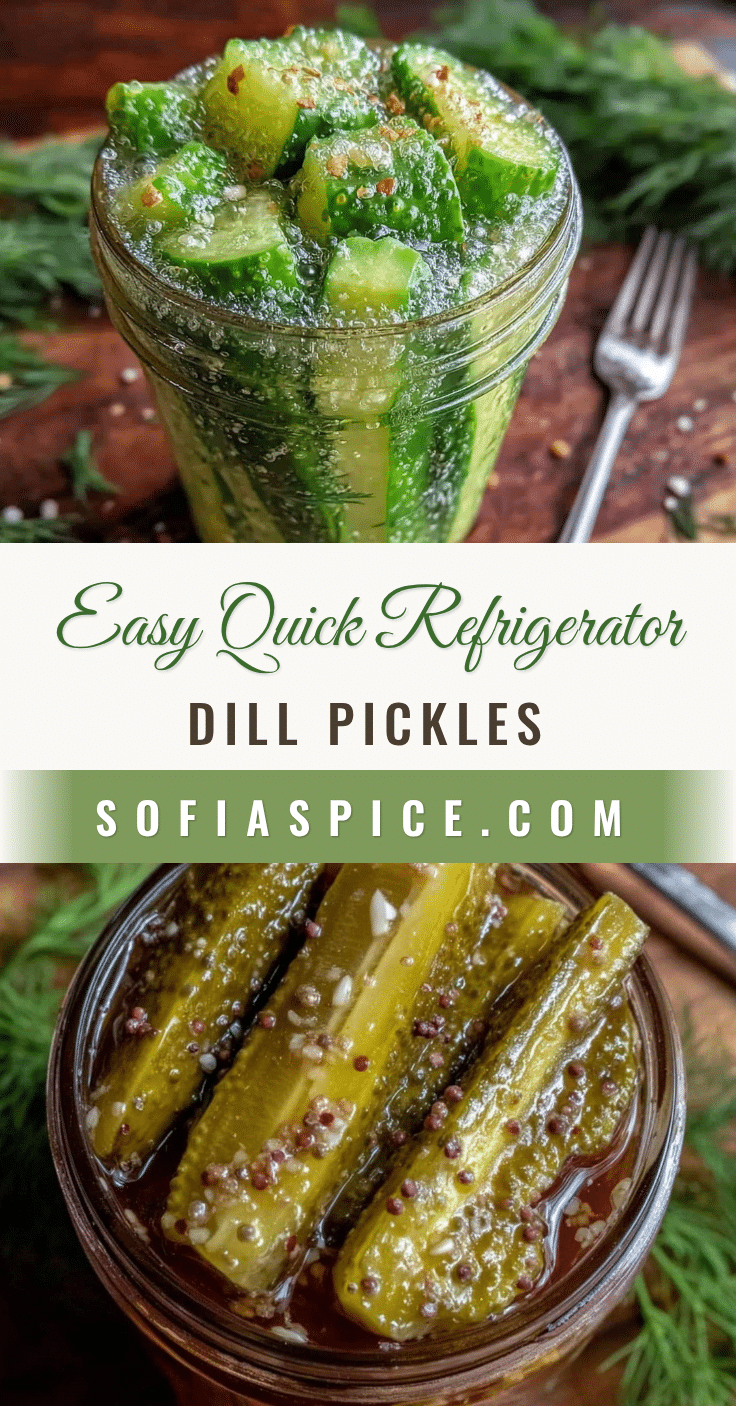
Easy Quick Refrigerator Dill Pickles
A simple and fast recipe for homemade dill pickles that are crisp, tangy, and ready in just a few hours. Perfect for snacking or adding crunch to meals.
- Prep Time: 15 minutes
- Cook Time: 7 minutes
- Total Time: 4 hours
- Yield: 4 servings 1x
- Category: Condiment
- Cuisine: American
Ingredients
- 4–5 small to medium pickling cucumbers, washed and sliced
- 3–4 sprigs fresh dill
- 3 cloves garlic, peeled and crushed
- 1 cup white vinegar
- 1 cup water
- 1 tablespoon kosher salt or pickling salt
- 1 teaspoon sugar
- 1 teaspoon whole black peppercorns
- ¼ teaspoon red pepper flakes (optional)
Instructions
- Slice the cucumbers into about ¼ inch (6 mm) slices or lengthwise spears as preferred.
- In a small saucepan, combine white vinegar, water, kosher salt, and sugar. Heat gently over medium, stirring until salt and sugar dissolve. Remove from heat and let cool slightly. Do not boil.
- Place fresh dill sprigs, crushed garlic cloves, black peppercorns, and optional red pepper flakes into a clean quart-sized glass jar. Pack the sliced cucumbers snugly but without crushing.
- Pour the warm (not hot) brine over the cucumbers until fully submerged. Use a fork or tongs to press cucumbers down if needed. Seal the jar tightly.
- Refrigerate the jar for at least 3-4 hours before tasting; for best flavor, wait 24 hours. Keep refrigerated and consume within 2 weeks.
Notes
Ensure cucumbers are fully submerged in brine to prevent softening or mold. Use fresh, firm cucumbers like Kirby for best crunch. Do not boil the brine to preserve flavor. Refrigerate promptly to maintain crispness. Adjust spice levels or herbs to customize flavor.
Nutrition
- Serving Size: About 3-4 pickle sli
- Calories: 1015
- Sugar: 1
- Sodium: 500700
- Carbohydrates: 23
- Fiber: 0.5
Keywords: quick pickles, refrigerator pickles, dill pickles, homemade pickles, easy pickling, crunchy pickles


