For a while, I just accepted that homemade dill pickles wouldn’t have that perfect crunch and fresh snap I craved. I mean, I tried a few recipes, jars in the fridge that promised crispness but ended up with soggy, floppy slices that just didn’t hit the mark. It wasn’t that I wasn’t patient—pickling takes time, after all—but something about those early attempts felt off. The brine was either too sharp or too bland, and the texture never quite matched the dill pickles I remembered from roadside stands or grandma’s pantry.
One afternoon, while slicing cucumbers straight from my garden (still trying to figure out what to do with the pile), I noticed the tiny flecks of dill on the ground, and it struck me: maybe the secret wasn’t just in the pickling but in the timing and the right balance of aromatics. The crunch, it seemed, was hiding in plain sight, waiting for a method that respected the cucumber’s natural snap instead of beating it down.
So, I set out with a quiet kind of resolve to find that easy crunchy homemade dill pickles recipe that would work every time—no soggy missteps, no complicated equipment. It was more about patience and a few simple tricks than anything fancy. And honestly, it’s stuck with me because it’s reliable and real. Now, every jar I open carries that satisfying snap and just the right zing of dill, a little reminder that good things happen when you don’t rush the process.
Why You’ll Love This Recipe
This easy crunchy homemade dill pickles recipe isn’t just another jar on the shelf; it’s the one that delivers consistent crispness and flavor without fuss. I’ve spent countless afternoons tweaking the brine and testing different cucumbers to get it just right—you know, the kind of recipe that feels like it’s been passed down, but you’re the one who figured out the perfect balance. Here’s why it stands out:
- Quick & Easy: You can have the pickles prepped in under 15 minutes, perfect for squeezing into busy days or last-minute snack cravings.
- Simple Ingredients: No hard-to-find spices or fancy vinegars—just staples you probably already have in your pantry.
- Perfect for Every Occasion: Whether it’s a backyard BBQ or adding a crunchy kick to your sandwich, these pickles fit right in.
- Crowd-Pleaser: I’ve brought these to family gatherings and paired them with dishes like crispy honey mustard BBQ chicken drumsticks, and they always get raves.
- Unbelievably Delicious: The dill and garlic hit just right, and the crunch is next-level thanks to a few key tips on cucumber prep.
What makes this recipe different? It’s the way it respects the cucumber’s texture—no over-soaking or mushy endings. There’s a little trick with ice water baths and pickling stones (or alternatives) that keeps everything crisp and fresh. Plus, by blending fresh dill with a touch of dried, the flavor is vibrant but balanced, not overpowering. This isn’t just another pickle recipe; it’s the one you’ll come back to every summer when cucumbers are abundant and that crunchy satisfaction is non-negotiable.
What Ingredients You Will Need
This recipe uses simple, wholesome ingredients that come together to create bold flavor and a satisfying crunch without fuss. Most of these are pantry staples with a few fresh touches, making it easy to whip up a batch anytime cucumbers are in season.
- Cucumbers: About 2 pounds (900 g) of fresh pickling cucumbers, small to medium-sized (look for firm, unblemished cucumbers—Kirby cucumbers work perfectly).
- Fresh dill: 3-4 sprigs per jar, plus a handful for the brine (fresh dill really brightens the flavor, but you can add 1 teaspoon of dried dill if fresh isn’t available).
- Garlic cloves: 3-4 large cloves, peeled and smashed (garlic adds that unmistakable punch).
- White vinegar: 1 cup (240 ml) – the base of the brine (I prefer distilled white vinegar for clean acidity).
- Water: 1 cup (240 ml) cold, to balance the vinegar.
- Pickling salt or kosher salt: 1 tablespoon (avoid iodized salt to keep the brine clear and flavor pure).
- Whole black peppercorns: 1 teaspoon for a subtle spice kick.
- Mustard seeds: 1 teaspoon adds a gentle warmth.
- Red pepper flakes (optional): ¼ teaspoon, if you like a little heat.
- Fresh horseradish root (optional): A small slice per jar can add an extra zing and help maintain crunch.
- Pickling stones or a clean weight: To keep cucumbers submerged during the pickling process (more on this below).
Substitution tips: If you want a gluten-free option, this recipe is naturally gluten-free. For a low-sodium version, reduce the salt but expect a slight change in flavor and crispness. If fresh dill is out of season, dried dill works in a pinch but use less to avoid bitterness. For vegans, this recipe is already plant-based and perfect as is.
Equipment Needed
Making these easy crunchy homemade dill pickles doesn’t require fancy kitchen gadgets, but a few handy tools make the process smoother.
- Glass Mason jars: 1-quart (1-liter) jars with lids are ideal for storing and fermenting the pickles.
- Pickling stones or fermentation weights: These keep your cucumbers submerged under the brine to prevent spoilage. If you don’t have pickling stones, a small, clean glass jar or zip-top bag filled with water works as a weight.
- Large mixing bowl: For soaking cucumbers in ice water before pickling.
- Measuring cups and spoons: Precision matters to get the right salty-sour balance.
- Sharp knife and cutting board: For slicing cucumbers and prepping ingredients.
- Small saucepan: To heat the brine mixture (optional, but helps dissolve the salt).
Personally, I found that investing in a set of Mason jars with wide mouths makes packing the cucumbers much easier and less fiddly. If you’re on a budget, thrift stores often have vintage jars that work just as well (and add a bit of charm). Keep your tools clean and avoid metal lids with rust to maintain pickles’ freshness and flavor.
Preparation Method
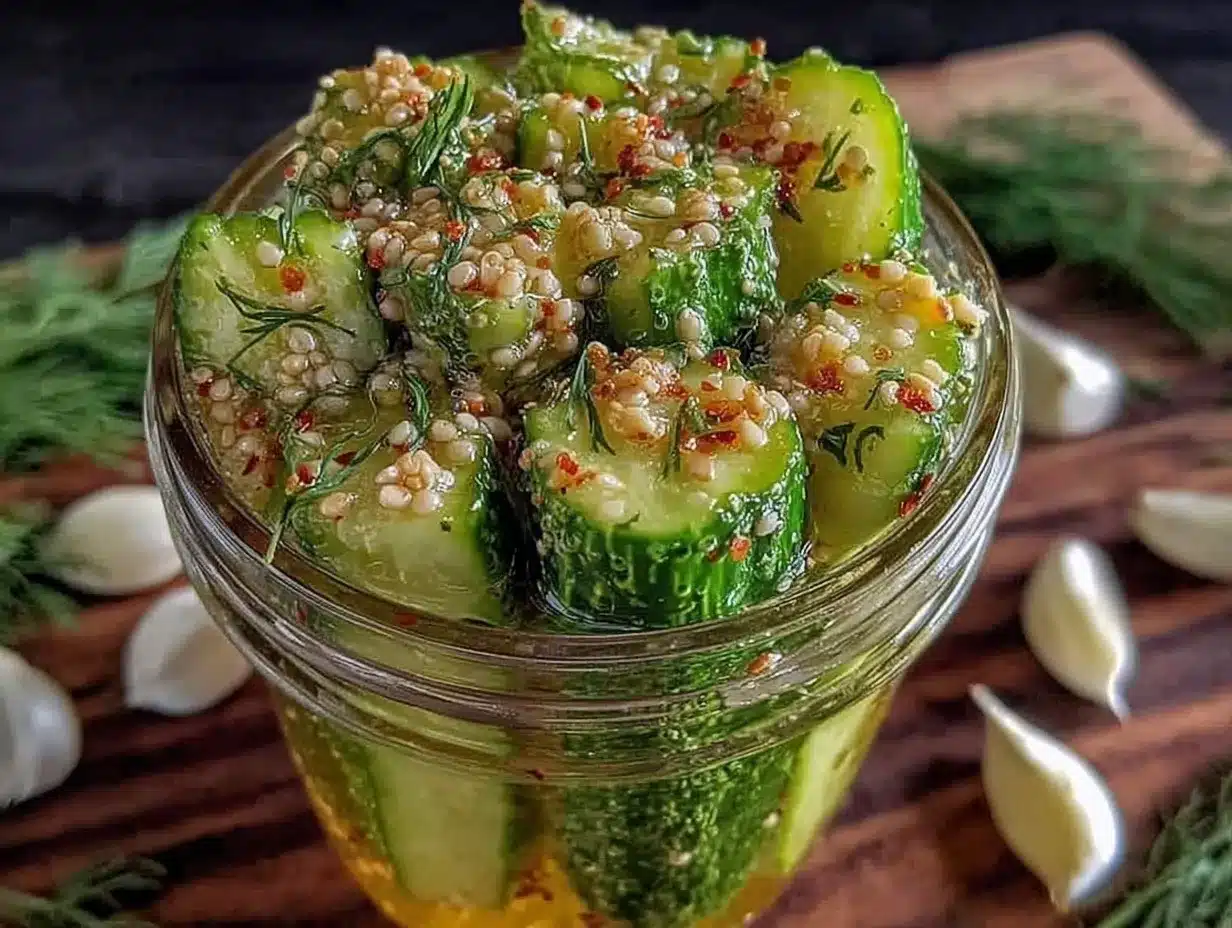
- Wash and slice cucumbers: Rinse 2 pounds (900 g) of pickling cucumbers thoroughly. Slice off the blossom ends (where enzymes can cause softening) and cut cucumbers into spears about 3-4 inches (7-10 cm) long. For extra crunch, keep the skins on.
- Soak cucumbers in ice water: Place cucumber spears in a large bowl filled with ice water and let them sit for about 1-2 hours. This step firms up the cucumbers and helps lock in that crunch.
- Prepare the brine: In a small saucepan, combine 1 cup (240 ml) white vinegar, 1 cup (240 ml) water, and 1 tablespoon pickling salt. Warm gently over medium heat just until the salt dissolves—no need to boil. Let the brine cool to room temperature.
- Pack the jars: Place 3-4 sprigs of fresh dill, 3-4 smashed garlic cloves, 1 teaspoon black peppercorns, 1 teaspoon mustard seeds, and optional ¼ teaspoon red pepper flakes into each clean quart jar. Add a slice of fresh horseradish root if using. Then, pack the cucumber spears tightly but without crushing.
- Pour the brine: Pour the cooled brine over the cucumbers until they’re fully submerged, leaving about ½ inch (1.3 cm) of headspace at the top of the jar.
- Add weights and seal: Place a pickling stone or fermentation weight on top to keep cucumbers under the brine. Seal jars with lids, but don’t tighten too much if you plan to ferment at room temperature.
- Pickling time: For quick refrigerator pickles, place jars in the fridge and let them sit for at least 48 hours before tasting. For fermented pickles, leave jars at room temperature (around 70°F/21°C) for 3-5 days, then transfer to the fridge.
- Check and enjoy: Once pickles reach your preferred tang and crunch, keep jars refrigerated. They’re ready to enjoy and will stay fresh for up to 2 months.
Pro tip: If you notice cloudiness in the brine or a slight fizz, that’s normal for fermented pickles—just give the jar a little burp to release pressure. If mold appears, discard the batch to be safe. With this method, you’ll get consistent, crunchy dill pickles that are a joy to snack on or serve alongside comforting one-pot Tuscan chicken pasta.
Cooking Tips & Techniques
Getting those pickles perfectly crunchy might seem tricky, but a few insider tips make all the difference. First, always use fresh, firm cucumbers—overripe or watery ones won’t crisp up well. Removing the blossom end is a small step that pays off big in texture.
Soaking cucumbers in ice water before pickling is a game-changer. It refreshes the cucumbers and tightens their cell walls, helping them stay crisp even after soaking in brine.
Salt is your friend here, but iodized salt can turn the brine cloudy and affect flavor. Pickling salt or kosher salt keeps the brine clear and flavors clean. Heating the brine just enough to dissolve the salt (not boiling) ensures even seasoning.
Don’t skip the weights to keep cucumbers submerged; exposure to air causes softening and spoilage. If fermenting, it’s normal to see bubbles and slight cloudiness—this means good bacteria at work.
One mistake I made early on was tightening lids too much during fermentation, which caused jars to crack under pressure. Loosening lids slightly or burping jars daily helps avoid that. Also, if you want extra crunch, adding a slice of horseradish root per jar is a trick I picked up from a local pickle vendor.
Variations & Adaptations
This easy crunchy homemade dill pickles recipe is incredibly flexible to suit different tastes and dietary needs. Here are a few ways to mix things up:
- Spicy Dill Pickles: Add extra red pepper flakes or a few sliced jalapeños to the jar for a fiery kick.
- Garlic Lovers’ Pickles: Double the garlic cloves and throw in a few cloves of black garlic for a sweet, mellow twist.
- Low-Sodium Version: Reduce pickling salt to ½ tablespoon and compensate with a splash of lemon juice for acidity.
- Vinegar-Free Fermented Pickles: Skip the vinegar and ferment cucumbers in salted water for a tangy, probiotic-rich pickle (just be sure to use weights and burp jars daily).
- Herb Variations: Swap fresh dill for fresh tarragon or add a few sprigs of fresh thyme for a different aromatic profile.
I once tried a batch infused with black tea leaves—turns out the tannins keep pickles extra crisp, a neat trick if you want to experiment. For different cooking methods, these pickles are best cold or at room temperature and aren’t suited for heating.
Serving & Storage Suggestions
Serve these dill pickles chilled or straight from the fridge for maximum crunch. They make a fantastic side for sandwiches, burgers, or alongside dishes like flavorful Thai basil chicken. For a fun snack, cut them into spears and serve with a creamy dip or cheese board.
Store pickles in airtight jars in the refrigerator. They’ll keep fresh and crunchy for up to 2 months, although flavors deepen over time. If you notice the pickles softening, they’re still safe but best enjoyed sooner rather than later. Avoid freezing as it ruins the texture.
To reheat (if you must), warm gently in a pan with a splash of the brine, but honestly, these are best cold. Over time, the dill and garlic flavors become more pronounced, so if you like a milder taste, enjoy within the first week or two.
Nutritional Information & Benefits
Homemade dill pickles are low in calories (about 5-10 calories per spear) and fat-free, making them a guilt-free snack. They’re rich in vitamin K from fresh dill and provide some antioxidants from garlic and spices. The fermentation process in some versions adds beneficial probiotics, which support gut health.
These pickles are naturally gluten-free and low-carb, fitting nicely into keto or paleo diets. The main allergen to watch for is garlic, so adjust if you have sensitivities. I appreciate how this recipe balances flavor and wellness, offering a crunchy snack that feels nourishing but doesn’t sacrifice taste.
Conclusion
This easy crunchy homemade dill pickles recipe is the kind of find that quietly becomes a staple—simple enough to make anytime but reliably delicious and crisp. It’s a recipe that respects the cucumber’s natural snap and adds just the right amount of garlicky dill punch. Whether you’re packing jars for a summer BBQ or just want a fresh snack, these pickles deliver every time.
Feel free to tweak the spice level or herbs to match your mood—it’s your kitchen after all. For me, these pickles bring a little moment of satisfaction, the kind that comes from getting something just right by paying attention to the small details.
If you give this recipe a try, I’d love to hear how you customize it or what dishes you pair it with. Sharing those little adaptations always makes cooking feel more like a conversation—and that’s the best part.
FAQs
How long do homemade dill pickles take to get crunchy?
Soaking cucumbers in ice water for 1-2 hours before pickling helps achieve crunch, and the pickles develop their full flavor and texture after at least 48 hours in the fridge.
Can I use regular cucumbers instead of pickling cucumbers?
Pickling cucumbers are preferred because of their firm texture and fewer seeds, but you can use regular cucumbers if you slice them thicker and soak them well to maintain crunch.
Do I have to ferment the pickles, or can I just refrigerate them?
Both methods work! Refrigerated pickles are quick and easy, ready in a couple of days, while fermentation adds tang and probiotics but requires more time and care.
What can I use if I don’t have pickling stones?
A small clean jar or a zip-top bag filled with water can serve as a weight to keep cucumbers submerged in the brine during pickling or fermentation.
How long do homemade dill pickles last in the fridge?
Stored properly in airtight jars, they usually keep their best quality and crunch for up to 2 months, though flavor may intensify over time.
Pin This Recipe!
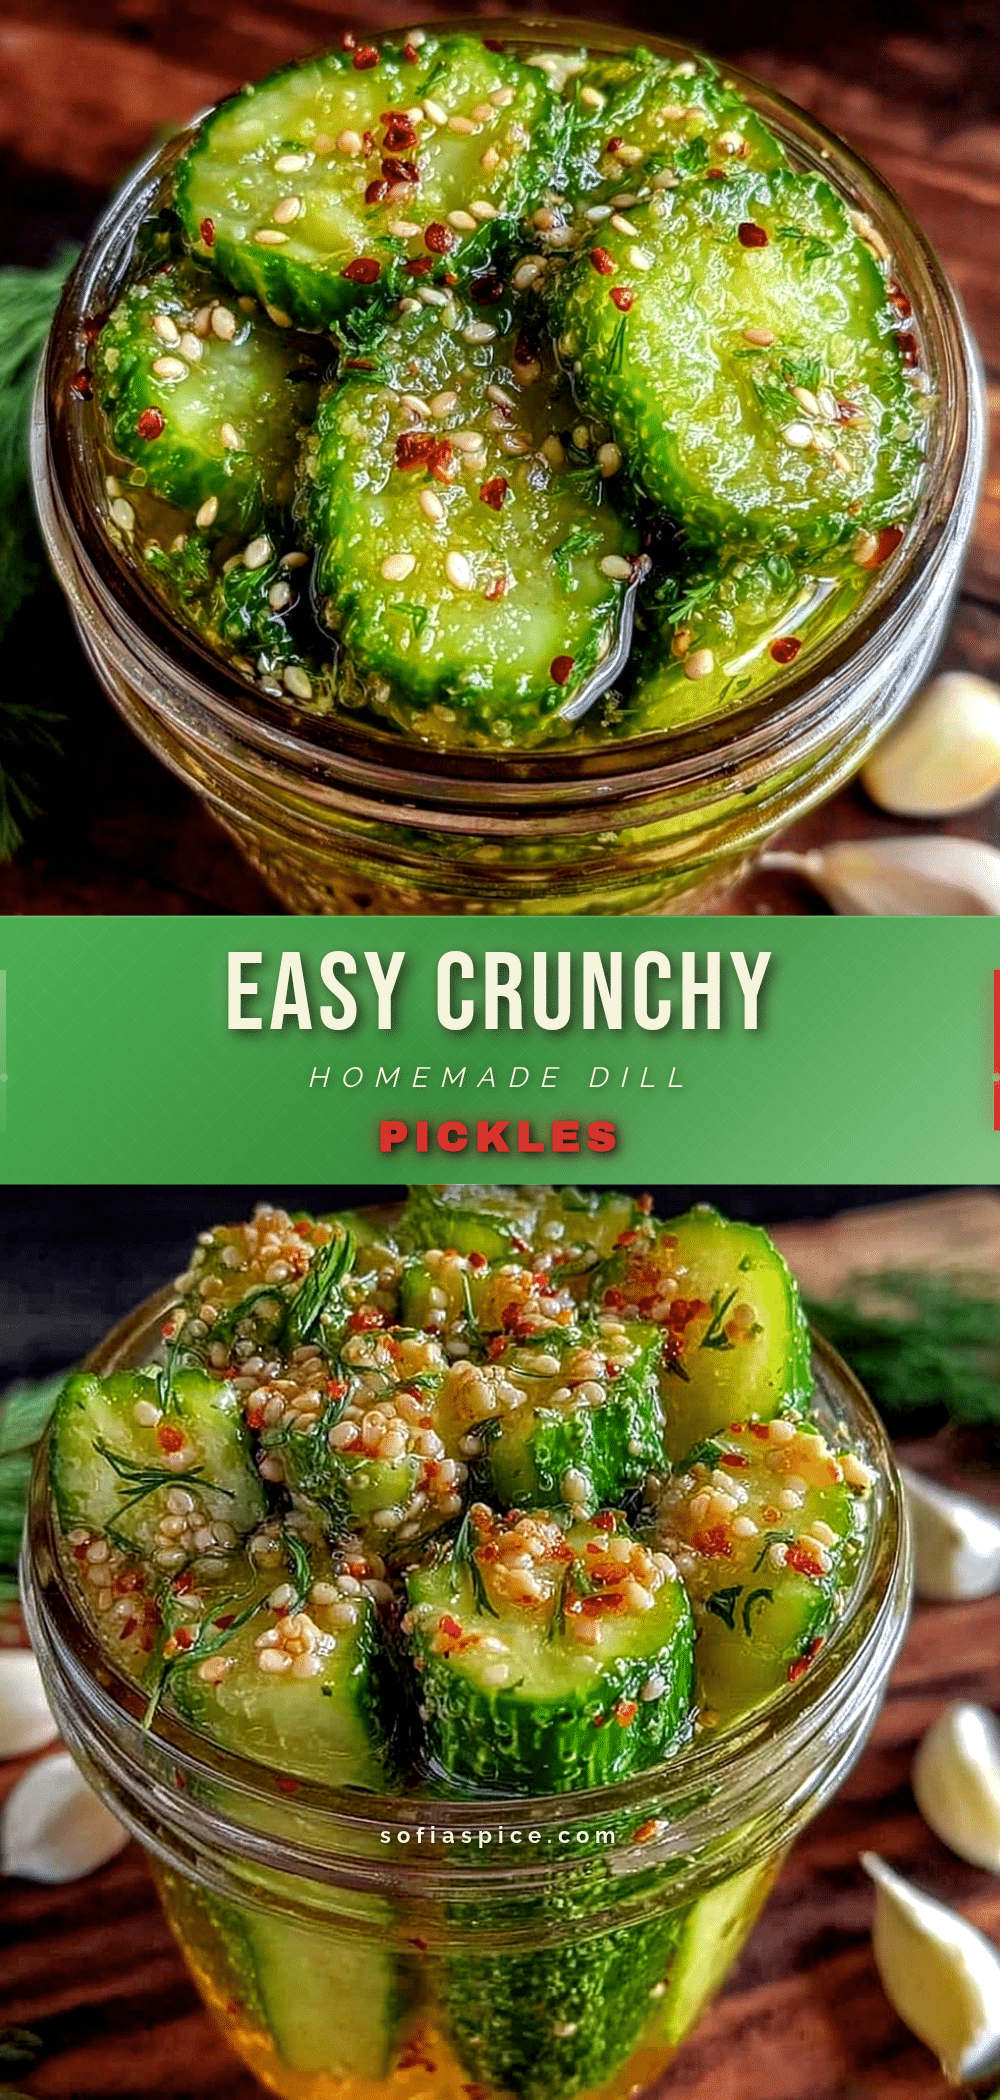
Easy Crunchy Homemade Dill Pickles
This easy crunchy homemade dill pickles recipe delivers consistent crispness and bold flavor with simple ingredients and a few key techniques to keep cucumbers fresh and crunchy.
- Prep Time: 15 minutes
- Cook Time: 0 minutes
- Total Time: 2 days (minimum for refrigerator pickles)
- Yield: 4 servings 1x
- Category: Condiment
- Cuisine: American
Ingredients
- 2 pounds fresh pickling cucumbers (small to medium-sized, firm and unblemished, Kirby cucumbers preferred)
- 3–4 sprigs fresh dill per jar, plus a handful for the brine (or 1 teaspoon dried dill if fresh is unavailable)
- 3–4 large garlic cloves, peeled and smashed
- 1 cup (240 ml) distilled white vinegar
- 1 cup (240 ml) cold water
- 1 tablespoon pickling salt or kosher salt (avoid iodized salt)
- 1 teaspoon whole black peppercorns
- 1 teaspoon mustard seeds
- ¼ teaspoon red pepper flakes (optional)
- Fresh horseradish root slice per jar (optional)
- Pickling stones or a clean weight to keep cucumbers submerged
Instructions
- Wash and slice cucumbers: Rinse 2 pounds of pickling cucumbers thoroughly. Slice off the blossom ends and cut cucumbers into spears about 3-4 inches long, keeping skins on for extra crunch.
- Soak cucumbers in ice water: Place cucumber spears in a large bowl filled with ice water and let sit for 1-2 hours to firm up.
- Prepare the brine: In a small saucepan, combine 1 cup white vinegar, 1 cup water, and 1 tablespoon pickling salt. Warm gently over medium heat until salt dissolves. Let cool to room temperature.
- Pack the jars: Place 3-4 sprigs fresh dill, 3-4 smashed garlic cloves, 1 teaspoon black peppercorns, 1 teaspoon mustard seeds, and optional ¼ teaspoon red pepper flakes into each clean quart jar. Add a slice of fresh horseradish root if using. Pack cucumber spears tightly without crushing.
- Pour the brine: Pour cooled brine over cucumbers until fully submerged, leaving about ½ inch headspace.
- Add weights and seal: Place pickling stone or fermentation weight on top to keep cucumbers submerged. Seal jars with lids but do not tighten too much if fermenting at room temperature.
- Pickling time: For refrigerator pickles, refrigerate jars for at least 48 hours before tasting. For fermented pickles, leave jars at room temperature (around 70°F) for 3-5 days, then transfer to fridge.
- Check and enjoy: Once pickles reach desired tang and crunch, keep refrigerated. They stay fresh up to 2 months.
Notes
Use fresh, firm cucumbers and remove blossom ends to prevent softening. Soaking cucumbers in ice water for 1-2 hours before pickling enhances crunch. Avoid iodized salt to keep brine clear. Use weights to keep cucumbers submerged to prevent spoilage. For fermentation, loosen lids slightly and burp jars daily to release pressure. Adding horseradish root slice per jar helps maintain crunch. Refrigerated pickles are ready in 48 hours; fermented pickles take 3-5 days at room temperature.
Nutrition
- Serving Size: Approximately 1/4 of
- Calories: 10
- Sugar: 1
- Sodium: 400
- Carbohydrates: 2
- Fiber: 1
Keywords: dill pickles, homemade pickles, crunchy pickles, easy pickles, fermented pickles, refrigerator pickles, pickling recipe


