The Halloween party was in six hours and I’d completely forgotten. Everyone else would be bringing elaborate cakes shaped like coffins, cookies decorated to look like mummies, and punch bowls with dry ice bubbling over. I had a package of Oreos, a box of instant chocolate pudding mix, and a vague sense of panic. My neighbor, Sarah, had texted me that morning asking if I was bringing my “signature dish” to the block party. I didn’t have a signature dish. I didn’t even have a plan.
I stood in my kitchen, staring at the pantry like it might magically produce a solution. The kids were at school, the dog was asleep, and I was about to show up to a party with nothing but a bag of cookies and a guilty conscience. Then I remembered a silly dessert my mom used to make for my brother’s birthday parties—dirt cups. Gummy worms, chocolate pudding, crushed cookies. It was ridiculous. It was simple. And honestly, it was the only thing I had the energy to pull off.
So I grabbed a bag of clear plastic cups, some gummy worms, and a few tombstone-shaped cookies I found in the Halloween aisle at the grocery store. I threw everything together in about twenty minutes, trying not to think about how everyone else had probably spent days on their contributions. When I walked into the party, I felt like I was bringing a kid’s snack to an adult potluck.
Well, let me tell you—those cozy graveyard dirt cups with crushed Oreos disappeared in under an hour. People kept coming back for seconds. Someone asked if I could share the recipe. Another person wanted to know if I catered kids’ parties. I just laughed and said it was nothing. But honestly? It was something. It was the kind of dessert that makes people feel like kids again, even for just a few minutes. And that’s why I’ve been making them every Halloween since.
Why You’ll Love This Recipe
Let’s be real for a second. There are a million Halloween desserts out there, and most of them require way more effort than they’re worth. You know the ones I’m talking about—the cakes that need fondant, the cookies that require royal icing, the elaborate displays that look amazing but taste like cardboard. These cozy graveyard dirt cups with crushed Oreos are the opposite of all that. They’re simple, they’re fun, and they taste incredible.
- Quick & Easy: Comes together in about 20 minutes, no baking required. Perfect for last-minute Halloween parties or when you’ve completely forgotten about the school bake sale.
- Simple Ingredients: You probably already have most of these in your kitchen. Oreos, instant pudding, milk, and cream cheese. That’s the base. No fancy trips to specialty stores.
- Perfect for Halloween: These are great for parties, trunk-or-treat events, classroom celebrations, or just a cozy night in watching scary movies.
- Crowd-Pleaser: Kids love them, adults love them, and everyone loves digging into the “dirt” to find the gummy worms.
- Unbelievably Delicious: The creamy pudding mixed with the crunchy Oreo crumbs is pure comfort food. It’s like a deconstructed Oreo cheesecake, but easier.
What makes these different from other dirt cup recipes? It’s the cream cheese. Most recipes just use pudding and crushed cookies, but I added a layer of sweetened cream cheese that gives it this amazing richness. It’s not too heavy, but it makes the whole thing feel more like a dessert and less like a snack. Plus, the cream cheese helps the pudding set up a little firmer, so it holds its shape better in the cups.
These cozy graveyard dirt cups with crushed Oreos are the kind of dessert that makes people close their eyes after the first bite. It’s comfort food at its finest—nostalgic, indulgent, and completely stress-free. Perfect for impressing guests without breaking a sweat.
What Ingredients You Will Need
This recipe uses simple, wholesome ingredients to deliver bold flavor and satisfying texture without the fuss. Most of these are pantry staples, so you can whip these up anytime the Halloween craving strikes.
For the Pudding Layer
- 1 box (3.9 oz) instant chocolate pudding mix (I recommend Jell-O brand for consistent results)
- 2 cups cold whole milk (adds richness; 2% works fine too)
- 8 oz cream cheese, softened to room temperature (Philadelphia brand is my go-to)
- 1/2 cup powdered sugar
- 1 tsp vanilla extract
For the Dirt Layer
- 1 package (14.3 oz) Oreo cookies (regular, not double-stuf, for better crushing)
- 3 tbsp unsalted butter, melted
For the Graveyard Decorations
- 1 cup gummy worms (I like the sour ones for extra flavor contrast)
- 12-15 Milano cookies or rectangular shortbread cookies (for tombstones)
- Black decorating gel or black frosting (for writing on tombstones)
- Pumpkin-shaped candy corns or candy pumpkins (optional, for extra cuteness)
- Clear plastic cups (9 oz size works perfectly)
Ingredient Tips: For the best texture, make sure your cream cheese is truly softened. If it’s too cold, it won’t blend smoothly into the pudding mixture and you’ll end up with lumps. Also, don’t use low-fat Oreos—they just don’t crush the same way. The regular ones have the perfect crumb-to-cream ratio for that authentic “dirt” look.
Substitution Guidance: If you need a dairy-free option, use coconut cream instead of cream cheese and almond milk with a dairy-free instant pudding mix. The texture will be slightly different, but it still works. For a gluten-free version, use gluten-free chocolate sandwich cookies—they’re available at most grocery stores now.
Equipment Needed
The beauty of this recipe is that you don’t need any fancy equipment. Here’s what you’ll need:
- Large mixing bowl (I use a glass bowl because it doesn’t retain odors)
- Electric hand mixer or stand mixer (a whisk works too, but your arm will get tired)
- Small bowl for crushing Oreos
- Rolling pin or food processor (for crushing cookies)
- Measuring cups and spoons
- Spatula for scraping the bowl
- Clear plastic cups (9 oz size, 12-15 cups depending on how full you fill them)
- Piping bag or zip-top bag (for writing on tombstones)
Budget-Friendly Options: If you don’t have a food processor, just put the Oreos in a zip-top bag and crush them with a rolling pin. It’s actually more fun and gives you a better workout. I’ve done it both ways, and honestly, the bag method lets you control the texture better. You can leave some chunks for variety.
Maintenance Tip: After making these, wash your mixing bowl immediately. Dried pudding is a nightmare to scrub off. Trust me on this one—I’ve learned the hard way.
Preparation Method
Alright, let’s get to the fun part. Here’s how to make these cozy graveyard dirt cups with crushed Oreos step by step.
- Make the tombstone cookies first: This way they have time to set while you’re working on everything else. Take your Milano cookies or shortbread cookies and use the black decorating gel to write “RIP,” spooky names, or little designs on them. I like to write things like “My Diet” or “My Motivation” for a laugh. Set them aside on a piece of wax paper to dry.
- Crush the Oreos: Place the entire package of Oreos (cream filling included) into a food processor. Pulse until you get a fine crumb that looks like dirt. You want some small chunks for texture. If you’re using the bag method, put the cookies in a gallon-size zip-top bag, seal it, and go to town with a rolling pin. It should take about 2-3 minutes. Transfer the crumbs to a small bowl and mix in the melted butter. This helps the “dirt” stay clumpy and realistic.
- Make the pudding base: In a large mixing bowl, combine the instant chocolate pudding mix with the cold milk. Whisk vigorously for about 2 minutes until it starts to thicken. Set it aside to set up for another 2-3 minutes. Don’t worry if it seems thin at first—it will thicken as it sits.
- Prepare the cream cheese layer: In a separate bowl, beat the softened cream cheese with the powdered sugar and vanilla extract using an electric mixer. Beat until smooth and creamy, about 2-3 minutes. Scrape down the sides of the bowl halfway through. You want this to be completely lump-free.
- Combine the layers: Gently fold the cream cheese mixture into the chocolate pudding. Use a spatula and fold until just combined. Don’t overmix, or you’ll deflate the pudding. The result should be a thick, creamy, chocolatey mixture that’s almost like a mousse.
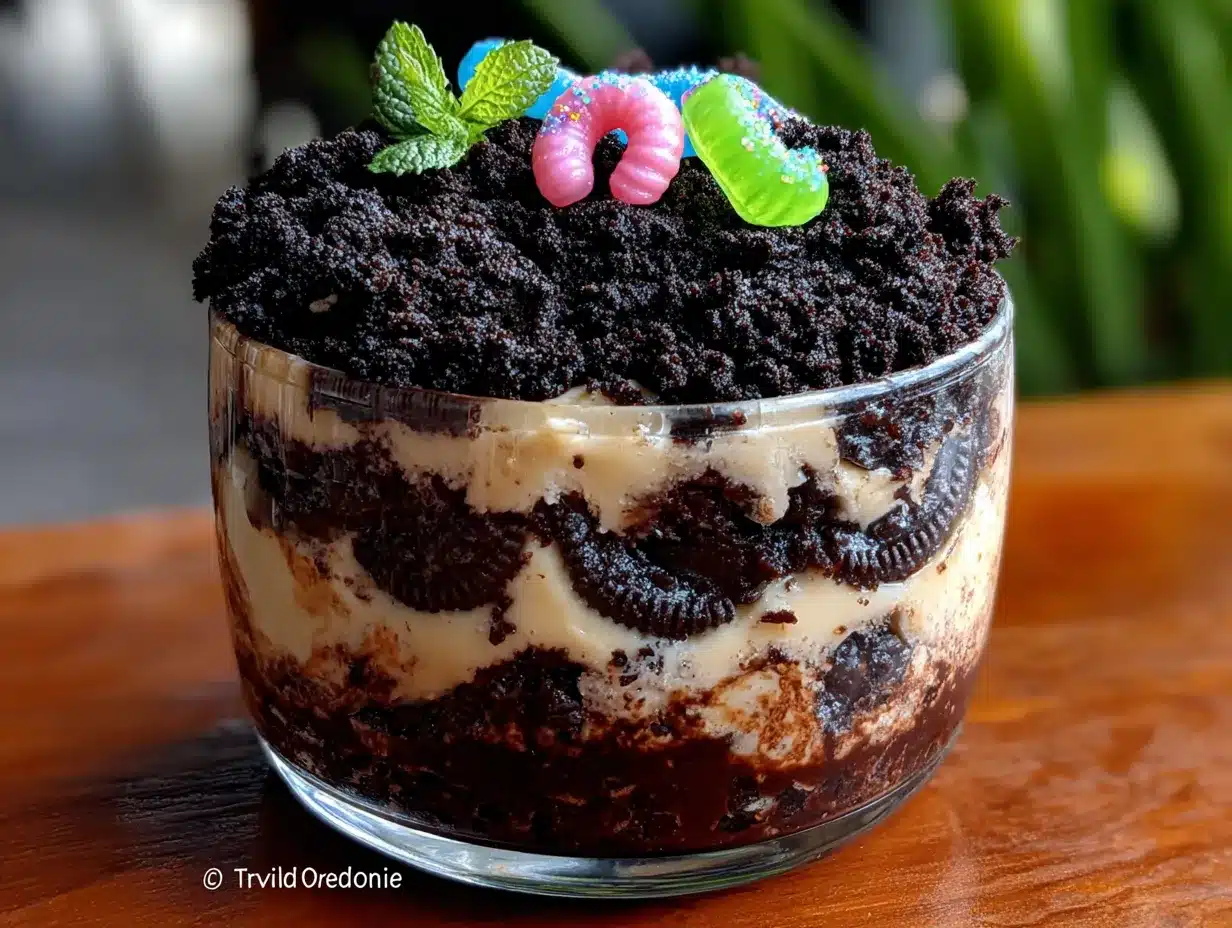
- Assemble the cups: Take your clear plastic cups and start layering. Start with a spoonful of the Oreo “dirt” at the bottom of each cup. Then add a layer of the pudding mixture. Then another layer of Oreo crumbs. Then more pudding. You want to end with a thick layer of Oreo crumbs on top—this is the “dirt” that makes the graveyard look authentic. Each cup should be about 3/4 full.
- Add the decorations: Stick a gummy worm or two into the side of each cup so it looks like they’re crawling out of the dirt. Place one tombstone cookie in the center of each cup, pressing it gently into the top layer. Add a few candy pumpkins around the base if you’re using them.
- Chill before serving: Place the cups in the refrigerator for at least 1-2 hours before serving. This allows the pudding to set completely and the flavors to meld together. If you’re making them the day before, cover them loosely with plastic wrap.
Sensory Cue: When you fold the cream cheese into the pudding, you’ll notice the mixture gets lighter in color and fluffier in texture. That’s exactly what you want. It should look like chocolate mousse, not thin pudding.
Troubleshooting Tip: If your pudding doesn’t set up properly, it’s probably because the milk wasn’t cold enough. Make sure your milk is straight from the fridge. Also, don’t skip the chilling step—even if you’re in a hurry, the pudding needs that time to firm up.
Cooking Tips & Techniques
After making these cozy graveyard dirt cups with crushed Oreos about a dozen times (not kidding, my family requests them constantly), I’ve picked up a few tricks that make a big difference.
Don’t overcrush the Oreos: I made this mistake the first time. I pulverized the cookies into a fine powder, and it looked more like cocoa powder than dirt. You want some texture—small chunks that resemble actual soil. Aim for a mix of fine crumbs and pea-sized pieces. The melted butter helps create that clumpy, realistic effect.
Let the cream cheese really soften: This is crucial. If your cream cheese is even slightly cold, it won’t blend smoothly into the pudding. You’ll end up with little white flecks throughout, which isn’t a disaster, but it’s not pretty. Leave the cream cheese on the counter for at least an hour before you start. If you’re in a rush, cut it into small cubes and microwave for 10-second intervals until soft.
Use whole milk for the best texture: I’ve tried this with skim milk and almond milk, and the pudding just doesn’t set up as firmly. Whole milk gives you that rich, creamy texture that makes these cups so satisfying. If you’re watching calories, 2% works okay, but don’t go lower.
Make the tombstones ahead of time: The black decorating gel needs about 30 minutes to dry completely. If you try to stick the cookies into the cups while the gel is still wet, it’ll smear and look messy. I like to make the tombstones the night before and let them dry overnight.
Layer strategically: When you’re assembling the cups, make sure the top layer of Oreo crumbs is thick enough to hide the pudding completely. That’s what gives the illusion of real dirt. I use about 2 tablespoons of crumbs for the top layer alone.
One thing I learned the hard way: Don’t use the double-stuf Oreos for the dirt layer. The extra cream filling makes the crumbs stick together too much, and they don’t look like dirt. They look like… well, sticky cookie paste. Regular Oreos are the way to go.
Variations & Adaptations
One of the best things about this recipe is how customizable it is. Here are some variations I’ve tried and loved.
Peanut Butter Cup Version
Swap the gummy worms for mini peanut butter cups and add a layer of peanut butter to the cream cheese mixture. Just beat 1/4 cup of creamy peanut butter into the cream cheese before folding it into the pudding. It’s rich, it’s indulgent, and it’s absolutely deadly.
Vegan-Friendly Version
Use a dairy-free instant pudding mix (most are vegan-friendly), coconut cream instead of cream cheese, and oat milk or almond milk. For the cookies, look for vegan chocolate sandwich cookies—they’re widely available now. The texture is slightly different, but the flavor is still amazing.
Spooky Spider Web Version
Instead of tombstones, top each cup with a spider web design. Melt some white chocolate chips and drizzle them in a spiral pattern over the top of the Oreo crumbs. Then use a toothpick to drag lines from the center outward to create the web effect. Add a plastic spider on top for extra creepiness.
Mini Shot Glass Version
For parties, make mini versions in shot glasses. Use smaller cookies for the tombstones (Pepperidge Farm Chessmen cookies work great) and cut the gummy worms into smaller pieces. These are perfect for adult Halloween parties where people want a tiny treat.
Dietary Adjustments: For a lower-sugar version, use sugar-free instant pudding mix and sugar-free cookies. The cream cheese adds natural richness, so you won’t miss the sugar as much as you think.
Serving & Storage Suggestions
These cozy graveyard dirt cups with crushed Oreos are best served cold, straight from the refrigerator. The contrast between the cold, creamy pudding and the crunchy Oreo dirt is what makes them so addictive.
Presentation Tips: For a Halloween party, arrange the cups on a platter lined with fake spider webs or black tablecloth. Add a few plastic skeletons or spiders around the edges for atmosphere. If you’re serving them at a kids’ party, write each child’s name on a small flag and stick it in the dirt.
Complementary Dishes: These pair beautifully with warm apple cider or hot chocolate. For a full Halloween spread, serve them alongside pumpkin-shaped sugar cookies or caramel apples. The chocolate flavor is rich enough to stand on its own, so you don’t need much else.
Storage Instructions: Cover the cups loosely with plastic wrap or transfer them to an airtight container. They’ll keep in the refrigerator for up to 3 days. The Oreo crumbs will soften slightly over time, but that’s actually kind of nice—it becomes more like a chocolate mousse with a cookie crust.
Freezing Instructions: You can freeze these for up to 1 month. Just wrap each cup individually in plastic wrap and then foil. Thaw in the refrigerator overnight before serving. The texture will be slightly different (the pudding gets a bit icy), but it’s still delicious.
Reheating: Don’t. Seriously, these are meant to be served cold. If you want a warm dessert, try a different recipe.
Flavor Development: These actually taste better the next day. The flavors meld together overnight, and the pudding gets even creamier. So if you’re making them for a party, make them the day before for the best results.
Nutritional Information & Benefits
Let’s be honest—these are a treat, not a health food. But here’s the nutritional breakdown per serving (based on 12 cups):
- Calories: 320
- Total Fat: 18g
- Saturated Fat: 10g
- Cholesterol: 45mg
- Sodium: 320mg
- Total Carbohydrates: 38g
- Dietary Fiber: 2g
- Sugars: 26g
- Protein: 5g
Health Benefits: Okay, so these aren’t exactly a superfood. But the cream cheese does provide some calcium and protein, and the dark chocolate in the Oreos (yes, there’s real cocoa in there) contains antioxidants. The gummy worms? Well, they’re just fun.
Dietary Considerations: This recipe contains dairy, gluten, and soy. For gluten-free and dairy-free options, check out the variations section above. If you’re watching your sugar intake, use sugar-free pudding mix and cookies.
Personal Wellness Perspective: I believe in balance. These are a Halloween treat, meant to be enjoyed in moderation. One cup is plenty satisfying—you don’t need to eat three. Pair it with a healthy meal earlier in the day and enjoy every single bite.
Conclusion
These cozy graveyard dirt cups with crushed Oreos have become my go-to Halloween dessert for a reason. They’re simple enough to throw together in a panic, impressive enough to get compliments, and delicious enough that people ask for the recipe every single time. Honestly, what more could you want from a dessert?
I love that this recipe lets me be creative without the stress. You can make them as spooky or as silly as you want. Add more gummy worms, write funny messages on the tombstones, or throw in some candy corn for color. There’s no wrong way to do it.
So go ahead—give these a try for your next Halloween party, movie night, or just because you want something fun and comforting. And when you do, I’d love to hear about it. Leave a comment below telling me what you wrote on your tombstones, or share a photo of your creation. Don’t forget to pin this recipe for later and share it with your friends who need a last-minute Halloween dessert idea. Happy haunting!
Frequently Asked Questions
Can I make these dirt cups ahead of time?
Absolutely! In fact, they taste better the next day. Just assemble the cups, cover them loosely with plastic wrap, and refrigerate for up to 24 hours before serving. Add the gummy worms and tombstone cookies right before serving to keep them looking fresh.
How do I keep the Oreo crumbs from getting soggy?
The key is to layer strategically. Start with a thin layer of crumbs at the bottom, then add the pudding, then another layer of crumbs. The bottom crumbs will soften slightly, but the top layer will stay crunchy. If you’re making them more than 24 hours in advance, wait to add the top layer of crumbs until just before serving.
Can I use homemade pudding instead of instant?
You can, but the texture will be different. Instant pudding sets up much firmer, which is important for these cups to hold their shape. Homemade pudding tends to be runnier and won’t give you that nice, mousse-like texture. Stick with instant for the best results.
What can I use instead of Milano cookies for the tombstones?
Any rectangular cookie will work. Shortbread cookies, Pirouline wafers, or even graham crackers cut into rectangles are all great options. Just make sure they’re sturdy enough to stand up in the pudding without falling over.
How many cups does this recipe make?
This recipe makes about 12 standard 9-ounce cups. If you’re using smaller cups or shot glasses, you’ll get more. The recipe is easy to double if you’re serving a crowd.
Pin This Recipe!
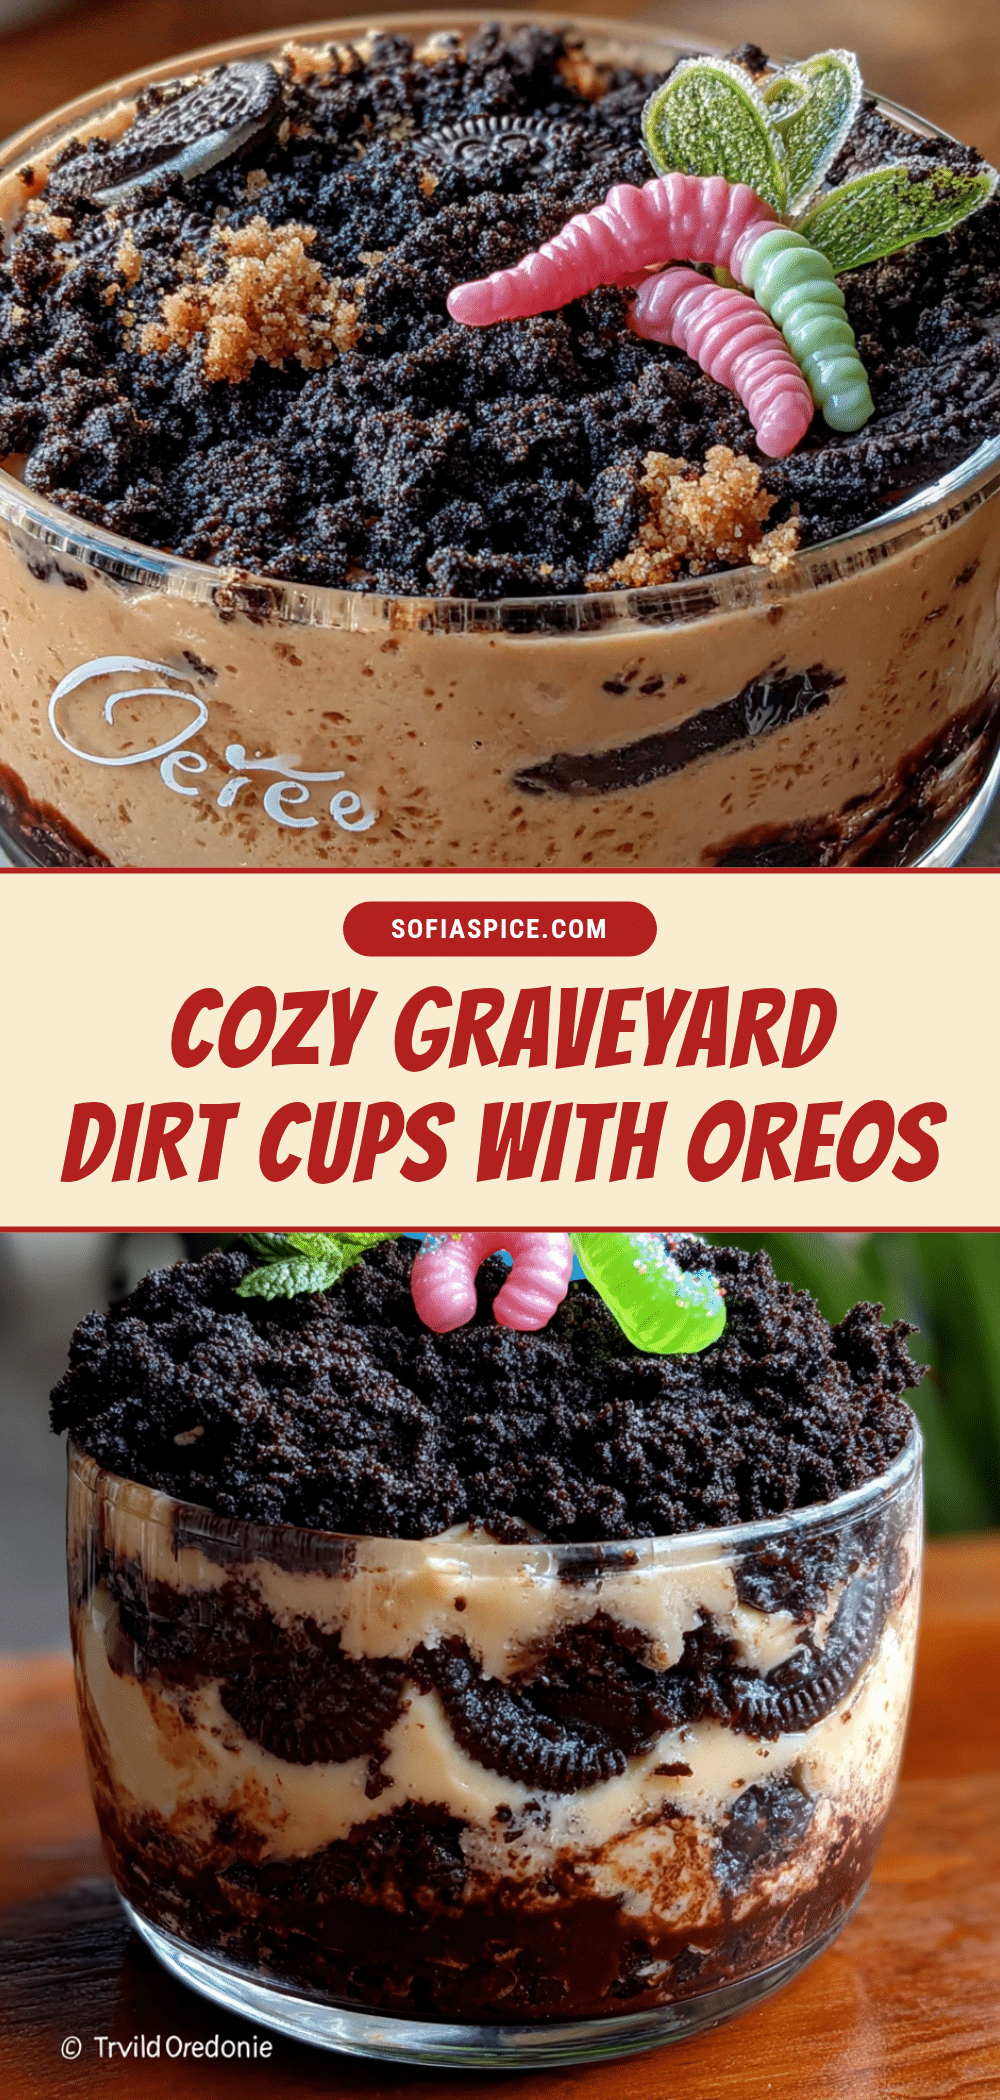
Easy Cozy Graveyard Dirt Cups with Crushed Oreos
These no-bake Halloween dirt cups feature layers of creamy chocolate pudding, sweetened cream cheese, and crushed Oreo ‘dirt,’ topped with gummy worms and tombstone cookies for a fun, spooky treat that comes together in just 20 minutes.
- Prep Time: 20 minutes
- Cook Time: 0 minutes
- Total Time: 1 hour 20 minutes (includes chilling)
- Yield: 12 servings 1x
- Category: Dessert
- Cuisine: American
Ingredients
- 1 box (3.9 oz) instant chocolate pudding mix
- 2 cups cold whole milk
- 8 oz cream cheese, softened
- 1/2 cup powdered sugar
- 1 tsp vanilla extract
- 1 package (14.3 oz) Oreo cookies (regular, not double-stuf)
- 3 tbsp unsalted butter, melted
- 1 cup gummy worms
- 12–15 Milano cookies or rectangular shortbread cookies
- Black decorating gel or black frosting
- Pumpkin-shaped candy corns or candy pumpkins (optional)
- Clear plastic cups (9 oz size)
Instructions
- Make the tombstone cookies first: Use black decorating gel to write ‘RIP’ or spooky names on Milano cookies. Set aside on wax paper to dry.
- Crush the Oreos: Place entire package of Oreos (cream filling included) in a food processor and pulse until fine crumbs form with some small chunks. Alternatively, place in a zip-top bag and crush with a rolling pin. Transfer to a small bowl and mix in melted butter.
- Make the pudding base: In a large bowl, whisk instant chocolate pudding mix with cold milk for about 2 minutes until it thickens. Set aside for 2-3 minutes.
- Prepare the cream cheese layer: In a separate bowl, beat softened cream cheese with powdered sugar and vanilla extract until smooth and creamy, about 2-3 minutes.
- Combine the layers: Gently fold the cream cheese mixture into the chocolate pudding until just combined. Do not overmix.
- Assemble the cups: Layer each clear plastic cup starting with a spoonful of Oreo crumbs, then pudding mixture, then more crumbs, then more pudding. End with a thick layer of Oreo crumbs on top. Fill cups about 3/4 full.
- Add decorations: Stick gummy worms into the side of each cup. Place one tombstone cookie in the center, pressing gently. Add candy pumpkins around the base if desired.
- Chill before serving: Refrigerate for at least 1-2 hours before serving. Can be made a day ahead; cover loosely with plastic wrap.
Notes
For best results, ensure cream cheese is fully softened to avoid lumps. Use whole milk for a richer texture. Regular Oreos (not double-stuf) work best for the dirt layer. The tombstones can be made a day ahead to allow the gel to dry completely. These taste even better the next day as flavors meld.
Nutrition
- Serving Size: 1 cup
- Calories: 320
- Sugar: 26
- Sodium: 320
- Fat: 18
- Saturated Fat: 10
- Carbohydrates: 38
- Fiber: 2
- Protein: 5
Keywords: Halloween dessert, dirt cups, Oreo dirt cups, graveyard dessert, no-bake dessert, chocolate pudding cups, gummy worms, spooky treats, easy Halloween recipe