“Are you sure this will work without an ice cream maker?” my friend asked skeptically, eyeing the mixing bowl as I folded in the caramel ribbons. Honestly, I wasn’t totally confident either when I first stumbled on this no-churn salted caramel ice cream recipe. It happened on a weekend when my ice cream maker decided to call it quits—right in the middle of a spontaneous dinner party. I needed a quick dessert fix, and the idea of whipping up something creamy and caramel-y without the hassle sounded too good to be true.
What surprised me most was how simple it was to pull off. A few pantry staples, a bit of patience in the freezer, and a taste test that quickly turned my skepticism into a quiet kind of joy. The silky texture and that perfect balance between sweet and salty made me realize this recipe had to stick around. Since then, I’ve made it at least three times in a week (not proud, but honestly, it’s addictive). It’s become my go-to when I want a homemade dessert that feels fancy but doesn’t demand much fuss.
The slow swirl of salted caramel through the creamy base reminds me of those cozy evenings when everything just lands right. It’s the kind of treat that makes you pause, close your eyes, and savor the moment—no frills, no stress, just pure flavor. This recipe stuck with me not because it’s complicated or flashy, but because it’s reliably comforting and incredibly satisfying. If you like the idea of making luscious ice cream without the extra gear or time, I think you’ll appreciate this little gem as much as I do.
Why You’ll Love This Recipe
This creamy no-churn salted caramel ice cream recipe is one of those rare finds that blends ease with indulgence perfectly. Having tested several homemade ice cream recipes over the years (including some that required tedious churning), I can confidently say this one holds its own—and then some.
- Quick & Easy: You can have this ready to freeze in just 15 minutes, making it a lifesaver for last-minute dessert cravings or impromptu gatherings.
- Simple Ingredients: No specialty items needed here—just everyday staples like sweetened condensed milk, heavy cream, and caramel sauce. I personally prefer Ghirardelli caramel for that deep, buttery flavor.
- Perfect for Any Occasion: Whether you’re hosting a summer barbecue or looking for a cozy treat after dinner, this ice cream fits the bill beautifully.
- Crowd-Pleaser: Kids and adults alike keep asking for seconds. The salted caramel ribbons add just the right touch of sophistication without overwhelming the palate.
- Unbelievably Delicious: The texture is ultra-creamy—no icy bits—and the flavor combo is comfort food with a little twist of elegance.
- What Makes It Different: Instead of just mixing caramel into the base, this recipe calls for folding in thick salted caramel swirls at the end, delivering pockets of rich flavor in every bite.
Honestly, this recipe isn’t just another frozen treat; it’s the kind that makes you smile quietly after the first taste and keeps you coming back. If you’re a fan of desserts like my creamy loaded baked potato soup for comfort food, you’ll appreciate the same satisfying simplicity here.
What Ingredients You Will Need
This recipe uses simple, wholesome ingredients to deliver bold flavor and satisfying texture without the fuss. Most are pantry staples, so you probably have everything on hand already.
- Sweetened condensed milk (1 can, 14 oz / 396 g) – acts as the sweetener and thickener for the creamy base.
- Heavy whipping cream (2 cups / 480 ml) – whipped to soft peaks to create that luscious, airy texture.
- Pure vanilla extract (1 teaspoon) – adds warmth and depth to the ice cream’s flavor.
- Salted caramel sauce (3/4 cup / 180 ml) – the star ingredient. I recommend using a high-quality brand like Trader Joe’s or homemade if you’re feeling ambitious.
- Sea salt flakes (1/2 teaspoon) – to sprinkle over the caramel swirls, enhancing that salty-sweet contrast.
Optional:
- Chopped toasted pecans or walnuts (1/2 cup / 60 g) – for added crunch and nuttiness (great if you want a little texture).
- Espresso powder (1/4 teaspoon) – if you want to deepen the caramel notes with a subtle coffee hint.
If you’re looking for substitutions, coconut cream can replace heavy cream for a dairy-free twist, and almond milk condensed milk can work if you need a vegan-friendly version. In summer, swapping the caramel for fresh fruit compote creates a delightful variation.
Equipment Needed
- Mixing bowl: A large bowl to whip the cream and fold ingredients.
- Electric hand mixer or stand mixer: Essential for whipping the cream to soft peaks efficiently. A whisk works, but it takes much longer (trust me, I’ve tried).
- Rubber spatula: For gentle folding of the caramel into the cream base without deflating it.
- Freezer-safe container: Use a loaf pan or any container with a lid for freezing the ice cream.
- Measuring cups and spoons: Precision helps here, especially with salt and caramel amounts.
If you don’t have a stand mixer, no worries—a good quality hand mixer will do just fine. I recommend washing your utensils immediately after use to avoid hardened caramel cleanup, which is a pain I’ve learned the hard way.
Preparation Method
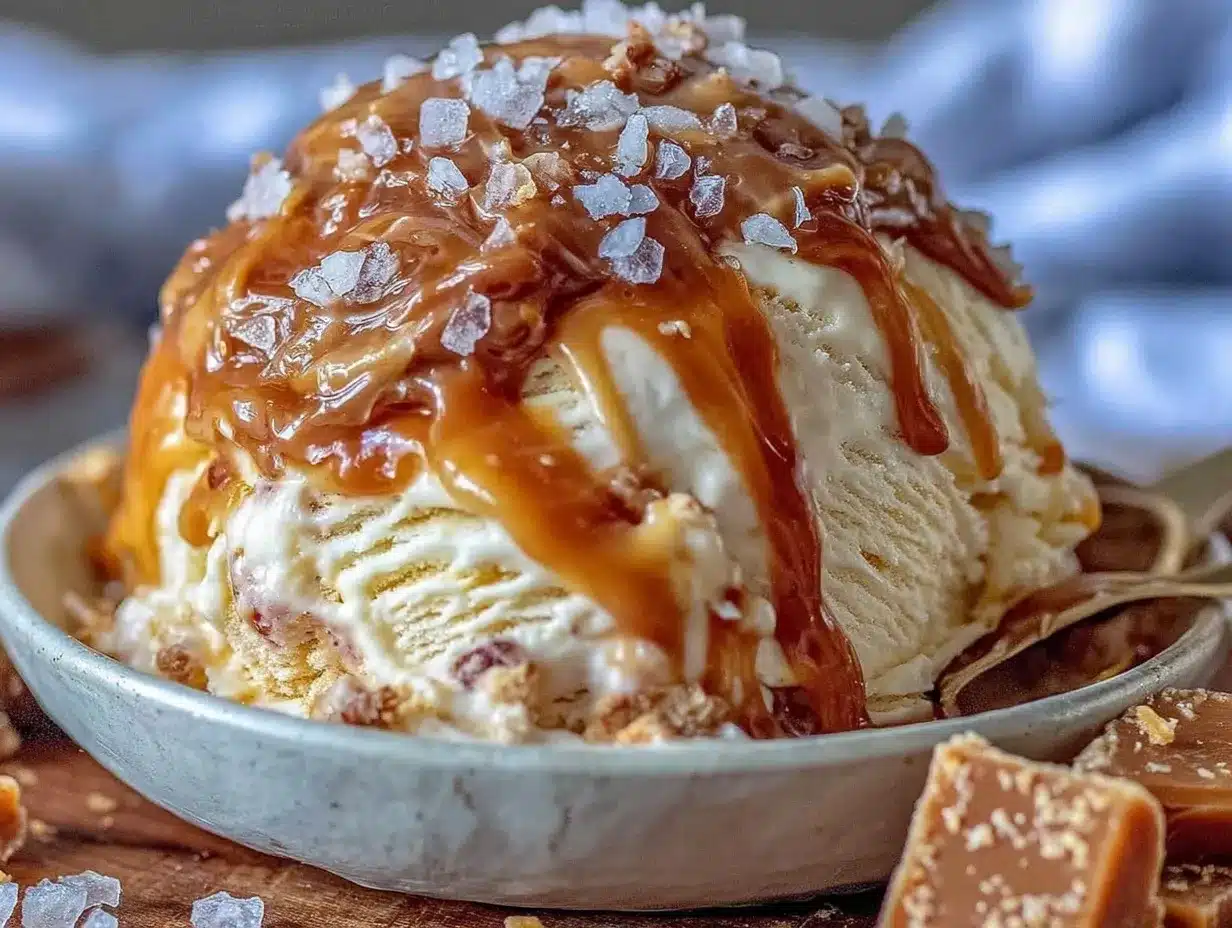
- Chill your mixing bowl and beaters: Pop them in the freezer for about 15 minutes before starting. Cold equipment helps the cream whip faster and fluffier.
- Whip the heavy cream: Pour 2 cups (480 ml) of heavy whipping cream into the chilled bowl. Beat on medium-high speed until soft peaks form, about 3-4 minutes. You’ll know it’s ready when the cream holds a gentle peak that droops slightly when you lift the beaters.
- Mix sweetened condensed milk and vanilla: In a separate bowl, stir together the 14 oz (396 g) can of sweetened condensed milk and 1 teaspoon of pure vanilla extract until smooth. If using espresso powder, add it here.
- Combine cream and condensed milk: Gently fold about one-third of the whipped cream into the condensed milk mixture to lighten it. Then fold in the remaining whipped cream carefully to maintain the fluffy texture. Use a rubber spatula and a gentle folding motion—don’t overmix or you’ll lose that cloud-like softness.
- Layer in the salted caramel: Pour half of the ice cream base into your freezer-safe container. Dollop half of the salted caramel sauce (about 6 tablespoons / 90 ml) over the base, then use a knife or skewer to swirl it gently—don’t overdo it or the caramel will just blend in completely.
- Repeat layering: Add the remaining ice cream base and caramel sauce, swirling again for a marbled effect. If you like, sprinkle sea salt flakes over the top for extra savory pop.
- Freeze: Cover the container with a lid or plastic wrap and freeze for at least 6 hours, preferably overnight. The ice cream will firm up beautifully without any churning.
- Serve: Before serving, let the ice cream sit at room temperature for 5-10 minutes to soften slightly for easy scooping.
If you notice any icy texture, it usually means the whipped cream wasn’t beaten enough or the folding was too aggressive. Taking your time with these steps makes a big difference in creaminess. I find that adding a few chopped nuts at step 5 adds a wonderful contrast, but it’s totally optional.
Cooking Tips & Techniques
Making no-churn ice cream is surprisingly forgiving, but a few tricks really help nail that creamy texture and rich flavor.
- Whip your cream just right: Soft peaks are key—overwhipping turns it grainy, and underwhipping makes the ice cream dense. If you accidentally go too far, start over because it won’t hold the air properly.
- Fold gently: This is not a mixing competition. Using a spatula, scoop from the bottom and fold over the top to keep the air bubbles intact.
- Choose a good caramel: The flavor and texture of your salted caramel sauce define the whole dessert. Avoid thin or overly sweet varieties. I like a thick, buttery sauce with a touch of sea salt.
- Don’t skip chilling the bowl and beaters: Cold tools speed up whipping and help achieve a fluffier base.
- Swirling technique: Swirl the caramel gently to create ribbons rather than mixing it in completely. This makes the flavor pop in every bite.
- Timing: Make this ice cream a day ahead if you can. While it freezes quickly, the flavor deepens after sitting overnight.
One time, I forgot to whip the cream properly and the ice cream turned out icy and heavy. Lesson learned: patience with whipping is a must! Also, if you want to impress guests fast, this recipe pairs wonderfully with a warm dessert like creamy gruyere scalloped potatoes — talk about a cozy combo.
Variations & Adaptations
This no-churn salted caramel ice cream recipe is a perfect base for customization. Here are a few of my favorite variations you can try:
- Chocolate Salted Caramel: Fold in 1/2 cup (90 g) of mini chocolate chips or swirl in some melted bittersweet chocolate before freezing for a rich twist.
- Nutty Caramel Crunch: Add 1 cup (120 g) chopped toasted pecans or almonds to the ice cream base before freezing for extra texture and flavor.
- Dairy-Free Version: Use coconut cream whipped in place of heavy cream and a dairy-free caramel sauce. This variation is just as creamy and perfect for vegan diets.
- Spiced Caramel: Add a pinch of cinnamon or a dash of cayenne pepper to the caramel sauce for a subtle warming spice kick.
- Fruit-Infused: Mix in swirls of apple butter or roasted pear compote instead of caramel to make a seasonal fruit ice cream.
Personally, I once added a sprinkle of flaky Maldon sea salt on top just before serving, which made the salted caramel flavor explode even more. Feel free to experiment and find what suits your taste buds best!
Serving & Storage Suggestions
This ice cream tastes best slightly softened—let it rest at room temperature for 5-10 minutes before scooping. Serve it in small bowls or over warm desserts like brownies or apple crisp to create a contrast of temperatures and textures.
If you want to get fancy, drizzle extra salted caramel sauce on top and sprinkle with a pinch of sea salt flakes. A few toasted nuts on the side add a nice crunch. It pairs beautifully with a strong espresso or a sweet dessert wine, making it a great finale to dinner.
Store leftover ice cream in an airtight container in the freezer for up to 2 weeks. To avoid ice crystals forming on top, press a piece of parchment paper directly on the ice cream surface before sealing. When reheating or scooping, avoid heating too much or it can melt unevenly.
Interestingly, the caramel flavor seems to develop and deepen after a day or two in the freezer, so if you can wait, the taste gets even better. This recipe is a perfect make-ahead treat for summer parties or cozy winter nights alike.
Nutritional Information & Benefits
Each serving of this creamy no-churn salted caramel ice cream (about 1/2 cup or 125 ml) contains roughly:
| Calories | 250-300 kcal |
|---|---|
| Fat | 15-20 g (mostly from heavy cream and caramel) |
| Sugar | 25-30 g (from condensed milk and caramel) |
| Protein | 3-4 g |
While this dessert is an indulgence, it does provide calcium and some protein thanks to the dairy ingredients. The sea salt adds electrolytes, balancing the sweetness nicely. For those watching carbs, swapping standard caramel sauce for a sugar-free version can reduce sugar content.
From a wellness perspective, I like that this recipe uses real ingredients without artificial stabilizers or additives. It’s a treat that feels homemade and honest, which makes it easier to enjoy mindfully.
Conclusion
There’s something quietly satisfying about making creamy no-churn salted caramel ice cream at home. It’s a recipe that’s simple enough to whip up on a whim but delivers a rich, indulgent flavor that feels special. Whether you’re treating yourself after a long day or impressing friends with a homemade dessert, this ice cream hits the sweet spot every time.
Feel free to make it your own by adding nuts, chocolate, or spices—or keeping it classic. Either way, you’ll find it hard to resist going back for seconds (or thirds). I love how this recipe brings out a little moment of calm and joy in the kitchen, especially when paired with some comfort food favorites like twice-baked potatoes with bacon cheddar filling.
If you try it, I’d love to hear how you jazz it up or what your favorite caramel sauce brand is—drop a comment or share your twist. Happy scooping!
FAQs About Creamy No-Churn Salted Caramel Ice Cream
Can I make this ice cream without heavy cream?
You can substitute coconut cream for a dairy-free version, but the texture might be slightly different. Heavy cream is key for that classic creamy mouthfeel.
How long does the ice cream need to freeze?
At least 6 hours, but overnight is best for a firm and scoopable consistency.
Can I use homemade caramel sauce?
Absolutely! Homemade salted caramel adds a personal touch and can be adjusted for sweetness and saltiness to your liking.
Is this recipe suitable for kids?
Yes, it’s a kid-friendly dessert with no alcohol or strong spices. Just watch the salted caramel to avoid making it too salty.
How do I prevent ice crystals from forming?
Use chilled equipment when whipping cream, fold gently, and cover the ice cream with parchment before sealing to minimize ice crystals.
Pin This Recipe!
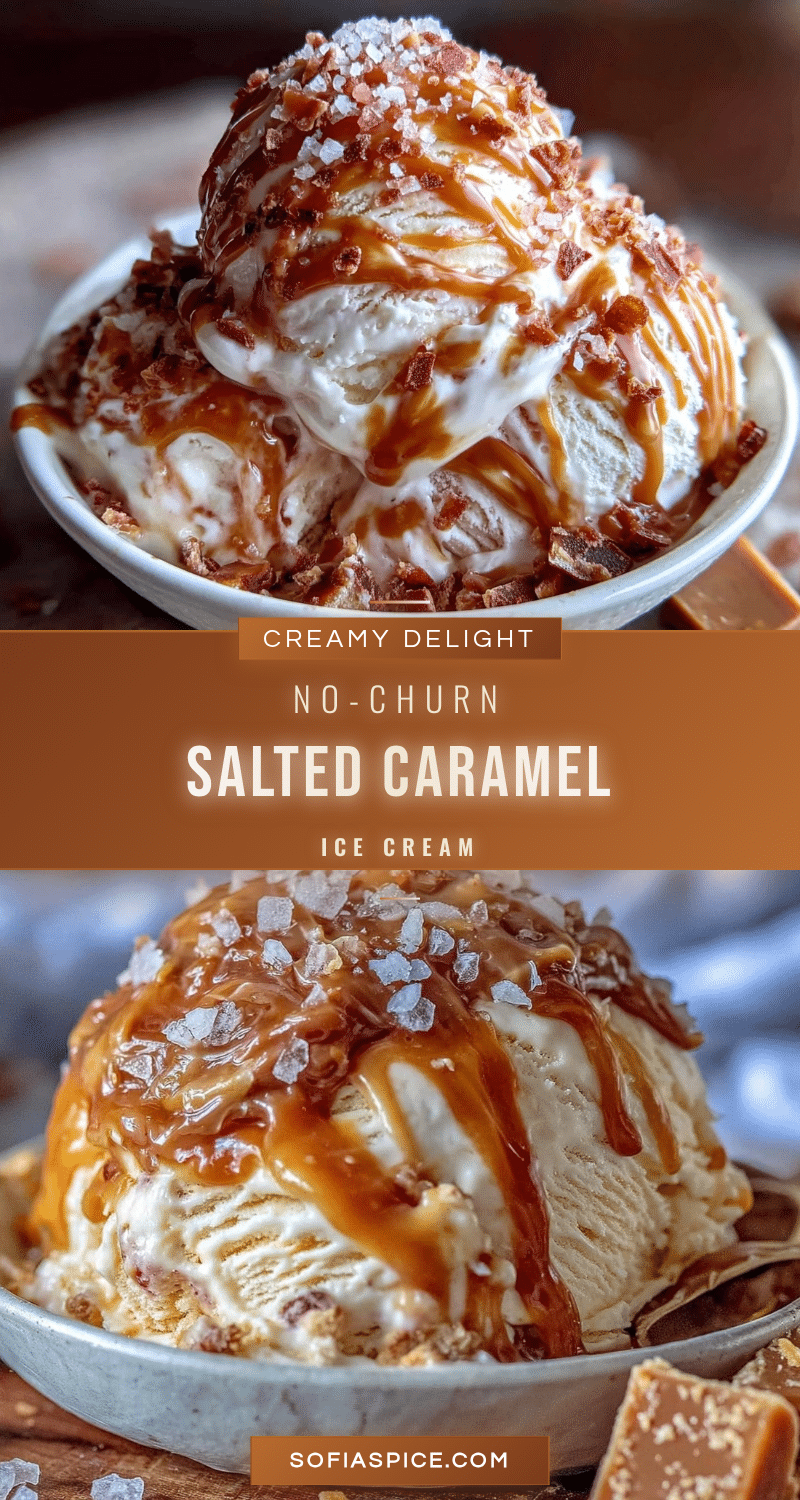
Creamy No-Churn Salted Caramel Ice Cream

A quick and easy homemade no-churn ice cream featuring luscious salted caramel swirls, perfect for a creamy, indulgent dessert without an ice cream maker.
- Prep Time: 15 minutes
- Cook Time: 0 minutes
- Total Time: 6 hours 15 minutes
- Yield: 8 servings 1x
- Category: Dessert
- Cuisine: American
Ingredients
- 1 can (14 oz / 396 g) sweetened condensed milk
- 2 cups (480 ml) heavy whipping cream
- 1 teaspoon pure vanilla extract
- 3/4 cup (180 ml) salted caramel sauce
- 1/2 teaspoon sea salt flakes
- Optional: 1/2 cup (60 g) chopped toasted pecans or walnuts
- Optional: 1/4 teaspoon espresso powder
Instructions
- Chill your mixing bowl and beaters in the freezer for about 15 minutes before starting.
- Pour 2 cups (480 ml) of heavy whipping cream into the chilled bowl. Beat on medium-high speed until soft peaks form, about 3-4 minutes.
- In a separate bowl, stir together the 14 oz (396 g) can of sweetened condensed milk and 1 teaspoon of pure vanilla extract until smooth. Add espresso powder here if using.
- Gently fold about one-third of the whipped cream into the condensed milk mixture to lighten it. Then fold in the remaining whipped cream carefully to maintain the fluffy texture.
- Pour half of the ice cream base into your freezer-safe container. Dollop half of the salted caramel sauce (about 6 tablespoons / 90 ml) over the base, then swirl gently with a knife or skewer.
- Add the remaining ice cream base and caramel sauce, swirling again for a marbled effect. Sprinkle sea salt flakes over the top if desired.
- Cover the container with a lid or plastic wrap and freeze for at least 6 hours, preferably overnight.
- Before serving, let the ice cream sit at room temperature for 5-10 minutes to soften slightly for easy scooping.
Notes
Chill your mixing bowl and beaters before whipping cream for better texture. Fold whipped cream gently to keep air bubbles intact. Use a thick, high-quality salted caramel sauce for best flavor. Let ice cream sit at room temperature 5-10 minutes before scooping. Store leftovers in an airtight container with parchment paper on top to prevent ice crystals.
Nutrition
- Serving Size: 1/2 cup (125 ml)
- Calories: 275
- Sugar: 27.5
- Sodium: 100
- Fat: 17.5
- Saturated Fat: 11
- Carbohydrates: 28
- Protein: 3.5
Keywords: no-churn ice cream, salted caramel, easy homemade dessert, no ice cream maker, creamy ice cream, caramel ice cream, quick dessert


