“Hey, where’s the potato bar?” my cousin texted me right as the game was starting. Honestly, I hadn’t planned much beyond grabbing a few snacks, but somehow that quick idea turned into an entire spread. I remember standing in my kitchen, juggling a bunch of russet potatoes in the oven, wondering if this was going to be a flop or a win. You know how it goes — you want something cozy and filling without being stuck in the kitchen all day. Turns out, this walk-away baked potato bar was exactly what everyone needed.
The best part? It wasn’t just the food—it was the way everyone gravitated around the counter, piling on toppings, sharing laughs, and sneaking bites between plays. It’s funny how a simple baked potato can feel like the ultimate comfort food when you’re surrounded by friends and the buzz of a big game. I wasn’t sure if a potato bar would satisfy a crowd used to wings and chips, but the warm, customizable bowls proved me wrong. Each bite felt like a little victory — creamy, cheesy, crunchy, and downright cozy.
Looking back, this recipe stuck with me because it’s flexible and just plain fun. It’s not about fuss or fancy ingredients, but about bringing people together with food that feels like a warm hug on a chilly game day. So if you ever find yourself scrambling to feed a hungry crowd with minimal stress, this walk-away baked potato bar might just be your new secret weapon.
Why You’ll Love This Recipe
After making this cozy walk-away baked potato bar a handful of times, I can say it’s a total game changer for casual entertaining. Here’s what makes it stand out:
- Quick & Easy: The potatoes take about an hour to bake, but the prep for toppings is quick and can be done while the potatoes cook. Perfect for last-minute game day plans.
- Simple Ingredients: No need for fancy or hard-to-find items — most of these toppings are pantry staples or easy to grab from your local market.
- Perfect for Game Day: A crowd-pleaser that works great for groups, letting everyone customize their own potato bowl without a fuss.
- Crowd-Pleaser: Kids and adults alike love the mix of creamy, savory, and crunchy toppings — it’s like a party in every potato.
- Unbelievably Delicious: The texture contrast between fluffy baked potato and toppings like melted cheese, crispy bacon bits, and fresh veggies makes every bite satisfying.
What sets this baked potato bar apart is the laid-back vibe it brings. No one feels obligated to make a perfect plate — it’s all about grabbing what you want and enjoying it. Plus, I like to add a little twist by roasting the potatoes with a touch of olive oil and sea salt for that slightly crispy skin, which really ups the comfort factor. Honestly, it’s the kind of meal that makes you pause for a moment, close your eyes, and just enjoy — game on, stress off.
What Ingredients You Will Need
This recipe keeps it straightforward with familiar ingredients that come together to create a comforting and customizable baked potato bar. The ingredients are easy to find and work well for mixing and matching — no need for a special store run.
- For the Baked Potatoes:
- Russet potatoes (choose medium to large size, about 6-8 potatoes)
- Olive oil (for coating the skins; I like California Olive Ranch for its smooth flavor)
- Sea salt (coarse salt to give the skins a nice crunch)
- Toppings:
- Shredded cheddar cheese (sharp or mild, depending on your crowd)
- Cooked bacon bits (homemade or store-bought; I prefer thick-cut for texture)
- Sour cream (full-fat gives the best creaminess, but Greek yogurt works as a tangy swap)
- Chopped green onions (fresh and bright flavor)
- Diced tomatoes (optional, but adds freshness)
- Steamed broccoli florets (great for a pop of color and nutrition)
- Black olives, sliced (for a salty bite)
- Butter (unsalted, cut into pats for melting atop the hot potatoes)
- Salt and pepper (to taste for finishing)
- Optional extras: jalapeños, shredded chicken, chili (for a heartier option)
Feel free to swap in sweet potatoes if you want a different flavor profile, or add a dairy-free cheese and sour cream alternative to suit dietary needs. The beauty of this bar is in its flexibility — you can easily tailor toppings to your taste or what’s in season. For example, in fall, roasted pumpkin seeds and cinnamon butter can be delightful additions.
Equipment Needed
- Large baking sheet or roasting pan (to hold the potatoes while baking)
- Aluminum foil (optional, to wrap potatoes for softer skins)
- Sharp knife and cutting board (for prepping toppings)
- Mixing bowls (for organizing different toppings)
- Cheese grater (if shredding cheese yourself)
- Serving spoons and small bowls (for each topping to keep the bar tidy)
If you don’t have a baking sheet, a cast iron skillet works well for roasting potatoes evenly. For busy hosts, I recommend preparing toppings in advance and using clear glass bowls so guests can easily see everything. I’ve learned that setting up the bar with a few small plates nearby helps keep things from getting messy.
Preparation Method
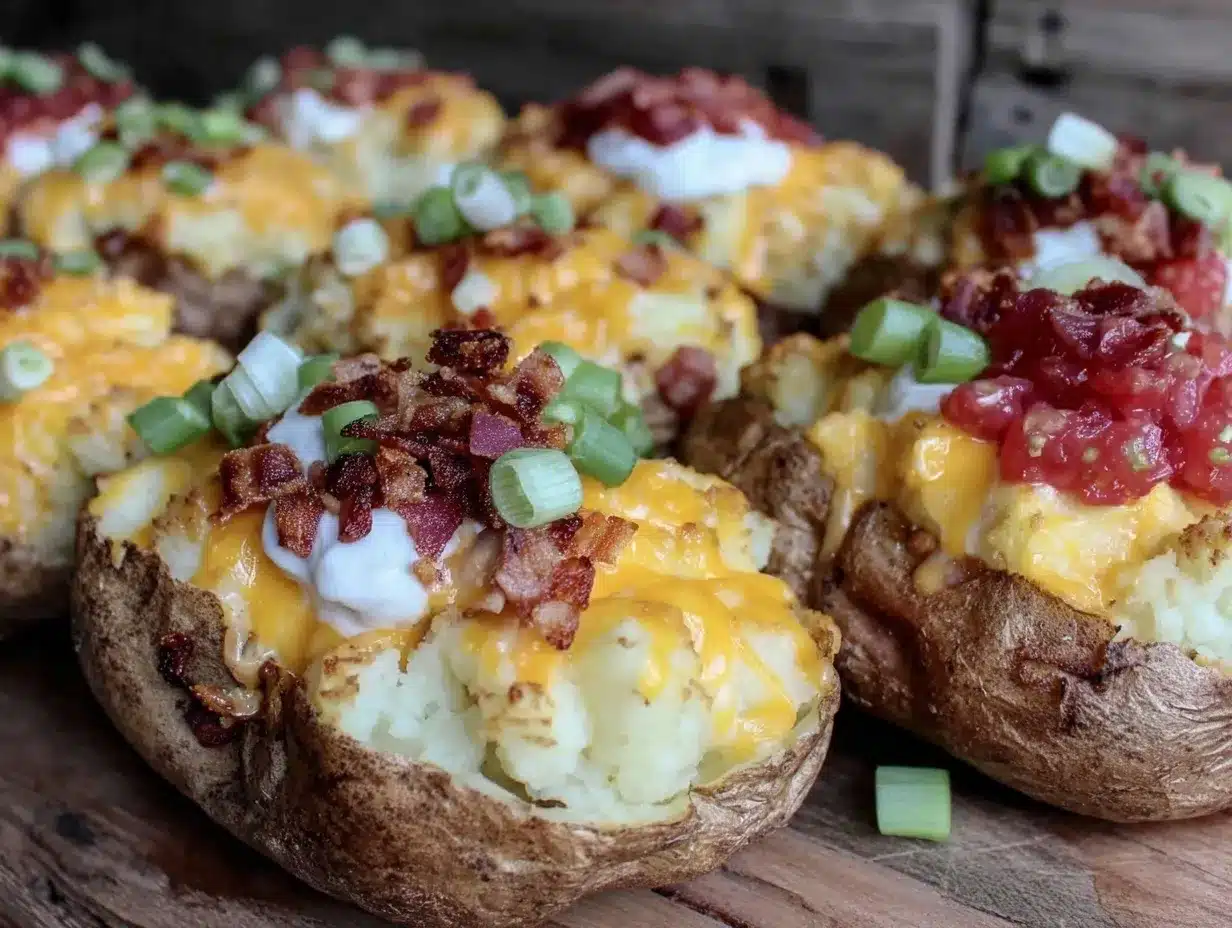
- Preheat your oven to 425°F (220°C). This higher heat helps crisp the potato skins.
- Clean and dry the potatoes. Scrub each russet potato under cold water to remove dirt, then pat dry thoroughly — dry skin crisps better.
- Coat the potatoes evenly with about 1 tablespoon of olive oil per potato. Sprinkle coarse sea salt over the skins for that perfect crunch.
- Place potatoes directly on the baking sheet (no foil, if you want crispier skins) and bake for 45-60 minutes. You can test doneness by piercing with a fork — it should slide in easily.
- While potatoes bake, prep toppings. Cook bacon until crisp, chop green onions, dice tomatoes, steam broccoli, and shred cheese. Arrange each topping in separate bowls for easy access.
- Once potatoes are done, carefully remove them from the oven (they’ll be hot!). Let them cool for 5 minutes to handle safely.
- Slice the potatoes open lengthwise and fluff the inside gently with a fork. Add a pat of butter to melt into the fluffy interior.
- Set up your walk-away bar by placing the potatoes on a serving tray alongside all the toppings. Let everyone build their own cozy potato masterpiece!
Pro tip: If you’re short on oven space, you can microwave potatoes for 6-8 minutes to start, then finish them in the oven for 15-20 minutes to crisp the skins. This hybrid method saves time without sacrificing texture. Also, avoid wrapping potatoes tightly in foil if you want skin crispness, but loosely covering can make them softer if preferred.
Cooking Tips & Techniques
One thing I learned the hard way — don’t skip oiling those potato skins! Dry skins bake unevenly and lack the satisfying crunch that makes this bar special. Also, be patient with the baking time; undercooked potatoes don’t mash well and can feel dense rather than fluffy.
When it comes to toppings, make sure ingredients are prepped before the potatoes finish baking. This keeps the whole process smooth and stress-free. I usually cook bacon in the oven on a separate tray while potatoes bake — less mess, and it crisps evenly.
Another tip: warm the serving bowls slightly or keep toppings like cheese and sour cream at room temperature so they melt nicely or blend well with the hot potato. Cold toppings straight from the fridge can dampen that cozy vibe.
Timing your setup is key. If you’re hosting a larger crowd, arrange the bar in a spot with plenty of room for guests to walk by and assemble their plates without crowding. This keeps the flow going and the mood light.
Variations & Adaptations
- Vegetarian-Friendly: Skip the bacon and add sautéed mushrooms, caramelized onions, or a sprinkle of toasted nuts for crunch.
- Spicy Kick: Include jalapeños, hot sauce, or a dollop of chipotle sour cream to bring heat to the bar.
- Seasonal Twist: Swap classic cheddar for crumbled blue cheese in fall, or add fresh summer corn and avocado when those are in season.
- Low-Carb Option: Use cauliflower “baked” in the same style with the toppings for those watching carbs but wanting the same fun build-your-own feel.
- Protein Boost: Toss in shredded rotisserie chicken or chili for a heartier meal that keeps everyone full longer.
I once tried a version inspired by my spicy Cajun shrimp and sausage sheet pan by adding blackened shrimp on top — it was a hit for a football night with friends who like a bit of southern flair. It’s fun to adapt the bar to match your crowd’s tastes.
Serving & Storage Suggestions
Serve your baked potato bar warm for the best experience. The aroma of crispy skins and melted cheese fills the room, inviting everyone to dig in. I like to set up small plates and napkins nearby so guests can grab a potato and toppings to customize on the spot without crowding the kitchen.
This bar pairs well with easy sides like a fresh green salad or even some roasted veggies. For drinks, a cold beer or a crisp sparkling water balances the richness nicely. If you want to round out the meal, consider pairing with something light and flavorful like my garlic butter salmon with asparagus.
Leftover baked potatoes store well in the fridge for up to 3 days. Keep toppings separate to maintain freshness. To reheat, pop the potato in the oven at 350°F (175°C) for about 15 minutes to regain that crispy skin and fluffy interior — avoid microwaving if you want to keep texture intact.
Flavors deepen if you prep toppings a day ahead; the sour cream and cheese blend better with the potato when they sit for a bit. Just don’t assemble until serving time to keep everything fresh and inviting.
Nutritional Information & Benefits
Each serving of a baked potato with toppings can vary, but here’s a general idea per medium potato with typical toppings:
| Nutrient | Amount |
|---|---|
| Calories | 350-450 kcal |
| Carbohydrates | 50-60 g |
| Protein | 10-15 g |
| Fat | 10-20 g (depending on toppings) |
| Fiber | 4-6 g |
Russet potatoes are a good source of vitamin C, potassium, and fiber, making them more than just a comfort food. Choosing toppings like broccoli and tomatoes adds antioxidants and vitamins for a balanced approach. For those avoiding gluten, this recipe is naturally gluten-free, and can easily be adapted for dairy-free diets by swapping sour cream and cheese.
Conclusion
This cozy walk-away baked potato bar is a perfect recipe to keep in your back pocket for game days, casual gatherings, or anytime you want easy, crowd-friendly comfort food. It’s flexible, fun, and turns simple ingredients into a satisfying meal that encourages everyone to get creative.
I love how it brings people together without a fuss — everyone can customize their own potato just the way they like. Plus, it’s a comforting reminder that sometimes the simplest dishes make the best memories. If you try this out, I’d love to hear what toppings you added or how you made it your own. Here’s to many cozy game days and full plates ahead!
Frequently Asked Questions
How long does it take to bake the potatoes?
Typically, potatoes bake at 425°F (220°C) for 45-60 minutes depending on their size. You can test doneness by poking with a fork — it should slide in easily.
Can I prepare the toppings ahead of time?
Absolutely! Prepping toppings in advance saves time and lets you set up the bar quickly. Just keep perishable items like sour cream refrigerated until serving.
What’s the best way to keep potato skins crispy?
Coating potatoes with olive oil and coarse salt before baking helps crisp the skins. Avoid wrapping them tightly in foil during baking if you want that crunch.
Can I make this bar dairy-free?
Yes, simply swap shredded cheese for dairy-free alternatives and use coconut or almond-based sour cream substitutes. The potatoes themselves are naturally dairy-free.
What side dishes go well with a baked potato bar?
Light salads, steamed veggies, or simple protein dishes like my garlic butter salmon with asparagus pair beautifully with this hearty bar.
Pin This Recipe!
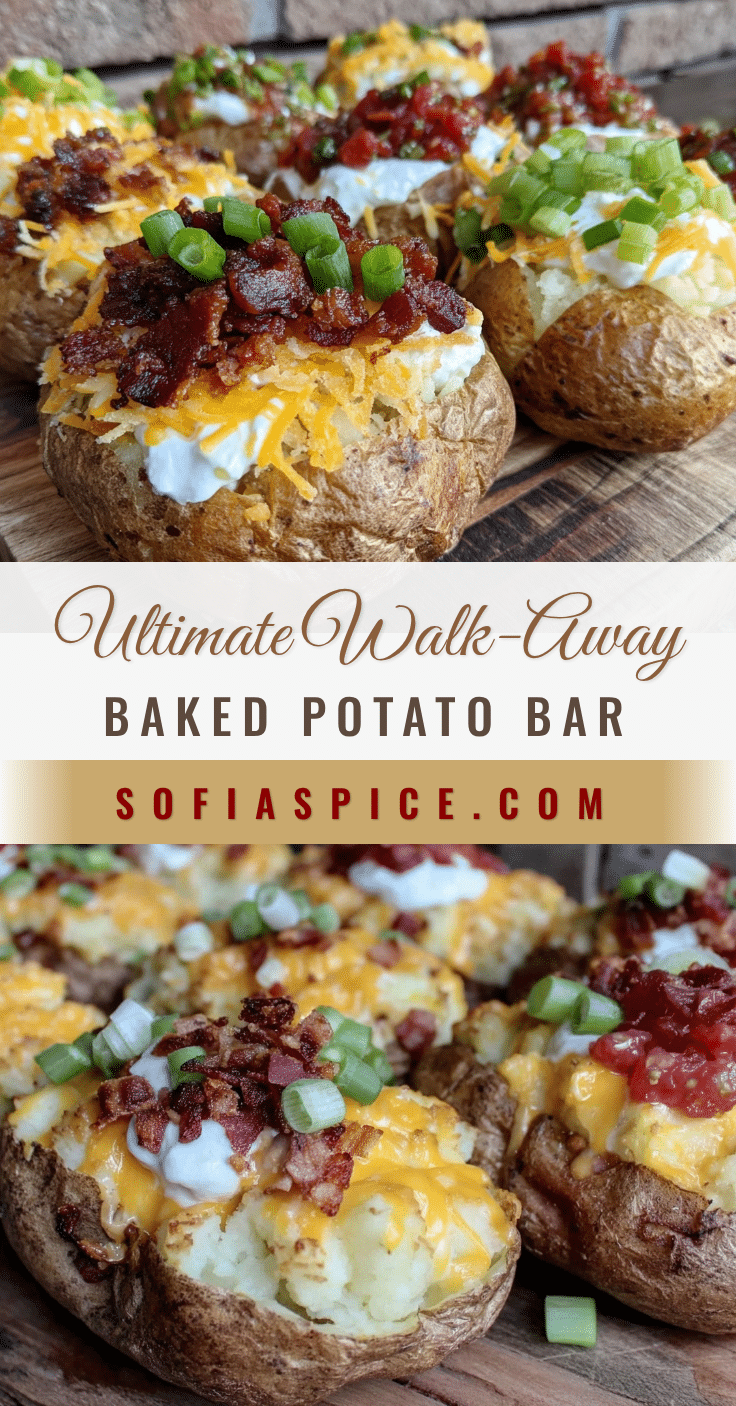
Cozy Walk-Away Baked Potato Bar Recipe Easy for Game Day Crowds

A flexible and fun baked potato bar perfect for game day crowds, featuring crispy baked russet potatoes and a variety of simple, crowd-pleasing toppings.
- Prep Time: 15 minutes
- Cook Time: 45-60 minutes
- Total Time: 1 hour to 1 hour 15 minutes
- Yield: 6-8 servings 1x
- Category: Main Course
- Cuisine: American
Ingredients
- 6–8 medium to large russet potatoes
- Olive oil (about 1 tablespoon per potato)
- Coarse sea salt
- Shredded cheddar cheese (sharp or mild)
- Cooked bacon bits (thick-cut preferred)
- Sour cream (full-fat or Greek yogurt as a swap)
- Chopped green onions
- Diced tomatoes (optional)
- Steamed broccoli florets
- Sliced black olives
- Unsalted butter (cut into pats)
- Salt and pepper to taste
- Optional extras: jalapeños, shredded chicken, chili
Instructions
- Preheat your oven to 425°F (220°C) to help crisp the potato skins.
- Clean and dry the potatoes thoroughly by scrubbing under cold water and patting dry.
- Coat each potato evenly with about 1 tablespoon of olive oil and sprinkle coarse sea salt over the skins.
- Place potatoes directly on a large baking sheet and bake for 45-60 minutes until a fork slides in easily.
- While potatoes bake, prepare toppings: cook bacon until crisp, chop green onions, dice tomatoes, steam broccoli, and shred cheese. Arrange toppings in separate bowls.
- Remove potatoes from the oven and let cool for 5 minutes.
- Slice potatoes open lengthwise and fluff the inside gently with a fork. Add a pat of butter to melt inside.
- Set up the baked potato bar by placing potatoes on a serving tray alongside all toppings for guests to customize their own bowls.
Notes
For crispier skins, avoid wrapping potatoes tightly in foil. You can microwave potatoes for 6-8 minutes to start, then finish baking for 15-20 minutes to save time. Prepare toppings in advance and keep perishable items refrigerated until serving. Warm serving bowls or keep toppings at room temperature for best melting and flavor. Leftover potatoes store well in the fridge for up to 3 days; reheat in oven at 350°F for 15 minutes to restore texture.
Nutrition
- Serving Size: 1 medium baked potat
- Calories: 350450
- Sugar: 24
- Fat: 1020
- Carbohydrates: 5060
- Fiber: 46
- Protein: 1015
Keywords: baked potato bar, game day recipe, easy potato recipe, crowd-pleaser, customizable toppings, comfort food


