There used to be this tiny, unassuming restaurant called The Gilded Onion tucked away on a side street in Portland, Maine, that made a Thanksgiving stuffing that defied logic. When they closed their doors in 2018 — the landlord tripled the rent, the whole sad story — I genuinely mourned it. I mean, I actually called my sister the day I saw the “For Lease” sign. That stuffing was the centerpiece of their year-round “Sunday Supper” menu, and it had this impossibly tender-yet-crispy texture, a deep herbaceousness that felt like autumn distilled into a single bite, and a savory richness that made you forget turkey even existed. For three Thanksgivings straight, I ordered two quarts to go and froze one for January. After they closed, I spent two years trying to recreate it. After 13 attempts — some burnt, some soggy, one that my husband politely described as “aggressively salty” — I finally got it.
This classic gluten-free herb Thanksgiving stuffing is that exact recreation. It’s the one I now bring to every Friendsgiving, the one my mother-in-law requests by name, and the one that finally made me stop missing The Gilded Onion. Honestly, I didn’t think gluten-free stuffing could ever match the real thing. I’d tried boxed mixes that turned into paste, and homemade versions that crumbled into sad little pebbles. But this recipe? It delivers that same golden, herb-flecked perfection with a texture that holds its shape without being heavy. Let me tell you, the first time I pulled this out of the oven and saw those crispy edges, I almost cried. Maybe you’ve been there too — chasing a flavor from a restaurant that no longer exists, wondering if you’ll ever taste it again. Well, this is your ticket back.
Why You’ll Love This Recipe
Let’s be real — gluten-free stuffing has a reputation for being a disappointment. Dry, crumbly, flavorless, the sad cousin at the holiday table. But this classic gluten-free herb Thanksgiving stuffing flips that narrative completely. It’s the kind of dish that makes people say, “Wait, this is gluten-free?” and then go back for seconds. Here’s why this version stands out from every other recipe you’ve tried:
- Perfect Texture, Every Time : The secret is using a specific blend of gluten-free bread and letting it stale properly. No mushy centers, no crumbly disasters — just tender, custard-like bites with crispy golden edges.
- No Fancy Ingredients : You don’t need to hunt down obscure gluten-free flours or specialty blends. The ingredient list is straightforward, using items you can find at any regular grocery store.
- Make-Ahead Friendly : This stuffing actually gets better when you assemble it a day ahead. The flavors meld together overnight, and the texture becomes even more cohesive. Perfect for reducing Thanksgiving Day stress.
- Crowd-Pleaser for All Diets : Even your gluten-eating guests will devour this. I’ve served it at tables full of skeptics, and it always disappears first. It’s that good.
- Deep, Savory Herb Flavor : We’re using a combination of fresh and dried herbs here, plus a secret ingredient — a splash of white wine — that adds a brightness you didn’t know stuffing needed.
This recipe isn’t just a substitute for the real thing. It’s the real thing, minus the gluten. It’s comfort food reimagined — the same soul-soothing satisfaction of traditional stuffing, but made for everyone at the table. Whether you’re hosting your first gluten-free Thanksgiving or you’ve been doing it for years, this is the recipe that will earn a permanent spot on your holiday menu. I’ve tested it more times than I care to admit (ask my freezer, it’s still holding a test batch from August), and I can confidently say this is the best gluten-free stuffing you’ll ever make.
What Ingredients You Will Need
This classic gluten-free herb Thanksgiving stuffing relies on simple, wholesome ingredients that work together to create that unforgettable texture and flavor. No weird additives or hard-to-find items — just real food that delivers real results. Here’s what you’ll need:
For the Bread Base
- 1 large loaf (about 16 ounces) day-old gluten-free bread — I recommend Schär’s Artisan Baker White Bread or Canyon Bakehouse’s Heritage Style. Cut into ¾-inch cubes. The key here is day-old bread that’s slightly stale; fresh gluten-free bread will turn to mush. If your bread is fresh, spread the cubes on a baking sheet and toast at 300°F for 10-15 minutes to dry them out.
- 4 tablespoons unsalted butter (adds richness and helps those crispy edges form) — plus more for greasing the dish
- 1 tablespoon olive oil — helps prevent the butter from burning during sautéing
For the Aromatics and Vegetables
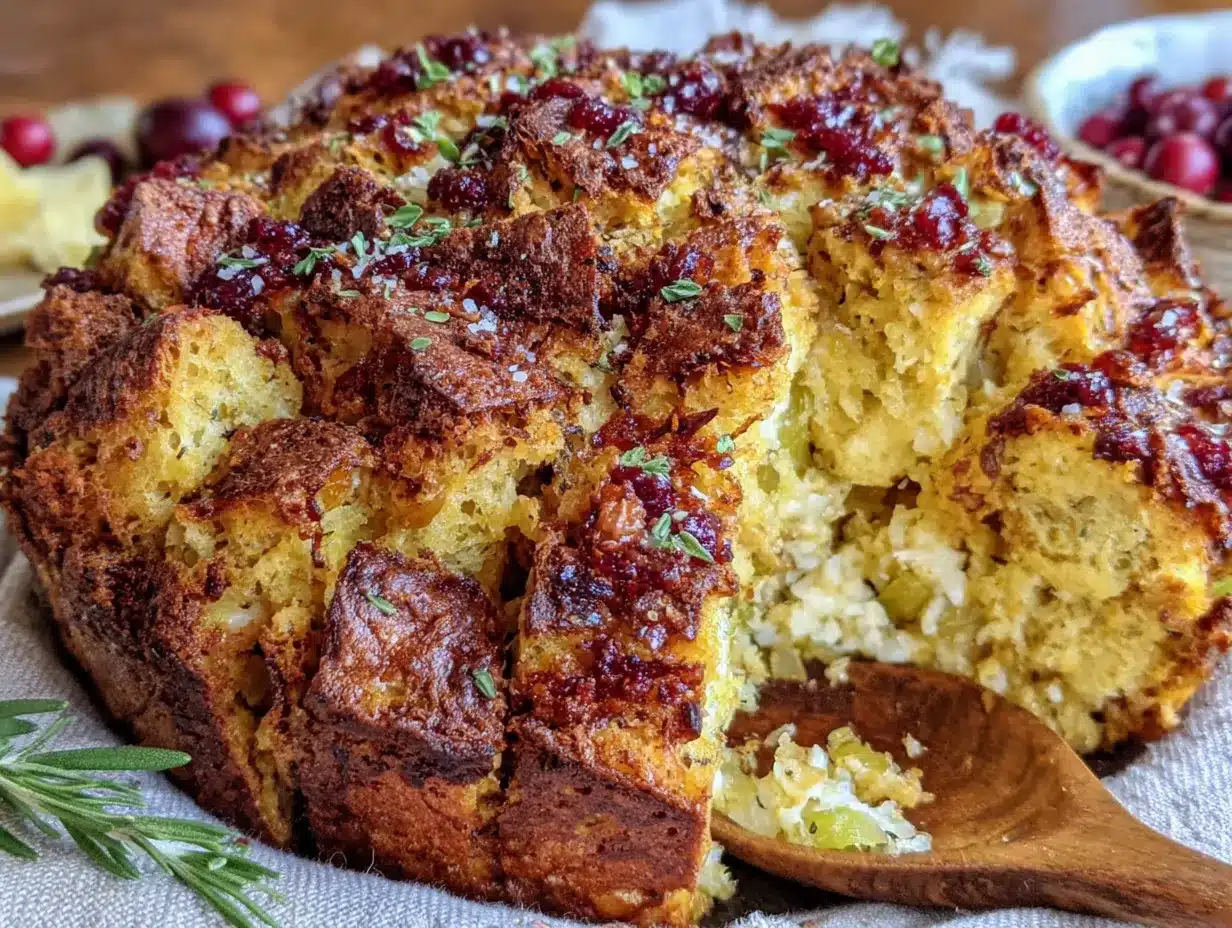
- 1 large yellow onion, diced (about 1½ cups) — look for firm, heavy onions without soft spots
- 3 celery stalks, diced (about 1 cup) — the classic stuffing vegetable, adds that essential crunch and savory note
- 3 cloves garlic, minced — fresh only, please. The jarred stuff won’t give you the same punch
- 1 cup sliced mushrooms (cremini or baby bella work beautifully) — optional but highly recommended for an earthy depth that mimics the richness of traditional stuffing
For the Herb and Seasoning Blend
- 2 teaspoons dried sage — the backbone of any good stuffing. Rub it between your palms before adding to release the oils
- 1½ teaspoons dried thyme — adds that woodsy, slightly floral note
- 1 teaspoon dried rosemary — crushed slightly with your fingers
- ½ cup fresh parsley, chopped — stirred in at the end for a fresh, bright finish
- 1 teaspoon salt — I use fine sea salt. Adjust based on your bread’s saltiness
- ½ teaspoon black pepper — freshly ground, always
- ¼ teaspoon nutmeg — trust me on this. It’s a tiny amount, but it rounds out the savory flavors beautifully
For the Liquid Base
- 1½ cups low-sodium chicken or vegetable broth — use vegetable broth for a vegetarian version. I prefer low-sodium so I can control the salt level
- ¼ cup dry white wine (like Sauvignon Blanc or Pinot Grigio) — this is my secret ingredient from The Gilded Onion days. It adds acidity that cuts through the richness
- 1 large egg, lightly beaten — the binder that holds everything together. For a vegan version, use a flax egg (1 tablespoon ground flaxseed mixed with 3 tablespoons water)
For the Topping (Optional but Recommended)
- 2 tablespoons melted butter — brushed over the top before baking for those irresistible crispy bits
- ¼ cup fresh parsley, extra for garnish — because we eat with our eyes first
Equipment Needed
You don’t need a professional kitchen to make this classic gluten-free herb Thanksgiving stuffing. Most of these tools are probably already in your kitchen drawers. Here’s what you’ll need:
- 9×13-inch baking dish — glass or ceramic works best for even heat distribution. I’ve used my grandmother’s old Pyrex dish for years, and it’s never let me down
- Large skillet or sauté pan — for cooking the vegetables. A 12-inch pan gives you plenty of room
- Large mixing bowl — big enough to toss everything together without spilling
- Chef’s knife and cutting board — a sharp knife makes dicing onions and celery so much easier
- Measuring cups and spoons — accuracy matters in gluten-free baking, so don’t eyeball it
- Wooden spoon or silicone spatula — for stirring without scratching your pans
- Aluminum foil — for covering the dish during the first part of baking
- Cooling rack — lets the stuffing rest evenly after baking
If you don’t have a 9×13 dish, you can use a 3-quart casserole dish or even a cast-iron skillet. Just adjust the baking time slightly — cast iron conducts heat faster, so check for doneness 5 minutes early. And honestly, if you’re in a pinch, a disposable aluminum pan works fine for Thanksgiving. I’ve done it. No shame.
Preparation Method
Making this classic gluten-free herb Thanksgiving stuffing is straightforward, but there are a few key moments where attention to detail makes all the difference. Follow these steps, and you’ll have a stuffing that rivals any traditional version.
- Prep the bread. If your gluten-free bread isn’t day-old, cut it into ¾-inch cubes and spread them on a baking sheet. Toast at 300°F for 10-12 minutes, stirring halfway through. The cubes should be dry to the touch but not browned. Set aside to cool completely. This step is non-negotiable — fresh gluten-free bread will absorb liquid too quickly and turn into paste.
- Sauté the aromatics. In a large skillet over medium heat, melt 4 tablespoons of butter with 1 tablespoon of olive oil. Add the diced onion and celery, and cook for 6-8 minutes, stirring occasionally, until the onion is translucent and the celery has softened. The smell at this point — oh, it’s already promising. Add the minced garlic and mushrooms (if using), and cook for another 2-3 minutes until the mushrooms have released their liquid and started to brown slightly.
- Bloom the herbs. Sprinkle the dried sage, thyme, rosemary, salt, pepper, and nutmeg over the vegetables. Stir constantly for about 30 seconds until the herbs become fragrant. This step wakes up the dried herbs and infuses the butter with their flavor. You’ll know it’s ready when your kitchen smells like Thanksgiving morning.
- Deglaze the pan. Pour in the ¼ cup of white wine, scraping up any browned bits from the bottom of the pan with your wooden spoon. Let it simmer for 1-2 minutes until the wine has mostly evaporated. This adds that subtle acidity that balances the richness of the butter and broth.
- Combine the base. Transfer the vegetable mixture to a large mixing bowl. Add the dried bread cubes and toss gently to combine. In a separate small bowl or measuring cup, whisk together the broth and the beaten egg until smooth. Pour this mixture over the bread cubes, and fold everything together with a silicone spatula. Be gentle — you want the bread to absorb the liquid without breaking apart. The mixture should look moist but not soupy. If it seems dry, add an extra 2-3 tablespoons of broth.
- Rest the mixture. Here’s a tip I learned the hard way: let the stuffing sit for 15-20 minutes before baking. This allows the bread to fully absorb the liquid, which prevents dry spots. I usually use this time to preheat the oven and butter the baking dish.
- Transfer to baking dish. Preheat your oven to 375°F. Grease a 9×13-inch baking dish with butter. Spoon the stuffing mixture into the dish and spread it into an even layer. If you’re making this ahead, stop here, cover with plastic wrap, and refrigerate for up to 24 hours.
- Bake covered. Cover the dish tightly with aluminum foil and bake for 25 minutes. This steams the stuffing, ensuring the center is fully cooked and tender.
- Bake uncovered. Remove the foil and brush the top with the remaining 2 tablespoons of melted butter. Return to the oven and bake for another 20-25 minutes, until the top is golden brown and crispy. The edges should be visibly crunchy, and the center should be set but still slightly moist. If you want extra crispy bits, broil for 1-2 minutes at the end — but watch it closely, gluten-free bread browns fast.
- Rest and serve. Let the stuffing rest on a cooling rack for 10 minutes before serving. This allows the structure to set, so it holds its shape when you scoop it. Sprinkle with fresh parsley right before bringing it to the table. The contrast of the green parsley against the golden stuffing is beautiful.
Cooking Tips & Techniques
After 13 attempts at recreating that Gilded Onion stuffing, I’ve collected a few battle scars and a lot of wisdom. Here are the tips that will save you from my mistakes:
Don’t skip the stale bread step. I cannot stress this enough. The first time I tried this recipe with fresh gluten-free bread, it turned into a gluey mess that my husband compared to “savory oatmeal.” Gluten-free bread is already more fragile than wheat bread, and fresh cubes collapse under the liquid. Toasting or using day-old bread creates a structure that can hold up to the broth and egg without disintegrating.
Watch your liquid ratio. Different gluten-free breads absorb liquid at different rates. Some are thirsty sponges; others are more resistant. Start with 1½ cups of broth, and if the mixture looks dry after resting, add more in 2-tablespoon increments. The stuffing should be moist but not swimming. A good test: squeeze a handful of the mixture. It should hold together without liquid dripping out.
Use low-sodium broth. Gluten-free bread often contains more salt than regular bread to compensate for texture. Combined with salted butter and the natural salt in broth, you can end up with an overly salty dish. Low-sodium broth gives you control. You can always add more salt at the table, but you can’t take it out.
Don’t overmix. When you combine the bread with the liquid, fold gently and stop as soon as everything is evenly moistened. Overmixing breaks down the bread cubes and creates a dense, pasty texture. Think of it like folding in whipped egg whites — gentle, deliberate strokes.
Make it ahead for better flavor. This is the tip that took my stuffing from good to “can I have the recipe?” level. Assemble the stuffing completely, cover it, and refrigerate overnight. The flavors meld and deepen, and the texture becomes more cohesive. Just add 10 minutes to the covered baking time if starting from cold.
Variations & Adaptations
One of the best things about this classic gluten-free herb Thanksgiving stuffing is how adaptable it is. Here are some variations I’ve tried and loved:
Vegetarian/Vegan Version : Use vegetable broth instead of chicken broth, and substitute the egg with a flax egg (1 tablespoon ground flaxseed mixed with 3 tablespoons water, let sit for 5 minutes). Use vegan butter or olive oil instead of dairy butter. The texture will be slightly less rich, but still delicious. I made this for my sister’s vegan Thanksgiving last year, and she said it was the best stuffing she’d had in years.
Sausage and Apple Stuffing : Brown ½ pound of gluten-free Italian sausage (casings removed) in the skillet before cooking the vegetables. Add 1 diced Granny Smith apple along with the celery. The sweetness of the apple and the savory sausage are a match made in heaven. This is my husband’s favorite variation, and it’s become our go-to for Christmas dinner.
Herb-Forward Version : Double the fresh herbs — use 1 cup of fresh parsley, and add 2 tablespoons each of fresh sage and fresh thyme. Stir in ¼ cup of chopped fresh chives at the end. This version is incredibly aromatic and pairs beautifully with roast chicken or turkey.
Nutty Crunch Version : Add ½ cup of toasted pecans or walnuts to the stuffing along with the bread cubes. Toast the nuts in a dry skillet over medium heat for 3-4 minutes until fragrant, then chop roughly. The crunch adds a wonderful textural contrast to the soft stuffing.
Dairy-Free Option : Use olive oil or a high-quality dairy-free butter (I like Miyoko’s) in place of regular butter. The flavor is slightly different, but the texture remains excellent. Just make sure your dairy-free butter has a high fat content for the best results.
Serving & Storage Suggestions
This classic gluten-free herb Thanksgiving stuffing is versatile enough to serve alongside a holiday feast or as a standalone comfort dish. Here’s how to make the most of it:
Serving Temperature and Presentation : Serve the stuffing warm, straight from the oven. Spoon it into a beautiful serving bowl or platter, and garnish with fresh parsley and a few sprigs of thyme. For a rustic look, serve it directly from the baking dish — it keeps the crispy edges intact. I like to place a small dish of extra gravy on the side for those who want extra moisture.
Complementary Dishes : This stuffing is the perfect partner for roast turkey, of course, but it also shines alongside roasted chicken, pork chops, or even a simple roasted vegetable medley. For a complete Thanksgiving plate, pair it with mashed potatoes, cranberry sauce, and green bean casserole. The herb flavors in the stuffing complement the richness of gravy beautifully.
Storage Instructions : Store leftover stuffing in an airtight container in the refrigerator for up to 4 days. The flavors actually continue to develop, making day-two stuffing arguably even better. I’ve been known to eat it cold straight from the fridge at midnight — don’t judge.
Freezing Instructions : This stuffing freezes beautifully. Let it cool completely, then transfer to a freezer-safe container or zip-top bag. Freeze for up to 3 months. To reheat, thaw overnight in the refrigerator, then reheat in a 350°F oven covered with foil for 20-25 minutes, removing the foil for the last 5 minutes to re-crisp the top.
Reheating Tips : The best way to reheat stuffing is in the oven. Microwave reheating makes the bread soggy. If you’re in a hurry, you can use a toaster oven — spread the stuffing in a small dish and heat at 350°F for 10-12 minutes. For extra crispiness, brush with a little melted butter before reheating.
Nutritional Information & Benefits
While stuffing is undeniably a comfort food, this version offers some nutritional benefits that make it a smarter choice for your holiday table. Here’s a rough estimate per serving (based on 8 servings):
- Calories: Approximately 280-320
- Protein: 6-8 grams
- Carbohydrates: 35-40 grams
- Fat: 12-15 grams
- Fiber: 4-6 grams
- Sodium: 450-550 mg (varies based on bread and broth choice)
Health Benefits : This stuffing is gluten-free, making it suitable for those with celiac disease or gluten sensitivity. The celery provides vitamin K and antioxidants, while the herbs (sage, thyme, rosemary) are rich in anti-inflammatory compounds. Using low-sodium broth helps control salt intake, and the mushrooms (if included) add B vitamins and immune-supporting beta-glucans. It’s not health food, but it’s a more mindful version of a beloved classic.
Dietary Considerations : This recipe is naturally nut-free (unless you add the nutty variation) and can be made dairy-free and vegan with the substitutions listed above. It contains eggs in the standard version, but the flax egg alternative works well. Always check your gluten-free bread label for any potential cross-contamination if serving someone with celiac disease.
Conclusion
This classic gluten-free herb Thanksgiving stuffing is more than just a recipe — it’s a labor of love born from a closed restaurant, 13 failed attempts, and a determination to not let a perfect stuffing disappear from the world. Every time I make it now, I think of The Gilded Onion and that first bite that made me close my eyes. And honestly? This version might be even better than the original. It’s got all the nostalgia, all the flavor, and none of the gluten.
I hope you make this stuffing your own. Tweak the herbs, add your favorite mix-ins, serve it with your family’s traditions. That’s what cooking is all about, right? Taking something that inspired you and making it yours. If you try this recipe, I’d love to hear about it. Drop a comment below, tag me in your photos, tell me about the restaurant or memory that inspired your version. Until then, happy cooking, and may your Thanksgiving table be full of golden, herb-flecked joy.
Frequently Asked Questions
Can I make this stuffing completely gluten-free?
Yes, absolutely! This recipe is designed to be 100% gluten-free. Just make sure you use certified gluten-free bread and check that your broth and any other packaged ingredients are labeled gluten-free. Some broths contain hidden gluten, so always read the label.
Can I use any type of gluten-free bread?
You can, but results vary. I’ve had the best luck with sturdy white sandwich-style gluten-free breads like Schär or Canyon Bakehouse. Avoid very dense, seedy breads or super light, airy ones — they either don’t absorb liquid well or fall apart too quickly. A good rule of thumb: if the bread holds up to toasting, it’ll work in this recipe.
How do I prevent the stuffing from being too dry or too soggy?
The key is the bread-to-liquid ratio and the resting time. Start with 1½ cups of broth, and let the mixture rest for 15-20 minutes before baking. If it looks dry, add more broth in small increments. If it looks soupy, add a few more bread cubes. The stuffing should be moist but not swimming, and the resting time allows the bread to absorb evenly.
Can I add meat to this stuffing?
Definitely! Browned gluten-free sausage, cooked bacon, or diced turkey are all excellent additions. If adding sausage, cook it first and drain excess fat before combining with the vegetables. For bacon, cook until crispy, crumble, and stir in at the end. Just remember that adding meat will increase the cooking time slightly and may affect the moisture level, so adjust your broth accordingly.
How far in advance can I prepare this stuffing?
You can assemble the stuffing completely (through step 7) up to 24 hours ahead. Cover and refrigerate. When ready to bake, add about 10 minutes to the covered baking time to account for the cold start. You can also toast the bread cubes up to 3 days in advance and store them in an airtight container at room temperature. The vegetables can be sautéed a day ahead and refrigerated separately.
Pin This Recipe!
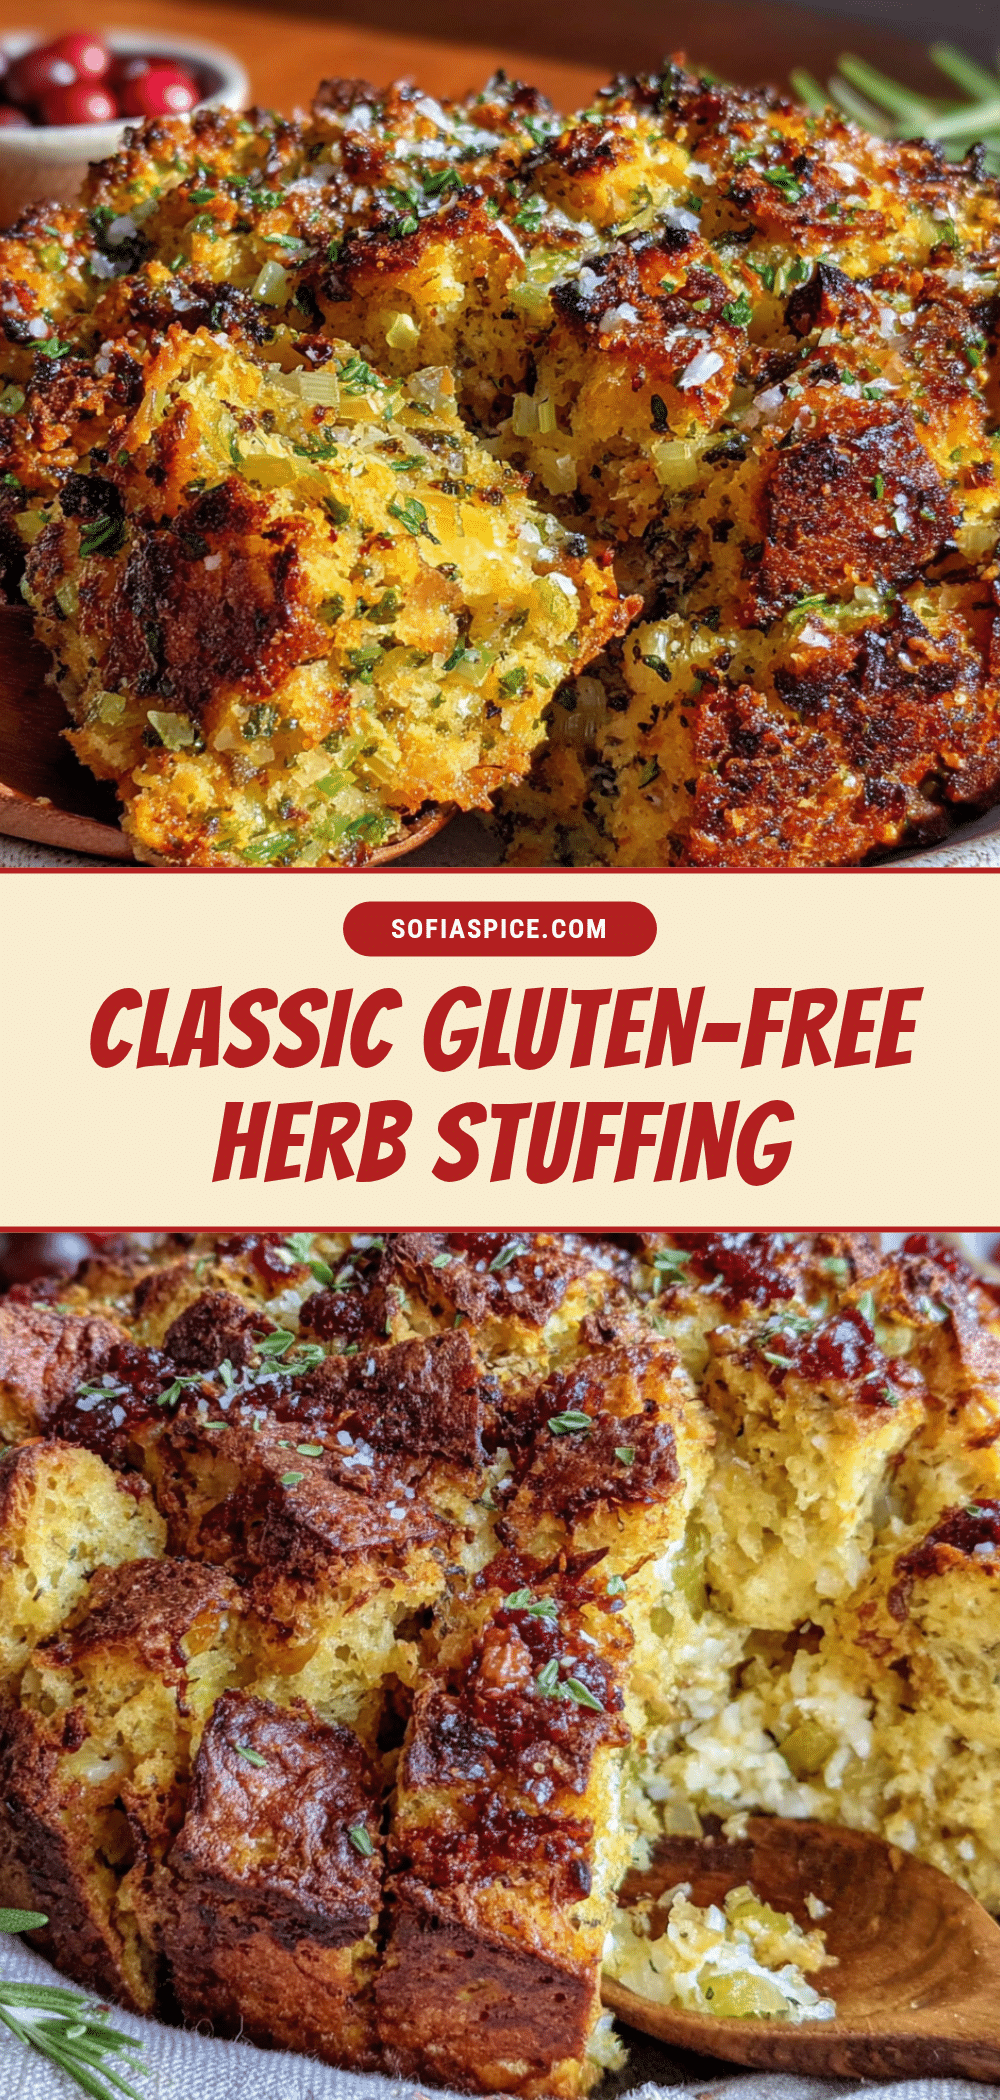
Classic Gluten-Free Herb Thanksgiving Stuffing: Easy Best Recipe
This classic gluten-free herb Thanksgiving stuffing delivers golden, herb-flecked perfection with a texture that holds its shape without being heavy. It’s the perfect side dish for your holiday table, made with simple ingredients and deep, savory herb flavor.
- Prep Time: 20 minutes
- Cook Time: 50 minutes
- Total Time: 1 hour 10 minutes
- Yield: 8 servings 1x
- Category: Side Dish
- Cuisine: American
Ingredients
- 1 large loaf (about 16 ounces) day-old gluten-free bread, cut into ¾-inch cubes
- 4 tablespoons unsalted butter, plus more for greasing the dish
- 1 tablespoon olive oil
- 1 large yellow onion, diced (about 1½ cups)
- 3 celery stalks, diced (about 1 cup)
- 3 cloves garlic, minced
- 1 cup sliced mushrooms (cremini or baby bella), optional
- 2 teaspoons dried sage
- 1½ teaspoons dried thyme
- 1 teaspoon dried rosemary, crushed
- ½ cup fresh parsley, chopped
- 1 teaspoon fine sea salt
- ½ teaspoon freshly ground black pepper
- ¼ teaspoon nutmeg
- 1½ cups low-sodium chicken or vegetable broth
- ¼ cup dry white wine (like Sauvignon Blanc or Pinot Grigio)
- 1 large egg, lightly beaten
- 2 tablespoons melted butter (for topping)
- ¼ cup fresh parsley, extra for garnish
Instructions
- Prep the bread: If your gluten-free bread isn’t day-old, cut it into ¾-inch cubes and spread on a baking sheet. Toast at 300°F for 10-12 minutes, stirring halfway through, until dry but not browned. Set aside to cool completely.
- Sauté the aromatics: In a large skillet over medium heat, melt 4 tablespoons butter with 1 tablespoon olive oil. Add diced onion and celery, cook for 6-8 minutes until onion is translucent and celery softened. Add minced garlic and mushrooms (if using), cook for another 2-3 minutes until mushrooms release liquid and start to brown.
- Bloom the herbs: Sprinkle dried sage, thyme, rosemary, salt, pepper, and nutmeg over the vegetables. Stir constantly for about 30 seconds until fragrant.
- Deglaze the pan: Pour in ¼ cup white wine, scraping up browned bits. Let simmer for 1-2 minutes until mostly evaporated.
- Combine the base: Transfer vegetable mixture to a large mixing bowl. Add dried bread cubes and toss gently. In a separate bowl, whisk together broth and beaten egg. Pour over bread cubes and fold gently with a silicone spatula until moist but not soupy. If dry, add 2-3 tablespoons more broth.
- Rest the mixture: Let stuffing sit for 15-20 minutes to allow bread to absorb liquid.
- Transfer to baking dish: Preheat oven to 375°F. Grease a 9×13-inch baking dish with butter. Spoon stuffing mixture into dish and spread evenly. (If making ahead, cover and refrigerate up to 24 hours.)
- Bake covered: Cover tightly with aluminum foil and bake for 25 minutes.
- Bake uncovered: Remove foil, brush top with 2 tablespoons melted butter. Bake for another 20-25 minutes until top is golden brown and crispy. For extra crispiness, broil for 1-2 minutes, watching closely.
- Rest and serve: Let stuffing rest on a cooling rack for 10 minutes before serving. Sprinkle with fresh parsley.
Notes
Don’t skip the stale bread step; fresh gluten-free bread will turn to mush. Use low-sodium broth to control saltiness. Let the mixture rest before baking to prevent dry spots. For make-ahead, assemble completely and refrigerate up to 24 hours; add 10 minutes to covered baking time. For vegan version, use vegetable broth, flax egg (1 tablespoon ground flaxseed mixed with 3 tablespoons water), and vegan butter.
Nutrition
- Serving Size: 1 serving (about 1 c
- Calories: 300
- Sugar: 4
- Sodium: 500
- Fat: 14
- Saturated Fat: 7
- Carbohydrates: 38
- Fiber: 5
- Protein: 7
Keywords: gluten-free stuffing, Thanksgiving stuffing, herb stuffing, gluten-free Thanksgiving, classic stuffing, easy stuffing recipe


