It was 11:47 PM on a rainy Tuesday in early October, and I had an unreasonable, almost desperate craving for pumpkin cheesecake. The kind of craving that makes you rummage through cabinets like a raccoon on a mission. I didn’t have a springform pan, and I definitely didn’t have the energy for a full-sized cheesecake that would taunt me from the fridge for a week. But I had a mini muffin tin, a half-empty box of gingersnaps from a party I’d forgotten about, and a can of pumpkin puree that had been hiding behind the black beans. The idea arrived in a flash—why not make these tiny, two-bite wonders? Honestly, some of my best kitchen ideas happen when I’m slightly delirious and the rest of the world is asleep. Let me tell you, that late-night experiment turned into something I now make on purpose.
The sizzle of butter melting with crushed gingersnaps filled my tiny kitchen, and the smell—warm, spiced, and autumnal—was like a cozy blanket for my soul. I pressed the crumb mixture into the mini muffin cups with my fingers, probably getting more on my pajama pants than in the tin, but at that hour, who cares? The filling came together in one bowl, a simple swirl of cream cheese, pumpkin, and a whisper of maple syrup. When I finally pulled them out of the oven, the tops were perfectly set, slightly cracked in that charming, homemade way. I let them cool on the counter while I stood there in the dark, eating one straight from the pan. Maybe you’ve been there—that quiet moment when a recipe just works, and you feel like a genius in your own kitchen. That’s why these mini pumpkin cheesecake bites stuck with me. They’re proof that you don’t need fancy equipment or a lot of time to create something that feels like a warm hug.
Why You’ll Love This Recipe
These mini pumpkin cheesecake bites aren’t just another fall dessert—they’re the kind of treat that makes you feel like you’re wrapped in a cashmere blanket on a crisp autumn afternoon. I’ve tested this recipe at least six times (and yes, my neighbors were happy taste-testers), and I can confidently say it hits every note: creamy, spiced, crunchy, and perfectly portioned. Here’s why you’re going to fall hard for these little bites of heaven:
- Quick & Easy: From start to finish, you’re looking at about 30 minutes of active time. No water bath, no complicated techniques—just simple, foolproof steps that even a late-night kitchen experimenter can handle.
- Simple Ingredients: You probably have most of these in your pantry right now. Cream cheese, pumpkin puree, eggs, sugar, and a box of gingersnaps. No fancy grocery store runs required.
- Perfect for Cozy Evenings: Whether it’s a rainy Tuesday, a chilly Sunday afternoon, or a night when you just need a little comfort, these bites deliver. They’re small enough to not feel indulgent but satisfying enough to fix that craving.
- Always a Crowd-Pleaser: I brought these to a Friendsgiving potluck, and they disappeared before the main course was even served. Kids love the bite-size factor, and adults appreciate the sophisticated ginger-pumpkin flavor combo.
- Unbelievably Delicious: The texture is what gets me every time. That crunchy, buttery gingersnap crust against the silky, spiced pumpkin filling—it’s a match made in cozy heaven.
What makes this recipe different from the hundreds of other pumpkin cheesecake recipes out there? It’s the crust. Using store-bought gingersnaps isn’t just a shortcut—it’s a deliberate choice that adds a deep, molasses-y warmth that a regular graham cracker crust just can’t touch. Plus, the mini format means you get the perfect crust-to-filling ratio in every single bite. Honestly, it’s the kind of dessert that makes you close your eyes after the first taste. It’s comfort food reimagined—faster, easier, but with the same soul-soothing satisfaction. Perfect for impressing guests without any stress, or turning a simple evening into something memorable.
What Ingredients You Will Need
This recipe relies on a handful of humble ingredients that come together to create something truly special. The beauty is in the simplicity—each component has a job to do, and they all work in harmony. Here’s what you’ll need to gather:
For the Gingersnap Crust:
- 1 ½ cups (180g) crushed gingersnap cookies (about 25-30 cookies, depending on brand). I prefer the Anna’s Ginger Thins or the classic Nabisco gingersnaps for their bold spice and sturdy texture. You can crush them in a food processor or by hand in a zip-top bag with a rolling pin—both work great.
- ¼ cup (55g) unsalted butter, melted. Use the real stuff here; it adds richness and helps the crust hold together beautifully.
- 2 tablespoons (25g) granulated sugar. Just a touch to balance the spices and add a little sweetness.
- Pinch of salt. Don’t skip this—it enhances all the other flavors.
For the Pumpkin Cheesecake Filling:
- 8 ounces (226g) cream cheese, softened to room temperature. Full-fat is best for that ultra-creamy texture, but reduced-fat works in a pinch. Let it sit out for at least 30 minutes before starting.
- ½ cup (100g) granulated sugar. For sweetness and structure.
- ½ cup (120ml) pumpkin puree. Not pumpkin pie filling! Make sure you grab 100% pure pumpkin puree. I like the Libby’s brand for its consistent thickness and flavor.
- 1 large egg, room temperature. This helps the filling set without being too dense.
- 1 teaspoon vanilla extract. Pure vanilla, not imitation, for the best flavor.
- 1 teaspoon pumpkin pie spice. You can use store-bought or make your own with ½ teaspoon cinnamon, ¼ teaspoon ginger, ⅛ teaspoon nutmeg, and a pinch of cloves.
- ½ teaspoon ground cinnamon. For an extra layer of warmth.
- 1 tablespoon maple syrup (optional). I add this for a subtle, earthy sweetness that complements the pumpkin beautifully. Use the real stuff if you have it.
For Topping (Optional but Recommended):
- ¼ cup (60ml) heavy cream. For a dollop of lightly sweetened whipped cream.
- 1 tablespoon powdered sugar. To sweeten the cream.
- A sprinkle of cinnamon or crushed gingersnaps. For that final, pretty touch.
Ingredient Selection Tips: When buying gingersnaps, look for cookies that are crisp, not soft. The crunch is essential for the crust. For the cream cheese, the block-style (not the whipped tub) is what you need for the right texture. And if you’re feeling adventurous, you can swap the pumpkin pie spice for a homemade blend—it takes two minutes and tastes brighter.
Equipment Needed
You don’t need a professional bakery setup for these mini pumpkin cheesecake bites. Here’s what I use, along with a few alternatives in case you’re working with a less-stocked kitchen:
- Mini muffin tin (24-cup). This is non-negotiable for the mini format. I have a standard non-stick one from Wilton that’s served me well for years. If you only have a 12-cup tin, just bake in batches—the filling holds up fine while waiting.
- Food processor or zip-top bag and rolling pin. For crushing the gingersnaps. A food processor gives you a finer, more even crumb, but the bag-and-rolling-pin method is oddly satisfying and works just as well.
- Electric hand mixer or stand mixer. For beating the cream cheese until smooth. A hand mixer is perfect here; a stand mixer works too, but you don’t need the big guns for such a small batch.
- Mixing bowls. One medium for the crust, one large for the filling.
- Measuring cups and spoons. Accuracy matters in baking, even for these little guys.
- Spatula. A silicone spatula is your best friend for scraping every last bit of filling into the cups.
- Small cookie scoop or teaspoon. For evenly portioning the filling. A #60 cookie scoop (about 1 tablespoon) is ideal.
- Cooling rack. For letting the bites cool completely before chilling.
Budget-Friendly Tips: If you don’t own a mini muffin tin, you can bake these in a regular muffin tin with paper liners—just increase the baking time by 5-8 minutes. And if you’re short on time, skip the food processor and crush the cookies by hand; the rustic texture adds character.
Preparation Method
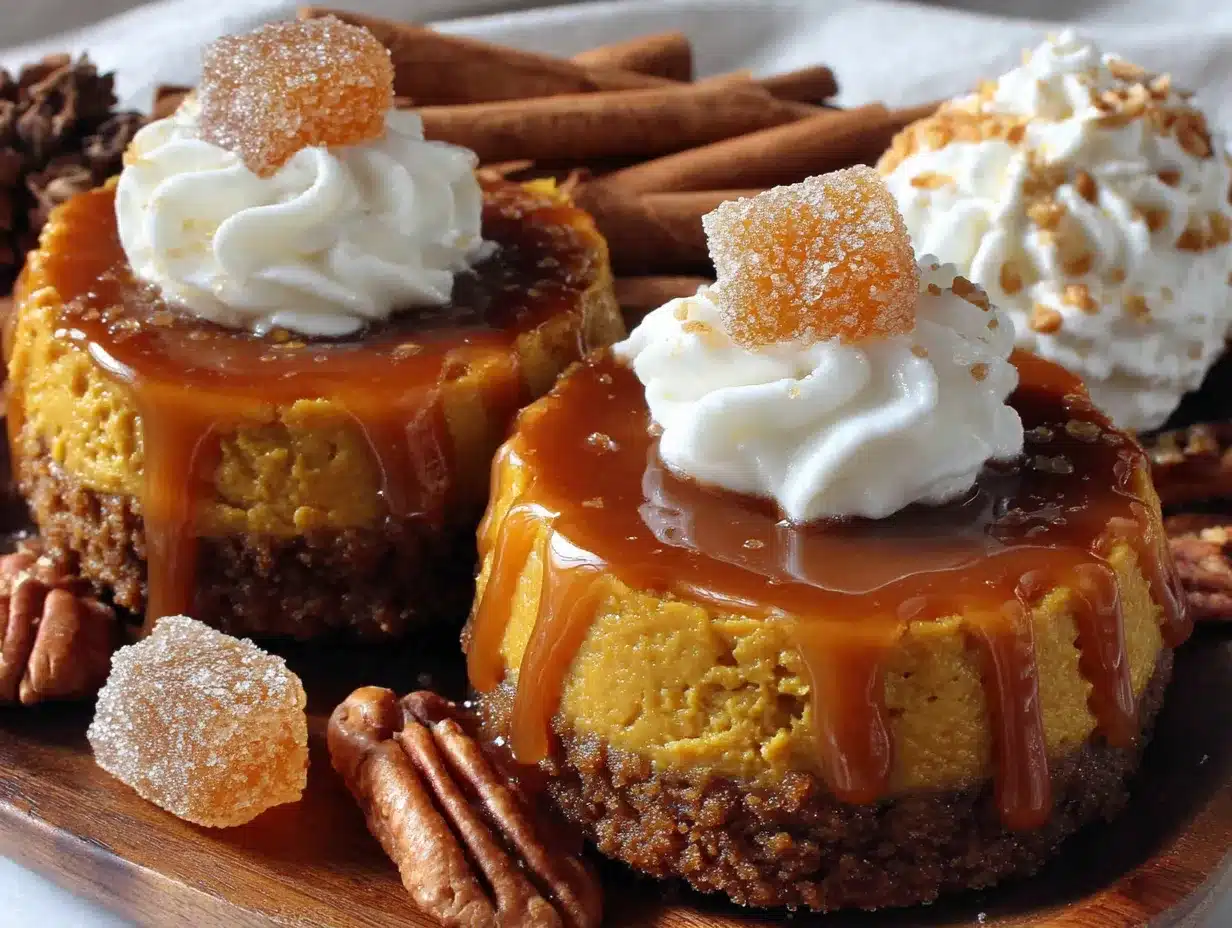
Let’s get to the fun part. These mini pumpkin cheesecake bites come together in a few simple stages. Take your time, and don’t rush the chilling step—it’s what gives them that perfect, creamy texture.
- Preheat and Prep. Preheat your oven to 325°F (160°C). Line your mini muffin tin with paper liners or lightly grease each cup with butter or non-stick spray. I prefer paper liners for easy removal and a cleaner look, but greasing works just fine if you’re out of liners.
- Make the Crust. In a food processor, pulse the gingersnap cookies until you have fine crumbs. You should have about 1 ½ cups. Transfer the crumbs to a medium bowl. Pour in the melted butter, sugar, and salt, and stir with a fork until the mixture looks like wet sand and holds together when pinched. If it seems too dry, add another tablespoon of melted butter.
- Press the Crust. Scoop about 1 heaping teaspoon of the crust mixture into each mini muffin cup. Press it down firmly with the back of a small spoon or your fingers. I use a shot glass—it’s the perfect size for pressing the crumbs flat. Make sure the crust is even and compact, or it will crumble when you try to remove the bites later.
- Pre-Bake the Crust. Bake the crusts for 5 minutes at 325°F (160°C). This helps them set and prevents sogginess. Remove from the oven and let them cool slightly while you make the filling. Keep the oven on.
- Make the Filling. In a large mixing bowl, beat the softened cream cheese with an electric hand mixer on medium speed until smooth and creamy, about 1 minute. Scrape down the sides of the bowl. Add the sugar and beat for another 30 seconds until combined. Add the pumpkin puree, egg, vanilla extract, pumpkin pie spice, cinnamon, and maple syrup (if using). Beat on low speed until just combined—don’t overmix, or the cheesecake can become dense. The mixture should be smooth, glossy, and a beautiful pale orange color.
- Fill the Cups. Using a small cookie scoop or a teaspoon, divide the filling evenly among the 24 mini muffin cups, filling each almost to the top. The filling won’t rise much, so don’t worry about overflow. A slight dome is perfect.
- Bake. Bake for 12-15 minutes, or until the edges are set and the centers are slightly jiggly (like a soft-set Jell-O). Don’t overbake! Overbaked cheesecake gets dry and cracks. I start checking at 12 minutes. The tops should look matte, not glossy.
- Cool and Chill. Let the bites cool in the pan on a wire rack for 15 minutes. Then, carefully transfer them (still in the liners) to a plate or container and refrigerate for at least 2 hours, or overnight. This step is crucial—chilling allows the cheesecake to fully set and develop its flavor. Trust me, they’re worth the wait.
Troubleshooting Tip: If your filling cracks on top, don’t panic. A dollop of whipped cream hides a multitude of sins. And if the crust crumbles when you try to remove the bites, you may not have pressed it firmly enough—next time, channel your inner construction worker and really pack it down.
Cooking Tips & Techniques
After making these mini pumpkin cheesecake bites more times than I can count, I’ve picked up a few tricks that make the process smoother and the results more consistent. Here’s what I’ve learned the hard way so you don’t have to:
- Room Temperature is Your Friend. Cold cream cheese is the enemy of smooth filling. If you forget to take it out of the fridge, cut it into small cubes and microwave it in 10-second bursts until soft but not melted. Same goes for the egg—place it in a bowl of warm water for 5 minutes to take the chill off.
- Don’t Overmix the Filling. I know it’s tempting to keep beating until it’s perfectly smooth, but overmixing incorporates too much air, which can cause the cheesecake to puff up and then sink, leaving cracks. Mix just until the ingredients are combined and no streaks remain.
- Use a Water Bath (Optional but Helpful). For an even creamier texture, place the mini muffin tin inside a larger baking dish and pour hot water halfway up the sides of the muffin tin before baking. The steam creates a gentle, even heat that reduces cracking. I skip this step most of the time because it’s fussy, but if you’re aiming for perfection, it’s worth the extra effort.
- Let Them Cool Gradually. After baking, turn off the oven and crack the door open, letting the bites cool inside for 10 minutes before removing them. This gradual cool-down prevents sudden temperature changes that cause cracking.
- Chill Overnight for Best Flavor. I know, I know—waiting is hard. But the flavors meld and deepen overnight. The pumpkin and spices become more pronounced, and the texture becomes silky and luxurious. If you can resist, make them a day ahead.
- My Biggest Failure: The first time I made these, I forgot to pre-bake the crust. The result? A soggy, sad bottom that fell apart as soon as I tried to take a bite. Learn from my mistake—always pre-bake that crust for 5 minutes. It makes all the difference.
Variations & Adaptations
One of the best things about this recipe is how flexible it is. Whether you’re cooking for dietary restrictions, seasonal ingredients, or just a change of pace, here are some variations I’ve tried and loved:
- Gluten-Free Version: Swap the gingersnap cookies for gluten-free gingersnaps. I’ve used the Mi-Del brand with great success. The texture is slightly more delicate, so handle the crust gently when pressing it into the cups.
- Dairy-Free Version: Use a dairy-free cream cheese alternative (like Kite Hill or Violife) and coconut oil instead of butter for the crust. The filling will be slightly less rich, but still delicious. I’ve tested this for a friend with lactose intolerance, and she gave it two thumbs up.
- Low-Sugar Version: Replace the granulated sugar with a monk fruit sweetener or erythritol. Use a sugar-free maple syrup alternative. The bites will be less sweet, but the pumpkin and spice flavors shine through beautifully.
- Flavor Twists: Add ½ teaspoon of orange zest to the filling for a bright, citrusy note. Or swirl in a tablespoon of caramel sauce before baking for a salted caramel pumpkin cheesecake bite. For a chocolate lover’s version, add ¼ cup of mini chocolate chips to the filling—they sink to the bottom and create a lovely surprise.
- Different Crusts: If you’re not a gingersnap fan (though I can’t imagine why), try a graham cracker crust with a pinch of cinnamon and nutmeg. Or use crushed shortbread cookies for a buttery, less-spiced base. I once used crushed speculoos cookies, and it was incredible.
- Air Fryer Adaptation: Yes, you can make these in an air fryer! Preheat the air fryer to 300°F (150°C). Bake the crusts for 3 minutes, then add the filling and bake for 8-10 minutes. Check at 8 minutes; the tops should be set but jiggly. The air fryer gives them a slightly firmer texture, which I actually prefer.
Serving & Storage Suggestions
These mini pumpkin cheesecake bites are versatile little gems. Here’s how to serve them and keep them fresh:
- Serving Temperature: Serve them cold, straight from the fridge. The texture is best when they’re fully chilled—creamy, firm, and refreshing. If you prefer a softer texture, let them sit at room temperature for 10-15 minutes before serving.
- Presentation: Arrange the bites on a white platter or a wooden board for a rustic look. Top each one with a tiny dollop of whipped cream and a sprinkle of cinnamon or crushed gingersnaps. For a festive touch, add a small rosemary sprig or a few pomegranate arils.
- Complementary Dishes: These pair beautifully with a cup of hot apple cider, a chai latte, or a strong black coffee. For a dessert spread, serve them alongside pumpkin bread, apple crisp, or a cheese board with sharp cheddar and dried figs.
- Storage: Store the bites in an airtight container in the refrigerator for up to 5 days. Place a layer of parchment paper between stacked layers to prevent sticking. The flavors actually improve after a day or two—the spices mellow and meld.
- Freezing: These freeze like a dream. Place the bites on a baking sheet and freeze until solid (about 1 hour), then transfer to a freezer-safe bag or container. They’ll keep for up to 3 months. To thaw, move them to the fridge overnight or let them sit at room temperature for 20 minutes.
- Reheating: I don’t recommend reheating them—they’re meant to be enjoyed cold. But if you accidentally leave them out and they get too soft, pop them back in the fridge for 30 minutes to firm up.
Nutritional Information & Benefits
While these mini pumpkin cheesecake bites are definitely a treat, they do offer a few nutritional perks. Here’s a rough estimate per bite (based on 24 servings):
- Calories: ~120
- Fat: 8g
- Carbohydrates: 11g
- Protein: 2g
- Sugar: 8g
- Fiber: 0.5g
Health Benefits: Pumpkin puree is packed with vitamin A (from beta-carotene), which supports eye health and immune function. It’s also a good source of fiber and antioxidants. The ginger in the crust has anti-inflammatory properties and can aid digestion. And hey, portion control is built right in—each bite is small enough to satisfy a craving without overdoing it.
Dietary Considerations: This recipe is vegetarian and can be made gluten-free, dairy-free, or low-sugar with the substitutions mentioned above. It contains dairy, eggs, and gluten in its standard form, so be mindful of allergies.
Conclusion
These mini pumpkin cheesecake bites with gingersnap crust are more than just a recipe—they’re a little moment of joy in a busy day. They remind me that you don’t need a special occasion or a fully stocked kitchen to create something wonderful. Sometimes all it takes is a late-night craving, a bit of creativity, and a willingness to try something new. I hope you make these for yourself on a quiet evening, or share them with friends who need a little comfort. They’re forgiving, adaptable, and absolutely delicious.
I’d love to hear how yours turn out! Did you try any variations? Did you manage to resist eating them all before they chilled? Drop a comment below and let me know. And if you’re looking for more cozy fall recipes, be sure to check out my pumpkin spice latte cupcakes or these apple cider donut muffins—they’re the perfect companions for a crisp autumn afternoon. Happy baking, friends!
Frequently Asked Questions
Can I use fresh pumpkin instead of canned?
Yes, you can! If using fresh pumpkin, make sure to roast it until tender, then puree it until smooth. You’ll want to drain any excess liquid through a cheesecloth or paper towel, as fresh pumpkin tends to be more watery than canned. Start with ½ cup of the drained puree.
Why did my cheesecake bites crack on top?
Cracking usually happens from overbaking or sudden temperature changes. Make sure to pull the bites out when the centers are still slightly jiggly. Also, let them cool gradually in the pan before transferring to the fridge. A dollop of whipped cream is a great cover-up if cracks do appear.
Can I make these without a mini muffin tin?
Absolutely. Use a regular 12-cup muffin tin with paper liners. You’ll get about 12 larger bites. Increase the baking time to 18-22 minutes, checking at 18 minutes. The crust and filling amounts stay the same—just divide them evenly among 12 cups.
How do I get the crust to stay together better?
Press the crust mixture firmly into the cups. I use the bottom of a shot glass or a small spice jar to really compact it. Also, don’t skip the pre-bake step—it helps the crust set. If your crust still crumbles, try adding an extra tablespoon of melted butter next time.
Can I double this recipe?
Yes, this recipe doubles beautifully. Just use two mini muffin tins (or bake in batches). The baking time remains the same. If you’re using a stand mixer, double the filling ingredients without any issues. Perfect for parties or holiday gift-giving!
Pin This Recipe!
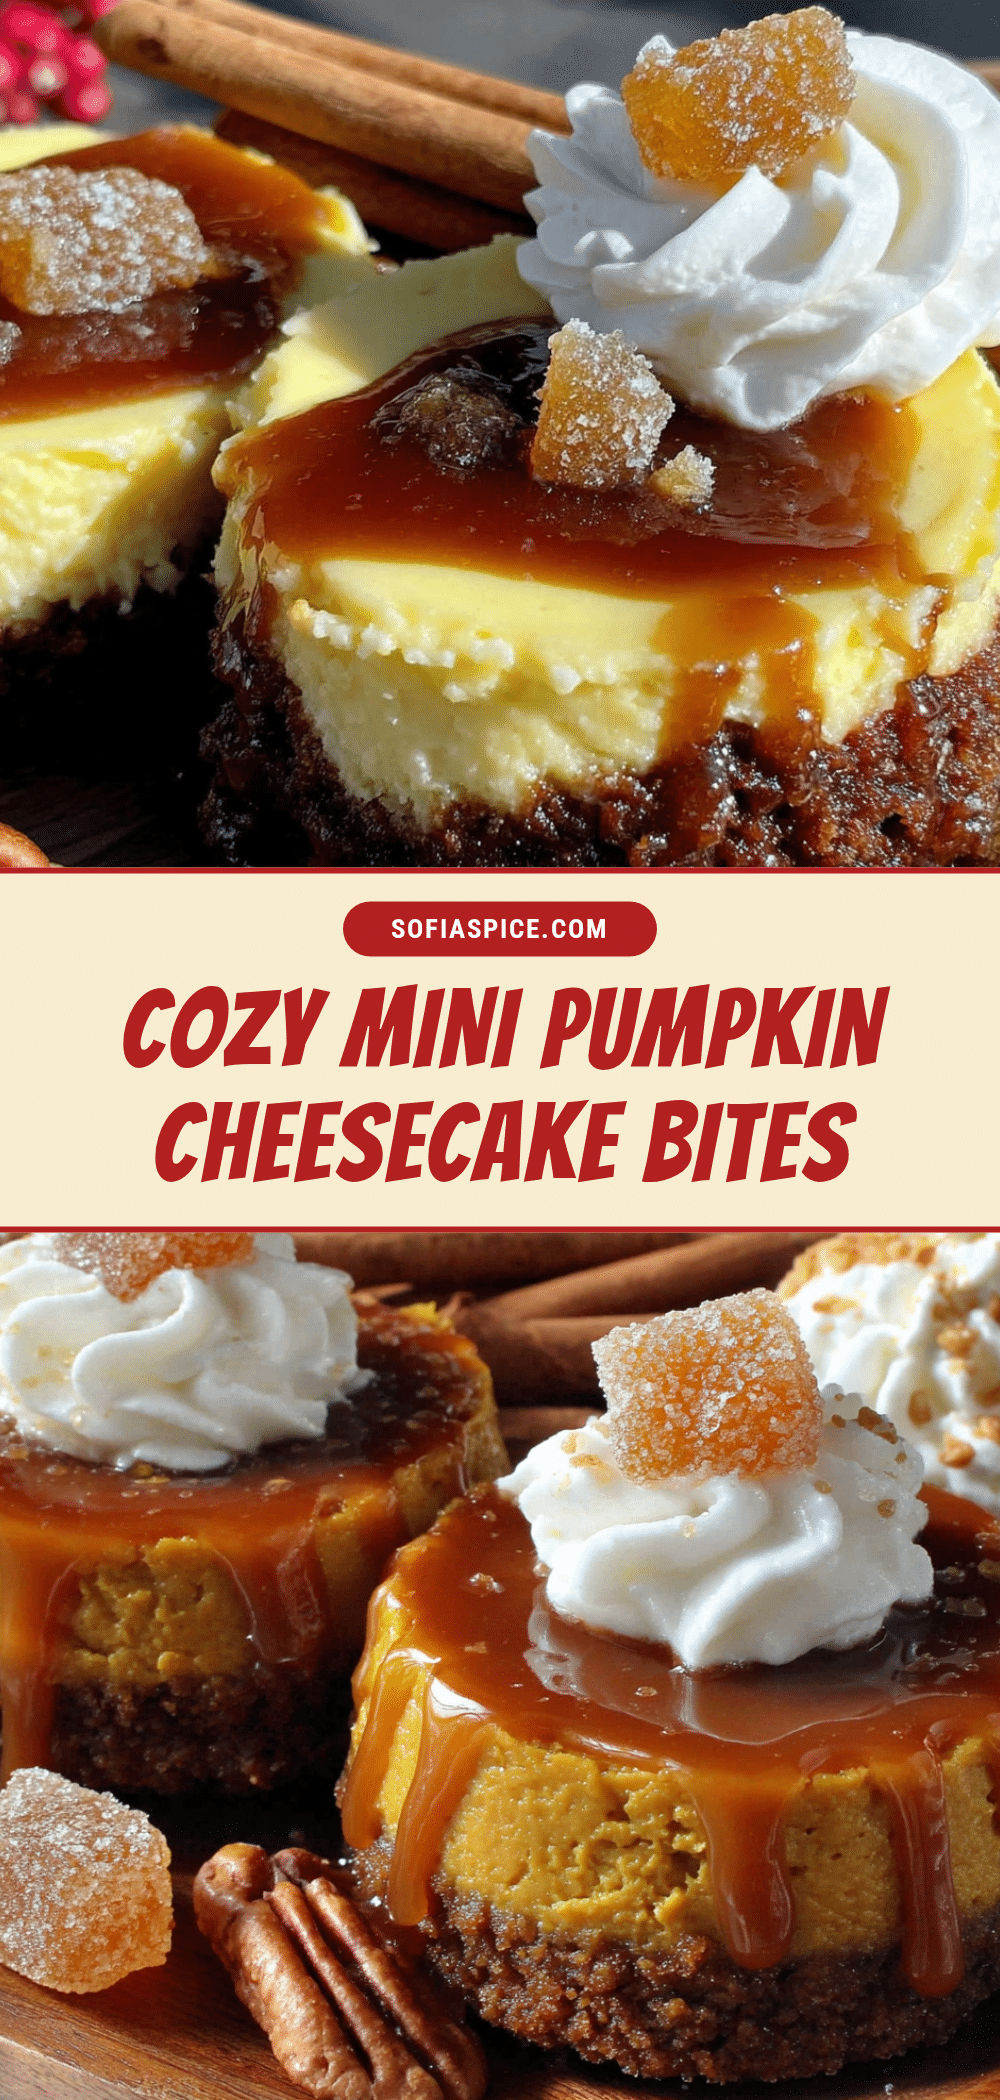
Best Easy Mini Pumpkin Cheesecake Bites with Gingersnap Crust
These mini pumpkin cheesecake bites with a crunchy gingersnap crust are the perfect two-bite treat for fall. Quick, easy, and made with simple ingredients, they deliver creamy, spiced pumpkin flavor in a perfectly portioned package.
- Prep Time: 15 minutes
- Cook Time: 20 minutes
- Total Time: 2 hours 35 minutes (includes chilling)
- Yield: 24 servings 1x
- Category: Dessert
- Cuisine: American
Ingredients
- 1 ½ cups (180g) crushed gingersnap cookies (about 25–30 cookies)
- ¼ cup (55g) unsalted butter, melted
- 2 tablespoons (25g) granulated sugar
- Pinch of salt
- 8 ounces (226g) cream cheese, softened to room temperature
- ½ cup (100g) granulated sugar
- ½ cup (120ml) pumpkin puree (100% pure, not pumpkin pie filling)
- 1 large egg, room temperature
- 1 teaspoon vanilla extract
- 1 teaspoon pumpkin pie spice
- ½ teaspoon ground cinnamon
- 1 tablespoon maple syrup (optional)
- ¼ cup (60ml) heavy cream (for topping, optional)
- 1 tablespoon powdered sugar (for topping, optional)
- A sprinkle of cinnamon or crushed gingersnaps (for topping, optional)
Instructions
- Preheat your oven to 325°F (160°C). Line a 24-cup mini muffin tin with paper liners or lightly grease each cup.
- In a food processor, pulse the gingersnap cookies until you have fine crumbs (about 1 ½ cups). Transfer to a medium bowl. Add melted butter, 2 tablespoons sugar, and a pinch of salt. Stir with a fork until the mixture looks like wet sand and holds together when pinched.
- Scoop about 1 heaping teaspoon of the crust mixture into each mini muffin cup. Press it down firmly with the back of a small spoon or a shot glass to compact it evenly.
- Bake the crusts for 5 minutes at 325°F (160°C). Remove from the oven and let cool slightly while you make the filling. Keep the oven on.
- In a large mixing bowl, beat the softened cream cheese with an electric hand mixer on medium speed until smooth and creamy, about 1 minute. Scrape down the sides. Add ½ cup sugar and beat for another 30 seconds until combined.
- Add the pumpkin puree, egg, vanilla extract, pumpkin pie spice, cinnamon, and maple syrup (if using). Beat on low speed until just combined—do not overmix. The mixture should be smooth and pale orange.
- Using a small cookie scoop or teaspoon, divide the filling evenly among the 24 mini muffin cups, filling each almost to the top.
- Bake for 12-15 minutes, or until the edges are set and the centers are slightly jiggly. Do not overbake.
- Let the bites cool in the pan on a wire rack for 15 minutes. Then carefully transfer them (still in the liners) to a plate or container and refrigerate for at least 2 hours, or overnight.
- If desired, before serving, whip the heavy cream with powdered sugar until soft peaks form. Top each bite with a dollop of whipped cream and a sprinkle of cinnamon or crushed gingersnaps.
Notes
For best results, use room temperature cream cheese and egg. Do not overmix the filling. Pre-baking the crust prevents sogginess. Chilling overnight enhances flavor. If cracks appear, cover with whipped cream.
Nutrition
- Serving Size: 1 mini cheesecake bi
- Calories: 120
- Sugar: 8
- Sodium: 90
- Fat: 8
- Saturated Fat: 4
- Carbohydrates: 11
- Fiber: 0.5
- Protein: 2
Keywords: mini pumpkin cheesecake bites, gingersnap crust, pumpkin cheesecake, fall dessert, bite-size cheesecake, easy pumpkin recipe


