This was supposed to be a simple pumpkin bread. I had the can of pumpkin, the warm spices, the whole plan laid out in my head. But somewhere between measuring the flour and realizing my loaf pan was still at my sister’s house from Thanksgiving, the whole thing fell apart. I stood there, staring at the mixing bowl, the batter already coming together, and felt that familiar panic rise up. You know that feeling when you’re already committed and there’s no going back? That was me, holding a whisk and wondering what on earth I was going to do.
I grabbed a jelly roll pan I’d bought on a whim years ago and never used. I figured, well, if it’s going to be a disaster, at least it’ll be a flat disaster. I poured the batter in, spread it thin, and crossed my fingers. When it came out of the oven, it looked… fine. Nothing special. But then I remembered a trick my neighbor, a woman named Ethel who baked for every church potluck, had once told me. She said the secret to a good roll was rolling it while it was still warm, before it had a chance to crack. So I did. I dusted a kitchen towel with powdered sugar, flipped the cake onto it, and rolled it up tight. It felt ridiculous, like I was making some kind of pumpkin burrito.
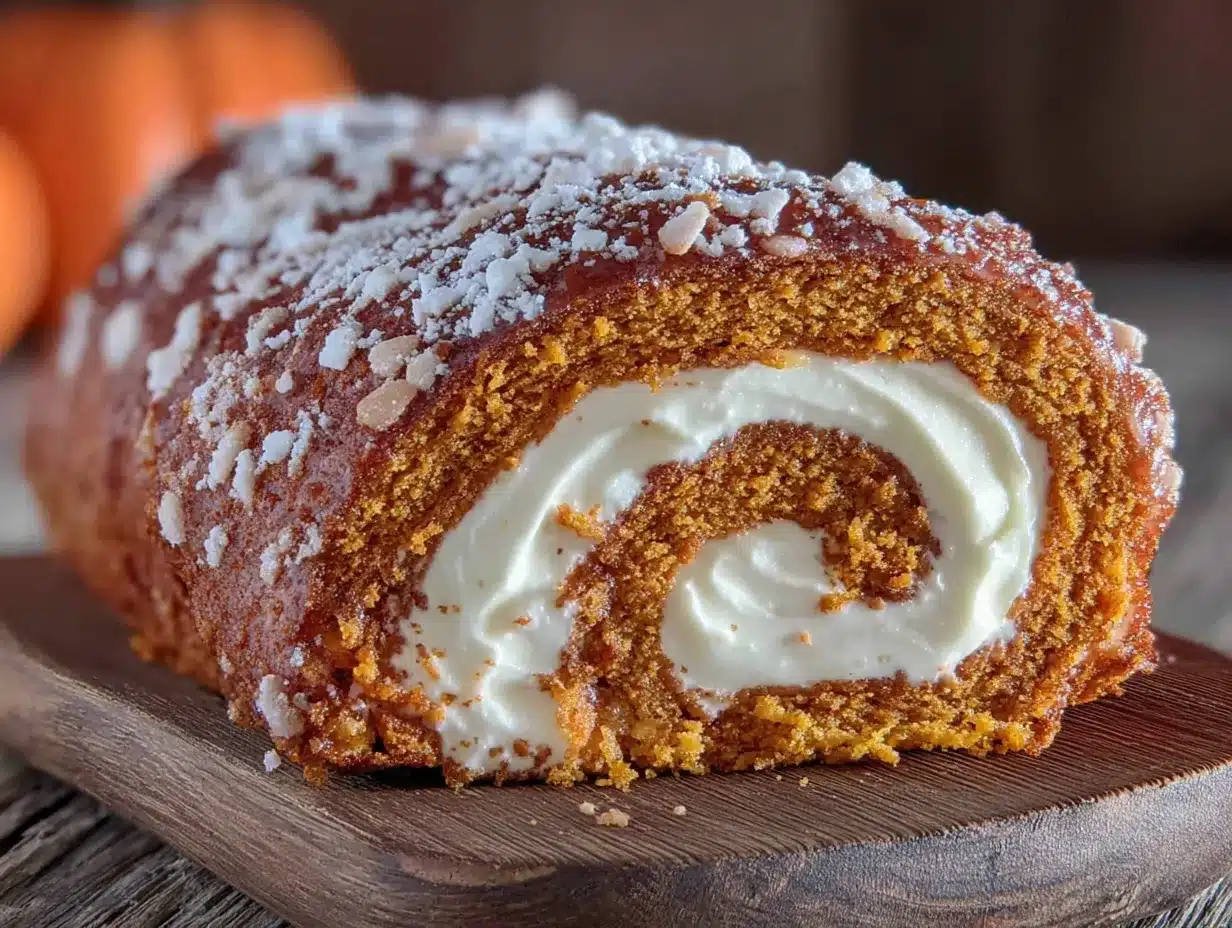
An hour later, I unrolled it, spread a cream cheese filling I’d thrown together with what was in the fridge, and rolled it back up. The first slice was messy, the filling squishing out the sides. But the taste? Honestly, I almost dropped the knife. It was better than anything I’d planned. The cake was tender, the filling was tangy and sweet, and that spiral pattern made me feel like I’d actually known what I was doing all along. I’ve been making this pumpkin roll ever since, and every time I do, I think about Ethel and that pan I almost never bought. Sometimes the best recipes come from the moments we think we’ve failed.
Why You’ll Love This Recipe
This isn’t just another pumpkin roll recipe you’ll find floating around the internet. This one has been tested in a real kitchen, by a real home cook, for a real family that doesn’t have time for fussy techniques or expensive ingredients. I’ve made this pumpkin roll more times than I can count, and I’ve learned exactly what works and what doesn’t so you don’t have to.
- Quick & Easy: From start to finish, this pumpkin roll comes together in about 30 minutes of active time. It’s perfect for those days when you need a showstopper dessert but you’re short on time and patience.
- Simple Ingredients: You probably have most of these in your pantry right now. No trips to specialty stores, no hunting for obscure ingredients. Just good, honest staples.
- Perfect for Family Gatherings: This pumpkin roll is the kind of dessert that disappears at Thanksgiving, Christmas, or just a regular Sunday dinner. It pleases everyone from the pickiest toddler to the most discerning grandparent.
- Crowd-Pleaser: I’ve brought this to potlucks, work parties, and family reunions. It always gets the same reaction—people asking for the recipe before they’ve even finished their first slice.
- Unbelievably Delicious: The combination of spiced pumpkin cake and creamy, tangy filling is pure comfort food. It’s the kind of dessert that makes you close your eyes and savor every single bite.
What makes this recipe different from the rest is the technique. I’ve figured out the perfect baking time to keep the cake pliable enough to roll without cracking, and the exact ratio of cream cheese to butter in the filling to get that perfectly spreadable, not-too-runny consistency. It’s not just another version—it’s the version I’ve perfected over years of trial and error, and I’m sharing every little trick with you.
This recipe is the one I turn to when I need to feel like a good cook without the stress. It’s the dessert that makes people think you spent hours in the kitchen when really, you had it done before the turkey even went in the oven. It’s comfort food that looks fancy but acts humble, and honestly, that’s my favorite kind of recipe.
What Ingredients You Will Need
This pumpkin roll uses simple, wholesome ingredients that work together to create something truly special. The magic is in how they’re combined, not in how complicated they are. Here’s everything you’ll need, broken down so you know exactly what each ingredient does.
For the Pumpkin Cake
- 3 large eggs (room temperature is best—they incorporate more air into the batter for a lighter cake)
- 1 cup granulated sugar (adds sweetness and helps with the cake’s structure)
- 2/3 cup pumpkin puree (not pumpkin pie filling! Make sure it’s 100% pure pumpkin. I prefer Libby’s for its consistent texture)
- 1 teaspoon vanilla extract (pure vanilla makes a difference, but imitation works in a pinch)
- 3/4 cup all-purpose flour (Gold Medal or King Arthur are my go-to brands)
- 1 teaspoon baking powder (check the expiration date—old baking powder won’t give you the right lift)
- 1/2 teaspoon salt (balances the sweetness and enhances the spices)
- 2 teaspoons pumpkin pie spice (or make your own with 1 teaspoon cinnamon, 1/2 teaspoon ginger, 1/4 teaspoon nutmeg, and 1/4 teaspoon cloves)
- 1/2 teaspoon ground cinnamon (extra because pumpkin and cinnamon are best friends)
- Powdered sugar for dusting (you’ll need about 1/4 cup for the towel and more for garnish)
For the Cream Cheese Filling
- 8 ounces cream cheese (full-fat, softened to room temperature. Philadelphia is my trusted brand—low-fat versions can make the filling too runny)
- 1/4 cup unsalted butter (softened, not melted. Let it sit out for at least an hour)
- 1 cup powdered sugar (sifted if it’s lumpy—nobody wants crunchy filling)
- 1 teaspoon vanilla extract (adds that classic cream cheese frosting flavor)
For the pumpkin puree, I always recommend buying a few extra cans when they’re on sale in the fall. They keep for months in the pantry, and you’ll be glad you have them when a pumpkin roll craving hits in March. If you’re using homemade pumpkin puree, make sure to drain it well in a cheesecloth-lined strainer overnight. Too much moisture will make your cake soggy.
If you’re out of pumpkin pie spice, don’t run to the store. Just mix cinnamon, ginger, nutmeg, and a tiny pinch of cloves. It’ll taste even better because you made it yourself. And for the cream cheese, please let it come to room temperature naturally. Microwaving it often leads to hot spots that can make your filling lumpy or too thin.
Equipment Needed
You don’t need a fancy kitchen to make this pumpkin roll. Here’s what you’ll need, along with some honest advice from someone who’s made this recipe with less-than-ideal equipment.
- 15x10x1-inch jelly roll pan: This is the most important piece. If you don’t have one, a rimmed baking sheet of similar size will work. I bought mine at a discount store for eight dollars, and it’s still going strong years later.
- Parchment paper: Don’t skip this. It’s what keeps the cake from sticking to the pan and makes rolling so much easier. I’ve tried wax paper in a pinch, and it was a disaster—the cake stuck and tore apart.
- Clean kitchen towel: A thin, lint-free towel works best. Avoid terry cloth or anything with texture—it’ll leave marks on your cake. An old flour sack towel is perfect.
- Electric mixer: A hand mixer or stand mixer both work. I’ve made this with a whisk when my mixer broke, and while it’s possible, your arm will definitely feel it. The mixer makes the cake lighter because it incorporates more air.
- Rubber spatula: For spreading the batter evenly in the pan. An offset spatula works even better if you have one.
- Cooling rack: Not strictly necessary, but it helps the cake cool evenly. I’ve used a cutting board in a pinch, and it worked fine.
If you don’t have a jelly roll pan, look for one at a thrift store or ask a friend. It’s one of those pans you’ll use more than you think once you have it. And honestly, it’s worth the small investment for how many pumpkin rolls you’ll be making once you taste this one.
Preparation Method
Let’s get to the fun part. Follow these steps carefully, and you’ll have a beautiful pumpkin roll that looks like it came from a bakery. I’ve included all the little details I wish someone had told me the first time I made this.
- Preheat your oven to 375°F (190°C). Line your jelly roll pan with parchment paper, leaving a little overhang on the long sides. Lightly spray the parchment with non-stick cooking spray. This extra step ensures the cake releases perfectly.
- In a large bowl, beat the eggs and sugar together with your electric mixer on high speed for about 3-4 minutes. You’re looking for a thick, pale yellow mixture that falls in ribbons when you lift the beaters. This is where the air goes in, so don’t rush it. I usually set a timer because I tend to under-beat when I’m in a hurry.
- Beat in the pumpkin puree and vanilla extract on low speed until just combined. It’s okay if the mixture looks a little curdled at this point—that’s normal. Don’t overmix or you’ll deflate all that lovely air you just beat in.
- In a separate bowl, whisk together the flour, baking powder, salt, pumpkin pie spice, and cinnamon. Whisking ensures everything is evenly distributed. I’ve skipped this step before and ended up with pockets of baking powder in the finished cake—not pleasant.
- Gradually add the dry ingredients to the wet ingredients, mixing on low speed just until the flour disappears. Stop the mixer and scrape the bottom of the bowl with a spatula to make sure there are no hidden pockets of flour. The batter will be thick and smell incredible already.
- Spread the batter evenly into the prepared pan. Use your spatula to push it into all the corners. The layer should be thin—about 1/4 inch thick. Take your time here; an even layer means even baking. I use a small offset spatula for this, and it makes the job so much easier.
- Bake for 12-14 minutes, or until the cake springs back when lightly touched in the center. The edges will start to pull away from the pan slightly. Don’t overbake! A dry cake will crack when you roll it. I start checking at 11 minutes because every oven runs a little differently.
- While the cake bakes, prepare your rolling setup. Lay a clean kitchen towel on your counter and dust it generously with powdered sugar. Use about 1/4 cup—you want a nice even layer. The sugar prevents the cake from sticking to the towel.
- As soon as the cake comes out of the oven, run a knife around the edges to loosen it. Immediately invert the cake onto the prepared towel. Carefully peel off the parchment paper. If any bits of cake stick to the paper, just press them back into place—nobody will know.
- Starting at one short end, roll the cake up tightly in the towel. Roll it away from you, keeping the towel inside the roll. Don’t worry if it’s not perfect—the first roll is always a little messy. Place the rolled cake seam-side down on a cooling rack and let it cool completely. This takes about 45 minutes to an hour. Don’t rush this step! Rolling a warm cake is what creates that beautiful spiral shape.
- While the cake cools, make the filling. In a medium bowl, beat the softened cream cheese and butter together until smooth and creamy, about 2 minutes. Add the powdered sugar and vanilla extract, and beat on low speed until combined, then increase to medium and beat for another minute until fluffy. Don’t overbeat or the filling can become too thin.
- Once the cake is completely cool, carefully unroll it. It will want to stay curled, and that’s fine. Spread the cream cheese filling evenly over the cake, leaving a 1/2-inch border around the edges. I use an offset spatula for this, but a butter knife works too. If the filling seems too thick, let it sit at room temperature for a few minutes to soften.
- Roll the cake back up, this time without the towel. Use the towel to help you lift and guide the cake if needed. Roll it as tightly as you can without squeezing the filling out the ends. Wrap the finished roll tightly in plastic wrap and refrigerate for at least 1 hour before serving. This firms up the filling and makes slicing much cleaner.
Cooking Tips & Techniques
I’ve made this pumpkin roll more times than I can count, and I’ve learned a thing or two along the way. Here are the tips that will save you from the mistakes I’ve already made.
Don’t overbake the cake. This is the number one mistake I see people make. A dry cake will crack when you roll it, no matter how careful you are. The cake should look slightly underdone when you take it out—it continues to cook from residual heat for a minute or two after it’s out of the oven. When in doubt, err on the side of underbaking.
Use room temperature ingredients. I know it’s tempting to use cold eggs straight from the fridge, but room temperature eggs incorporate more air and give you a lighter cake. Same goes for the cream cheese and butter in the filling. Set everything out on the counter an hour before you start baking, and you’ll thank me later.
Roll the cake while it’s warm. This is non-negotiable. If you let the cake cool completely before rolling, it will crack. The warm cake is pliable and forgiving. Rolling it in the towel while it’s still warm “trains” it to hold that shape. Once it’s cool, it will unroll easily for filling without breaking.
Use a thin towel. A thick, fluffy towel will leave texture marks on your cake. I learned this the hard way when my first pumpkin roll looked like it had been sitting on a waffle iron. A thin, smooth kitchen towel or a piece of cheesecloth works perfectly.
Chill before slicing. I know you’ll want to dig in right away, but trust me on this. Chilling the finished roll for at least an hour makes the filling firm up and allows the flavors to meld together. Use a sharp, serrated knife to slice, and wipe the blade clean between cuts for the prettiest slices.
Variations & Adaptations
This pumpkin roll is wonderful as-is, but it’s also a great base for experimenting. Here are some variations I’ve tried and loved.
Gluten-Free Version: Substitute the all-purpose flour with a good quality gluten-free flour blend that contains xanthan gum. I’ve had great results with Bob’s Red Mill 1-to-1 Baking Flour. The texture is slightly more delicate, so be extra gentle when rolling.
Dairy-Free Version: Use dairy-free cream cheese and butter alternatives. I’ve found that Miyoko’s brand works well for both. The filling won’t be quite as firm, so chill it for at least 2 hours before serving.
Chocolate-Pumpkin Roll: Replace 2 tablespoons of the flour with unsweetened cocoa powder. The chocolate and pumpkin flavors are surprisingly good together. I tried this one Christmas when I ran out of pumpkin pie spice, and it was a hit.
Maple Cream Cheese Filling: Add 2 tablespoons of pure maple syrup to the filling and reduce the powdered sugar by 2 tablespoons. The maple flavor pairs beautifully with the pumpkin spice. This is my personal favorite variation for fall gatherings.
Nutty Crunch: Sprinkle 1/4 cup of finely chopped pecans or walnuts over the filling before rolling. The crunch adds a lovely texture contrast. Toast the nuts first for even more flavor.
Mini Pumpkin Rolls: Cut the baked cake in half lengthwise before filling and rolling. You’ll get two smaller rolls that are perfect for gifting or freezing. Just adjust the filling amounts accordingly.
Serving & Storage Suggestions
This pumpkin roll is best served chilled, straight from the refrigerator. The cold filling contrasts beautifully with the tender cake, and the flavors are more pronounced after they’ve had time to meld. I like to let it sit at room temperature for about 10 minutes before slicing—it makes the knife glide through more easily.
For presentation, dust the top of the roll with a light sprinkling of powdered sugar just before serving. You can also add a few fresh cranberries or a sprig of rosemary for a festive touch during the holidays. Slices look beautiful arranged on a platter with a dollop of whipped cream on the side.
This pumpkin roll pairs wonderfully with a hot cup of coffee, spiced tea, or even a glass of cold milk. If you’re serving it as part of a holiday spread, it goes beautifully alongside a classic easy pumpkin pie or a simple apple crisp for a full autumn dessert table.
Storage: Keep the pumpkin roll tightly wrapped in plastic wrap in the refrigerator for up to 5 days. The flavors actually improve after the first day, so don’t hesitate to make it a day ahead. I’ve found that it’s even better on day two.
Freezing: This pumpkin roll freezes beautifully. Wrap it tightly in plastic wrap, then in a layer of aluminum foil, and freeze for up to 3 months. To thaw, transfer it to the refrigerator overnight. Don’t thaw at room temperature—the filling can become too soft and make the cake soggy.
Reheating: I actually prefer this pumpkin roll cold, but if you want it warm, microwave individual slices for about 10-15 seconds. Just be careful not to overheat, or the filling will melt and the cake will become mushy.
Nutritional Information & Benefits
While this pumpkin roll is definitely a treat, it does have some redeeming qualities. Pumpkin is packed with vitamin A, fiber, and antioxidants. It’s also naturally low in calories and fat, which makes this dessert a little easier to justify.
Here’s the approximate nutritional breakdown for one slice (based on 10 servings):
- Calories: 285
- Total Fat: 14g
- Saturated Fat: 8g
- Cholesterol: 95mg
- Sodium: 220mg
- Total Carbohydrates: 36g
- Dietary Fiber: 1g
- Sugars: 26g
- Protein: 5g
This recipe contains dairy, eggs, and gluten. For those with dietary restrictions, I’ve included gluten-free and dairy-free variations above. While it’s not a low-sugar dessert, using full-fat cream cheese and butter actually helps with satiety—you’ll feel satisfied with one slice instead of reaching for a second.
I love that this pumpkin roll feels indulgent without being overly heavy. It’s the kind of dessert that makes you feel like you’ve treated yourself, but you don’t end up in a sugar coma afterward. For me, that’s the sweet spot.
Conclusion
This pumpkin roll with cream cheese filling has become a staple in my kitchen for good reason. It’s simple enough for a weekday craving but impressive enough for holiday gatherings. The tender, spiced cake wrapped around that creamy, tangy filling is just pure comfort on a plate.
I hope you’ll give this recipe a try and make it your own. Maybe you’ll add extra cinnamon like my sister does, or swap in maple syrup like I do when I’m feeling fancy. That’s the beauty of a good recipe—it’s a starting point, not a rulebook. Don’t be afraid to play around and see what happens.
When you make this pumpkin roll, I’d love to hear about it. Drop a comment below and let me know how it turned out, or share your own twist on the recipe. Did you add nuts? Try a different spice blend? I’m always looking for new ideas. And if you’re looking for more fall baking inspiration, be sure to check out my classic banana bread recipe or my easy zucchini bread recipe for more quick bread magic.
Happy baking, friends. I have a feeling this pumpkin roll is going to become a favorite in your home too.
Frequently Asked Questions
Why did my pumpkin cake crack when I rolled it?
This usually happens for one of two reasons: the cake was overbaked, or it was allowed to cool before rolling. Make sure you roll the cake while it’s still warm, and check it at the minimum baking time. If the edges are browning too quickly, your oven might run hot—try reducing the temperature by 25 degrees next time.
Can I make this pumpkin roll ahead of time?
Absolutely! In fact, I recommend it. The pumpkin roll actually tastes better after it’s been refrigerated overnight because the flavors have time to meld together. Just wrap it tightly in plastic wrap and keep it in the fridge for up to 5 days. It’s perfect for holiday prep when you want to cross one dessert off your list early.
Can I use homemade pumpkin puree instead of canned?
Yes, but you need to drain it well. Homemade pumpkin puree tends to be more watery than canned, which can make the cake soggy. Place the puree in a cheesecloth-lined strainer over a bowl and let it drain for at least 2 hours, or overnight in the refrigerator. Squeeze out any excess moisture before using.
How do I get clean slices without the filling squishing out?
The key is chilling the roll thoroughly before slicing. Refrigerate for at least 1 hour, preferably 2. Use a sharp serrated knife and wipe the blade clean between each cut. A gentle sawing motion works better than pressing down. If your slices are still messy, try chilling the roll for another 30 minutes.
Can I freeze the pumpkin roll with the filling inside?
Yes! Wrap the finished, chilled pumpkin roll tightly in plastic wrap, then in a layer of aluminum foil. It will keep in the freezer for up to 3 months. To thaw, transfer it to the refrigerator overnight. Don’t thaw at room temperature, as the filling can become too soft and make the cake soggy.
Pin This Recipe!
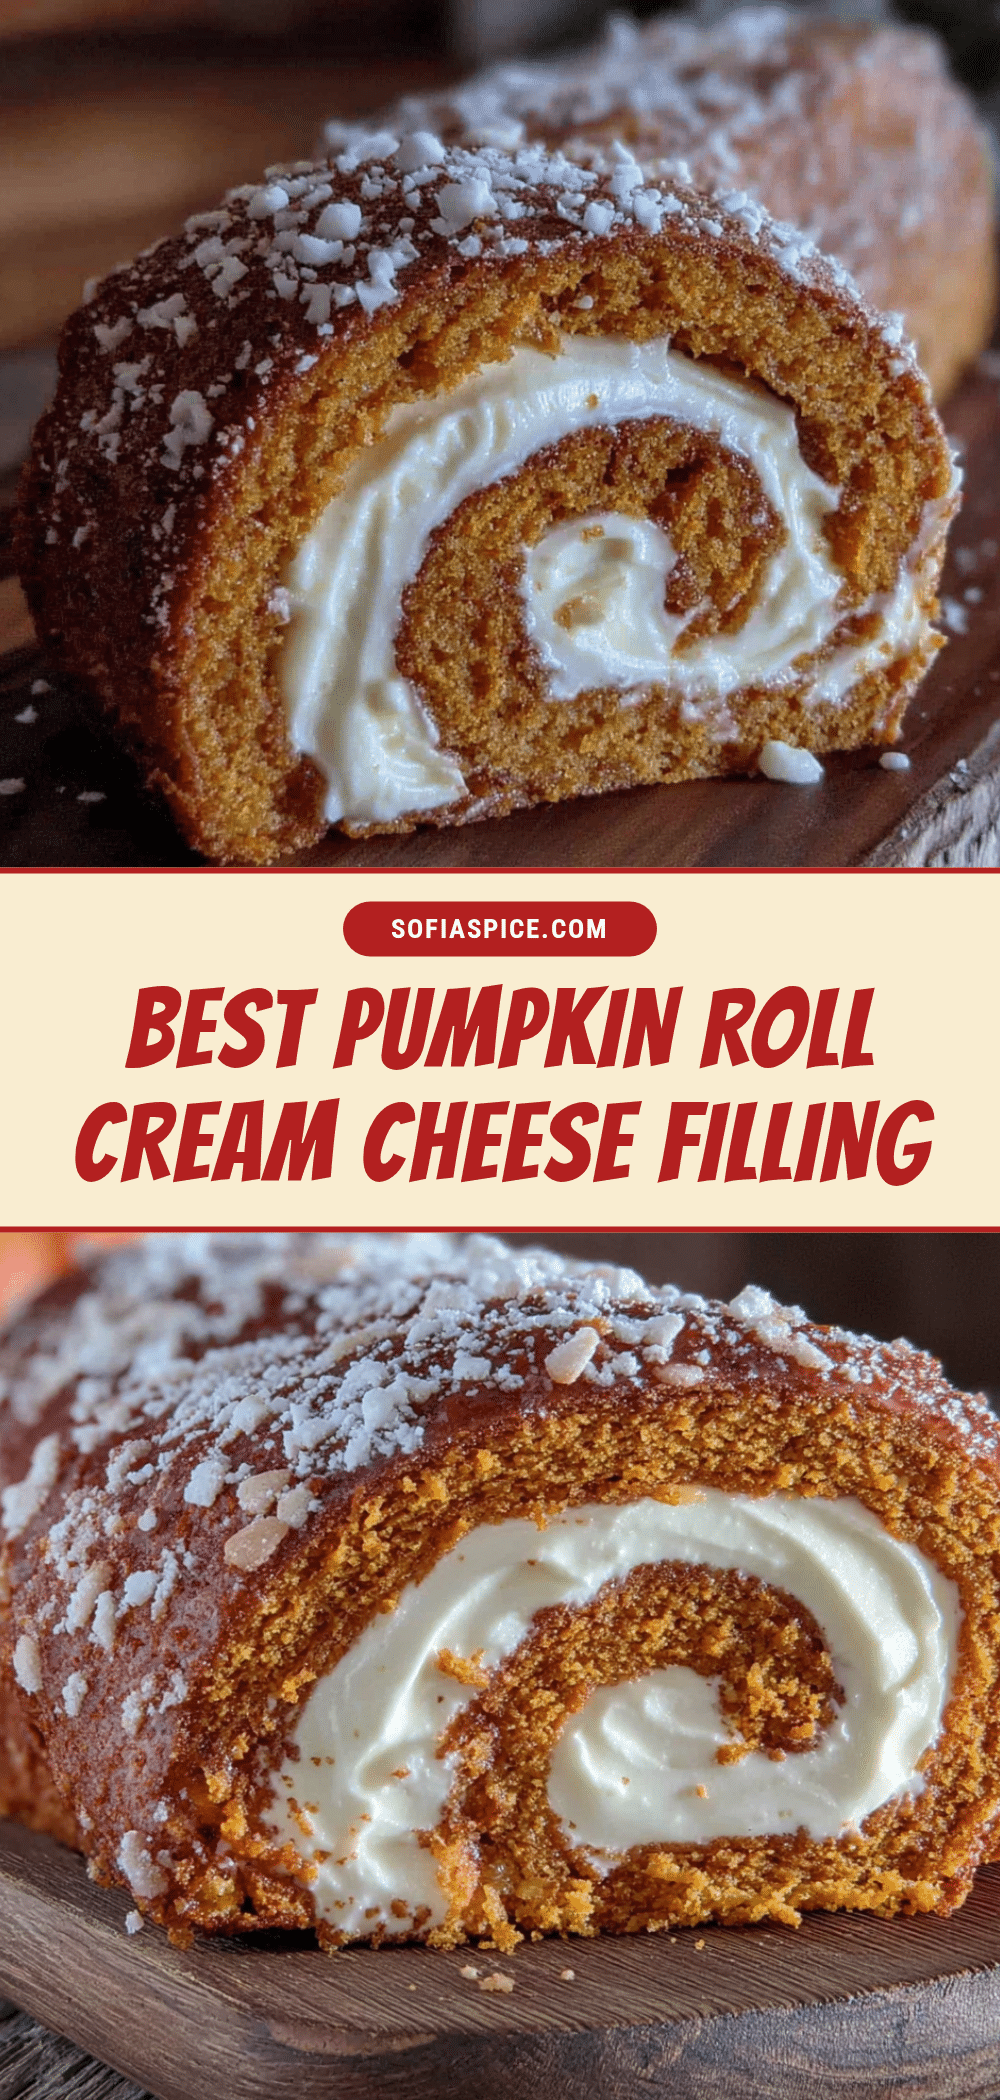
Best Pumpkin Roll with Cream Cheese Filling – Easy 30-Min Recipe

This tender, spiced pumpkin cake is rolled with a creamy, tangy cream cheese filling for a showstopper dessert that’s surprisingly easy to make. Perfect for holidays or any fall gathering, it comes together in just 30 minutes of active time.
- Prep Time: 30 minutes
- Cook Time: 12-14 minutes
- Total Time: 1 hour 45 minutes (includes cooling and chilling)
- Yield: 10 servings 1x
- Category: Dessert
- Cuisine: American
Ingredients
- 3 large eggs (room temperature)
- 1 cup granulated sugar
- 2/3 cup pumpkin puree (not pumpkin pie filling)
- 1 teaspoon vanilla extract
- 3/4 cup all-purpose flour
- 1 teaspoon baking powder
- 1/2 teaspoon salt
- 2 teaspoons pumpkin pie spice
- 1/2 teaspoon ground cinnamon
- 1/4 cup powdered sugar (for dusting towel, plus more for garnish)
- 8 ounces cream cheese (full-fat, softened)
- 1/4 cup unsalted butter (softened)
- 1 cup powdered sugar (sifted if lumpy)
- 1 teaspoon vanilla extract
Instructions
- Preheat oven to 375°F (190°C). Line a 15x10x1-inch jelly roll pan with parchment paper, leaving overhang on long sides. Lightly spray parchment with non-stick cooking spray.
- In a large bowl, beat eggs and sugar with an electric mixer on high speed for 3-4 minutes until thick, pale yellow, and ribbon-like.
- Beat in pumpkin puree and vanilla extract on low speed until just combined (mixture may look curdled).
- In a separate bowl, whisk together flour, baking powder, salt, pumpkin pie spice, and cinnamon.
- Gradually add dry ingredients to wet ingredients, mixing on low speed just until flour disappears. Scrape bottom of bowl to ensure even mixing.
- Spread batter evenly into prepared pan, about 1/4 inch thick. Use a spatula to push into corners.
- Bake for 12-14 minutes, until cake springs back when lightly touched in center and edges start to pull away from pan. Do not overbake.
- While cake bakes, lay a clean kitchen towel on counter and dust generously with about 1/4 cup powdered sugar.
- As soon as cake comes out of oven, run a knife around edges to loosen. Immediately invert cake onto prepared towel. Carefully peel off parchment paper.
- Starting at one short end, roll cake up tightly in towel (towel inside the roll). Place seam-side down on a cooling rack and cool completely, about 45 minutes to 1 hour.
- While cake cools, make filling: In a medium bowl, beat softened cream cheese and butter together until smooth and creamy, about 2 minutes. Add powdered sugar and vanilla extract, beat on low until combined, then increase to medium and beat for 1 minute until fluffy.
- Once cake is completely cool, carefully unroll it. Spread cream cheese filling evenly over cake, leaving a 1/2-inch border around edges.
- Roll cake back up without the towel, using towel to help guide if needed. Roll as tightly as possible without squeezing filling out ends.
- Wrap finished roll tightly in plastic wrap and refrigerate for at least 1 hour before serving.
Notes
Roll the cake while it’s still warm to prevent cracking. Use room temperature ingredients for best results. Chill the finished roll before slicing for clean cuts. The roll can be made ahead and refrigerated for up to 5 days or frozen for up to 3 months.
Nutrition
- Serving Size: 1 slice
- Calories: 285
- Sugar: 26
- Sodium: 220
- Fat: 14
- Saturated Fat: 8
- Carbohydrates: 36
- Fiber: 1
- Protein: 5
Keywords: pumpkin roll, pumpkin cake, cream cheese filling, fall dessert, Thanksgiving dessert, easy pumpkin recipe


