“Are these actually crispy?” That’s what my brother asked, eyeing the baking sheet like I’d just told him I figured out how to fry chicken without oil. He had reason to be skeptical. We’d both been burned before by recipes promising “crispy” baked chicken that came out sad and soggy. I just shrugged and said, “Taste one.” He did. Then he grabbed another. And another. By the time we sat down to dinner, half the batch was already gone, and I knew I’d finally cracked the code on these Crispy Baked Parmesan Chicken Thighs.
This wasn’t some happy accident, honestly. It was the result of a few too many disappointing Wednesday night dinners where I wanted the satisfaction of fried chicken without standing over a sputtering pan of hot oil. You know that feeling, right? When you just want something crunchy, juicy, and deeply savory, but you also want to be sitting on the couch in your sweatpants twenty minutes later? That’s the energy this recipe was built on.
The trick isn’t complicated. It’s a mix of finely grated Parmesan, a little panko, and a secret weapon I stumbled on after a particularly frustrating batch of flabby chicken skin. The cheese melts and browns into this craggy, golden crust that shatters when you bite into it, while the meat underneath stays tender and ridiculously juicy. It’s the kind of dinner that makes you look at your oven differently. Trust me on this one—it works.
Why You’ll Love This Recipe
Let me tell you why this particular recipe has earned a permanent spot in my weekly rotation. I’ve tested it more times than I care to admit, tweaking temperatures and coatings until every single detail was just right. It’s not just good—it’s the kind of chicken that makes people ask for the recipe before they’ve even finished chewing.
- Quick & Easy: From fridge to table in about 30 minutes. No marinating overnight, no complicated steps. Just mix, coat, and bake.
- Simple Ingredients: Chances are you already have almost everything in your pantry right now. No weird specialty items required.
- Perfect for Busy Weeknights: This is my go-to when I need dinner on the table fast but still want something that feels like a real meal, not a compromise.
- Crowd-Pleaser: Kids love the crunchy coating, adults appreciate the flavor, and everyone goes back for seconds.
- Unbelievably Crispy: This is the part that still gets me. The Parmesan crust creates a texture that honestly rivals fried chicken, without the mess or the guilt.
What makes this different from every other baked chicken recipe out there? It’s the combination of the cheese crust and a simple technique that locks in moisture while building that golden shell. I spent weeks testing ratios—too much Parmesan and it gets greasy, too much panko and it’s just breading. This version nails the balance perfectly. It’s the recipe I turn to when I need a guaranteed win, whether I’m cooking for myself or for company.
What Ingredients You Will Need
This recipe uses straightforward ingredients that work together to create something genuinely special. Nothing fancy, just smart combinations that deliver big flavor without the fuss.
- Bone-in, skin-on chicken thighs (4-6 thighs, about 2 pounds total) — This is non-negotiable for the best results. The skin adds fat that helps the coating crisp up, and the bone keeps the meat incredibly moist during baking. If you must use boneless thighs, reduce the cooking time by about 5-7 minutes.
- Finely grated Parmesan cheese (½ cup, about 2 ounces) — Please, please buy a block and grate it yourself. The pre-shredded stuff in the green can has anti-caking agents that prevent it from melting properly. I like using a microplane for the finest texture—it clings to the chicken better.
- Panko breadcrumbs (¼ cup) — These give the coating that extra crunch. Regular breadcrumbs work in a pinch, but panko stays crispier. I’ve tested this with both, and panko wins every time.
- Garlic powder (1 teaspoon) — Don’t use fresh garlic here; it will burn before the chicken is done. Garlic powder provides that savory depth without the bitterness.
- Onion powder (½ teaspoon) — Adds a subtle sweetness that rounds out the savory notes.
- Paprika (1 teaspoon) — Use smoked paprika if you have it. The smoky flavor pairs beautifully with the Parmesan.
- Dried oregano (½ teaspoon) — Optional, but I love the little herbal note it adds. Italian seasoning works too.
- Salt (1 teaspoon) — I use kosher salt. If you’re using table salt, reduce to ¾ teaspoon.
- Black pepper (½ teaspoon) — Freshly ground, please.
- Olive oil (2 tablespoons) — This helps the coating brown and crisp up. Don’t skip it, and don’t substitute with something like coconut oil—the flavor won’t be the same.
- Fresh parsley (optional, for garnish) — Adds a pop of color and freshness at the end.
One note on the Parmesan: I prefer using a good-quality aged Parmesan like Parmigiano-Reggiano. It has a nuttier, more complex flavor that really shines here. If you’re on a budget, Grana Padano is a great alternative. Just avoid anything labeled “Parmesan-style” or “grated cheese”—those are usually blends that won’t give you the same results.
Equipment Needed
You don’t need a ton of fancy tools for this recipe, which is part of what makes it so great. Here’s what you’ll want to have on hand:
- Baking sheet — A rimmed baking sheet is ideal. The rim catches any rendered fat and prevents messes in your oven. I use a half-sheet pan (18×13 inches) for even cooking.
- Wire rack — This is the secret to maximum crispiness. Placing the chicken on a wire rack set inside the baking sheet allows hot air to circulate all around the thighs, so the bottom gets just as crispy as the top. If you don’t have one, you can still make this recipe—just flip the chicken halfway through cooking.
- Microplane or fine grater — For grating the Parmesan into that fluffy, fine texture that clings to the chicken.
- Shallow dish or pie plate — For mixing the coating ingredients together.
- Tongs — For turning and coating the chicken without making a mess.
- Instant-read thermometer — This is my number one recommendation for any home cook. Chicken thighs are done at 165°F, but I actually pull mine at 170-175°F for the most tender texture. A thermometer takes all the guesswork out.
- Paper towels — For patting the chicken dry. This step matters more than you think.
If you don’t have a wire rack, no worries. Just line your baking sheet with parchment paper or foil for easy cleanup, and flip the chicken halfway through. It won’t be quite as crispy on the bottom, but it’ll still be delicious.
Preparation Method
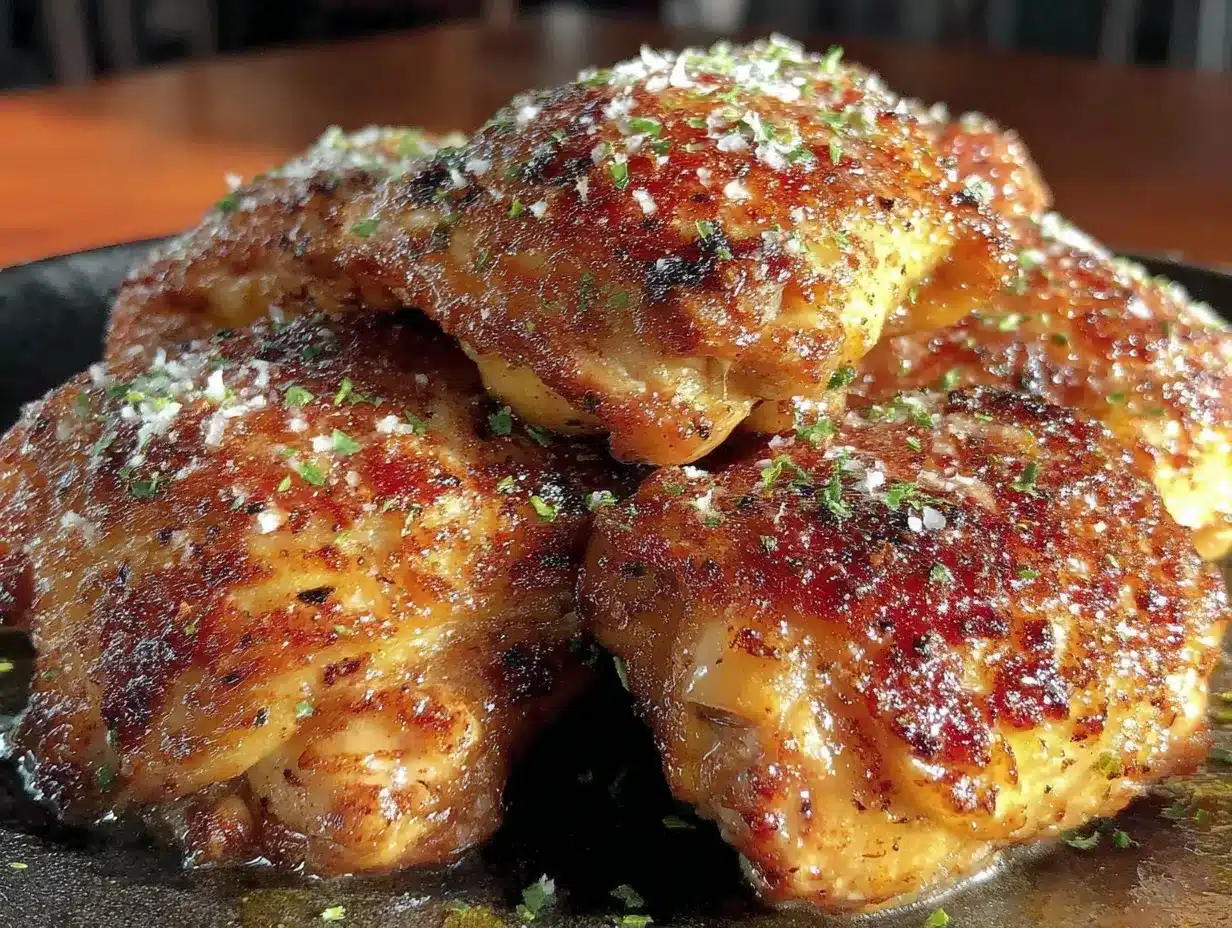
Alright, let’s get cooking. I’m going to walk you through every step so you get perfect results your first time.
- Preheat your oven to 425°F (220°C). This high heat is crucial for getting that golden crust. While the oven heats up, position a rack in the upper third of the oven—this helps the top brown nicely without burning the bottom.
- Pat the chicken thighs completely dry with paper towels. This is the most important step, I’m serious. Any moisture on the skin will steam instead of crisp, and you’ll end up with soggy coating. Take your time here. I usually go through 3-4 paper towels per batch. The skin should feel tacky, not wet.
- Season the chicken. Sprinkle both sides of each thigh with salt and pepper. Don’t be shy—the chicken needs to be seasoned underneath the coating too. Let them sit for 5 minutes while you prepare the coating mixture.
- Make the coating. In a shallow dish, combine the grated Parmesan, panko breadcrumbs, garlic powder, onion powder, paprika, and dried oregano. Use a fork to mix everything together until it’s evenly distributed. The mixture should look like coarse, golden sand.
- Drizzle the olive oil over the chicken. Use your hands to rub it into all sides of the thighs. The oil helps the coating stick and promotes browning. Don’t skip this—it’s not the same if you try to brush it on later.
- Coat the chicken. Working one thigh at a time, press the chicken into the Parmesan mixture, turning to coat all sides. Really press it in—you want a nice, thick layer. Place the coated thighs on a wire rack set inside a rimmed baking sheet, skin-side up. Leave a little space between each piece for air to circulate.
- Bake for 25-30 minutes. Don’t open the oven for the first 20 minutes—you want that heat to stay consistent. The chicken is done when the coating is deep golden brown and crispy, and the internal temperature reaches 165°F at the thickest part (I aim for 170°F). If you’re not using a wire rack, flip the chicken halfway through cooking for even browning.
- Let them rest. This is hard, I know. But let the chicken rest on the rack for 5 minutes after it comes out of the oven. This allows the juices to redistribute and the coating to set. If you cut into them right away, you’ll lose all those delicious juices.
- Garnish and serve. Sprinkle with fresh chopped parsley if you’re feeling fancy, and serve immediately while they’re still hot and crispy.
A few notes from my trial-and-error experience: If your chicken thighs are particularly large (over 8 ounces each), they may need an extra 5 minutes. If they’re smaller, check them at 22 minutes. Every oven runs a little differently, so trust your thermometer over the timer.
Cooking Tips & Techniques
After making these crispy baked Parmesan chicken thighs at least two dozen times (no exaggeration), I’ve picked up some tricks that make a real difference. Here’s what I wish someone had told me from the start.
The biggest mistake people make is skipping the drying step. I learned this the hard way after a particularly disappointing batch where the coating slid right off the chicken. Moisture is the enemy of crispiness. Pat those thighs dry like your dinner depends on it, because it does. If you have time, you can even leave the chicken uncovered in the fridge for an hour or two to dry out the skin even more.
Don’t crowd the pan. I know it’s tempting to cram all the thighs onto one baking sheet, but overcrowding traps steam and makes everything soggy. Give each piece a little breathing room. If you’re cooking for a crowd, use two baking sheets or work in batches. Your patience will be rewarded.
Grate your own cheese. I mentioned this before, but it bears repeating. Pre-shredded Parmesan is coated with cellulose and other anti-caking agents that prevent it from melting and browning properly. The five minutes it takes to grate a block of cheese will make a noticeable difference in your final dish.
Use a wire rack. This is the single best investment you can make for crispy baked chicken. The elevated rack allows hot air to circulate underneath, so the bottom gets just as crispy as the top. I’ve made these with and without the rack, and the difference is night and day.
Let the chicken come to room temperature. If you have time, take the chicken out of the fridge 20 minutes before cooking. Cold chicken straight from the fridge will lower the oven temperature and take longer to cook, which can lead to a less crispy coating.
My personal failure story: The first time I made these, I used way too much panko and not enough Parmesan. The coating was thick and bready, and it just didn’t have that intense savory flavor I was after. I also forgot to season the chicken underneath the coating, so the meat itself was bland. Lesson learned: the coating is a team player, not the star of the show. Season everything at every layer.
Variations & Adaptations
One of the best things about this recipe is how easily it adapts to different tastes and dietary needs. Here are a few variations I’ve tried and loved:
Spicy Version: Add ½ teaspoon of cayenne pepper and 1 teaspoon of red pepper flakes to the coating mixture. The heat cuts through the richness of the Parmesan beautifully. I make this version when I’m craving something with a kick, and it pairs perfectly with a cooling dip like ranch or blue cheese.
Herb & Lemon: Add the zest of one lemon and 2 tablespoons of fresh chopped thyme or rosemary to the coating. The brightness of the lemon balances the savory cheese, and the herbs add a lovely aromatic quality. This is my go-to spring variation.
Gluten-Free Option: Swap the panko breadcrumbs for an equal amount of crushed pork rinds or almond flour. Both options crisp up beautifully and are naturally gluten-free. I’ve tested this with almond flour, and it works surprisingly well—just keep an eye on it during the last few minutes of baking, as it can brown faster than panko.
Air Fryer Adaptation: If you have an air fryer, you can make these in about 15 minutes at 400°F. Place the coated thighs in a single layer in the air fryer basket (you may need to work in batches) and cook for 12-15 minutes, flipping halfway through. The air fryer version is even crispier than the oven version, honestly.
Dairy-Free Version: Substitute the Parmesan with nutritional yeast (about ¼ cup) and add an extra tablespoon of panko. The nutritional yeast gives a cheesy, savory flavor without any dairy. It’s not exactly the same, but it’s surprisingly close and absolutely delicious in its own right.
I’ve also tried adding a tablespoon of everything bagel seasoning to the coating for a fun twist. The sesame seeds and poppy seeds add extra crunch, and the garlic and onion flavors complement the Parmesan perfectly. My family loved this version so much that it’s now in regular rotation.
Serving & Storage Suggestions
These chicken thighs are incredibly versatile when it comes to serving. Here’s how I like to enjoy them:
Serving Temperature: Serve these hot, straight from the oven. The coating is at its crispiest within the first 15 minutes of coming out. If you need to hold them for a bit, keep them on the wire rack in a warm oven (200°F) for up to 30 minutes.
What to Serve With Them: These chicken thighs pair beautifully with just about anything. I love them with a simple side salad dressed with lemon vinaigrette, roasted vegetables like asparagus or broccoli, or creamy mashed potatoes. For a lighter meal, try serving them over a bed of arugula with shaved Parmesan and a squeeze of lemon. And if you’re in the mood for soup, a bowl of creamy tomato basil soup with crispy grilled cheese croutons alongside these chicken thighs makes for an incredibly satisfying dinner.
Storage: Leftover chicken thighs can be stored in an airtight container in the refrigerator for up to 4 days. The coating will soften as they sit, but don’t worry—I’ve got a fix for that.
Reheating: The best way to reheat these is in the oven or air fryer. Skip the microwave—it will turn the coating into a sad, soggy mess. To reheat in the oven, place the thighs on a wire rack set over a baking sheet and bake at 375°F for 8-10 minutes, or until heated through and crispy. In the air fryer, reheat at 375°F for 4-5 minutes. They’ll come out almost as crispy as the day you made them.
Freezing: These freeze surprisingly well. Let the chicken cool completely, then wrap each thigh individually in plastic wrap and place them in a freezer bag. They’ll keep for up to 3 months. To reheat from frozen, bake at 375°F for 20-25 minutes, or until heated through and crispy. No need to thaw first.
One thing I’ve noticed: the flavors actually deepen a bit after a day in the fridge. The Parmesan becomes more pronounced, and the spices meld together beautifully. So don’t be sad if you have leftovers—they make an amazing lunch the next day, especially sliced over a salad or tucked into a sandwich.
Nutritional Information & Benefits
While I’m not a nutritionist, I can give you a general idea of what’s in these chicken thighs. Per serving (based on 4 servings, one thigh each):
- Calories: Approximately 380-420
- Protein: 32-35 grams
- Fat: 26-28 grams
- Carbohydrates: 6-8 grams
- Fiber: 0.5 grams
- Sugar: 0.5 grams
These numbers will vary depending on the exact size of your chicken thighs and how much coating sticks to each piece. If you’re watching your sodium, you can reduce the salt in the coating and rely more on the Parmesan’s natural saltiness.
From a health perspective, chicken thighs are a great source of high-quality protein, iron, and B vitamins. The skin does add fat, but it also provides much of the flavor and satisfying texture. If you’re looking for a leaner option, you can use boneless, skinless chicken breasts—just reduce the cooking time to 18-22 minutes and keep a close eye on them to prevent drying out.
The Parmesan adds calcium and protein, while the olive oil provides heart-healthy monounsaturated fats. Overall, this is a well-balanced meal that fits nicely into a moderate, whole-foods diet. For a lighter meal, I often serve these with a big green salad or roasted vegetables instead of starchier sides.
Conclusion
These Crispy Baked Parmesan Chicken Thighs have honestly changed the way I think about weeknight dinners. They’re proof that you don’t need a deep fryer, a complicated recipe, or hours of prep to get that satisfying crunch we all crave. With just a handful of simple ingredients and about 30 minutes, you can put a dinner on the table that feels special enough for company but easy enough for a Tuesday night.
What I love most about this recipe is how forgiving it is. You can tweak the seasonings, swap in different cheeses, or adjust the cooking method to fit your schedule, and it still comes out delicious. It’s the kind of recipe that becomes a staple—the one you turn to when you need a guaranteed win, the one you can make without even looking at the instructions after a few tries.
I’d love to hear how these turn out for you. Did you try one of the variations? Come up with your own twist? Drop a comment below and let me know—I read every single one, and I’m always looking for new ideas to test in my kitchen. And if you’re looking for more easy, crowd-pleasing dinner ideas, you might also enjoy these smoky sausage and bell pepper skewers or this easy slow cooker pulled pork for another night. Happy cooking, friends!
Frequently Asked Questions
Can I use boneless, skinless chicken thighs for this recipe?
Yes, you can, but the results won’t be quite as crispy. Boneless, skinless thighs cook faster (about 18-22 minutes at 425°F) and don’t have the natural fat from the skin to help the coating crisp up. If you go this route, I recommend brushing them with a little extra olive oil and keeping a close eye on the internal temperature to prevent drying out.
Why is my coating not sticking to the chicken?
This usually happens for one of two reasons: the chicken wasn’t patted dry enough, or there wasn’t enough oil to help the coating adhere. Make sure you’re thoroughly drying the chicken with paper towels and rubbing a generous amount of olive oil into the skin before coating. Press the coating firmly into the chicken—don’t just sprinkle it on top.
Can I make these ahead of time for a party?
You can, but I don’t recommend baking them more than an hour ahead. The coating is at its crispiest right out of the oven. If you need to prep ahead, you can coat the chicken and refrigerate it on the wire rack for up to 8 hours before baking. Just add a minute or two to the cooking time since you’ll be starting from cold.
What’s the best way to reheat leftovers without losing the crunch?
The air fryer is your best friend here. Reheat at 375°F for 4-5 minutes, and the coating will crisp right back up. If you don’t have an air fryer, use the oven at 375°F for 8-10 minutes on a wire rack. Whatever you do, avoid the microwave—it will turn your crispy chicken into a sad, soggy mess.
Can I use this coating on other meats?
Absolutely! This Parmesan coating works beautifully on chicken breasts, pork chops, and even fish fillets. Just adjust the cooking time based on the thickness of your protein. For fish, I recommend thinner fillets like tilapia or cod, and reduce the oven temperature to 400°F and cook for 12-15 minutes.
Pin This Recipe!
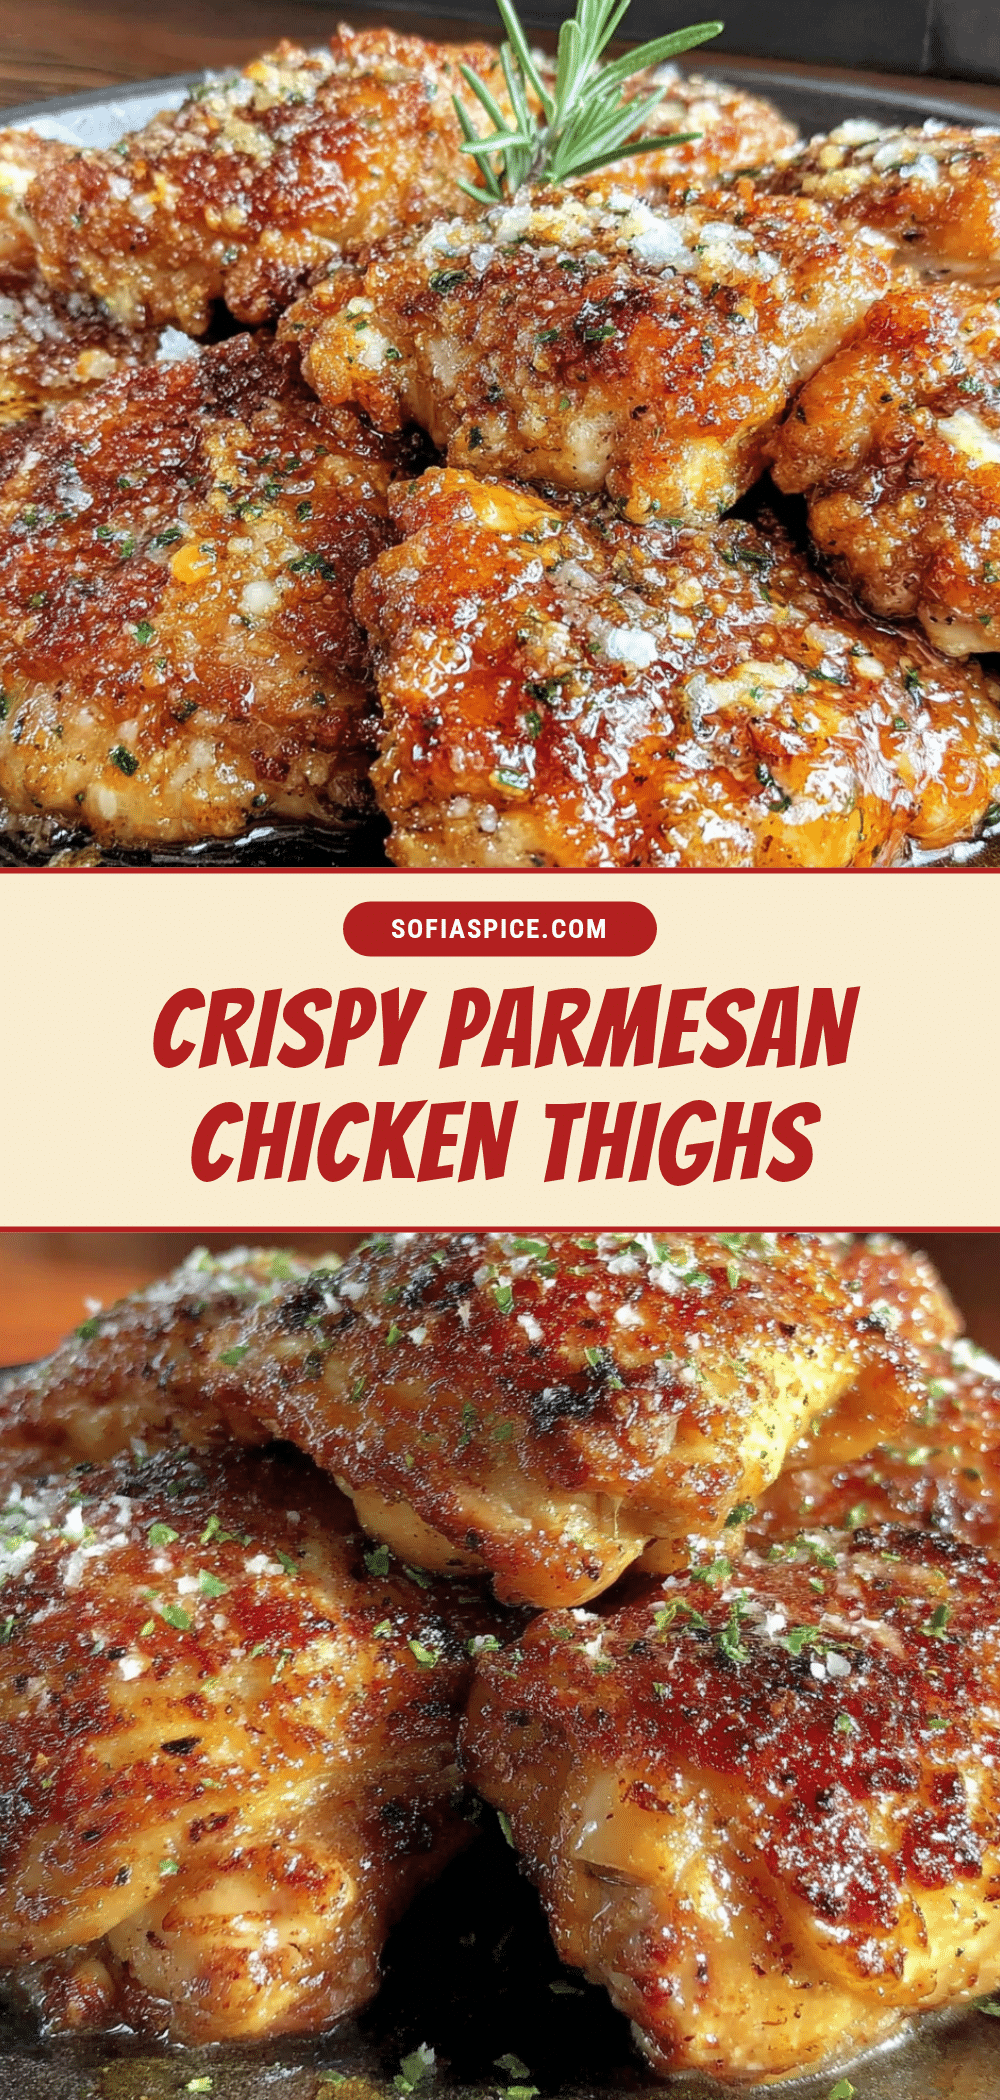
Crispy Baked Parmesan Chicken Thighs: Easy 30-Minute Recipe

These crispy baked Parmesan chicken thighs are quick, easy, and incredibly crunchy, with a golden Parmesan-panko crust that rivals fried chicken. Perfect for busy weeknights, they deliver juicy, flavorful meat in just 30 minutes.
- Prep Time: 10 minutes
- Cook Time: 25-30 minutes
- Total Time: 35-40 minutes
- Yield: 4 servings 1x
- Category: Main Course
- Cuisine: American
Ingredients
- 4–6 bone-in, skin-on chicken thighs (about 2 pounds total)
- ½ cup finely grated Parmesan cheese (about 2 ounces)
- ¼ cup panko breadcrumbs
- 1 teaspoon garlic powder
- ½ teaspoon onion powder
- 1 teaspoon paprika (smoked preferred)
- ½ teaspoon dried oregano (optional)
- 1 teaspoon kosher salt (or ¾ teaspoon table salt)
- ½ teaspoon freshly ground black pepper
- 2 tablespoons olive oil
- Fresh parsley for garnish (optional)
Instructions
- Preheat oven to 425°F (220°C). Position a rack in the upper third of the oven.
- Pat chicken thighs completely dry with paper towels (use 3-4 towels per batch).
- Season both sides of each thigh with salt and pepper. Let sit for 5 minutes.
- In a shallow dish, combine grated Parmesan, panko, garlic powder, onion powder, paprika, and oregano. Mix with a fork.
- Drizzle olive oil over the chicken and rub into all sides with your hands.
- Press each thigh into the Parmesan mixture, turning to coat all sides. Place skin-side up on a wire rack set inside a rimmed baking sheet, leaving space between pieces.
- Bake for 25-30 minutes without opening the oven for the first 20 minutes. Chicken is done when coating is deep golden brown and internal temperature reaches 165°F (aim for 170°F). If not using a wire rack, flip halfway through.
- Let chicken rest on the rack for 5 minutes before serving.
- Garnish with fresh parsley and serve immediately.
Notes
Pat chicken very dry for maximum crispiness. Use a wire rack for even browning. Grate your own Parmesan—pre-shredded won’t melt properly. Let chicken come to room temperature 20 minutes before cooking if possible. For larger thighs (over 8 oz), add 5 minutes; for smaller, check at 22 minutes. Leftovers can be reheated in the oven or air fryer for best crunch.
Nutrition
- Serving Size: 1 thigh
- Calories: 380420
- Sugar: 0.5
- Sodium: 600700
- Fat: 2628
- Saturated Fat: 810
- Carbohydrates: 68
- Fiber: 0.5
- Protein: 3235
Keywords: crispy baked chicken thighs, Parmesan chicken, easy weeknight dinner, baked chicken recipe, 30-minute meal


