I have to admit something. For years, I made Pan de Muerto that was dry, dense, and honestly, a little sad. I followed every recipe to the letter, used the exact measurements, and still ended up with bread that tasted more like a sweetened brick than the tender, aromatic loaf it was supposed to be. It wasn’t until I stopped treating the dough like a chore and started listening to it that everything changed. That’s when I learned the secret isn’t just in the ingredients—it’s in the feel of the dough under your hands and the patience to let it tell you what it needs. This Perfect Orange Blossom Pan de Muerto Bread is the result of all those failed batches, and it’s finally the version I’m proud to share.
This bread has become my little ritual every Día de Muertos. I’ll get up early, put on some music, and let the scent of orange blossom water fill the kitchen while I work the dough. It’s not just about the end result—though that soft, pillowy loaf with the floral notes is something else. It’s about the process. The way the dough comes together, the quiet moment of shaping it into those little bone shapes on top, the anticipation as it bakes. And when it comes out golden and fragrant, I know I’ve done right by the tradition. This isn’t just a recipe; it’s a way to connect with something deeper, and I think that’s why it sticks.
Why You’ll Love This Recipe
This isn’t your average bread recipe. It’s the one that makes you feel like a real baker, even if you’re just starting out. Here’s why it’s earned a permanent spot in my rotation:
- Authentic Flavor, No Shortcuts: Real orange blossom water gives it that floral, almost delicate taste you can’t fake. It’s the soul of this bread.
- Soft and Pillowy Texture: Thanks to a careful balance of butter and eggs, the crumb stays tender for days. No dry, crumbly mess here.
- Simple Ingredients: You probably have most of these in your pantry already. No weird, hard-to-find stuff.
- Perfect for Día de Muertos: It’s the centerpiece of any ofrenda. Makes the celebration feel complete.
- Surprisingly Easy to Shape: I promise, those little bone shapes on top are way easier than they look. You’ll be a pro after your first loaf.
What makes this version different from the rest? It’s the technique. I spent years getting this right—testing hydration levels, tweaking the proofing time, and figuring out exactly how much orange blossom water is just enough without being overpowering. This isn’t just another recipe pulled from a blog; it’s the one I’ve made for my own family, tweaked until it felt right. And let me tell you, there’s nothing like pulling this bread out of the oven and watching everyone’s face light up. It’s the kind of recipe that makes you feel like you’ve done something special, even if it was just following a few steps.
What Ingredients You Will Need
This recipe relies on a handful of simple but essential ingredients to build that signature flavor and texture. Let me walk you through each one and why it matters.
- All-Purpose Flour (4 cups / 500g): The backbone of the bread. I prefer unbleached all-purpose flour for its consistent protein content. It gives the dough structure without making it tough.
- Active Dry Yeast (2 ¼ teaspoons / 7g, or 1 packet): This is what makes the bread rise. Make sure your yeast is fresh—check the expiration date. If you’re unsure, proof it in warm water with a pinch of sugar first.
- Granulated Sugar (¾ cup / 150g): Adds sweetness and helps feed the yeast. Don’t cut back on this; the bread needs it for flavor and texture.
- Unsalted Butter (½ cup / 113g, softened): Adds richness and tenderness. Make sure it’s at room temperature so it creams properly into the dough. I use Plugrà or Kerrygold for the best flavor.
- Large Eggs (3, room temperature): Eggs give the bread its rich, golden color and soft crumb. Let them sit out for 30 minutes before you start.
- Orange Blossom Water (2 tablespoons): The star of the show. This is what gives the bread its floral, aromatic character. Look for a good-quality brand like Cortas or Al Wadi. Don’t use orange extract—it’s not the same.
- Orange Zest (from 1 large orange): Fresh zest adds a bright, citrusy note that balances the floral water. Use a microplane for the best texture.
- Whole Milk (½ cup / 120ml, warm): Helps hydrate the dough and adds a touch of richness. Warm it to about 110°F—too hot and it’ll kill the yeast.
- Salt (1 teaspoon): Balances the sweetness and strengthens the gluten. Don’t skip it.
- For the Glaze:
- Melted Butter (2 tablespoons): For brushing on the baked bread.
- Granulated Sugar (¼ cup / 50g): For sprinkling on top. You can also use coarse sugar for a crunchier finish.
If you want to substitute, I’ve had good luck using bread flour for a chewier texture, but all-purpose is more traditional. For a dairy-free version, use vegan butter and oat milk, but the texture will be slightly different. And if you can’t find orange blossom water, you can use rose water, though the flavor profile shifts.
Equipment Needed
You don’t need a fancy kitchen to make this bread, but a few tools make the process smoother.
- Large Mixing Bowl: For combining ingredients. A glass or stainless steel bowl works best.
- Stand Mixer with Dough Hook (optional but helpful): Kneading by hand works too, but a mixer saves time. I use my KitchenAid for this.
- Baking Sheet: Line it with parchment paper for easy cleanup.
- Plastic Wrap or a Clean Kitchen Towel: For covering the dough while it rises.
- Bench Scraper: Great for dividing the dough and cleaning your work surface.
- Pastry Brush: For brushing the butter glaze.
- Cooling Rack: Lets the bread cool evenly.
If you don’t have a stand mixer, you can absolutely knead by hand. It takes about 10 minutes of solid work, but it’s a great arm workout. I’ve done it plenty of times when I didn’t feel like dragging out the mixer.
Preparation Method
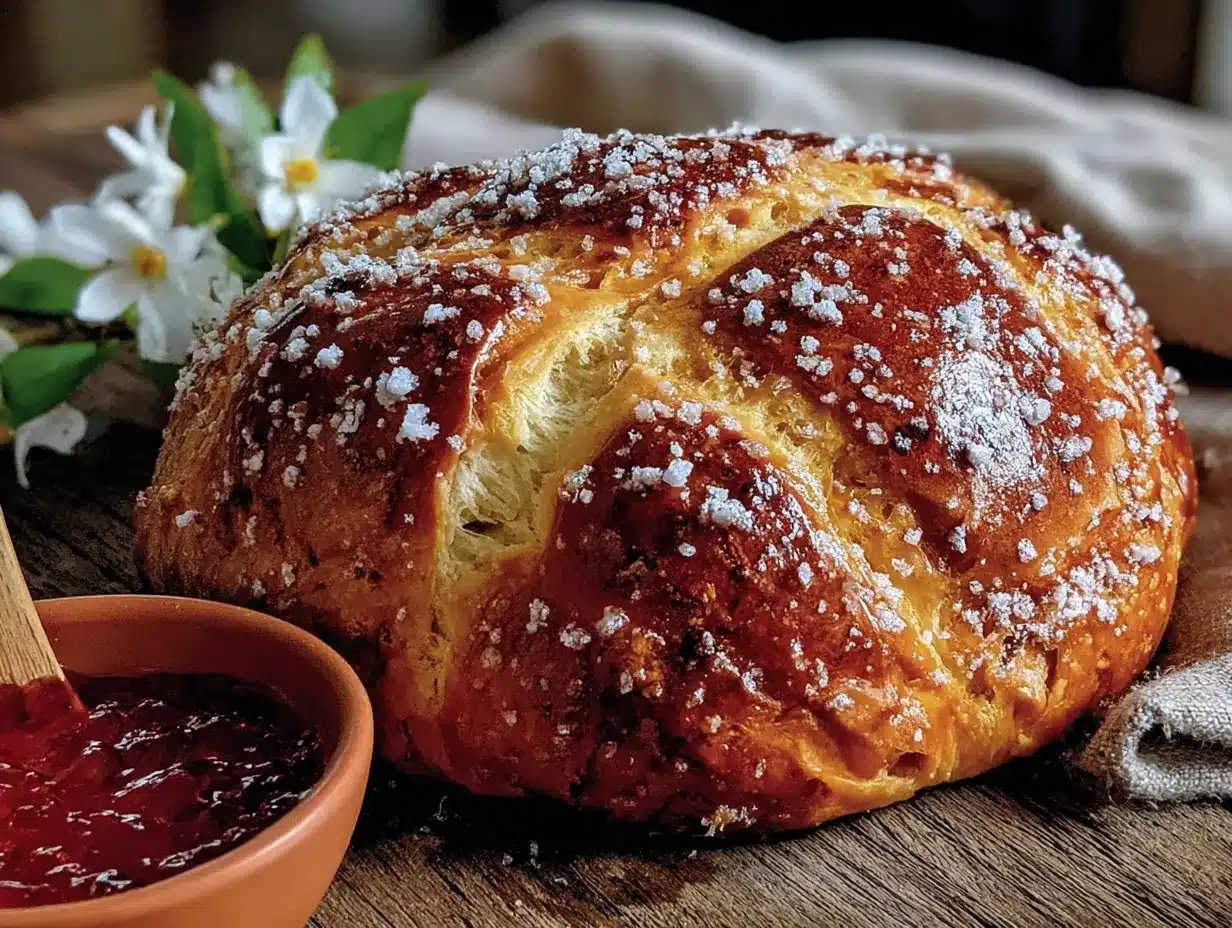
Let’s get to the fun part. Follow these steps carefully, and you’ll have a beautiful loaf.
- Proof the Yeast: In a small bowl, combine the warm milk, 1 tablespoon of sugar, and the yeast. Stir gently and let it sit for 5-10 minutes until it becomes frothy. If it doesn’t foam, your yeast is dead—start over.
- Cream the Butter and Sugar: In a large mixing bowl (or the bowl of your stand mixer), beat the softened butter and remaining sugar together until light and fluffy, about 3 minutes. You want it to look pale and airy.
- Add the Eggs and Flavorings: Beat in the eggs one at a time, scraping down the sides after each addition. Then mix in the orange blossom water and orange zest. The dough will look a little curdled at this point—that’s normal.
- Combine the Dry Ingredients: In a separate bowl, whisk together the flour and salt. Add this to the wet mixture in two batches, alternating with the proofed yeast mixture. Mix on low speed until a shaggy dough forms.
- Knead the Dough: Switch to the dough hook and knead on medium-low speed for 8-10 minutes, or turn the dough out onto a floured surface and knead by hand for 10-12 minutes. The dough should be smooth, elastic, and slightly tacky but not sticky. It should pass the windowpane test—stretch a small piece thin enough to see light through without it tearing.
- First Rise: Place the dough in a lightly greased bowl, cover with plastic wrap or a towel, and let it rise in a warm spot for 1.5 to 2 hours, until it doubles in size. I like to put it in my oven with the light on.
- Shape the Dough: Punch down the dough gently to release the air. Turn it out onto a lightly floured surface. Divide it into two pieces: one large piece (about ⅔ of the dough) for the base, and one smaller piece (about ⅓) for the decorations.
- Form the Base: Shape the large piece into a smooth, round ball by tucking the edges under. Place it on your parchment-lined baking sheet.
- Make the Bone Shapes: Divide the smaller piece into 4 equal parts. Roll each part into a rope about 6 inches long. Then, roll out two smaller ropes for the “knuckles” at the ends. Place one rope across the top of the base, pressing the ends gently into the sides. Place the other rope perpendicular to it, forming a cross. Repeat with the remaining ropes on the other side. Add the small knuckle pieces at the ends of each rope. It sounds complicated, but it’s really just making little bone shapes—you’ll get the hang of it.
- Second Rise: Cover the shaped loaf loosely with plastic wrap and let it rise for another 45 minutes to 1 hour, until it puffs up noticeably.
- Bake: Preheat your oven to 350°F (175°C). Bake the bread for 25-30 minutes, until the top is deep golden brown and the loaf sounds hollow when tapped on the bottom. If it’s browning too fast, tent it with foil after 15 minutes.
- Glaze While Warm: As soon as the bread comes out of the oven, brush it generously with melted butter. Sprinkle the granulated sugar all over the top. Let it cool on the baking sheet for 10 minutes, then transfer to a cooling rack to cool completely.
One thing I learned the hard way: don’t skip the second rise. I did once because I was in a hurry, and the bread came out dense and flat. Patience is everything here.
Cooking Tips & Techniques
Over the years, I’ve picked up a few tricks that make a real difference.
- Temperature Matters: Make sure your milk is warm, not hot. Anything above 120°F will kill the yeast. I use a thermometer to be safe.
- Don’t Overflour: When kneading, resist the urge to add too much flour. A slightly tacky dough is what you want. Adding too much will make the bread dry.
- The Windowpane Test: This is your best friend. If the dough tears easily, keep kneading. If it stretches thin without tearing, you’re good.
- Use a Scale: For the most consistent results, weigh your flour. A cup can vary wildly depending on how you scoop it.
- Watch the Oven: Every oven is different. Start checking at 20 minutes. If the top is getting too dark, cover it loosely with foil.
I once forgot to add the salt. The bread rose beautifully but tasted flat and weird. Salt isn’t just for flavor—it strengthens the gluten and controls yeast activity. Don’t skip it.
Variations & Adaptations
This recipe is flexible. Here are a few ways to make it your own:
- Chocolate Orange Blossom Pan de Muerto: Add ½ cup of cocoa powder to the flour and reduce the flour by the same amount. The chocolate pairs beautifully with the orange blossom.
- Vegan Version: Use vegan butter, oat milk, and a flax egg (1 tablespoon flaxseed meal + 3 tablespoons water per egg). The texture will be a bit denser but still delicious.
- Spiced Version: Add 1 teaspoon of ground cinnamon and ½ teaspoon of ground anise to the flour. It gives the bread a warm, holiday-like flavor.
- Gluten-Free Version: Use a 1:1 gluten-free flour blend that contains xanthan gum. The dough will be stickier, so wet your hands when shaping.
- Citrus Twist: Swap the orange blossom water for rose water and add lemon zest instead of orange. It’s a completely different but equally lovely flavor.
I’ve tried the chocolate version and it’s amazing. It reminds me of a Mexican chocolate bread I had once in a little bakery in Puebla.
Serving & Storage Suggestions
This bread is best served the same day, but it’s still good for a few days after.
- Serving: Serve at room temperature with a cup of coffee or hot chocolate. It’s also wonderful toasted with a little butter.
- Presentation: Arrange it on a pretty plate or a traditional ofrenda if you’re celebrating Día de Muertos. The golden crust and sugar topping make it look stunning.
- Storage: Wrap the cooled loaf tightly in plastic wrap and store at room temperature for up to 3 days. Don’t refrigerate—it will dry out.
- Freezing: Wrap the unsugared, cooled loaf in plastic wrap, then foil, and freeze for up to 3 months. Thaw at room temperature, then reheat in a 300°F oven for 10 minutes before glazing and sugaring.
- Reheating: For a quick fix, microwave a slice for 10-15 seconds. For a crispier crust, toast it in a skillet with a little butter.
The flavors actually develop a bit overnight. I love having a slice the next morning with my coffee—it’s even more fragrant.
Nutritional Information & Benefits
Here’s an approximate breakdown per serving (based on 12 servings):
- Calories: 320
- Fat: 12g
- Carbohydrates: 48g
- Protein: 6g
- Fiber: 1g
- Sugar: 20g
While this isn’t health food, the orange blossom water contains antioxidants and has been used in traditional medicine for its calming properties. The eggs provide protein, and the butter adds a touch of vitamin A. It’s a treat, but a meaningful one. If you’re watching your sugar, you can reduce the sugar in the dough by a couple of tablespoons, but the texture will be slightly less tender.
Conclusion
This Perfect Orange Blossom Pan de Muerto Bread is more than just a recipe—it’s a little piece of tradition you can create in your own kitchen. It’s the kind of bread that makes you slow down, pay attention, and appreciate the process. Whether you’re making it for Día de Muertos or just because you want something beautiful and delicious, I promise it’s worth every minute.
I’d love to hear how yours turns out. Did you try a variation? Did your family love it? Drop a comment below and let me know. And if you’re looking for other comforting baked goods, you might enjoy my easy soft pumpkin spice snickerdoodle cookies or these easy small batch pumpkin cinnamon rolls for another fall treat. Happy baking, and remember—the best bread is the one made with patience and a little love.
Frequently Asked Questions
Can I use instant yeast instead of active dry yeast?
Yes, you can. Use the same amount (2 ¼ teaspoons) and skip the proofing step. Mix it directly with the flour. The rise times might be slightly shorter.
Why is my dough so sticky?
A sticky dough is normal for this recipe. Don’t add too much flour—just use a bench scraper to work with it. It will become less sticky as you knead.
Can I make the dough ahead of time?
Absolutely. After the first rise, punch down the dough, wrap it tightly in plastic, and refrigerate for up to 24 hours. Let it come to room temperature before shaping and doing the second rise.
How do I know when the bread is fully baked?
The top should be deep golden brown, and the loaf should sound hollow when you tap the bottom. An instant-read thermometer inserted into the center should read 190°F (88°C).
Can I use orange extract instead of orange blossom water?
I wouldn’t recommend it. Orange extract is much stronger and lacks the delicate floral notes that make this bread special. Stick with orange blossom water for the authentic flavor.
Pin This Recipe!
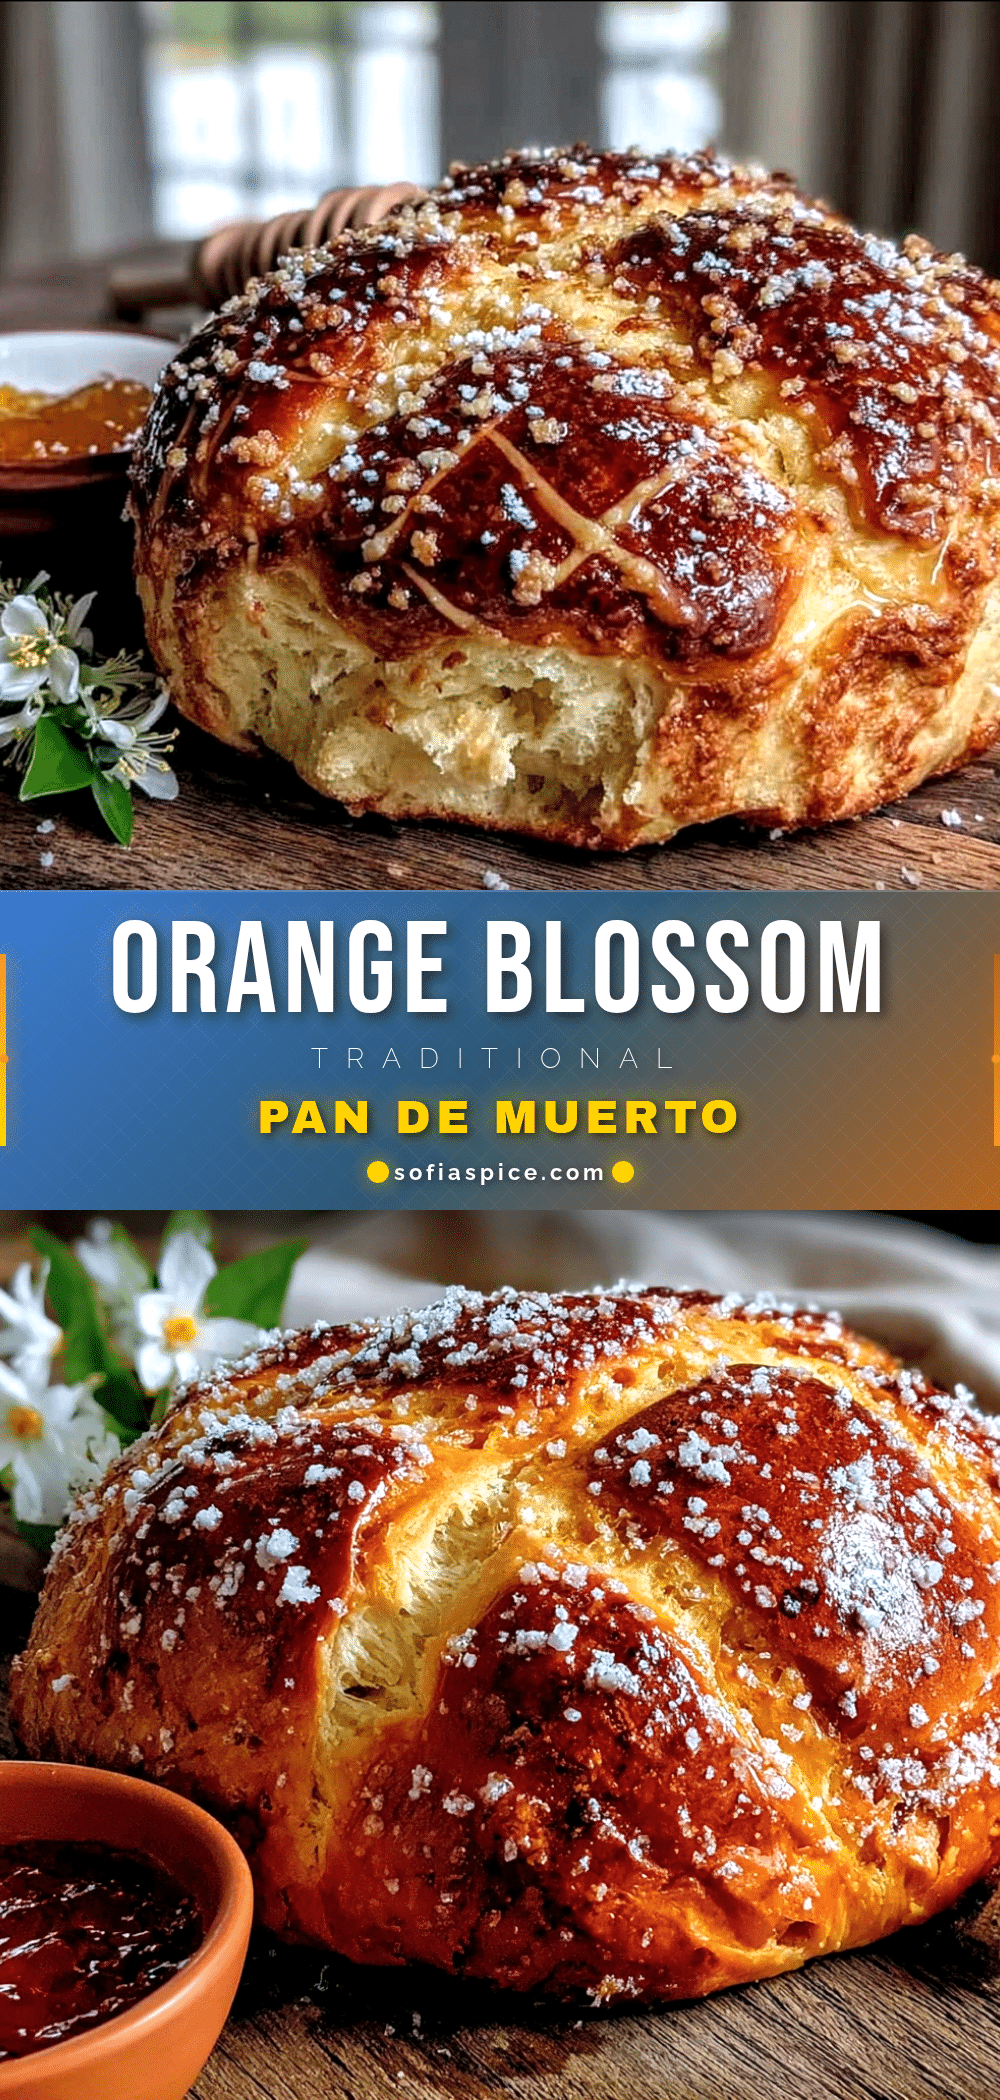
Perfect Orange Blossom Pan de Muerto Bread: Easy Homemade Recipe
This Perfect Orange Blossom Pan de Muerto Bread is a tender, aromatic loaf with floral notes from real orange blossom water. It’s the result of years of testing to achieve a soft, pillowy texture and authentic flavor, perfect for Día de Muertos or any special occasion.
- Prep Time: 30 minutes
- Cook Time: 30 minutes
- Total Time: 3 hours 30 minutes
- Yield: 12 servings 1x
- Category: Bread
- Cuisine: Mexican
Ingredients
- 4 cups (500g) all-purpose flour
- 2 ¼ teaspoons (7g) active dry yeast (1 packet)
- ¾ cup (150g) granulated sugar
- ½ cup (113g) unsalted butter, softened
- 3 large eggs, room temperature
- 2 tablespoons orange blossom water
- Zest of 1 large orange
- ½ cup (120ml) whole milk, warm (about 110°F)
- 1 teaspoon salt
- For the glaze: 2 tablespoons melted butter
- For the glaze: ¼ cup (50g) granulated sugar
Instructions
- Proof the yeast: In a small bowl, combine warm milk, 1 tablespoon sugar, and yeast. Stir gently and let sit for 5-10 minutes until frothy.
- Cream the butter and sugar: In a large mixing bowl, beat softened butter and remaining sugar together until light and fluffy, about 3 minutes.
- Add the eggs and flavorings: Beat in eggs one at a time, scraping down sides. Mix in orange blossom water and orange zest. The dough may look curdled.
- Combine dry ingredients: In a separate bowl, whisk together flour and salt. Add to wet mixture in two batches, alternating with proofed yeast mixture. Mix on low until a shaggy dough forms.
- Knead the dough: Use a dough hook on medium-low speed for 8-10 minutes, or knead by hand for 10-12 minutes, until smooth, elastic, and slightly tacky. Pass the windowpane test.
- First rise: Place dough in a lightly greased bowl, cover, and let rise in a warm spot for 1.5 to 2 hours until doubled in size.
- Shape the dough: Punch down dough. Divide into two pieces: ⅔ for the base, ⅓ for decorations.
- Form the base: Shape the large piece into a smooth round ball and place on a parchment-lined baking sheet.
- Make bone shapes: Divide the smaller piece into 4 equal parts. Roll each into a 6-inch rope. Roll two smaller ropes for knuckles. Place one rope across the top of the base, pressing ends into sides. Place another rope perpendicular to form a cross. Repeat on the other side. Add knuckle pieces at ends.
- Second rise: Cover shaped loaf loosely and let rise for 45 minutes to 1 hour until puffed.
- Bake: Preheat oven to 350°F (175°C). Bake for 25-30 minutes until deep golden brown and hollow-sounding when tapped. Tent with foil after 15 minutes if browning too fast.
- Glaze while warm: Brush baked bread with melted butter and sprinkle with granulated sugar. Cool on baking sheet for 10 minutes, then transfer to a cooling rack.
Notes
Don’t skip the second rise; it ensures a light texture. Use a thermometer to keep milk at 110°F. For the windowpane test, stretch a small piece of dough thin enough to see light through without tearing. If dough is sticky, avoid adding too much flour; use a bench scraper. For best results, weigh flour with a scale.
Nutrition
- Serving Size: 1 slice
- Calories: 320
- Sugar: 20
- Sodium: 210
- Fat: 12
- Saturated Fat: 7
- Carbohydrates: 48
- Fiber: 1
- Protein: 6
Keywords: Pan de Muerto, orange blossom bread, Día de Muertos bread, Mexican sweet bread, homemade bread, orange blossom water bread


