My stove timer had just hit 5:30 PM, and I was staring at a pound of ground beef thawing on the counter with absolutely no plan. You know those nights when you need dinner on the table fast, but you’re fresh out of inspiration? That was me. I had ground beef, a half-used bag of shredded cheddar, some leftover rice from last night’s takeout, and honestly, not much else. I needed a meal that would actually satisfy everyone without requiring a trip to the store or an hour of my time. For a while, I just accepted that quick weeknight dinners meant sacrificing flavor or texture. But this one-skillet situation changed my mind. It’s the kind of recipe that feels like a win even on your most tired Tuesday.
Why You’ll Love This Recipe
Let me tell you why this Quick Cheesy Beef and Rice Skillet has become my go-to for busy weeknights. I’ve tested this recipe more times than I can count, tweaking the cheese blend and the rice-to-beef ratio until it landed exactly right. It’s not just another ground beef recipe—it’s the one that actually delivers on all fronts.
- Ready in 30 Minutes: From the moment you start browning the beef to the final sprinkle of cheese, you’re looking at about half an hour. Perfect for those evenings when hangry kids are circling the kitchen.
- Pantry-Friendly Ingredients: You probably have most of these items already. No fancy cheese or obscure spices required. Just honest, simple ingredients that come together beautifully.
- One Skillet, Minimal Mess: Everything cooks in a single pan. Less cleanup means more time to actually sit down and enjoy your meal.
- Crowd-Pleaser All Around: My kids devour this, my husband asks for seconds, and I’ve even packed the leftovers for lunch the next day. It’s that kind of recipe.
- Unbelievably Comforting: The combination of seasoned beef, tender rice, and melted cheese is pure comfort food. It’s the kind of meal that makes you take a deep breath after the first bite.
What makes this version different from the standard skillet dinner is the technique. I brown the beef with onions and garlic until deeply caramelized, then let the rice simmer in the seasoned broth until it’s perfectly fluffy. The cheese goes on at the very end, melting into creamy pockets throughout the dish. It’s simple cooking, but done right.
What Ingredients You Will Need
This recipe uses straightforward ingredients that come together to create something genuinely satisfying. Here’s what you’ll need to grab:
- 1 pound ground beef (80/20 works best for flavor, but lean ground beef works too)
- 1 medium yellow onion, diced (about 1 cup)
- 3 cloves garlic, minced (fresh is best, but jarred works in a pinch)
- 1 cup long-grain white rice, uncooked (I prefer jasmine or basmati for texture)
- 2 cups beef broth (low-sodium so you control the salt)
- 1 can (14.5 oz) diced tomatoes, undrained (fire-roasted adds nice depth)
- 1 teaspoon smoked paprika
- 1 teaspoon dried oregano
- ½ teaspoon salt (plus more to taste)
- ½ teaspoon black pepper
- 1 ½ cups shredded sharp cheddar cheese (shred your own for better melt)
- 2 tablespoons olive oil
- Optional: ¼ cup chopped fresh parsley or green onions for garnish
I recommend using a block of sharp cheddar and shredding it yourself. Pre-shredded cheese has anti-caking agents that prevent it from melting as smoothly. It’s a small step that makes a real difference in the final texture. For the rice, long-grain white rice gives you those distinct, fluffy grains that hold up well in a skillet. Avoid using minute rice or instant rice here—they’ll turn mushy during simmering.
If you want to switch things up, ground turkey or ground chicken works beautifully in place of the beef. Just add an extra tablespoon of olive oil since poultry is leaner. For a vegetarian version, use a plant-based ground meat substitute and vegetable broth. The 5-day meal prep chicken and rice bowls I make use a similar technique, so you can see how versatile this method really is.
Equipment Needed
You don’t need a lot of fancy tools for this recipe, which is part of its beauty. Here’s what you’ll want to have on hand:
- Large skillet with a lid (12-inch is ideal, cast iron or non-stick both work great)
- Wooden spoon or spatula for breaking up the meat
- Chef’s knife and cutting board
- Measuring cups and spoons
- Box grater (if you’re shredding your own cheese)
If you don’t have a lid that fits your skillet, a sheet of aluminum foil pressed tightly over the top works perfectly. I’ve done it plenty of times when my lid collection failed me. A cast iron skillet holds heat beautifully for this recipe, giving the rice an even simmer. But honestly, any heavy-bottomed pan will do the job.
Preparation Method
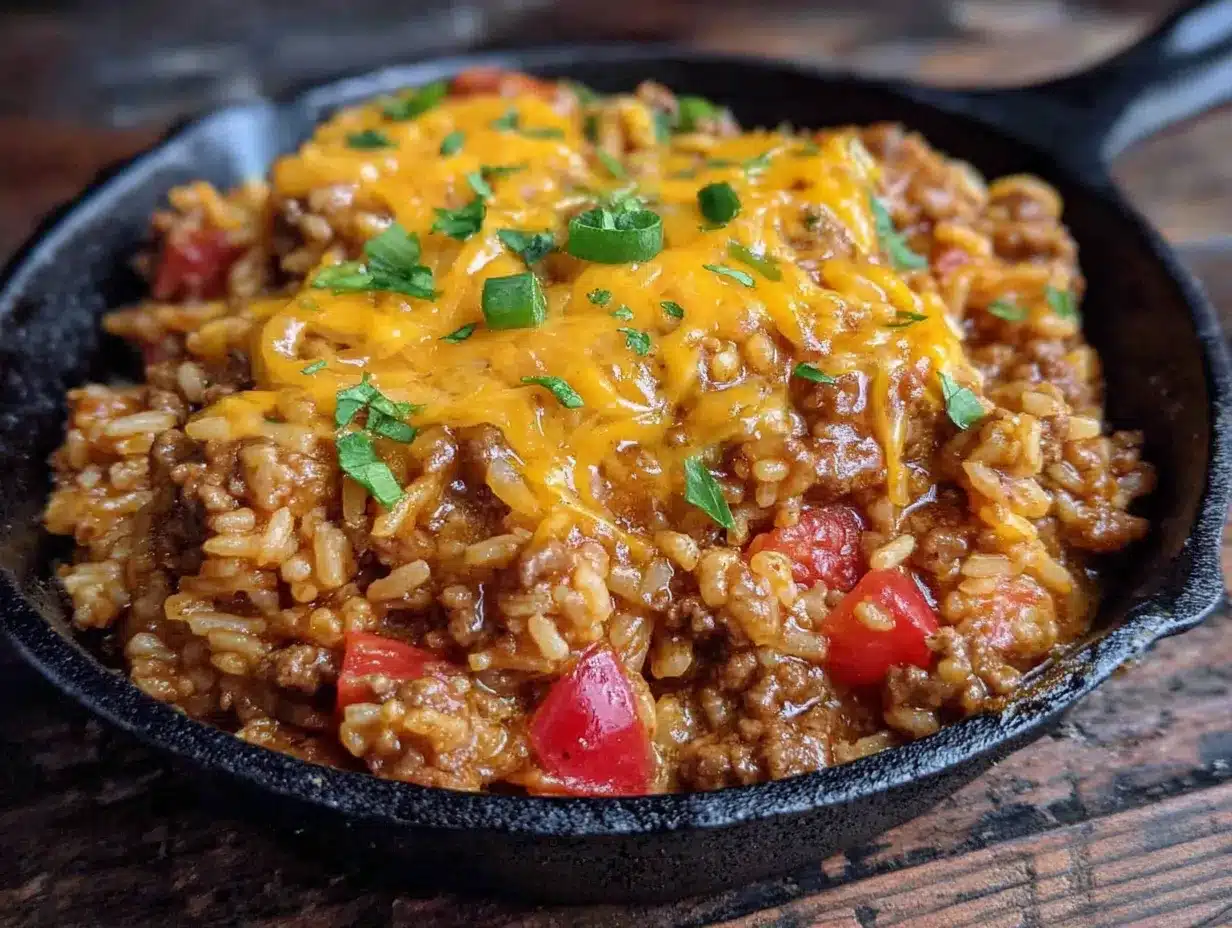
Let’s walk through this step by step. Trust me, it’s easier than it sounds, and the results are worth every minute.
- Heat the olive oil in your large skillet over medium-high heat. Once it shimmers, add the ground beef. Break it apart with your wooden spoon and let it cook undisturbed for about 3 minutes. You want a nice brown crust to form.
- Add the diced onion and cook for another 4 minutes, stirring occasionally. The onions should turn translucent and start to brown at the edges. Toss in the minced garlic and cook for 30 seconds until fragrant. Don’t skip this step—raw garlic is harsh, but briefly cooking it transforms the flavor completely.
- Drain any excess fat if needed. I usually leave about a tablespoon in the pan for flavor, but if your beef released a lot of grease, pour most of it off. Return the skillet to the heat.
- Stir in the smoked paprika, dried oregano, salt, and pepper. Let the spices toast for about 30 seconds. This wakes up their flavors in a way that adding them later just can’t match.
- Add the uncooked rice, diced tomatoes (with their juices), and beef broth. Stir everything together, scraping up any brown bits stuck to the bottom of the pan. Those bits are pure flavor gold.
- Bring the mixture to a boil, then reduce the heat to low. Cover the skillet with your lid and let it simmer for 18-20 minutes. Don’t lift the lid during this time—the steam is what cooks the rice perfectly.
- After 18 minutes, check the rice. It should be tender and most of the liquid should be absorbed. If the rice is still a bit firm, add 2 tablespoons of water, cover, and cook for another 3 minutes.
- Remove the skillet from the heat. Sprinkle the shredded cheddar cheese evenly over the top. Cover again and let it sit for 2-3 minutes. The residual heat will melt the cheese into gorgeous, gooey ribbons.
- Garnish with fresh parsley or green onions if you’re feeling fancy. Serve hot straight from the skillet.
One thing I learned the hard way—don’t rush the browning step. That deep, caramelized color on the beef is where the flavor lives. If the pan is too crowded, the meat will steam instead of brown. Give it space and patience.
Cooking Tips & Techniques
After making this Quick Cheesy Beef and Rice Skillet more times than I can count, I’ve picked up a few tricks that make a real difference.
Get that fond going. The browned bits stuck to the bottom of the pan after cooking the beef and onions? That’s called fond, and it’s packed with flavor. When you add the broth and tomatoes, scrape it up with your spoon. That simple step adds layers of savory depth you can’t get any other way.
Watch your rice-to-liquid ratio. I use 1 cup of rice to 2 cups of liquid (the broth plus the juice from the tomatoes). This ratio gives you perfectly tender rice without it turning into mush. If you like your rice a little firmer, reduce the broth by ¼ cup. For softer rice, add an extra ¼ cup.
Don’t peek. I know it’s tempting to lift the lid and check on things, but every time you do, steam escapes. That steam is what cooks the rice evenly. Trust the process and keep that lid on until the timer goes off.
Let it rest. After the cheese melts, let the skillet sit off the heat for a few minutes before serving. This allows the rice to absorb any remaining liquid and the flavors to meld together. It also keeps the cheese from sliding off in one big blob when you scoop it out.
I once made this recipe with brown rice instead of white, thinking it would be a healthier swap. It worked, but the cooking time jumped to about 40 minutes and I had to add an extra ½ cup of broth. If you’re in a rush, stick with white rice. For a heartier option, try the Korean-style bulgogi ground beef rice bowl for a completely different flavor profile using the same pantry staples.
Variations & Adaptations
This recipe is wonderfully flexible. Here are some ways I’ve adapted it over the years:
Spicy Southwest Version: Swap the smoked paprika for 1 teaspoon of chili powder and add ½ teaspoon of cumin. Use pepper jack cheese instead of cheddar, and stir in a drained can of black beans along with the rice. Top with sliced jalapeños if you’re feeling brave.
Vegetable-Packed Skillet: After browning the beef, add 1 cup of finely diced bell peppers and 1 cup of frozen corn kernels along with the onion. The extra veggies add color, texture, and nutrients without changing the cooking time. My kids don’t even notice the peppers when they’re diced small enough.
Low-Carb Adaptation: Skip the rice entirely and replace it with 2 cups of cauliflower rice. Add the cauliflower rice along with the broth, but only simmer for 5-7 minutes since cauliflower cooks much faster. This version is surprisingly satisfying and cuts the carbs significantly.
Cheese Variations: I’ve made this with Monterey Jack, a Mexican cheese blend, and even crumbled feta on top. Each brings its own personality. For a smoky twist, try Gouda. For extra gooeyness, mix in some mozzarella with the cheddar.
If you’re feeding a crowd, double the recipe and use a large Dutch oven instead of a skillet. The cooking time stays about the same since everything simmers together. I do this often when hosting casual dinners, and it pairs beautifully with a simple green salad on the side.
Serving & Storage Suggestions
This Quick Cheesy Beef and Rice Skillet is best served hot, straight from the pan. I like to spoon it into shallow bowls and let everyone add their own toppings. A dollop of sour cream, a few dashes of hot sauce, or a sprinkle of fresh cilantro all work beautifully.
For sides, keep it simple. A crisp green salad with a tangy vinaigrette cuts through the richness. Steamed broccoli or roasted green beans add color and crunch. If you’re serving a crowd, warm tortillas on the side let everyone make their own little wraps.
Storing Leftovers: Transfer any leftovers to an airtight container and refrigerate for up to 4 days. The flavors actually deepen overnight, making this one of those rare dishes that tastes even better the next day.
Reheating: The microwave works fine for individual portions. Add a splash of water or broth before reheating to restore moisture. For larger amounts, reheat in a covered skillet over medium-low heat, stirring occasionally, until warmed through. Add a little broth if the rice seems dry.
Freezing: This recipe freezes beautifully. Let it cool completely, then transfer to freezer-safe containers or zip-top bags. It will keep for up to 3 months. Thaw overnight in the refrigerator before reheating. I often make a double batch and freeze half for those nights when cooking feels impossible.
Nutritional Information & Benefits
Here’s an approximate nutritional breakdown per serving (based on 4 servings):
- Calories: 520
- Protein: 34g
- Carbohydrates: 42g
- Fat: 22g
- Fiber: 3g
- Calcium: 320mg (from the cheese and beef)
- Iron: 4mg (from the beef and tomatoes)
This meal provides a solid balance of protein, carbs, and fats to keep you satisfied. The beef is an excellent source of iron and B vitamins, which support energy levels. The tomatoes add lycopene, a powerful antioxidant, along with vitamin C. The cheese contributes calcium for bone health. If you’re watching your sodium, use low-sodium broth and go easy on the added salt.
For a lighter version, swap the ground beef for ground turkey and use reduced-fat cheese. You’ll save about 100 calories and 10 grams of fat per serving without sacrificing much flavor.
Conclusion
This Quick Cheesy Beef and Rice Skillet has saved my dinner routine more times than I can count. It’s the recipe I turn to when I need something reliable, satisfying, and fast. The best part? It doesn’t taste like a compromise. Every bite is rich, cheesy, and deeply comforting.
I’d love to hear how this recipe works for you. Did you add your own twist? Swap in a different cheese? Throw in some extra veggies? Drop a comment below and tell me about it. Your version might inspire someone else’s dinner tonight. And if you loved it, share this post with a friend who also needs a quick dinner win. Happy cooking, friends!
Frequently Asked Questions
Can I use instant rice in this recipe?
I don’t recommend instant rice for this skillet dinner. Instant rice is pre-cooked and dehydrated, so it turns mushy during the simmering process. Long-grain white rice gives you the best texture and absorbs the flavors beautifully.
How do I prevent the rice from sticking to the bottom?
Make sure your heat is on low once you add the rice and liquid. A gentle simmer, not a rolling boil, is what you’re after. Also, resist the urge to stir once the rice is cooking—stirring releases starch and can cause sticking. If you’re worried, use a non-stick skillet.
Can I make this dairy-free?
Absolutely! Skip the cheese or use a dairy-free shredded cheese alternative. I’ve had good results with plant-based cheddar shreds. Just add them at the same point in the recipe and let them melt the same way. The dish is still delicious without cheese, honestly.
What if my rice is still crunchy after 20 minutes?
Don’t panic. Add 2-3 tablespoons of water or broth, cover the skillet again, and cook on low for another 5 minutes. Check again. Different rice brands and stoves can vary, so a little extra time is normal. Just don’t crank up the heat—that will burn the bottom before the rice is tender.
Can I add frozen vegetables to this dish?
Yes, and it’s a great way to sneak in extra nutrients. Add 1 cup of frozen peas, corn, or mixed vegetables along with the broth. The cooking time stays the same since they thaw and heat through during the simmer. No need to thaw them first.
Pin This Recipe!
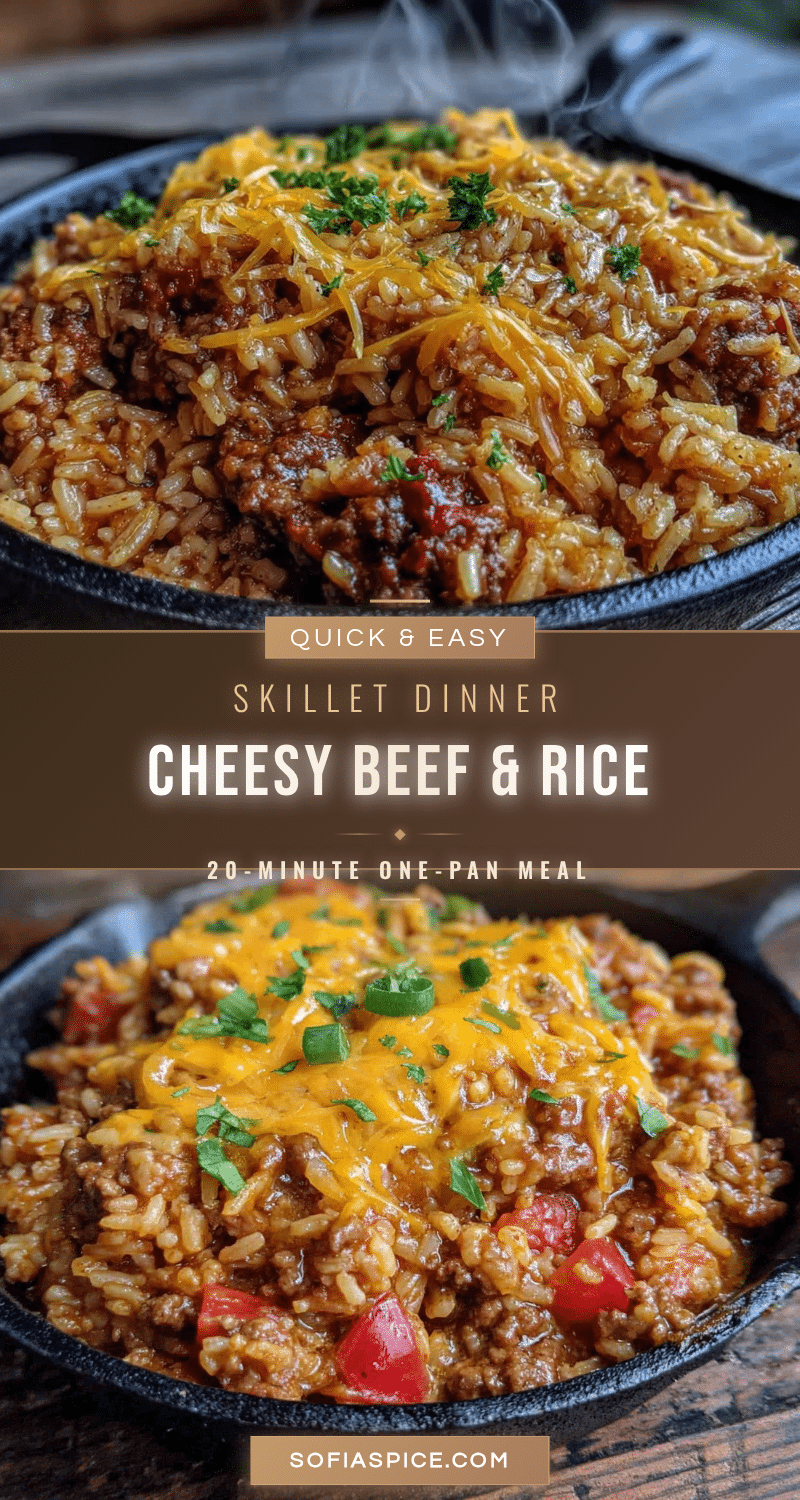
Quick Cheesy Beef and Rice Skillet: Easy 30-Minute Dinner

This one-skillet dinner combines seasoned ground beef, tender rice, and melted cheddar cheese for a comforting, family-friendly meal ready in just 30 minutes. Perfect for busy weeknights when you need something satisfying without a lot of fuss.
- Prep Time: 10 minutes
- Cook Time: 20 minutes
- Total Time: 30 minutes
- Yield: 4 servings 1x
- Category: Main Course
- Cuisine: American
Ingredients
- 1 pound ground beef (80/20 works best)
- 1 medium yellow onion, diced (about 1 cup)
- 3 cloves garlic, minced
- 1 cup long-grain white rice, uncooked (jasmine or basmati preferred)
- 2 cups low-sodium beef broth
- 1 can (14.5 oz) diced tomatoes, undrained (fire-roasted recommended)
- 1 teaspoon smoked paprika
- 1 teaspoon dried oregano
- ½ teaspoon salt (plus more to taste)
- ½ teaspoon black pepper
- 1 ½ cups shredded sharp cheddar cheese (shredded from a block)
- 2 tablespoons olive oil
- Optional: ¼ cup chopped fresh parsley or green onions for garnish
Instructions
- Heat the olive oil in a large skillet over medium-high heat. Once shimmering, add the ground beef. Break it apart and cook undisturbed for about 3 minutes to form a brown crust.
- Add the diced onion and cook for 4 minutes, stirring occasionally, until translucent and starting to brown. Add the minced garlic and cook for 30 seconds until fragrant.
- Drain excess fat if needed, leaving about 1 tablespoon in the pan for flavor.
- Stir in the smoked paprika, dried oregano, salt, and pepper. Let the spices toast for about 30 seconds.
- Add the uncooked rice, diced tomatoes with their juices, and beef broth. Stir together, scraping up any brown bits from the bottom of the pan.
- Bring the mixture to a boil, then reduce heat to low. Cover the skillet and let it simmer for 18-20 minutes. Do not lift the lid during this time.
- After 18 minutes, check the rice. It should be tender and most liquid absorbed. If still firm, add 2 tablespoons of water, cover, and cook for another 3 minutes.
- Remove the skillet from heat. Sprinkle the shredded cheddar cheese evenly over the top. Cover and let sit for 2-3 minutes until the cheese is melted.
- Garnish with fresh parsley or green onions if desired. Serve hot straight from the skillet.
Notes
For best results, shred cheddar from a block to avoid anti-caking agents. Don’t lift the lid during simmering to ensure even rice cooking. Let the skillet rest after adding cheese for better texture. For a lighter version, use ground turkey and reduced-fat cheese.
Nutrition
- Serving Size: 1 serving (about 1.5
- Calories: 520
- Sugar: 5
- Sodium: 680
- Fat: 22
- Saturated Fat: 10
- Carbohydrates: 42
- Fiber: 3
- Protein: 34
Keywords: cheesy beef and rice skillet, 30-minute dinner, one-skillet meal, ground beef recipe, easy weeknight dinner, cheesy rice, comfort food


