Look, I have a confession to make. I’ve been making loaded nachos for game days for over a decade, and for most of that time, I was doing it all wrong. I’d pile everything onto a single plate, pop it in the oven, and end up with a sad, soggy mess of toppings sliding off onto the pan. The bottom chips would be mush, the top ones would be burnt, and everyone would be fighting over the few perfect bites in the middle. It was frustrating, honestly. But then, I discovered the sheet pan method, and it changed everything. This Easy Game Day Loaded Sheet Pan Nachos recipe is the result of all those trial-and-error Sundays.
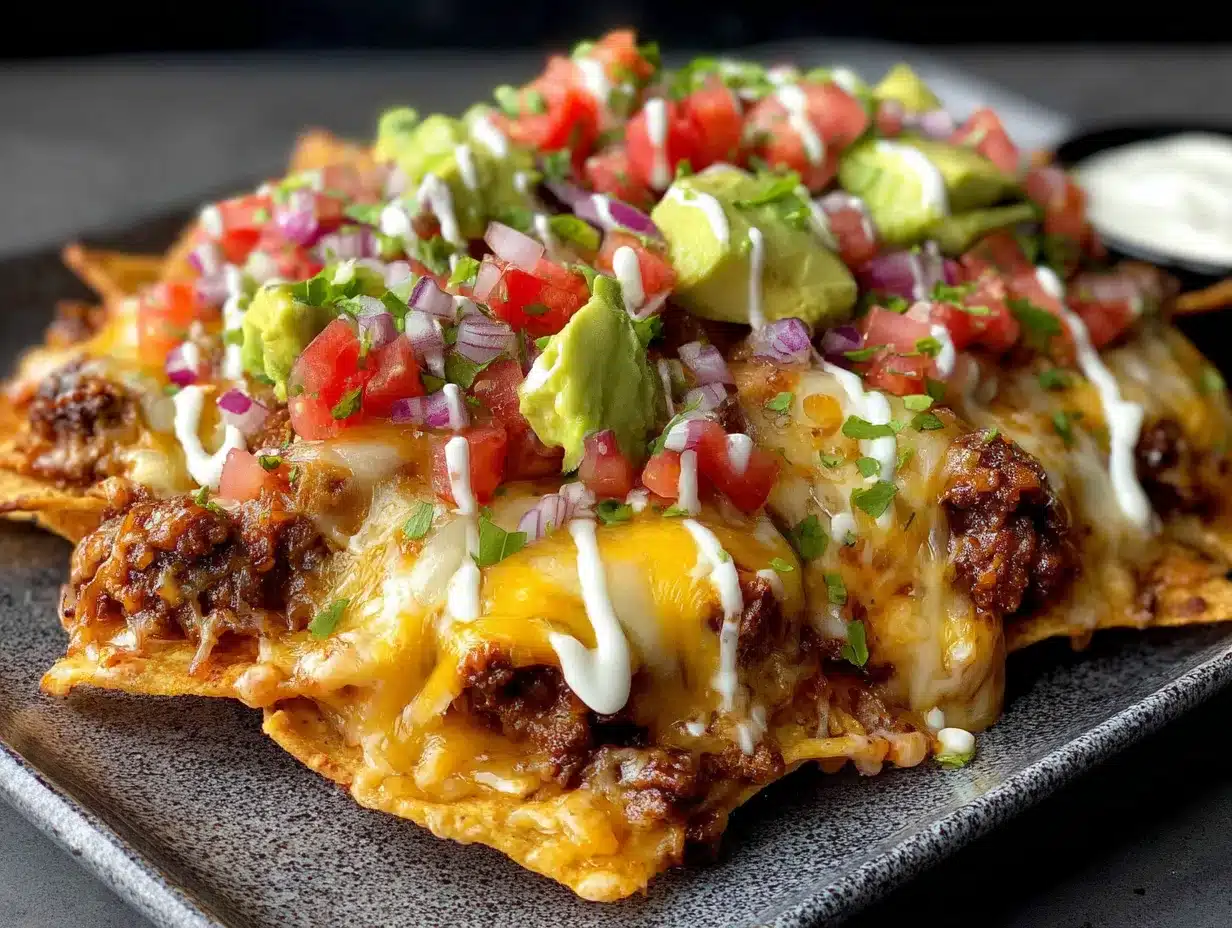
This isn’t just another nacho recipe. This is the one that disappears in minutes. It’s the one where you get a little bit of everything—crispy chips, melty cheese, seasoned meat, and all your favorite toppings—in every single bite. The secret is all in the layering and the even heat distribution of a sheet pan. No more sad, naked chips. Just pure, unadulterated snack perfection.
Why This Recipe Works
Let me tell you why you’re going to fall in love with these sheet pan nachos. I’ve tested this method more times than I care to admit, and I can say with confidence that this is the best way to make nachos for a crowd.
- Perfectly Even Cooking: The sheet pan allows for a single, even layer of chips. No more digging through a pile to find the good ones. Every chip gets its moment with the heat.
- No Soggy Chips: By layering the cheese directly on the chips and then adding the meat, the chips stay crisp while the cheese melts into a glorious blanket.
- Completely Customizable: This is a blank canvas. You can swap the protein, change the cheese, or load it up with whatever your heart desires.
- Feeds a Crowd with Zero Fuss: This is the ultimate party food. It’s one pan, minimal cleanup, and everyone can grab a plate and dig in.
- It’s a Crowd-Pleaser: Honestly, I’ve never met anyone who doesn’t love a good loaded nacho. It’s the kind of dish that makes people close their eyes after the first bite and just smile.
This isn’t just another version of nachos. It’s the version. The one that makes you the hero of the party without spending the whole time in the kitchen.
Ingredients You Will Need
This recipe uses simple, easy-to-find ingredients to create something truly spectacular. You probably have most of these in your pantry and fridge right now.
For the Base Nachos
- 1 (13-ounce) bag restaurant-style tortilla chips: These are sturdier than thin chips and hold up better to the toppings. I prefer On The Border or Tostitos scoops for maximum topping retention.
- 1 pound ground beef (80/20): The fat adds flavor and keeps the meat juicy. You can also use ground turkey or chicken.
- 1 (1-ounce) packet taco seasoning: Use your favorite brand or make your own. I like McCormick for a classic flavor.
- 1/2 cup water: To help the seasoning distribute and create a nice sauce.
- 2 cups shredded Mexican blend cheese: This melts beautifully. You can also use a mix of cheddar, Monterey Jack, and pepper jack.
- 1 cup canned black beans, drained and rinsed: Adds fiber and texture.
- 1/2 cup canned corn, drained: A little sweetness to balance the savory.
For the Toppings (The Best Part!)
- 1 cup sour cream: For cooling down the heat.
- 1/2 cup store-bought or homemade pico de gallo: Fresh and bright. You can also use salsa.
- 1/2 cup guacamole (optional but highly recommended): I love Wholly Guacamole for convenience, or make your own.
- 1/4 cup sliced pickled jalapeños: For a punch of acidity and heat.
- 1/4 cup chopped fresh cilantro: For a pop of color and freshness.
- 1/2 cup diced red onion: Adds a sharp, crunchy bite.
Equipment Needed
You don’t need any fancy gadgets for this recipe. A few basic kitchen tools will do the trick.
- Large rimmed baking sheet (half-sheet pan): This is non-negotiable. The rim catches any rogue toppings and prevents a mess in your oven. A 13×18 inch pan is perfect.
- Large skillet or frying pan: For browning the ground beef.
- Wooden spoon or spatula: To break up the meat as it cooks.
- Measuring cups and spoons: For accuracy.
- Chef’s knife and cutting board: For prepping the fresh toppings.
- Small bowls: For holding your prepped toppings. This makes assembly a breeze.
Preparation Method
Follow these steps, and you’ll have a tray of nachos that will steal the show. Trust me on the layering.
- Preheat and Prep (5 minutes): Preheat your oven to 400°F (200°C). Line your large rimmed baking sheet with parchment paper or aluminum foil for easy cleanup. This is a step you’ll thank me for later.
- Cook the Meat (10 minutes): Place a large skillet over medium-high heat. Add the ground beef and cook, breaking it up with a wooden spoon, until it’s browned and no longer pink, about 6-8 minutes. Drain off any excess fat. Reduce the heat to low, add the taco seasoning and 1/2 cup of water, and stir. Let it simmer for 2-3 minutes until the sauce thickens slightly. The smell at this point is incredible.
- Layer the Chips (2 minutes): Spread the tortilla chips in a single, even layer on your prepared baking sheet. Don’t pile them up. The key to perfect nachos is a single layer. You want each chip to have its own space.
- First Cheese Layer (1 minute): Sprinkle half of the shredded Mexican blend cheese evenly over the chips. This is the foundation. The cheese melts and creates a barrier that protects the chips from getting soggy from the meat.
- Add the Meat and Beans (3 minutes): Evenly distribute the seasoned ground beef over the cheese-covered chips. Then, scatter the black beans and corn over the top. Try to get a little bit of everything on each chip.
- Second Cheese Layer (1 minute): Sprinkle the remaining shredded cheese over the meat and beans. Don’t be shy. This is the glorious, melty top layer that holds everything together.
- Bake to Perfection (8-10 minutes): Place the sheet pan in the preheated oven and bake for 8-10 minutes, or until the cheese is fully melted and bubbly and the edges of the chips are just starting to turn a light golden brown. Keep an eye on it. You want melted cheese, not burnt chips.
- Rest and Top (5 minutes): Remove the sheet pan from the oven and let it rest for 2-3 minutes. This allows the cheese to set slightly so it doesn’t all slide off when you pick up a chip. Now, it’s time for the fun part. Dollop the sour cream, pico de gallo, and guacamole in rows or clusters over the hot nachos. Sprinkle with the pickled jalapeños, fresh cilantro, and diced red onion.
- Serve Immediately: Serve the nachos straight from the sheet pan. Let everyone grab a plate and build their own perfect bite. This is the best part—watching everyone dig in.
Cooking Tips & Techniques
I’ve made every mistake in the book with nachos, so you don’t have to. Here are my hard-won tips for sheet pan nacho success.
- The Single Layer is Sacred: I cannot stress this enough. If you pile the chips, the ones on the bottom will steam and get soft. Spread them out. If you have more chips than will fit on one pan, make two batches. It’s worth it.
- Don’t Overload with Wet Toppings Before Baking: This is the biggest mistake people make. Sour cream, salsa, and guacamole should always go on after baking. If you put them on before, they release moisture and turn your chips into a sad, soggy mess. Keep them cold and fresh for the final topping stage.
- Use a Rimmed Baking Sheet: A flat cookie sheet is a disaster waiting to happen. The rim is your best friend. It catches the melted cheese and any rogue beans or meat, keeping your oven clean and your nachos contained.
- Let it Rest: That 2-3 minute rest after baking is crucial. It allows the cheese to firm up just a little, so when you pick up a loaded chip, the toppings stay put instead of sliding off onto your plate.
- Warm the Beans: For the best texture, you can warm the drained and rinsed black beans in the microwave for 30 seconds before adding them to the pan. This ensures they are hot all the way through when the nachos come out of the oven.
Variations & Adaptations
This recipe is a fantastic base for endless creativity. Here are a few of my favorite ways to change it up.
- Spicy Buffalo Chicken Nachos: Swap the ground beef for shredded rotisserie chicken tossed in your favorite buffalo wing sauce. Use blue cheese or ranch dressing as a drizzle instead of sour cream. It’s a game-changer.
- Vegetarian Black Bean & Corn Nachos: Skip the meat entirely and double up on the black beans and corn. Add a can of drained and rinsed pinto beans for extra heartiness. This is a fantastic, protein-packed option that everyone loves.
- Breakfast Nachos: This is my secret Sunday morning indulgence. Use the same base method, but swap the taco meat for crumbled breakfast sausage or bacon. Top the baked nachos with a fried or scrambled egg, a drizzle of hot sauce, and some fresh avocado.
- Pulled Pork Nachos: If you have leftover pulled pork from a cozy slow cooker meal, this is a fantastic way to use it. Just warm the pork with some of its juices or your favorite barbecue sauce before layering it on the chips.
- Healthier Twist: Use ground turkey or lean ground chicken. Swap the regular tortilla chips for baked or low-sodium versions. Load up on fresh veggies like diced bell peppers and tomatoes.
Serving & Storage Suggestions
These nachos are best enjoyed fresh from the oven, but here are a few tips for serving and, if you have any left, storing them.
- Serving: Serve the nachos directly on the sheet pan for a casual, fun presentation. Place it in the center of the table with small bowls of extra toppings—extra jalapeños, more sour cream, a side of salsa—so everyone can customize their plate.
- What to Serve With: These nachos are a meal in themselves, but they pair beautifully with a simple side of creamy roasted tomato basil bisque for dipping or a fresh green salad to balance the richness. A cold beer or a classic margarita is the perfect beverage pairing.
- Storage: Nachos are notoriously bad at being reheated. However, if you have leftovers, store them in an airtight container in the refrigerator for up to 2 days. They will be soft, but the flavor will still be great.
- Reheating (The Best Way): The best way to reheat leftover nachos is in a dry skillet over medium heat. Spread them out and cook for 2-3 minutes until they crisp up again. You can also use an air fryer at 350°F (175°C) for 3-4 minutes. Avoid the microwave at all costs—it will turn them into rubber.
Nutritional Information & Benefits
While this is definitely a treat-yourself kind of dish, it does have some redeeming qualities. The exact values will vary based on your specific ingredients and toppings.
- Estimated per serving (1/6 of the recipe): Calories: 550-650, Fat: 35g, Carbohydrates: 45g, Protein: 25g, Fiber: 8g.
- Protein Power: The ground beef and black beans provide a good amount of protein, which helps keep you feeling full and satisfied.
- Fiber from Beans: Black beans are a fantastic source of fiber, which is great for digestion and heart health.
- Fresh Veggies: The pico de gallo, cilantro, and onion add a dose of vitamins and antioxidants, making you feel slightly better about the whole thing!
- Customizable for Diets: This recipe can easily be made gluten-free by using certified gluten-free tortilla chips and taco seasoning. For a lower-carb option, you can swap the chips for bell pepper strips or cucumber rounds.
Conclusion
This Easy Game Day Loaded Sheet Pan Nachos recipe is more than just a snack—it’s the centerpiece of a great party. It’s the kind of food that brings people together, that sparks conversation, and that makes you the hero of the game day spread without breaking a sweat. Honestly, once you try this method, you’ll never go back to the old, messy way of making nachos.
I love this recipe because it’s forgiving, it’s fun, and it’s guaranteed to put a smile on everyone’s face. Please, make it your own. Pile on your favorite toppings, experiment with different proteins, and don’t be afraid to get a little messy. That’s what game day is all about.
I’d love to hear how yours turn out! Leave a comment below and tell me your favorite topping combination. Did you try the Buffalo chicken version? Share your photos with me on social media—I can’t wait to see your creations!
Frequently Asked Questions
Can I make these nachos ahead of time?
I don’t recommend assembling and baking the nachos completely ahead of time, as they will get soggy. However, you can prep all your components. Cook the ground beef, shred the cheese, and chop all your fresh toppings. Store them in the refrigerator separately. When you’re ready to serve, just assemble and bake. It takes less than 15 minutes!
What is the best cheese for nachos?
A good melting cheese is key. A pre-shredded Mexican blend is super convenient and melts beautifully. For the best flavor, I love a mix of sharp cheddar for taste and Monterey Jack for meltability. You can also add some pepper jack for a spicy kick.
My chips always get soggy. What am I doing wrong?
This is the most common nacho problem! The solution is two-fold. First, make sure your chips are in a single, even layer. Second, never add wet toppings like sour cream, salsa, or guacamole before baking. Add them fresh after the nachos come out of the oven.
Can I use a different protein?
Absolutely! This recipe is incredibly versatile. You can use ground turkey, ground chicken, shredded rotisserie chicken, or even crumbled tofu or plant-based meat. For a different flavor profile, try using leftover Korean-style bulgogi ground beef for an amazing fusion twist.
How do I keep the nachos warm for a party?
Sheet pan nachos are best served immediately, but you can keep them warm for a short time. After baking, place the sheet pan on a wire rack over a low oven (around 200°F or 95°C) for up to 20 minutes. Just be aware that the chips will start to soften over time. The fresh toppings should be added right before serving.
Pin This Recipe!
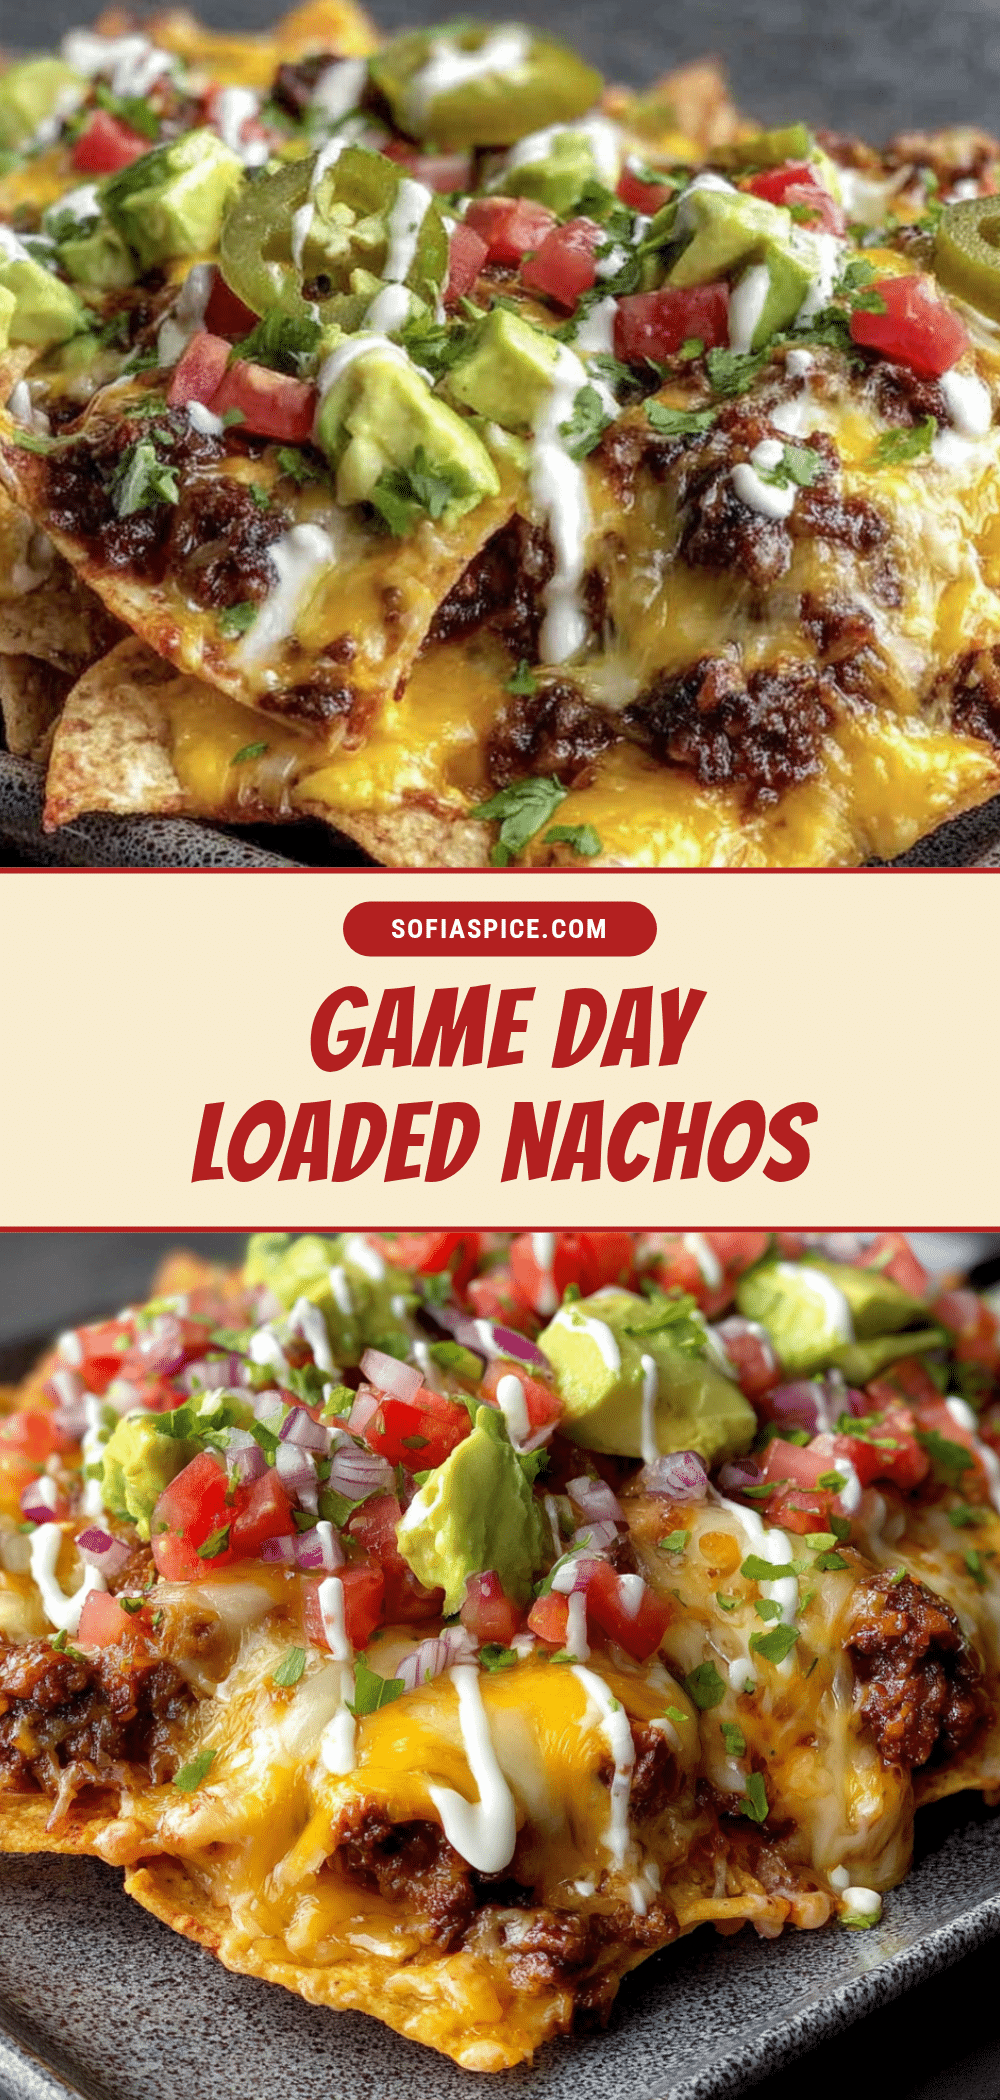
Easy Game Day Loaded Sheet Pan Nachos
This isn’t just another nacho recipe. This is the one that disappears in minutes. It’s the one where you get a little bit of everything—crispy chips, melty cheese, seasoned meat, and all your favorite toppings—in every single bite. The secret is all in the layering and the even heat distribution of a sheet pan.
- Prep Time: 15 minutes
- Cook Time: 10 minutes
- Total Time: 25 minutes
- Yield: 6 servings 1x
- Category: Appetizer
- Cuisine: Mexican-American
Ingredients
- 1 (13-ounce) bag restaurant-style tortilla chips
- 1 pound ground beef (80/20)
- 1 (1-ounce) packet taco seasoning
- 1/2 cup water
- 2 cups shredded Mexican blend cheese
- 1 cup canned black beans, drained and rinsed
- 1/2 cup canned corn, drained
- 1 cup sour cream
- 1/2 cup pico de gallo
- 1/2 cup guacamole (optional)
- 1/4 cup sliced pickled jalapeños
- 1/4 cup chopped fresh cilantro
- 1/2 cup diced red onion
Instructions
- Preheat your oven to 400°F (200°C). Line your large rimmed baking sheet with parchment paper or aluminum foil for easy cleanup.
- Place a large skillet over medium-high heat. Add the ground beef and cook, breaking it up with a wooden spoon, until it’s browned and no longer pink, about 6-8 minutes. Drain off any excess fat. Reduce the heat to low, add the taco seasoning and 1/2 cup of water, and stir. Let it simmer for 2-3 minutes until the sauce thickens slightly.
- Spread the tortilla chips in a single, even layer on your prepared baking sheet.
- Sprinkle half of the shredded Mexican blend cheese evenly over the chips.
- Evenly distribute the seasoned ground beef over the cheese-covered chips. Then, scatter the black beans and corn over the top.
- Sprinkle the remaining shredded cheese over the meat and beans.
- Place the sheet pan in the preheated oven and bake for 8-10 minutes, or until the cheese is fully melted and bubbly and the edges of the chips are just starting to turn a light golden brown.
- Remove the sheet pan from the oven and let it rest for 2-3 minutes. Dollop the sour cream, pico de gallo, and guacamole in rows or clusters over the hot nachos. Sprinkle with the pickled jalapeños, fresh cilantro, and diced red onion.
- Serve the nachos straight from the sheet pan.
Notes
The single layer of chips is crucial for even cooking and preventing sogginess. Always add wet toppings like sour cream, salsa, and guacamole after baking. Let the nachos rest for 2-3 minutes after baking to allow the cheese to set. For best results, warm the black beans before adding them to the pan.
Nutrition
- Serving Size: 1/6 of the recipe
- Calories: 600
- Sugar: 5
- Sodium: 900
- Fat: 35
- Saturated Fat: 12
- Carbohydrates: 45
- Fiber: 8
- Protein: 25
Keywords: sheet pan nachos, loaded nachos, game day nachos, easy nachos, ground beef nachos, party food


