My phone buzzed for the third time during the third quarter. “Are those the wings from last month?” my brother-in-law texted, complete with about fifteen wing emojis. I glanced at the empty platter on my coffee table—the one I’d piled high with sticky, golden-brown honey garlic wings just twenty minutes earlier. They were gone. Not a single bone left for the dog to sniff out under the couch. That was the moment I knew this recipe wasn’t just good; it was my new game day secret weapon.
I wasn’t even trying to reinvent the wheel that first time. I just wanted something that wouldn’t require me to stand over a deep fryer while everyone else was yelling at the TV. I wanted wings that were crispy, saucy, and actually easy. So I threw a bunch of wings in the oven, mixed up a honey garlic sauce that smelled so good I almost licked the bowl clean, and hoped for the best. What came out of that oven was pure, unadulterated wing magic. Honestly, I didn’t expect the reaction. My friend, who is a self-proclaimed wing snob, asked for the recipe before he even finished his fourth wing. That’s when I knew I had to share these.
These aren’t just any baked wings. They’re the kind that make you forget you’re eating baked chicken at all. The sauce clings to every crevice, the skin gets that perfect, slightly charred edge, and the flavor is that perfect balance of sweet and savory. It’s the kind of recipe that builds trust—the kind you can make for a crowd and know, without a doubt, that you’ll be leaving with an empty dish. So, if you’re looking for the best easy honey garlic baked chicken wings for game day that will have everyone asking for more, you’ve come to the right place. Let’s get cooking.
Why You’ll Love This Recipe
I’ve tested a lot of wing recipes over the years. Some were too dry, some were too greasy, and some had a sauce that just slid right off. This one is different. It’s the result of a few happy accidents and a lot of hungry friends. Here’s why it works so well:
- Quick & Easy: No deep-frying, no complicated steps. These come together in under an hour with just 10 minutes of active prep. Perfect for when the pre-game show is already on.
- Simple Ingredients: You probably have most of these in your pantry right now. Honey, soy sauce, garlic—no fancy grocery trips needed.
- Perfect for Game Day: These wings are the ultimate crowd-pleaser. They’re sticky, messy, and absolutely perfect for eating with your hands while cheering on your team.
- Crowd-Pleaser: I’ve served these to kids, adults, picky eaters, and wing connoisseurs. The platter always comes back empty.
- Unbelievably Delicious: The secret is in the double-bake method. You bake the wings first to get them crispy, then coat them in the sauce and bake again. The result is a sticky, caramelized coating that’s next-level comfort food.
What makes these wings different from the rest? It’s the technique. By baking the wings dry first, you’re drawing out moisture and allowing the skin to render and crisp up without any oil. Then, when you add the honey garlic sauce and hit them with high heat again, the sugars caramelize perfectly, creating that iconic, glossy finish. This isn’t just another wing recipe—it’s your new go-to.
This recipe is the kind that makes you close your eyes after the first bite. It’s comfort food reimagined—healthier than frying, but with the same soul-soothing, finger-licking satisfaction. Perfect for impressing a crowd without any stress, or turning a simple game day into something truly memorable.
What Ingredients You Will Need
This recipe uses simple, wholesome ingredients that work together to create a flavor that’s way more than the sum of its parts. Most of these are pantry staples, which makes this an easy last-minute win.
- For the Wings:
- 3 lbs (1.4 kg) chicken party wings (drumettes and flats), patted very dry with paper towels
- 1 tablespoon baking powder (NOT baking soda—this is the secret to crispy skin!)
- 1 teaspoon salt
- 1/2 teaspoon black pepper
- 1 teaspoon garlic powder
- 1/2 teaspoon onion powder
- For the Honey Garlic Sauce:
- 1/2 cup (170g) honey (I love using a local wildflower honey for a more complex flavor)
- 1/4 cup (60ml) low-sodium soy sauce (or tamari for gluten-free)
- 4 cloves garlic, finely minced (don’t skimp here—fresh is best)
- 2 tablespoons unsalted butter, melted
- 1 tablespoon rice vinegar (adds a subtle tang that balances the sweetness)
- 1/2 teaspoon red pepper flakes (optional, for a little heat)
- 1 tablespoon cornstarch mixed with 2 tablespoons cold water (for thickening, if desired)
- For Garnish:
- 2 tablespoons fresh parsley, chopped
- 1 tablespoon sesame seeds (optional, but adds a nice crunch)
- Lime wedges, for serving
Ingredient Tips: I recommend using party wings (drumettes and flats) for the best meat-to-bone ratio. You can use whole wings and cut them yourself, but it’s a bit of a hassle. For the baking powder, make sure it’s aluminum-free to avoid a metallic aftertaste. I’ve tested this with both and the difference is noticeable. If you’re looking for a gluten-free option, tamari is a great swap for soy sauce. And if you want a little more of that sticky, savory-sweet profile, you can add a teaspoon of sriracha to the sauce.
Equipment Needed
You don’t need a deep fryer or any fancy gadgets for these wings. Here’s what you’ll need:
- Large baking sheet: A rimmed baking sheet works best to catch any drips. I prefer a half-sheet pan for even cooking.
- Wire rack: This is crucial! A wire rack set inside the baking sheet allows air to circulate all around the wings, making them crispy on all sides. If you don’t have one, you can flip the wings halfway through, but the rack is a game-changer.
- Mixing bowls: One large bowl for tossing the wings with the dry rub, and a small bowl for the sauce.
- Whisk: For combining the sauce ingredients smoothly.
- Small saucepan: Only needed if you want to thicken the sauce on the stovetop. I usually skip this step and just let it caramelize in the oven.
- Tongs: For flipping and handling the hot wings.
- Pastry brush: For applying the sauce evenly.
Budget-Friendly Tip: If you don’t have a wire rack, you can crinkle up some aluminum foil into a snake-like shape and place it on the baking sheet to lift the wings off the bottom. It’s not perfect, but it works in a pinch!
Preparation Method
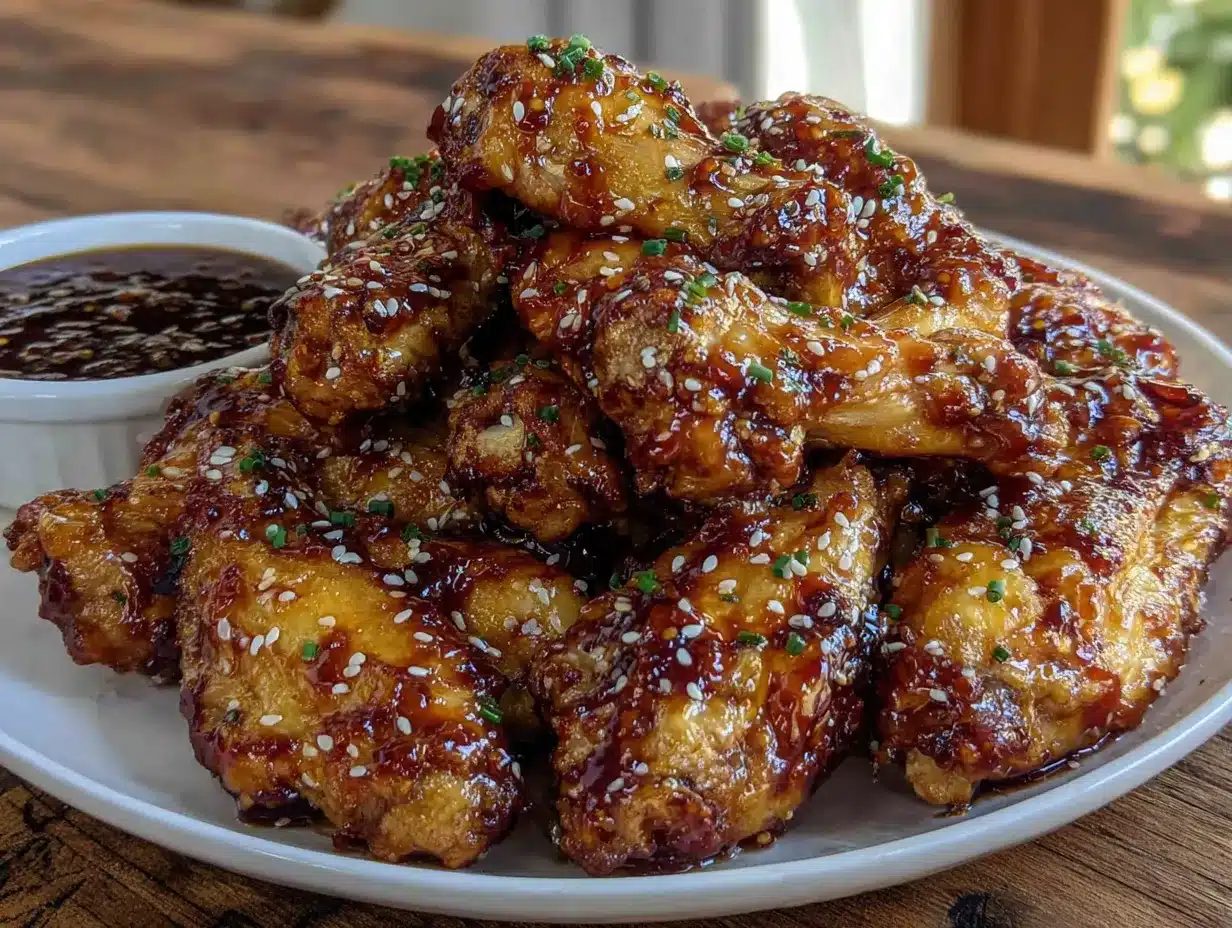
Alright, let’s get to the good part. Follow these steps, and you’ll have the best wings of your life.
- Preheat and Prep (5 minutes): Preheat your oven to 425°F (220°C). Line a large baking sheet with aluminum foil for easy cleanup, then place a wire rack on top. Pat the chicken wings completely dry with paper towels. This is the most important step. If they’re damp, they’ll steam instead of crisp up.
- Season the Wings (5 minutes): In a large bowl, whisk together the baking powder, salt, pepper, garlic powder, and onion powder. Add the dried wings and toss well to coat evenly. Make sure every piece is covered. The baking powder will look a little white and dusty—that’s exactly what you want.
- First Bake (45 minutes): Arrange the wings in a single layer on the wire rack, making sure they’re not touching. Bake for 45 minutes, flipping them halfway through. You’ll see the skin start to bubble and turn golden brown. This is the magic of the baking powder. The wings should be cooked through and the skin should feel dry and crispy to the touch.
- Make the Sauce (during the last 5 minutes of baking): While the wings are in the oven, make the sauce. In a small bowl, whisk together the honey, soy sauce, minced garlic, melted butter, rice vinegar, and red pepper flakes (if using). If you want a thicker, stickier sauce, combine the cornstarch and water in a small saucepan, then whisk in the honey mixture. Bring to a simmer over medium heat, stirring constantly, until the sauce thickens (about 1-2 minutes). Remove from heat. I usually skip this step—the oven does the thickening for me.
- Coat and Second Bake (10 minutes): Remove the wings from the oven. Using tongs, transfer the hot wings to a large bowl. Pour the sauce over the wings and toss gently until every wing is completely coated. Return the sauced wings to the wire rack in a single layer. Bake for another 10 minutes. The sauce will bubble and caramelize, creating that perfect sticky, glossy finish.
- Broil for Extra Char (2-3 minutes, optional): For an extra layer of flavor, switch your oven to broil for the last 2-3 minutes. Watch them closely—the sugar in the honey can burn quickly. You want a few charred spots, not a blackened mess.
- Garnish and Serve (5 minutes): Remove the wings from the oven and let them rest on the rack for 5 minutes. This allows the sauce to set slightly. Transfer to a serving platter, sprinkle with fresh parsley and sesame seeds, and serve immediately with lime wedges on the side.
Sensory Cues: At the end of the first bake, the wings should look dry and slightly puffed. When you add the sauce, it should sizzle on contact. After the second bake, you’ll see the sauce has turned into a sticky, deep amber glaze that clings to the chicken. The smell will be intoxicating—sweet, savory, and garlicky.
Pro Tip: Don’t crowd the wings on the rack. If they’re touching, they’ll steam instead of crisp. If you’re making a double batch, use two baking sheets.
Cooking Tips & Techniques
Over the years, I’ve learned a few things the hard way. Here are my best tips to make sure your wings come out perfect every time.
- The Drying Secret: The single biggest mistake people make is not drying the wings enough. I pat them dry with paper towels, then let them sit on a paper-towel-lined plate in the fridge for 15 minutes. It’s an extra step, but it draws out even more moisture, leading to the crispiest skin.
- Don’t Skip the Flip: Flipping the wings halfway through the first bake ensures even cooking and crisping on all sides. I set a timer for 22 minutes so I don’t forget.
- Watch the Broiler: I once got distracted by a touchdown and my wings went from perfectly charred to completely burnt in about 30 seconds. The sugar in the honey caramelizes fast. If you’re using the broiler, don’t walk away.
- Multitasking Strategy: While the wings are in the oven for their first bake, you can prep all your garnishes and set the table. During the last 10 minutes of the first bake, make the sauce. This way, everything is ready to go when the wings come out.
- Consistency is Key: The size of your wings will affect the cooking time. If you’re using smaller wings, check them 5 minutes early. If they’re huge, they might need an extra 5-10 minutes. Always use a meat thermometer—they should reach an internal temperature of 165°F (74°C) before you add the sauce.
Variations & Adaptations
This recipe is a fantastic base for all kinds of flavor experiments. Here are a few of my favorite twists:
- Spicy Honey Sriracha: Add 2 tablespoons of sriracha (or more, if you’re brave) to the honey garlic sauce. The heat cuts through the sweetness beautifully. I made this version for a friend who loves spicy food, and he said it was the best wing he’d ever had.
- Sticky Ginger-Soy: Add 1 tablespoon of freshly grated ginger to the sauce. It adds a warm, zesty note that’s incredible with the garlic. This is my go-to when I’m craving something a little more complex.
- Lemon Pepper Honey Garlic: Add the zest of one lemon and 1 teaspoon of cracked black pepper to the dry rub. After baking, toss the wings in the honey garlic sauce and finish with a squeeze of fresh lemon juice. It’s bright, tangy, and perfect for summer.
- Air Fryer Method: If you’re short on time, you can make these in the air fryer. Toss the seasoned wings in the air fryer basket and cook at 400°F (200°C) for 25 minutes, shaking the basket halfway through. Then toss with the sauce and cook for another 5 minutes. The results are just as crispy!
- Allergen-Friendly: For a gluten-free version, use tamari or coconut aminos instead of soy sauce. For a dairy-free version, use a plant-based butter or omit it entirely—the wings will still be delicious, just slightly less sticky.
Serving & Storage Suggestions
These wings are best served hot and fresh from the oven. The sauce is at its stickiest and most flavorful right after it comes out.
- Serving Temperature: Serve immediately while the wings are still hot and the sauce is glossy. I like to let them rest for 5 minutes on the rack so the sauce sets a bit, but don’t wait too long.
- Presentation: Pile the wings high on a large wooden board or platter. Garnish with fresh parsley, sesame seeds, and a few lime wedges. It looks gorgeous and the lime adds a bright pop of acidity that cuts through the richness.
- Complementary Dishes: These wings are the star of the show, but they pair beautifully with classic game day sides. I love serving them with celery and carrot sticks, a side of blue cheese or ranch dressing, and some crispy fries. For a lighter option, try them with a simple coleslaw. If you’re looking for another great snack, these would be fantastic alongside these easy spooky mummy hot dogs for a fun party platter.
- Storage: Leftover wings can be stored in an airtight container in the refrigerator for up to 3 days. The sauce will soften the skin, so they won’t be as crispy, but the flavor will still be amazing.
- Reheating: The best way to reheat them is in the oven or air fryer. Preheat your oven to 375°F (190°C) and bake the wings on a wire rack for 10-12 minutes, or until heated through and the skin crisps up again. The microwave will make them soggy, so avoid it if you can.
- Flavor Development: Interestingly, the flavors of the sauce deepen overnight. The garlic and soy sauce meld together beautifully. Cold leftovers are actually delicious straight from the fridge—I won’t judge you.
Nutritional Information & Benefits
While these wings are an indulgence, they’re a healthier alternative to deep-fried versions. Here’s a rough estimate per serving (about 4-5 wings):
| Nutrient | Amount |
|---|---|
| Calories | 385 |
| Protein | 28g |
| Fat | 22g |
| Saturated Fat | 7g |
| Carbohydrates | 18g |
| Sugar | 15g |
| Sodium | 780mg |
- High-Quality Protein: Chicken wings are a great source of lean protein, which is essential for muscle repair and keeping you full.
- Garlic Benefits: Garlic is known for its immune-boosting properties and anti-inflammatory effects.
- Honey: While it is a sugar, raw honey contains antioxidants and can soothe a sore throat.
- Dietary Considerations: This recipe can be made gluten-free (with tamari) and dairy-free (with plant-based butter). It is naturally nut-free.
- Potential Allergens: Contains soy (if using soy sauce) and dairy (if using butter).
I’m not a nutritionist, but I believe in balance. These wings are a treat, and they’re made with real, recognizable ingredients. That’s a win in my book.
Conclusion
These easy honey garlic baked chicken wings for game day are more than just a recipe—they’re a guarantee. A guarantee that you’ll have an empty platter, a bunch of happy friends, and maybe a few text messages asking for the recipe before the fourth quarter is over. They’re sticky, sweet, savory, and perfectly crispy, all without the hassle of deep-frying.
I love this recipe because it’s foolproof. It’s the one I turn to when I want to impress without stress. It’s the one that makes me look like I spent hours in the kitchen when, really, the oven did all the work. I encourage you to make it your own—add more spice, swap the herbs, or double the sauce. Just make sure you make plenty, because they will disappear.
Have you tried these wings? I’d love to hear how they turned out! Drop a comment below and let me know your favorite game day snack. And if you’re looking for another easy, crowd-pleasing appetizer, you have to try these easy frozen yogurt-dipped strawberry bites for a sweet finish. Happy cooking, and enjoy the game!
Frequently Asked Questions
Can I use frozen chicken wings for this recipe?
Yes, you can! Just make sure to thaw them completely in the refrigerator overnight. The most important step is drying them very well, so pat them dry with paper towels before seasoning. Frozen wings release a lot of water as they thaw, so don’t skip this step.
Why do I need baking powder for the wings?
Baking powder is the secret to crispy baked wings. It raises the pH of the skin, which helps it break down and become more porous. This allows the fat to render out and the skin to bubble up and crisp, just like it does when you fry them. Don’t confuse it with baking soda, though—that will leave a metallic taste.
Can I make the sauce ahead of time?
Absolutely! You can make the honey garlic sauce up to 3 days in advance. Store it in an airtight container in the refrigerator. When you’re ready to use it, gently warm it in the microwave or on the stovetop just to loosen it up. You can even toss the wings in the sauce and let them marinate for an hour before the second bake for an even deeper flavor.
How do I keep the wings warm for a party?
If you’re serving these for a game day party, you can keep them warm in a low oven. After the second bake, turn your oven down to 200°F (95°C) and place the wings on the wire rack inside. They can stay warm for up to 30 minutes without drying out. Just make sure they’re not covered, or the steam will soften the crispy skin.
What if my sauce is too thin?
If your sauce is too thin after tossing, don’t worry. The second bake in the oven will help it reduce and caramelize. If you want a thicker sauce from the start, you can simmer it on the stovetop with the cornstarch slurry as mentioned in the recipe. Another trick is to let the sauced wings sit on the wire rack for 5 minutes before the second bake—this allows some of the excess liquid to drip off.
Pin This Recipe!
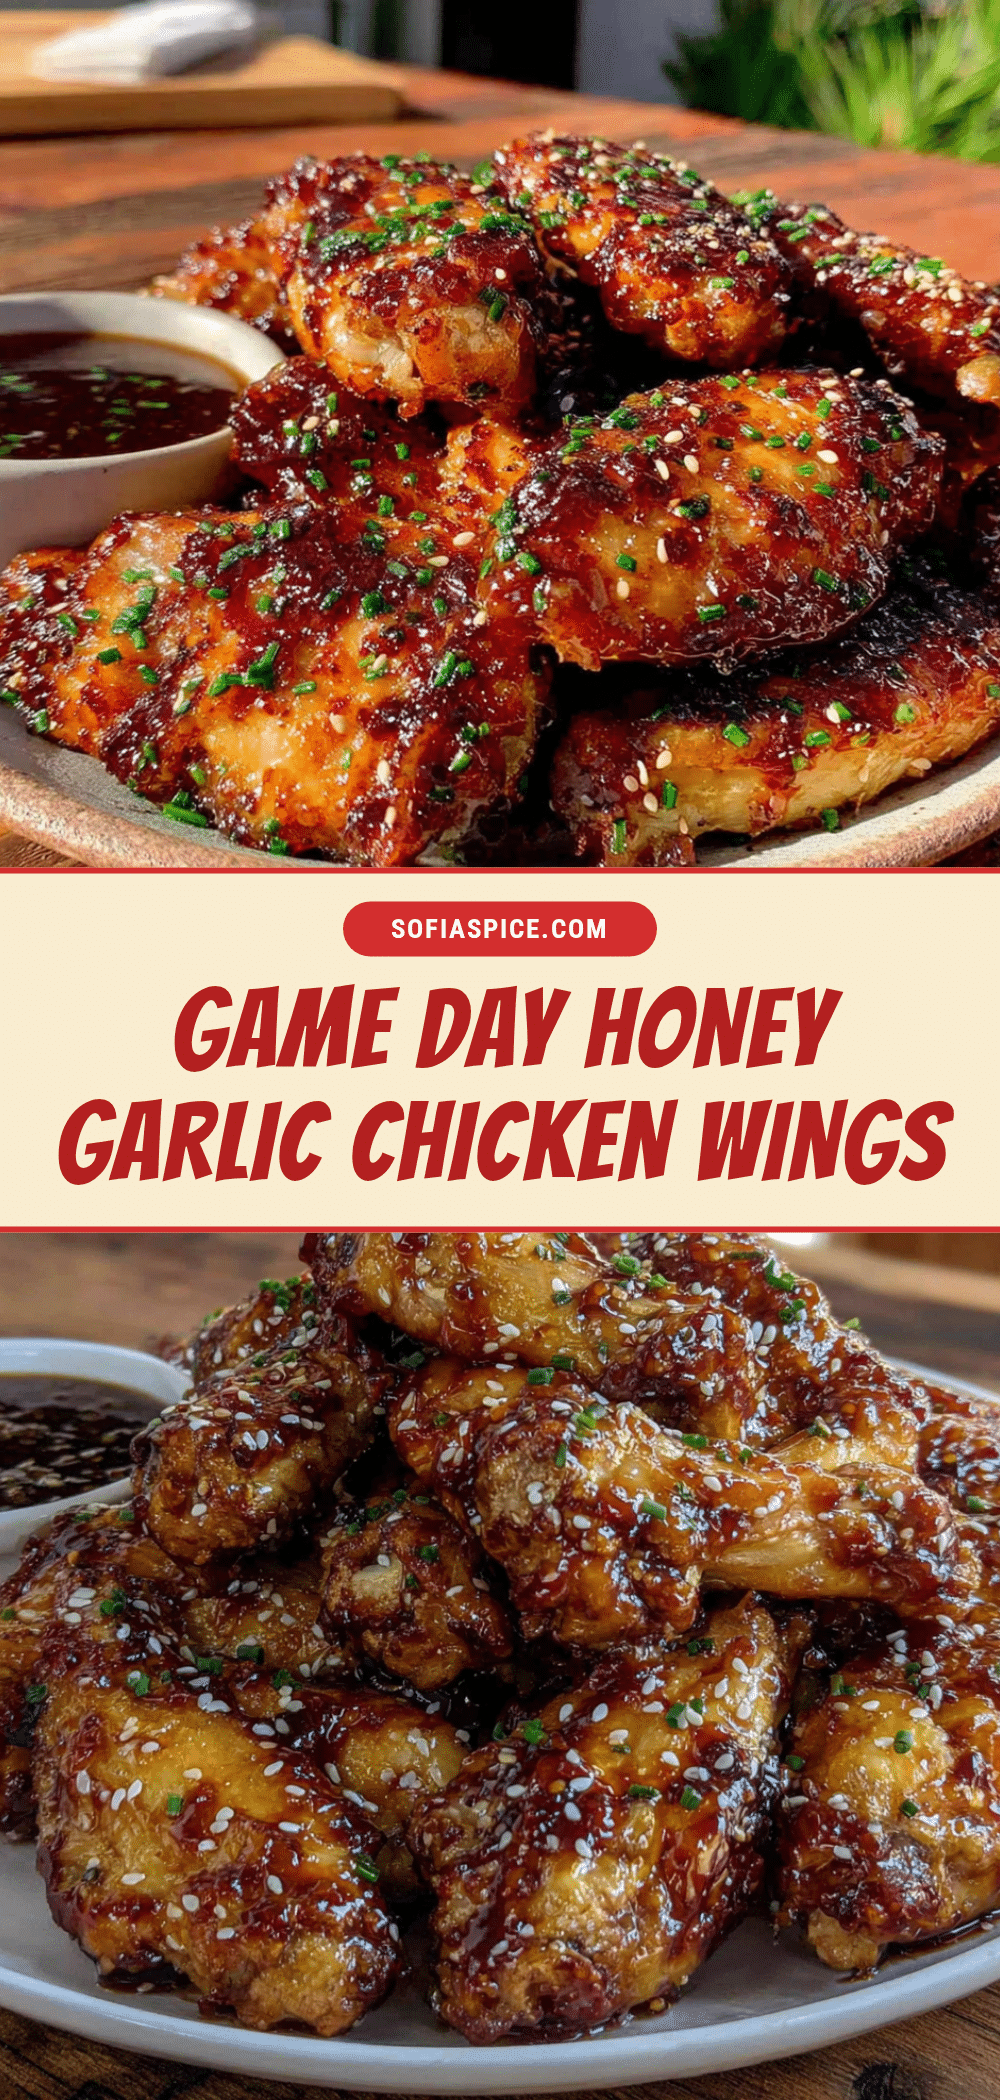
Best Easy Honey Garlic Baked Chicken Wings for Game Day

These sticky, sweet, and savory honey garlic baked chicken wings are perfectly crispy without deep-frying. Made with simple pantry ingredients and a double-bake method, they’re the ultimate crowd-pleasing game day snack.
- Prep Time: 10 minutes
- Cook Time: 55 minutes
- Total Time: 1 hour 5 minutes
- Yield: 4 servings 1x
- Category: Appetizer
- Cuisine: American
Ingredients
- 3 lbs (1.4 kg) chicken party wings (drumettes and flats), patted very dry with paper towels
- 1 tablespoon baking powder (NOT baking soda)
- 1 teaspoon salt
- 1/2 teaspoon black pepper
- 1 teaspoon garlic powder
- 1/2 teaspoon onion powder
- 1/2 cup (170g) honey
- 1/4 cup (60ml) low-sodium soy sauce (or tamari for gluten-free)
- 4 cloves garlic, finely minced
- 2 tablespoons unsalted butter, melted
- 1 tablespoon rice vinegar
- 1/2 teaspoon red pepper flakes (optional)
- 1 tablespoon cornstarch mixed with 2 tablespoons cold water (for thickening, if desired)
- 2 tablespoons fresh parsley, chopped
- 1 tablespoon sesame seeds (optional)
- Lime wedges, for serving
Instructions
- Preheat oven to 425°F (220°C). Line a large baking sheet with aluminum foil, place a wire rack on top. Pat chicken wings completely dry with paper towels.
- In a large bowl, whisk together baking powder, salt, pepper, garlic powder, and onion powder. Add dried wings and toss to coat evenly.
- Arrange wings in a single layer on the wire rack, not touching. Bake for 45 minutes, flipping halfway through, until skin is golden and crispy.
- During the last 5 minutes of baking, make the sauce: In a small bowl, whisk together honey, soy sauce, minced garlic, melted butter, rice vinegar, and red pepper flakes (if using). For a thicker sauce, combine cornstarch and water in a small saucepan, whisk in honey mixture, bring to a simmer over medium heat, stirring constantly until thickened (1-2 minutes). Remove from heat.
- Remove wings from oven. Using tongs, transfer hot wings to a large bowl. Pour sauce over wings and toss gently to coat evenly. Return sauced wings to wire rack in a single layer. Bake for another 10 minutes until sauce caramelizes.
- Optional: Switch oven to broil for the last 2-3 minutes for extra char, watching closely to prevent burning.
- Remove wings from oven and let rest on rack for 5 minutes. Transfer to a serving platter, sprinkle with fresh parsley and sesame seeds, and serve immediately with lime wedges.
Notes
Pat wings very dry for crispiest skin. Do not crowd the rack. For extra crispiness, let wings sit on a paper-towel-lined plate in the fridge for 15 minutes before seasoning. Watch the broiler closely to prevent burning. Leftovers can be stored in an airtight container in the refrigerator for up to 3 days; reheat in oven or air fryer at 375°F (190°C) for 10-12 minutes.
Nutrition
- Serving Size: 4-5 wings
- Calories: 385
- Sugar: 15
- Sodium: 780
- Fat: 22
- Saturated Fat: 7
- Carbohydrates: 18
- Protein: 28
Keywords: honey garlic chicken wings, baked chicken wings, game day wings, crispy baked wings, easy wing recipe


