I burnt the first batch of small-batch chocolate chip cookies so badly that the smoke alarm went off and my neighbor actually knocked on the door to check if everything was okay. That was three years ago, and I remember standing there in the kitchen, fanning the smoke with a dish towel, thinking—how do you mess up six cookies? That’s the thing about small batches, though. They force you to pay attention. You can’t just throw everything in a stand mixer and walk away. You have to feel the dough, watch the butter, and actually learn what “golden brown” looks like.
Honestly, I didn’t even want to make chocolate chip cookies that day. I wanted something bigger, something more impressive. But I was out of energy and my stand mixer was buried under a pile of mail (don’t ask). So I grabbed a bowl, a whisk, and whatever butter I had left. That first burnt batch taught me something important: small batches aren’t just smaller versions of big recipes. They behave differently. The butter-to-flour ratio matters more. The chill time is non-negotiable. And you absolutely cannot walk away from the oven, even for a minute.
These cookies ended up being the ones I make most often now. Not the fancy ones with browned butter or sea salt flakes (though those are great too). Just a simple, reliable, one-bowl cookie that tastes like the ones you remember from childhood—crispy edges, soft centers, and just enough chocolate in every bite. No mixer. No complicated steps. Just a bowl and a spoon and a little patience.
Why You’ll Love This Recipe
Let me tell you why this recipe has earned a permanent spot in my kitchen (and probably will in yours too).
- No mixer required. You don’t need a stand mixer, a hand mixer, or any fancy gadget. Just a bowl, a whisk, and a spatula. That’s it.
- Perfect for small households. This recipe makes exactly 6 to 8 cookies. No more fighting over stale cookies a week later, no more guilt over eating an entire batch by yourself (though I won’t judge).
- Simple ingredients. Butter, sugar, egg yolk, flour, chocolate chips. You probably have everything already. No weird specialty flours or obscure extracts.
- Ready in under 30 minutes. From start to finish, including the chill time, you’re looking at about 25 minutes. That’s faster than driving to the store for a pack of cookies.
- That perfect texture. Crispy on the edges, soft and chewy in the middle. The kind of cookie that makes you close your eyes after the first bite.
I’ve tested this recipe about a dozen times to get it right. The first version was too flat. The second was too cakey. The third was perfect—and I’ve been making it ever since. This is the recipe I turn to when I need a quick dessert for unexpected guests, when I want to bake with my kids without the mess of a full batch, or when I just need one perfect cookie at the end of a long day. It’s also the recipe I recommend to friends who say they can’t bake. If you can stir, you can make these cookies.
What Ingredients You Will Need
This recipe uses simple, everyday ingredients to create something genuinely special. Here’s what you’ll need and why each one matters.
- Unsalted butter, melted (4 tablespoons / 57g) — Melted butter gives these cookies a chewier texture and deeper flavor than creamed butter. I use unsalted so I can control the salt level. If you only have salted butter, just skip the added salt in the recipe.
- Granulated sugar (3 tablespoons / 38g) — White sugar helps create those crispy edges and gives the cookies a nice spread. It also adds a clean sweetness that lets the chocolate shine.
- Light brown sugar, packed (3 tablespoons / 43g) — Brown sugar brings moisture, chewiness, and that subtle molasses flavor that makes chocolate chip cookies taste so cozy. I prefer light brown sugar here—dark brown can overpower the delicate balance of a small batch.
- One large egg yolk — Just the yolk. Using only the yolk gives you all the richness and tenderness without the extra moisture that would make the cookies spread too thin. Save the egg white for breakfast or add it to a scramble.
- Vanilla extract (½ teaspoon) — Pure vanilla extract makes a noticeable difference in a small batch. Imitation vanilla works in a pinch, but the real stuff really brightens the flavor.
- All-purpose flour (½ cup + 2 tablespoons / 83g) — Standard all-purpose flour gives these cookies the perfect structure. Spoon and level your flour—don’t scoop directly from the bag or you’ll end up with dry, dense cookies.
- Baking soda (¼ teaspoon) — This helps the cookies spread just the right amount and gives them a slightly chewy texture. Make sure your baking soda is fresh (test it by dropping a bit into vinegar—it should fizz).
- Salt (¼ teaspoon) — Salt isn’t just for flavor—it balances the sweetness and enhances the chocolate. I use fine sea salt for baking. If you use kosher salt, increase to ½ teaspoon.
- Semi-sweet chocolate chips (⅓ cup / 60g) — Semi-sweet is my go-to for these cookies because it’s not too sweet and not too bitter. You can use dark chocolate, milk chocolate, or even chopped chocolate bars. I’ve used Ghirardelli and Nestlé—both work great, but I personally prefer Ghirardelli for its deeper flavor.
That’s it. Seven ingredients (plus the egg yolk) and you’re ready to bake. No cream of tartar, no cornstarch, no weird additions. Just honest, simple cookie ingredients that come together beautifully.
Equipment Needed
One of the best things about this recipe is how little equipment you need. Here’s what I use every time:
- Mixing bowl — Any medium-sized bowl works. I use a glass or ceramic bowl because they don’t retain heat, but metal is fine too.
- Whisk — For mixing the wet ingredients and breaking up any sugar clumps. A fork works in a pinch, but a whisk makes it easier.
- Rubber spatula — For folding in the flour and chocolate chips. A wooden spoon also works, but a spatula helps you scrape the bowl clean.
- Baking sheet — A standard half-sheet pan is perfect. I like the ones with a light finish because they brown cookies more evenly than dark pans.
- Parchment paper or silicone baking mat — Parchment paper is my preference because it’s disposable and gives the cookies a perfectly flat bottom. Silicone mats work too, but cookies can spread a tiny bit more on them.
- Cookie scoop or tablespoon — A 1.5-tablespoon cookie scoop makes perfectly uniform cookies. If you don’t have one, just use a regular tablespoon and shape the dough into balls with your hands.
- Cooling rack — Not strictly necessary, but it helps the cookies cool evenly without soggy bottoms. A plate works if that’s all you have.
If you’re new to baking, don’t overthink the equipment. I’ve made these cookies in a tiny apartment kitchen with a fork, a cereal bowl, and a baking sheet that was older than me. They still turned out great.
Preparation Method
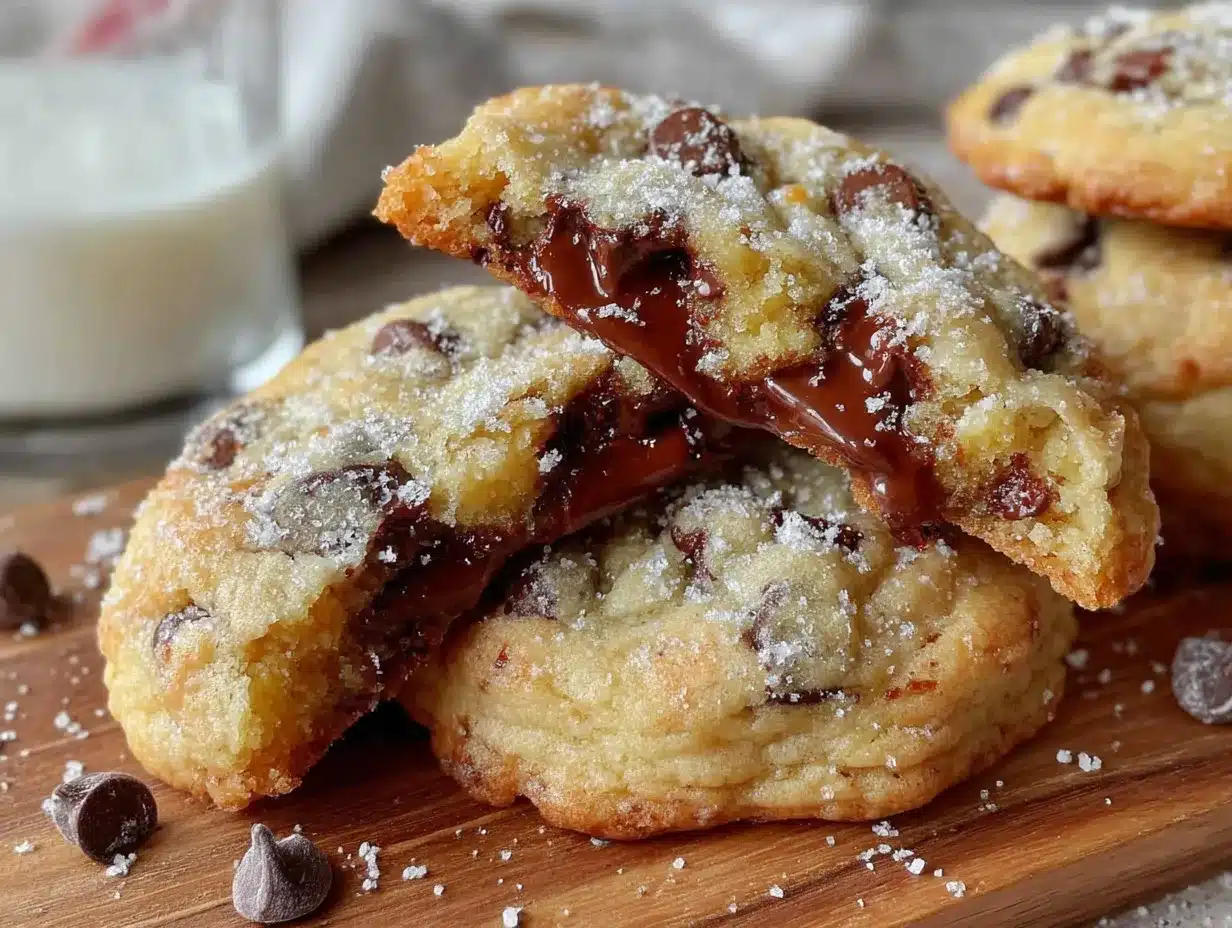
Let me walk you through this step by step. I promise it’s easier than it looks.
- Preheat your oven to 350°F (175°C). Line a baking sheet with parchment paper. Do this first so the oven is ready when you are.
- Melt the butter. Place 4 tablespoons of unsalted butter in a microwave-safe bowl and heat in 15-second bursts until just melted. You want it melted but not hot—if it’s too hot, it will cook the egg yolk. Let it cool for a minute or two if needed.
- Combine the sugars and butter. In your mixing bowl, whisk together the melted butter, 3 tablespoons granulated sugar, and 3 tablespoons packed light brown sugar. Whisk until the mixture looks smooth and slightly thickened, about 30 seconds. It should smell amazing already.
- Add the egg yolk and vanilla. Drop in the egg yolk and ½ teaspoon vanilla extract. Whisk vigorously until the mixture is pale, smooth, and slightly lighter in color—about 45 seconds to 1 minute. This step is important because it helps create that shiny, crackly top on the cookies.
- Mix the dry ingredients separately. In a small bowl, whisk together ½ cup plus 2 tablespoons all-purpose flour, ¼ teaspoon baking soda, and ¼ teaspoon salt. This ensures the baking soda and salt are evenly distributed. If you’re feeling lazy, you can sift them directly into the wet ingredients, but I find whisking separately is more reliable.
- Fold in the dry ingredients. Add the flour mixture to the wet ingredients. Use your rubber spatula to fold gently, just until no streaks of flour remain. Do not overmix—overmixing develops gluten and makes cookies tough. A few streaks are fine; they’ll disappear when you add the chocolate.
- Add the chocolate chips. Fold in ⅓ cup semi-sweet chocolate chips. Save a few chips to press into the tops of the dough balls later—it makes the cookies look bakery-style. The dough will be thick and slightly sticky. That’s perfect.
- Chill the dough (this is crucial). Cover the bowl with plastic wrap or a plate and refrigerate for at least 15 minutes. I know you want to bake them right now, but trust me—chilling prevents the cookies from spreading into flat, greasy puddles. For best results, chill for 30 minutes. You can even chill overnight if you want to prep ahead.
- Portion the dough. Use a 1.5-tablespoon cookie scoop or a regular tablespoon to scoop 6 to 8 equal portions. Roll each portion into a smooth ball with your hands. Place them on the prepared baking sheet, spacing them about 2 inches apart. Press a few extra chocolate chips into the tops of each dough ball.
- Bake until golden. Bake for 9 to 11 minutes. At 9 minutes, the edges should be set and lightly golden, but the centers will still look soft and slightly underdone. That’s exactly what you want. The cookies will continue baking on the hot pan after you pull them out.
- Cool on the baking sheet. Let the cookies rest on the baking sheet for 5 minutes. This allows them to set properly without breaking apart. After 5 minutes, transfer them to a cooling rack (or a plate) to cool completely. If you can resist eating them warm, you’re stronger than me.
One thing I learned the hard way: if your cookies come out too flat, your butter was too warm or you didn’t chill the dough long enough. If they come out too thick and cakey, you added too much flour or overmixed the dough. Small adjustments make a big difference with a small batch like this.
Cooking Tips & Techniques
After making these cookies more times than I can count, here are the things I wish someone had told me from the start.
Use a kitchen scale if you have one. I know it sounds fussy, but measuring flour by weight is the single biggest improvement you can make to your baking. A cup of flour can weigh anywhere from 120g to 150g depending on how you scoop it. That difference can turn a perfect cookie into a dry, crumbly mess. If you don’t have a scale, spoon the flour into your measuring cup and level it off with a knife.
Don’t skip the chill time. I’ve made these cookies without chilling, and they spread into thin, greasy discs. The chill time solidifies the butter, which means the cookies spread slower and end up thicker and chewier. Fifteen minutes is the minimum—thirty is better. If you’re in a rush, pop the dough in the freezer for 5 to 7 minutes instead.
Watch your oven temperature. Ovens run hot or cold more often than you’d think. I burned my first batch because my oven runs 25 degrees hotter than the dial says. An inexpensive oven thermometer fixed that problem. If your cookies are browning too fast on the bottom, your oven is too hot. If they’re pale after 12 minutes, it’s too cool.
Rotate the baking sheet halfway through. About 5 minutes in, give the pan a quick turn. Ovens have hot spots, and rotating ensures even browning. This is especially important for small batches because you only have a few cookies—you want each one to be perfect.
Let them cool on the pan. I know it’s tempting to move them to a rack immediately, but those 5 minutes on the hot pan are what set the centers. If you move them too soon, the cookies will fall apart or end up with raw, gooey centers (which isn’t always a bad thing, but let’s aim for intentional gooeyness).
Variations & Adaptations
This recipe is wonderfully flexible. Here are some of my favorite variations:
Double chocolate chip cookies. Replace 1 tablespoon of the flour with 1 tablespoon of unsweetened cocoa powder. Use dark chocolate chips instead of semi-sweet. The result is a rich, fudgy cookie that tastes like a brownie in cookie form. I made these for a friend who claimed she didn’t like chocolate chip cookies—she ate four.
Gluten-free version. Swap the all-purpose flour with a 1:1 gluten-free baking flour blend (I like King Arthur or Bob’s Red Mill). Add an extra tablespoon of flour because gluten-free batters tend to be looser. The texture will be slightly more delicate, but they’re still delicious. I’ve tested this with my gluten-sensitive sister, and she couldn’t tell the difference.
Add mix-ins. Replace half the chocolate chips with chopped walnuts, pecans, or white chocolate chips. You can also add ¼ cup of shredded coconut or a handful of dried cherries. My personal favorite is replacing half the chips with chopped toasted pecans—the nuttiness pairs beautifully with the brown sugar.
Vegan adaptation. Use melted coconut oil or vegan butter instead of dairy butter. Replace the egg yolk with 1 tablespoon of aquafaba (the liquid from a can of chickpeas) or a flax egg (1 tablespoon ground flaxseed mixed with 2.5 tablespoons water, let sit for 5 minutes). The texture will be slightly different—more cakey than chewy—but still very tasty.
Brown butter version. Brown the 4 tablespoons of butter in a small saucepan over medium heat until it turns golden and smells nutty, about 3 to 4 minutes. Let it cool completely before using. Brown butter adds a deep, caramel-like flavor that takes these cookies to another level. I made this version for a holiday party and people asked for the recipe before they finished their first cookie.
If you enjoyed experimenting with these variations, you might also love my cozy chocolate chip zucchini muffins with brown sugar crumble for another twist on a classic chocolate chip treat.
Serving & Storage Suggestions
These cookies are best served warm, straight from the oven, with a cold glass of milk. But let’s be real—they’re also pretty great at room temperature, crumbled over ice cream, or sneaked from the cookie jar at midnight.
At room temperature. Store cooled cookies in an airtight container at room temperature for up to 5 days. Place a slice of bread in the container to keep them soft—the cookies will absorb the moisture from the bread. Replace the bread slice every other day if needed.
In the freezer. These cookies freeze beautifully. You can freeze the baked cookies for up to 3 months in a freezer-safe bag or container. To thaw, leave them at room temperature for about 15 minutes, or pop them in a 300°F oven for 5 minutes to re-crisp the edges.
Freeze the dough instead. This is my favorite trick. Scoop the dough into balls, place them on a baking sheet, and freeze until solid (about 1 hour). Transfer the frozen dough balls to a freezer bag. When you want fresh cookies, bake them straight from frozen—just add 2 to 3 minutes to the baking time. This way, you can have one perfect cookie whenever the craving hits.
Reheating tips. For that just-baked texture, microwave a cookie for 10 to 12 seconds. For crispy edges and a soft center, reheat in a 350°F oven for 3 to 4 minutes. Avoid the microwave if you want the edges to stay crispy—it softens them.
How flavors develop. Honestly, these cookies taste even better the next day. The flavors meld together, the brown sugar deepens, and the texture becomes perfectly balanced. If you can wait 24 hours, you’ll be rewarded with an even better cookie. I know, I know—waiting is hard. But it’s worth it.
Nutritional Information & Benefits
Let’s be honest: these are cookies, not health food. But knowing what’s in them helps you enjoy them mindfully. Here’s the estimated nutrition for one cookie (based on 8 cookies per batch):
| Nutrient | Amount per Cookie |
|---|---|
| Calories | 195 |
| Total Fat | 11g |
| Saturated Fat | 7g |
| Carbohydrates | 24g |
| Sugar | 16g |
| Protein | 3g |
| Sodium | 115mg |
Dark chocolate (if you use semi-sweet or dark chips) contains antioxidants called flavonoids, which can support heart health. The butter provides vitamin A and healthy fats, while the egg yolk offers protein and choline, which is important for brain health. The brown sugar and white sugar are, well, sugar—but a small batch means you’re only having 2 to 3 cookies at most, right? (Right?)
These cookies are vegetarian and can be made gluten-free or vegan with the substitutions mentioned earlier. They contain dairy, eggs, and gluten in their standard form, so keep that in mind for allergies.
Conclusion
These small-batch chocolate chip cookies have become my go-to for a reason. They’re simple, reliable, and genuinely delicious. No mixer, no fuss, no complicated techniques—just a bowl, a spoon, and a little patience. Whether you’re baking for yourself, surprising someone special, or just craving that perfect combination of crispy edges and soft centers, this recipe delivers every time.
I love that this recipe doesn’t pretend to be something it’s not. It’s not a gourmet bakery cookie. It’s not a healthy alternative. It’s just a really good, classic chocolate chip cookie that tastes like the ones you remember from childhood—but made in your own kitchen, with your own hands, in under 30 minutes.
If you’re in the mood for more cozy baking, try my cozy pumpkin cream cheese swirl muffins with cinnamon crumble for another small-batch favorite. And if you’re looking for a savory option to balance out all this sweetness, these quick savory ground beef fried rice with sesame ginger sauce are perfect for a quick dinner.
I’d love to hear how these cookies turn out for you. Did you add any mix-ins? Did you brown the butter? Did you manage to save any for the next day? Drop a comment below and let me know—I read every single one. And if you share a photo on Pinterest or Instagram, tag me so I can see your beautiful cookies. Happy baking!
Frequently Asked Questions
Can I use a hand mixer instead of whisking by hand?
You can, but you don’t need to. The whole point of this recipe is that it works without any electric mixer. Whisking by hand takes about 2 minutes total and gives you more control over the texture. Plus, less cleanup.
Why did my cookies turn out flat?
Flat cookies usually mean the butter was too warm, the dough wasn’t chilled long enough, or you used too much sugar. Make sure your melted butter has cooled slightly before mixing, and don’t skip the chill time. If you’re using a dark baking sheet, that can also cause extra spreading.
Can I double this recipe?
Absolutely. Just double all the ingredients. The baking time stays the same, but you might need to bake in batches if your oven can’t fit two sheets at once. The dough also keeps well in the fridge for up to 3 days, so you can bake fresh cookies whenever you want.
Can I use margarine instead of butter?
I don’t recommend it. Margarine has a higher water content than butter, which affects the texture and spread of the cookies. If you need a dairy-free option, use a high-quality vegan butter stick (not the spreadable kind in a tub). Coconut oil also works but gives a slightly different texture.
How do I know when the cookies are done baking?
The edges should be set and lightly golden, but the centers will still look soft, puffy, and slightly underdone. That’s exactly what you want. The cookies will continue baking on the hot pan for another 5 minutes after you pull them out. If you wait until the centers look fully baked, they’ll be overdone and crunchy.
Pin This Recipe!
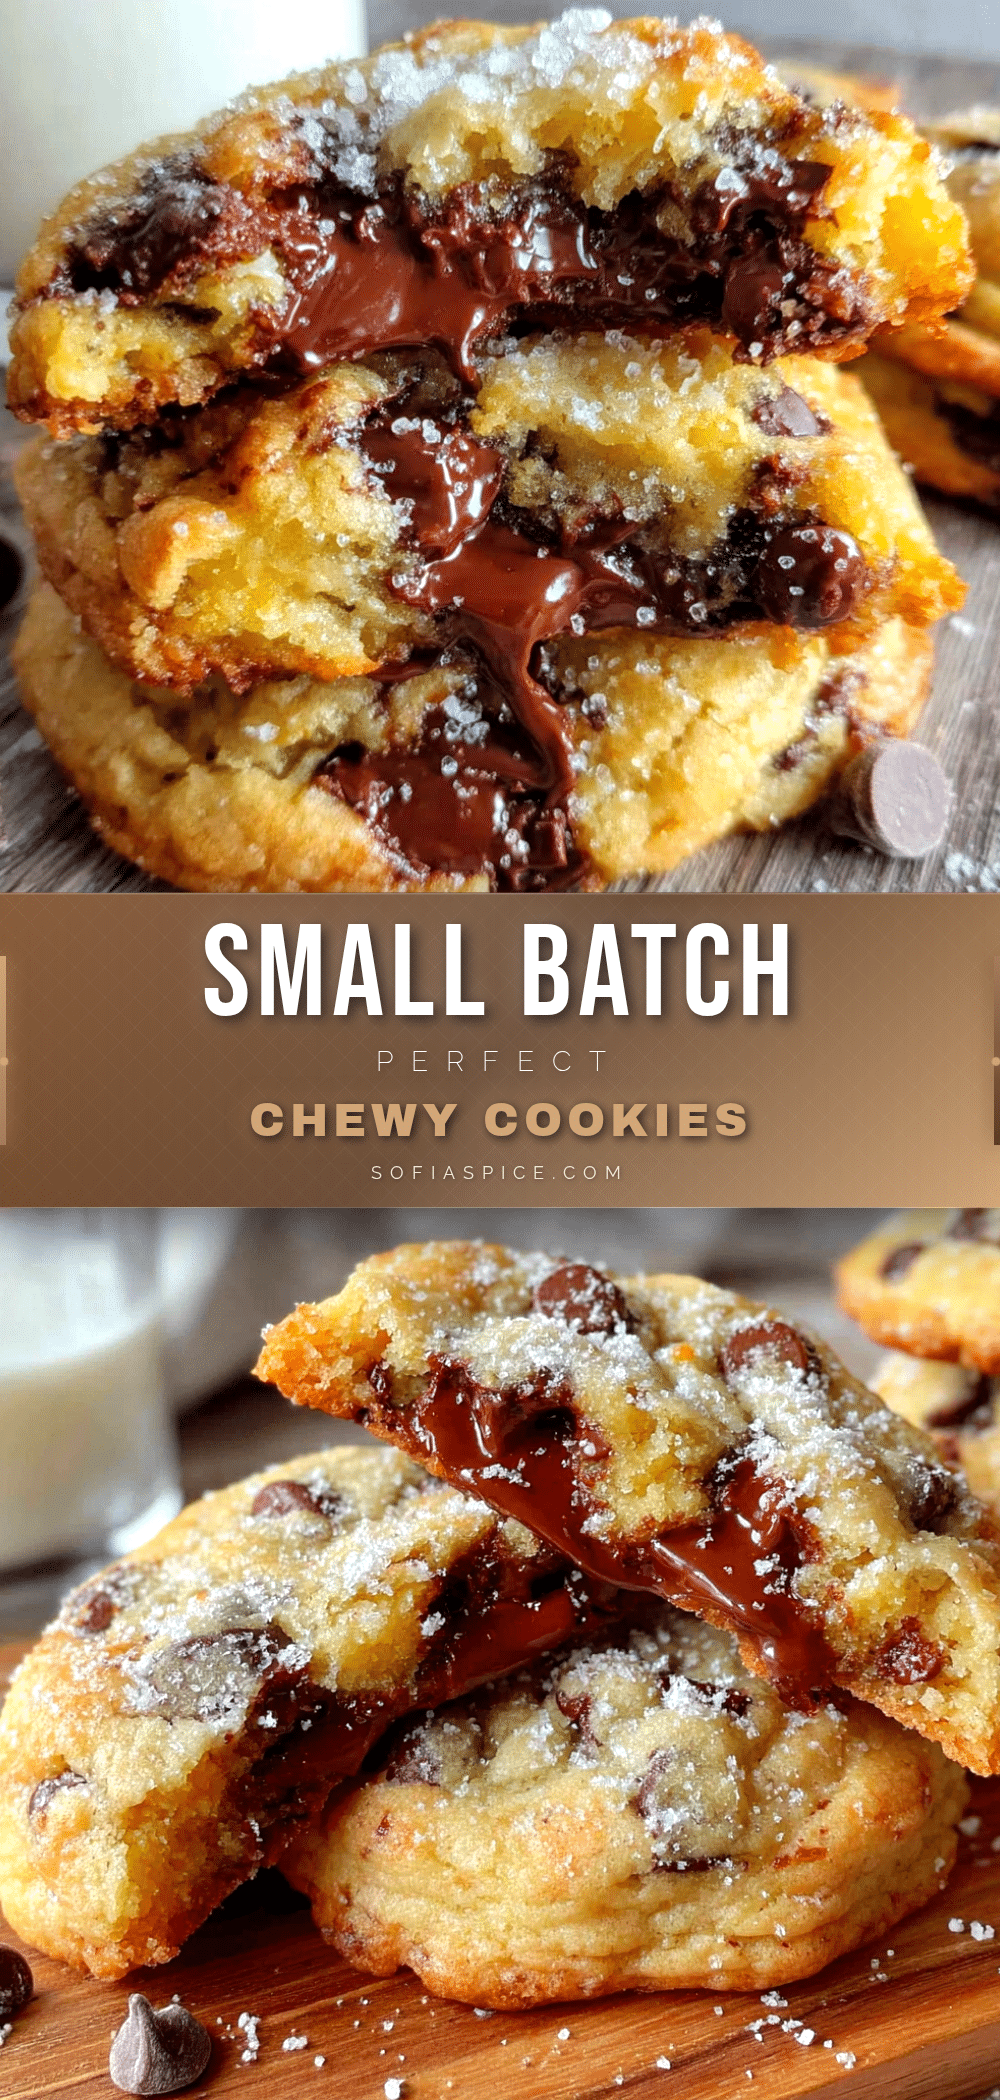
Perfect Small-Batch Chocolate Chip Cookies: Easy One-Bowl Recipe

These small-batch chocolate chip cookies are simple, reliable, and delicious—crispy edges, soft centers, and just enough chocolate in every bite. No mixer required, ready in under 30 minutes, and perfect for small households.
- Prep Time: 15 minutes
- Cook Time: 10 minutes
- Total Time: 25 minutes
- Yield: 6 to 8 cookies 1x
- Category: Dessert
- Cuisine: American
Ingredients
- 4 tablespoons (57g) unsalted butter, melted
- 3 tablespoons (38g) granulated sugar
- 3 tablespoons (43g) light brown sugar, packed
- 1 large egg yolk
- ½ teaspoon vanilla extract
- ½ cup + 2 tablespoons (83g) all-purpose flour
- ¼ teaspoon baking soda
- ¼ teaspoon salt
- ⅓ cup (60g) semi-sweet chocolate chips
Instructions
- Preheat your oven to 350°F (175°C). Line a baking sheet with parchment paper.
- Melt the butter in a microwave-safe bowl in 15-second bursts until just melted. Let cool for a minute if needed.
- In a mixing bowl, whisk together the melted butter, granulated sugar, and light brown sugar until smooth and slightly thickened, about 30 seconds.
- Add the egg yolk and vanilla extract. Whisk vigorously until pale, smooth, and slightly lighter in color, about 45 seconds to 1 minute.
- In a small bowl, whisk together the flour, baking soda, and salt.
- Add the flour mixture to the wet ingredients. Fold gently with a rubber spatula until just combined—do not overmix.
- Fold in the chocolate chips. Reserve a few chips to press into the tops of the dough balls later.
- Cover the bowl and refrigerate the dough for at least 15 minutes (30 minutes is better).
- Scoop the dough into 6 to 8 equal portions (about 1.5 tablespoons each). Roll into smooth balls and place on the prepared baking sheet, spacing 2 inches apart. Press extra chocolate chips into the tops.
- Bake for 9 to 11 minutes, until edges are set and lightly golden but centers still look soft. Rotate the baking sheet halfway through.
- Let cookies cool on the baking sheet for 5 minutes, then transfer to a cooling rack to cool completely.
Notes
Chilling the dough is crucial to prevent flat cookies. Use a kitchen scale for best results. For bakery-style cookies, press extra chocolate chips into the tops of the dough balls before baking. Cookies can be frozen baked or as dough balls.
Nutrition
- Serving Size: 1 cookie
- Calories: 195
- Sugar: 16
- Sodium: 115
- Fat: 11
- Saturated Fat: 7
- Carbohydrates: 24
- Fiber: 1
- Protein: 3
Keywords: small-batch chocolate chip cookies, one-bowl cookies, easy cookie recipe, no mixer cookies, classic chocolate chip cookies


