Late October, around four in the afternoon, when the light gets that soft, golden quality that makes everything feel a little slower. The kitchen smells like a spice shop exploded in the best way—cinnamon, star anise, a whisper of clove. And there I am, standing over a pot of simmering pears, watching them turn translucent and tender in a bath of vanilla-speckled syrup. This is my quiet rebellion against the season’s chaos. Not a fancy dessert for a dinner party, not a complicated project. Just pears, being transformed into something softly magnificent.
I didn’t grow up eating spiced pears. They weren’t a grandmother’s recipe or a holiday tradition. I stumbled into them on a random Tuesday, with a bag of Bosc pears that were *this close* to going soft and a pantry full of spices I’d bought for a different recipe entirely. I figured I’d just poach them and see what happened. What happened was a jar of pure, cozy gold. I’ve been making them ever since, tweaking the vanilla bean ratio, testing different spice blends, learning exactly when to pull them off the heat. These easy spiced vanilla bean pears are that journey, distilled into one simple, forgiving recipe.
Honestly? They’re not trying to be impressive. They’re trying to be good. And that’s exactly what they are.
Why You’ll Love This Recipe
I’ve tested this recipe more times than I can count, and I keep coming back to it because it just *works*. It’s one of those rare dishes that feels both rustic and elegant, simple and special. Here’s why I think you’ll fall for it too:
- Surprisingly Simple: You don’t need any fancy pastry skills or a candy thermometer. If you can simmer water, you can make these pears. The active hands-on time is maybe 15 minutes.
- Pantry-Friendly: Aside from the vanilla bean (which I’ll tell you where to find and how to store), you probably have everything else—sugar, citrus, cinnamon sticks, star anise. No special grocery trips required.
- Incredibly Versatile: These pears work for breakfast (over yogurt or oatmeal), dessert (with ice cream or pound cake), or even a cheese board (they’re amazing with a sharp blue cheese). I’ve also used them in a fig and prosciutto flatbread situation—just swapped the figs for sliced pears. Perfection.
- Make-Ahead Magic: They actually get better after a day or two in the fridge. The flavors meld and deepen. So you can make them on a Sunday and have a fancy-looking dessert ready all week.
- That First Bite: Look, I’m not going to oversell it. But when you cut into a perfectly poached pear, still warm, the syrup clinging to the spoon? It’s the kind of quiet pleasure that makes you forget about everything else for a minute.
This isn’t just another poached fruit recipe. The trick here is the vanilla bean—not extract, not paste, but the real pod, scraped and simmered until the whole house smells like a bakery. Combined with the warm spices, it creates a flavor profile that’s complex without being overwhelming. It’s comfort, bottled.
What Ingredients You Will Need
This recipe relies on a handful of quality ingredients doing their best work. Nothing fussy, but each one plays a part. Here’s what you’ll need and why it matters:
- Bosc or Anjou Pears: These are my go-to for poaching. They hold their shape beautifully without turning to mush. Look for pears that are ripe but still firm—give them a gentle squeeze near the stem. If they yield slightly, they’re perfect. Avoid overly soft or bruised fruit. You’ll need 4 medium pears. (Pro tip: if the pears are a little under-ripe, that’s actually fine—they’ll soften as they cook.)
- 1 vanilla bean: This is the star. I prefer Madagascar Bourbon vanilla beans for their rich, creamy flavor. Split the pod lengthwise with a sharp knife and scrape out the tiny black seeds. Don’t throw the pod away—you’ll simmer it in the syrup to extract every bit of flavor. If you’re in a pinch, you can use 2 teaspoons of good vanilla extract, but the visual of those little specks is part of the magic.
- 1 cup (200g) granulated sugar: Regular white sugar works best here. It dissolves cleanly and doesn’t compete with the vanilla and spices. You could use coconut sugar for a deeper flavor, but it will darken the syrup significantly.
- 4 cups (960ml) water: Just tap water is fine. No need for filtered or spring water—the flavor comes from everything else.
- 1 cinnamon stick: I use Ceylon cinnamon when I have it—it’s milder and more floral. But Cassia works perfectly too. Don’t use ground cinnamon; it will make the syrup cloudy and gritty.
- 2 star anise pods: These add that subtle licorice note that makes the pears taste so *grown-up*. A little goes a long way, so don’t be tempted to add more.
- 4 whole cloves: Just a hint of warmth. If you don’t have whole cloves, you can skip them, but don’t substitute ground cloves unless you want a murky syrup.
- 1 strip of lemon zest: Use a vegetable peeler to remove a wide strip of lemon peel (no white pith—it’s bitter). This adds brightness that balances the sweetness. Orange zest works beautifully too.
- 1 tablespoon (15ml) fresh lemon juice: This helps prevent the pears from browning and adds a touch of acidity to round out the flavors.
Ingredient Substitutions: If you don’t have star anise, you can use a pinch of fennel seeds or just skip it. No cinnamon stick? Use 1/2 teaspoon of ground cinnamon, but add it at the very end to avoid cloudiness. For a sugar-free version, you can use 1/2 cup of honey or maple syrup, but the flavor will be different—still delicious, just not the same clean sweetness.
Equipment Needed
You don’t need a lot of gear for this recipe, which is part of its charm. Here’s what you’ll need:
- A medium saucepan or Dutch oven: Big enough to hold the pears in a single layer without crowding. I use a 4-quart (4-liter) saucepan. A wide, shallow pan works better than a tall, narrow one because the pears need to be mostly submerged.
- A sharp paring knife: For peeling the pears and splitting the vanilla bean. A vegetable peeler works in a pinch, but a knife gives you more control around the stem.
- A small spoon or melon baller: For coring the pears from the bottom. A melon baller is ideal, but a small teaspoon works just fine.
- A slotted spoon or spider skimmer: For gently lowering and removing the pears from the hot syrup. A slotted spoon is easiest.
- A jar or container with a tight-fitting lid: For storing the pears and syrup. A 32-ounce (1-liter) mason jar works perfectly.
- Parchment paper or a cartouche: A round piece of parchment cut to fit inside your pot, placed directly on top of the pears. This keeps them submerged without needing extra liquid. (Optional but helpful.)
I’ve made these pears in a cheap stainless steel pot and a fancy Le Creuset—honestly, the results were the same. Don’t overthink the equipment. Use what you have.
Preparation Method
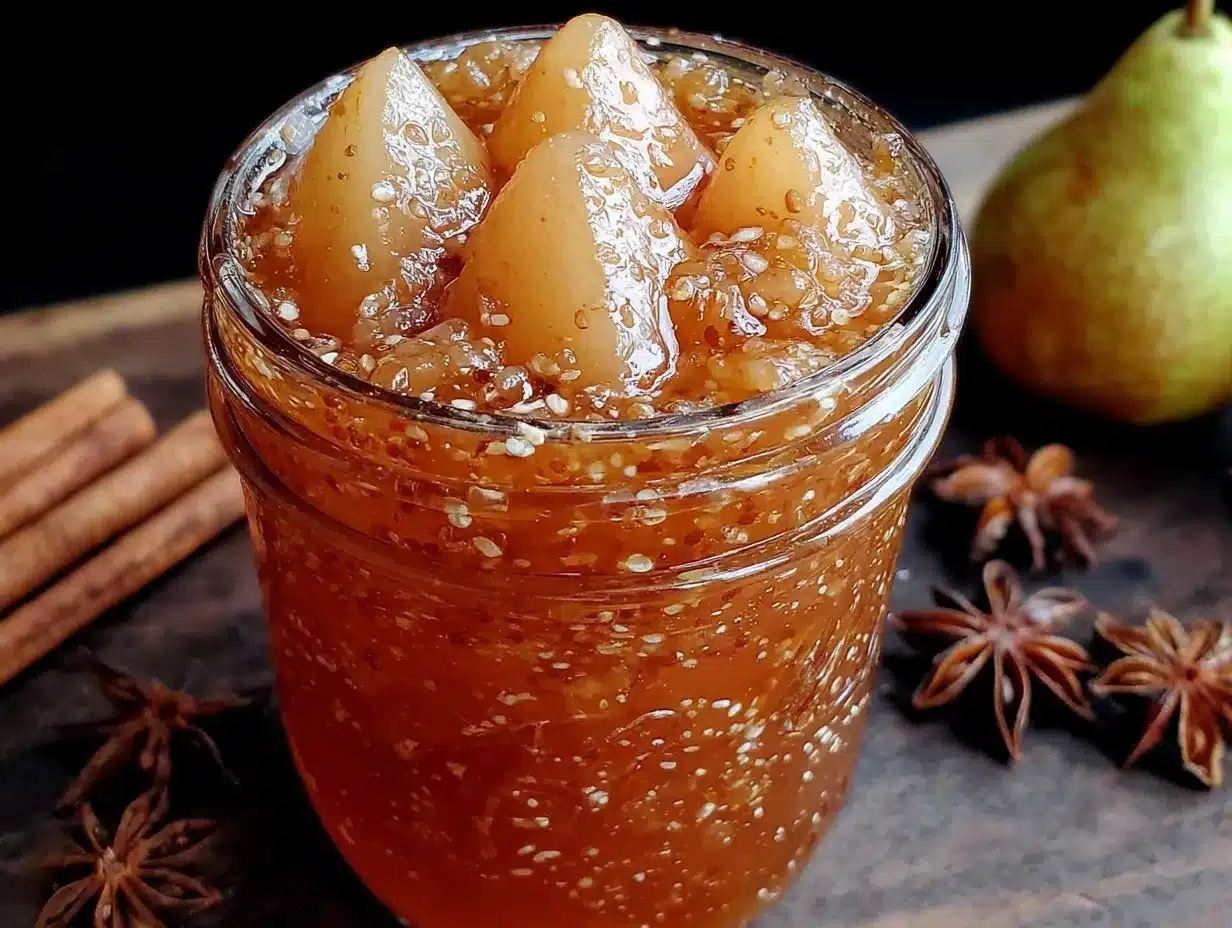
Let’s get to it. This is straightforward, but I’ll walk you through every step so you feel confident.
- Prep the pears: Peel the pears gently with a vegetable peeler or paring knife, leaving the stems intact—they look beautiful and give you something to hold onto. Using a small spoon or melon baller, scoop out the core from the bottom of each pear, working carefully to remove the seeds and fibrous center without breaking through the sides. (Don’t worry if you leave a little core—it’s fine.) Rub the peeled pears with a little lemon juice to prevent browning while you work.
- Make the poaching syrup: In your saucepan, combine the sugar, water, cinnamon stick, star anise, cloves, and lemon zest strip. Split the vanilla bean lengthwise and scrape the seeds into the pot, then drop the pod in too. Bring everything to a gentle boil over medium-high heat, stirring occasionally to dissolve the sugar. Let it boil for 2-3 minutes—you should smell the spices blooming.
- Lower the heat: Reduce the heat to a gentle simmer. You want small, lazy bubbles, not a rolling boil. Boiling can make the pears tough on the outside and unevenly cooked. Add the lemon juice.
- Add the pears: Carefully lower the pears into the simmering syrup using your slotted spoon. They should be mostly submerged—if they float a little, that’s okay. Place the parchment cartouche (or a small plate) directly on top of the pears to keep them submerged. Simmer gently for 20-30 minutes, depending on the ripeness of your pears.
- Check for doneness: After 20 minutes, test a pear by inserting a sharp knife into the thickest part. It should slide in with little resistance, but the pear should still hold its shape. If it’s still hard in the center, simmer for another 5-10 minutes. Don’t overcook—mushy pears are sad pears.
- Cool in the syrup: Turn off the heat and let the pears cool completely in the poaching liquid. This is crucial—they continue to absorb flavor as they cool. Don’t skip this step! It usually takes about 1-2 hours at room temperature.
- Store or serve: Once cool, transfer the pears and syrup to a clean jar or container. You can serve them warm, at room temperature, or chilled. The syrup will keep for weeks in the fridge and is amazing drizzled over pancakes, stirred into cocktails, or spooned over ice cream.
A note on timing: The first time I made these, I pulled them out of the syrup after 15 minutes because I was impatient. They were okay, but the flavor was shallow. Letting them cool in the liquid is where the magic happens. Trust the process.
Cooking Tips & Techniques
I’ve made this recipe maybe two dozen times, and I’ve learned a few things the hard way. Here are my best tips for perfect pears every time:
- Choose the right pear variety. Bosc and Anjou are my favorites for poaching. Bartletts get too soft too quickly, and Comice are best eaten fresh. If you only have Bartletts, reduce the cooking time by about 10 minutes and check them early.
- Don’t skip the lemon juice. It’s not just for flavor—the acid helps the pears hold their shape and keeps them from turning an unappealing brown. If you forget to add it to the syrup, you can squeeze a little over the pears before serving.
- Use a cartouche. That parchment round isn’t just fancy chef stuff—it really does keep the pears submerged and ensures even cooking. If you don’t have parchment, a small heatproof plate works too.
- Watch the heat. I once got distracted and let the syrup boil vigorously. The pears came out tough and uneven. Keep it at a gentle simmer—barely bubbling—for the best texture.
- Save the vanilla pod. After you’re done, rinse the spent vanilla pod, let it dry completely, and bury it in a jar of sugar. In a week, you’ll have vanilla sugar for your morning coffee or baking projects.
- Make extra syrup. I always double the poaching liquid even if I’m only making 4 pears. The leftover syrup is gold. Use it in cocktails, drizzle it over pumpkin cream cheese swirl muffins, or reduce it further to make a thick, pourable sauce.
My biggest failure: I once tried to rush the cooling process by putting the hot pears straight into the fridge. The syrup turned cloudy, and the pears developed a weird, rubbery texture. Patience, my friend. Let them cool on the counter.
Variations & Adaptations
This recipe is a fantastic base for experimentation. Here are some ways to make it your own:
- Spice it up: Add a slice of fresh ginger, a few cardamom pods (lightly crushed), or a strip of orange zest alongside the other spices. Each addition changes the personality of the pears. My personal favorite is a combination of star anise and a small piece of dried ginger—it’s subtly warming.
- Wine-poached pears: Replace half the water with a dry red wine (like Merlot or Cabernet Sauvignon) for a deeper color and richer flavor. Add an extra tablespoon of sugar to balance the tannins. These are stunning for a holiday dinner party.
- Spiced pear breakfast bowl: Chop a poached pear and fold it into warm oatmeal or Greek yogurt with a drizzle of the syrup. Top with toasted walnuts or pecans. It’s like dessert for breakfast, but you can call it healthy.
- Vegan and dairy-free: This recipe is already vegan! Serve the pears with coconut whipped cream or a scoop of dairy-free ice cream for a completely plant-based dessert.
- Low-sugar option: Reduce the sugar to 1/2 cup (100g) and add a pinch of salt to balance the sweetness. The pears will be less sweet, but the vanilla and spices will still shine. You can also use a sugar substitute like monk fruit sweetener, but test the ratio—some are sweeter than sugar.
- Quick version: If you’re short on time, slice the pears into quarters or eighths before poaching. They’ll cook in about 10 minutes and are perfect for spooning over ice cream or layering into a trifle.
I once made a batch with half the sugar and added a splash of bourbon at the end. It was dangerously good. Just sayin’.
Serving & Storage Suggestions
Serving: These pears are beautiful served warm or at room temperature. Place a whole pear on a plate, spoon some of the warm syrup over the top, and add a dollop of crème fraîche, whipped cream, or a scoop of vanilla ice cream. For a more elegant presentation, fan the pear slices out on the plate and drizzle with syrup. They’re also incredible alongside a slice of pound cake, a wedge of creamy cheese dip (trust me on this one—the sweet-savory contrast is amazing), or even a piece of sharp cheddar.
Storage: Store the pears in their syrup in an airtight container in the refrigerator for up to 2 weeks. The flavors actually improve after a day or two as the pears continue to absorb the spiced syrup. Make sure the pears are completely submerged—if they’re poking out, they’ll dry out and discolor.
Freezing: Yes, you can freeze them! Place the cooled pears and syrup in a freezer-safe container, leaving about an inch of headspace. They’ll keep for up to 3 months. Thaw overnight in the refrigerator before serving. The texture will be slightly softer, so they’re best used in recipes like compotes or purees after freezing.
Reheating: To serve warm, gently reheat the pears and syrup in a small saucepan over low heat. Don’t boil—just warm through. You can also microwave individual portions for 30-45 seconds.
Flavor development: Here’s something I love: the syrup gets more complex and aromatic over time. After a week in the fridge, the spices have fully infused, and the vanilla flavor is deeper. So if you can plan ahead, make these a few days before you need them.
Nutritional Information & Benefits
While these pears are a treat, they also offer some surprising nutritional perks. Here’s a rough estimate per serving (1 whole pear with about 2 tablespoons of syrup):
- Calories: ~180-220
- Carbohydrates: ~45-50g (mostly from natural fruit sugars and added sugar)
- Fiber: ~5-6g
- Vitamin C: ~10% of daily value
- Potassium: ~200mg
Health highlights: Pears are an excellent source of dietary fiber, which supports digestive health and helps you feel full. The vanilla bean contains small amounts of antioxidants, and the spices—cinnamon, star anise, cloves—are all known for their anti-inflammatory properties. Cinnamon in particular has been studied for its potential to help regulate blood sugar levels.
Dietary considerations: This recipe is naturally gluten-free, dairy-free, egg-free, and vegan. The main concern is the sugar content. If you’re watching your sugar intake, you can reduce the sugar by half or use a natural sweetener like honey or maple syrup (though the flavor will change).
Allergen note: Pears are not a common allergen, but they can cross-react with birch pollen allergies in some people (oral allergy syndrome). If you have a known sensitivity, cook the pears thoroughly—heat breaks down the proteins that cause the reaction.
Personally, I love that these pears feel indulgent but are made from whole, recognizable ingredients. It’s a dessert I can feel good about serving to my family.
Conclusion
These easy spiced vanilla bean pears are the kind of recipe that makes you look like a hero with almost no effort. They’re forgiving, adaptable, and deeply satisfying in a quiet, unassuming way. Whether you serve them for a holiday dinner, a weeknight dessert, or a fancy breakfast, they deliver every time.
I hope you make them your own—tweak the spices, try different pears, experiment with the syrup. That’s the beauty of a simple recipe. It’s a canvas, not a commandment. And honestly? The world could use a little more slow, intentional sweetness right now.
If you make these pears, I’d love to hear about it. Drop a comment below, tag me in your photos, or share your favorite variation. And if you’re looking for more cozy, simple recipes, check out my apple cider glazed sourdough cinnamon roll wreath or these brown butter pumpkin snickerdoodle cookies for more seasonal baking inspiration.
Happy cooking, friend. Go make something delicious.
Frequently Asked Questions
Can I use vanilla extract instead of a vanilla bean?
Absolutely. Use 2 teaspoons of good-quality vanilla extract. Add it after you’ve turned off the heat, so the alcohol doesn’t cook off. The pears won’t have those beautiful black specks, but the flavor will still be lovely.
How do I know when the pears are done?
The best test is a sharp knife inserted into the thickest part of the pear. It should slide in with little resistance, but the pear should still hold its shape. If the knife goes in like butter and the pear starts to collapse, you’ve gone too far. Start checking at 20 minutes.
Can I make these pears in a slow cooker or Instant Pot?
Yes! For a slow cooker, combine all ingredients and cook on low for 2-3 hours. For an Instant Pot, cook on high pressure for 5 minutes, then let the pressure release naturally for 10 minutes. Both methods work well, but the texture will be slightly softer than stovetop poaching.
What can I do with the leftover poaching syrup?
Oh, so many things! Use it in cocktails (it’s amazing in a bourbon sour), drizzle it over pancakes or waffles, stir it into yogurt or oatmeal, brush it over cake layers, or reduce it to a thick syrup for drizzling over ice cream. It keeps for weeks in the fridge.
My pears turned brown—what went wrong?
This usually happens if the pears weren’t fully submerged during cooking or cooling, or if you skipped the lemon juice. Next time, make sure the pears are completely covered by the syrup (use a cartouche if needed) and don’t skip the acid. If they’re already brown, don’t worry—they’re still safe to eat and taste fine. The color is just cosmetic.
Pin This Recipe!
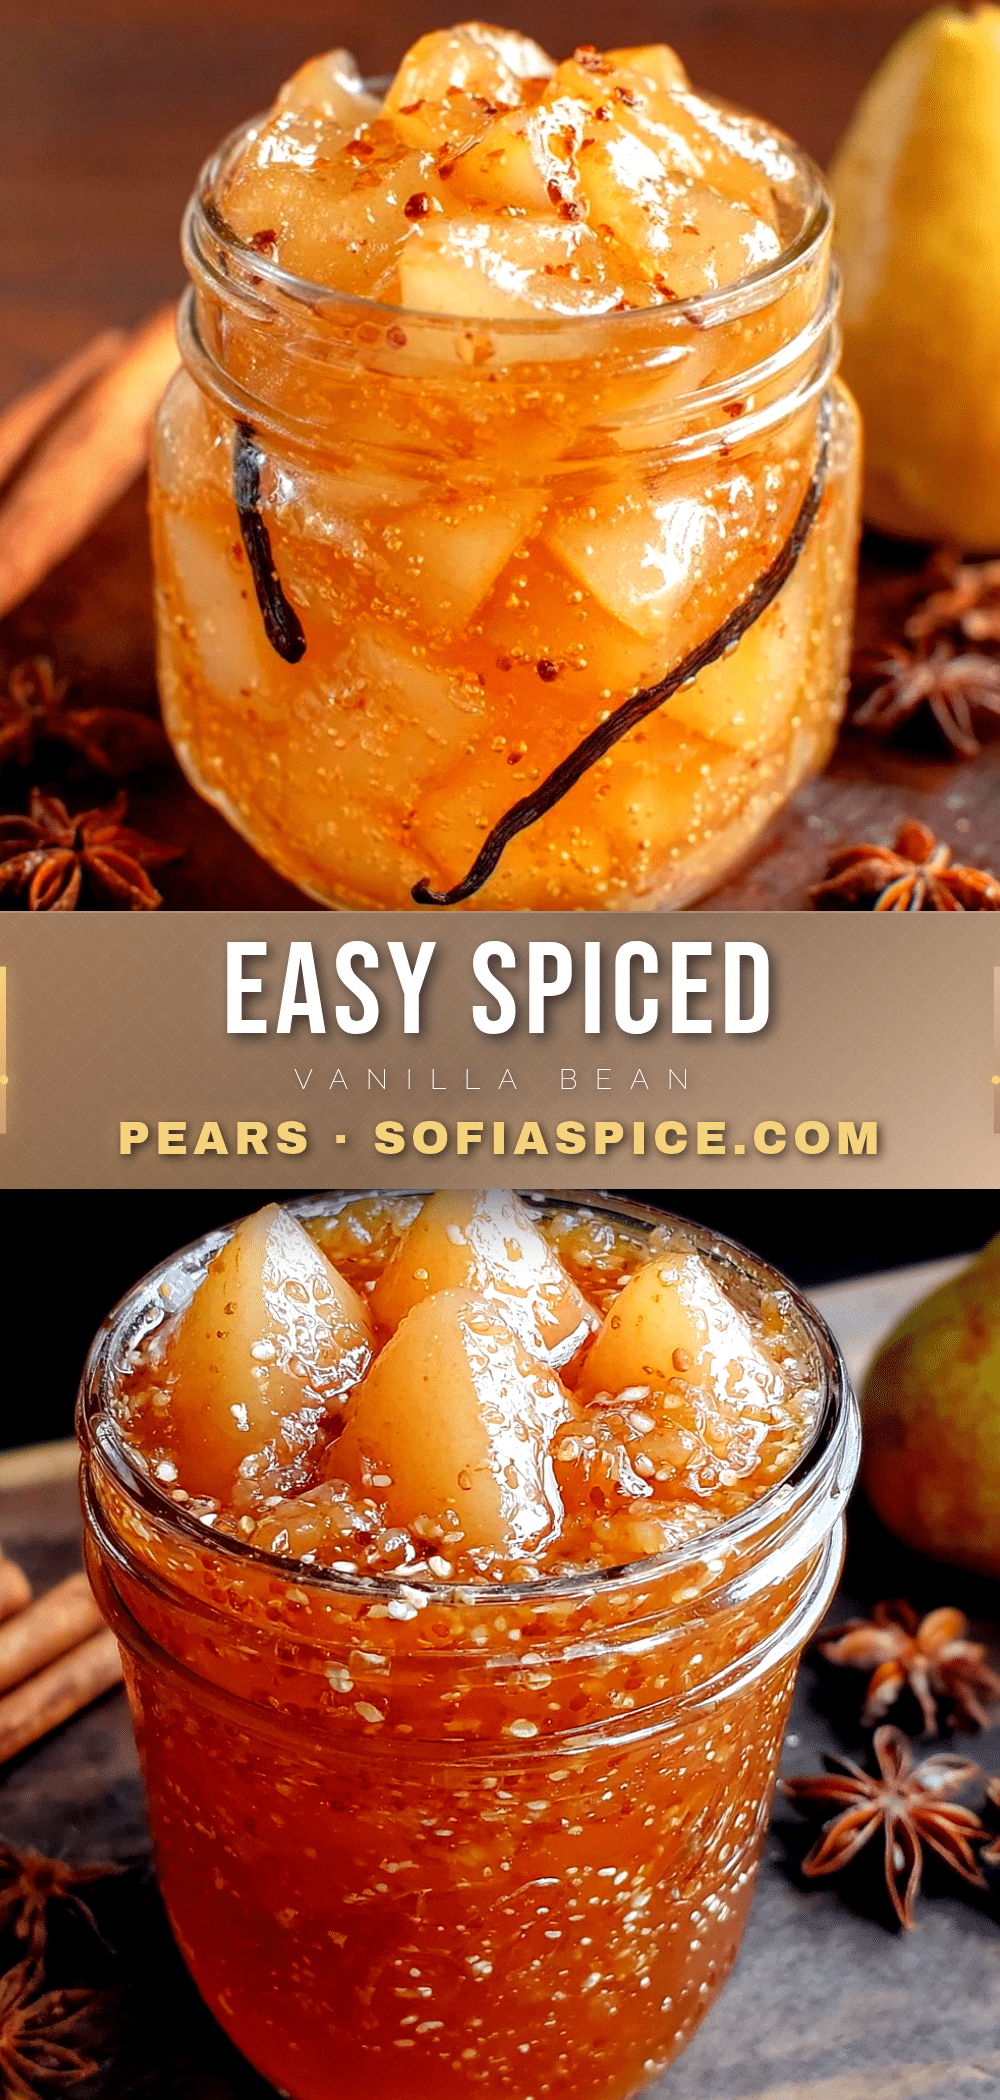
Easy Spiced Vanilla Bean Pears
Perfectly poached pears in a vanilla-spiced syrup, a simple yet elegant dessert that’s surprisingly easy to make. This versatile treat is perfect for breakfast, dessert, or a cheese board.
- Prep Time: 15 minutes
- Cook Time: 30 minutes
- Total Time: 45 minutes
- Yield: 4 servings 1x
- Category: Dessert
- Cuisine: American
Ingredients
- 4 medium Bosc or Anjou pears, ripe but firm
- 1 vanilla bean
- 1 cup (200g) granulated sugar
- 4 cups (960ml) water
- 1 cinnamon stick
- 2 star anise pods
- 4 whole cloves
- 1 strip lemon zest (no white pith)
- 1 tablespoon (15ml) fresh lemon juice
Instructions
- Prep the pears: Peel the pears gently, leaving the stems intact. Using a small spoon or melon baller, scoop out the core from the bottom of each pear. Rub the peeled pears with a little lemon juice to prevent browning.
- Make the poaching syrup: In a saucepan, combine sugar, water, cinnamon stick, star anise, cloves, and lemon zest. Split the vanilla bean lengthwise, scrape the seeds into the pot, and drop the pod in. Bring to a gentle boil over medium-high heat, stirring occasionally. Let boil for 2-3 minutes.
- Lower the heat: Reduce heat to a gentle simmer (small, lazy bubbles). Add the lemon juice.
- Add the pears: Carefully lower the pears into the simmering syrup using a slotted spoon. Place a parchment cartouche or small plate directly on top to keep them submerged. Simmer gently for 20-30 minutes.
- Check for doneness: After 20 minutes, test a pear by inserting a sharp knife into the thickest part. It should slide in with little resistance, but the pear should still hold its shape. Simmer 5-10 more minutes if needed.
- Cool in the syrup: Turn off the heat and let the pears cool completely in the poaching liquid (about 1-2 hours at room temperature).
- Store or serve: Transfer the pears and syrup to a clean jar or container. Serve warm, at room temperature, or chilled.
Notes
Letting the pears cool in the syrup is crucial for flavor development. The syrup gets more complex over time, so making these a day or two ahead is recommended. Save the spent vanilla pod to make vanilla sugar.
Nutrition
- Serving Size: 1 whole pear with ab
- Calories: 200
- Sugar: 42
- Sodium: 5
- Carbohydrates: 48
- Fiber: 6
- Protein: 1
Keywords: spiced pears, vanilla bean pears, poached pears, easy dessert, homemade treat, fall dessert, vegan dessert, gluten-free dessert


