My alarm didn’t go off. The dog had thrown up on the rug at 4 AM, I’d cleaned it up in a daze, and by the time my eyes actually opened, the sun was fully up and the school bus was due in 17 minutes. I stood in my kitchen, staring at the open pantry like it might offer some kind of salvation. There was a bag of old-fashioned oats, a half-empty jar of peanut butter, and a bag of chocolate chips I’d been hoarding for a rainy day. The kids needed lunches. I needed coffee. And I definitely wasn’t turning on the oven.
That morning—frantic, sticky, and slightly desperate—was the exact moment these Easy No-Bake Peanut Butter Oat Energy Bites were born. I just started tossing things into a bowl. A scoop of oats. A big dollop of peanut butter. A drizzle of honey. I stirred it all together with a wooden spoon, rolled it into little balls with my hands (okay, my hands were a mess), and tossed them into lunchboxes as I was yelling at everyone to find their shoes. They weren’t pretty. But honestly? They saved the day.
Now, I make a batch of these every single Sunday. They’ve become my secret weapon for busy mornings, after-school hangry attacks, and that 3 PM slump where you start eyeing the vending machine at work. They take five minutes to throw together, require zero baking, and taste like a little peanut butter cookie that somehow decided to be good for you. It is the kind of recipe that sticks around because it actually works.
Why You’ll Love This Recipe
I have made these Easy No-Bake Peanut Butter Oat Energy Bites more times than I can count, and they have never let me down. Here is exactly why they will become your new favorite go-to snack:
- Ready in 5 Minutes: No joke. If you can stir and roll, you can make these. Perfect for those mornings when you’re running late or afternoons when you need something fast.
- Simple Pantry Ingredients: You probably have everything you need right now. Oats, peanut butter, honey, and a few mix-ins. No fancy trips to the store required.
- Perfect for Lunchboxes: These hold up beautifully in a backpack or lunch bag. They don’t get squished, they don’t leak, and kids actually eat them. I’ve been packing them alongside quick mini chicken caesar wraps for the perfect lunch combo.
- No-Bake Magic: Summer, winter, it doesn’t matter. No oven, no stove, no heat. Just a bowl and a spoon.
- Seriously Addictive: The texture is this perfect mix of chewy, crunchy, and creamy all at once. One bite and you will understand why I can never keep a batch in the fridge for more than two days.
What sets this version apart from every other energy ball recipe out there is the ratio. I spent weeks tweaking the amounts of oats to peanut butter to honey until the texture was just right—not too dry, not too sticky, with just enough sweetness to feel like a treat but not a sugar bomb. It is the Goldilocks of energy bites, and I am not exaggerating.
These little guys have gotten me through soccer practices, road trips, and late nights working on my blog. They are the snack that keeps on giving, and I am genuinely excited for you to try them.
What Ingredients You Will Need
This recipe uses simple, wholesome ingredients to create a snack that feels indulgent but is actually packed with good-for-you stuff. Here is everything you need and why each ingredient matters:
- Old-Fashioned Rolled Oats (1 cup / 90g): These provide the hearty, chewy base. I recommend old-fashioned oats over quick oats because they hold their texture better and don’t turn to mush. If you only have quick oats, they will work, but the texture will be softer. For a gluten-free version, make sure to use certified gluten-free oats.
- Creamy Peanut Butter (½ cup / 130g): This is the glue that holds everything together. I prefer a natural, no-stir peanut butter like Skippy Natural or Jif Natural because they have the right consistency. Avoid the super oily natural peanut butters that separate—they can make the mixture too greasy and the balls won’t hold together well. If you are using a natural peanut butter that separates, stir it really well before measuring.
- Honey (⅓ cup / 110g): Honey adds sweetness and helps bind the ingredients. It also gives these bites a lovely floral note. Maple syrup works as a substitute for a vegan option, but the texture will be slightly softer.
- Mini Chocolate Chips (¼ cup / 45g): Because everything is better with a little chocolate. Mini chips distribute more evenly than regular-sized chips, so you get a little bit of chocolate in every single bite. I like Ghirardelli or Enjoy Life for dairy-free options.
- Ground Flaxseed (2 tablespoons / 14g): This is my secret ingredient. It adds fiber, omega-3s, and helps bind everything together without making the texture weird. You can skip it if you don’t have it, but I really recommend adding it.
- Vanilla Extract (1 teaspoon): Just a splash to round out the flavors. It makes everything taste warmer and more like a cookie.
- Pinch of Salt (¼ teaspoon): Salt is crucial here. It balances the sweetness and makes the peanut butter flavor pop. If your peanut butter is already salted, you can reduce this to a tiny pinch.
Optional Add-Ins:
- Shredded coconut (unsweetened) for texture
- Chopped nuts (almonds, peanuts, or walnuts) for crunch
- Dried fruit (raisins, cranberries, or chopped dates) for extra sweetness
- Chia seeds or hemp hearts for a nutritional boost
- A tablespoon of cocoa powder for a chocolate version
I have made these with almond butter and sunflower seed butter, and they both work great. Sunflower seed butter will turn the bites a weird green color (it is a natural reaction, totally safe), so just be prepared for that.
Equipment Needed
The beauty of this recipe is that you don’t need much. Here is what you will need:
- Medium Mixing Bowl: Any bowl will do. I use a standard ceramic mixing bowl, but glass or stainless steel works perfectly.
- Wooden Spoon or Rubber Spatula: For mixing everything together. A sturdy spoon is best because the mixture gets thick.
- Measuring Cups and Spoons: For accurate measurements. I cannot stress this enough—energy bites are forgiving, but the right ratios make a difference.
- Cookie Scoop or Tablespoon: For portioning the mixture into even balls. A 1-tablespoon cookie scoop is my favorite tool for this. It makes the process so much faster and gives you perfectly uniform bites.
- Parchment Paper or Wax Paper: To line a baking sheet or plate so the bites don’t stick while they chill.
- Baking Sheet or Large Plate: For holding the bites while they set in the fridge.
- Air-Tight Container: For storage. A glass or plastic container with a tight-fitting lid works great.
If you don’t have a cookie scoop, just use two spoons or your hands. The mixture is sticky, so lightly wetting your hands with cold water before rolling makes it much easier.
Preparation Method
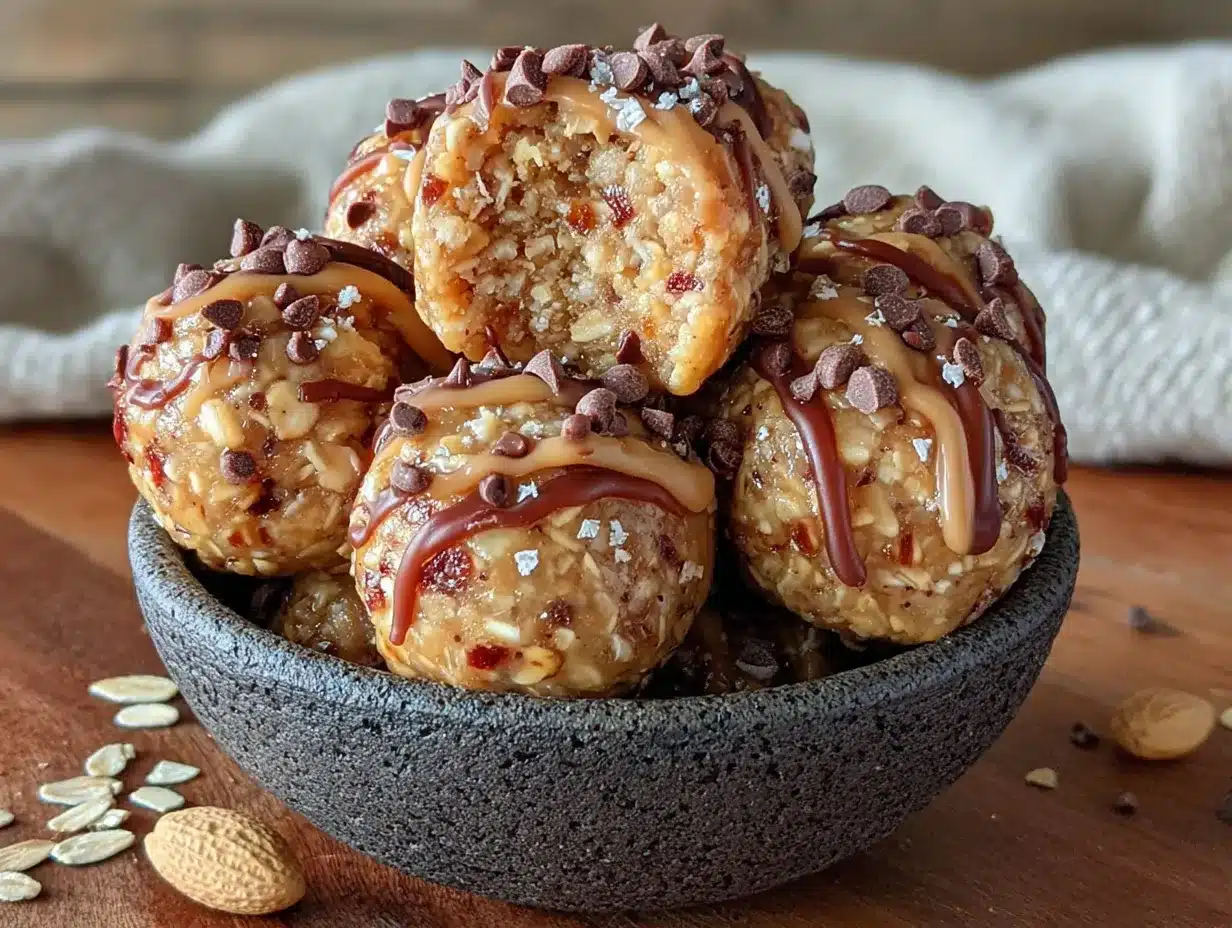
Making these Easy No-Bake Peanut Butter Oat Energy Bites is almost too simple. But here is the exact process I use every time to get perfect results:
- Combine the dry ingredients. In a medium mixing bowl, add 1 cup of old-fashioned rolled oats, 2 tablespoons of ground flaxseed, and ¼ teaspoon of salt. Give it a quick stir with your spoon to distribute everything evenly. This step ensures the flax and salt are mixed in before the wet ingredients go in.
- Add the wet ingredients. Spoon ½ cup of creamy peanut butter into the bowl. Drizzle in ⅓ cup of honey and add 1 teaspoon of vanilla extract. Don’t mix yet—just pile everything on top of the oats.
- Stir until combined. Start mixing with your wooden spoon or spatula. At first, it will look like a clumpy mess. Keep stirring. Press the mixture against the sides of the bowl to help it come together. It should take about 30-45 seconds of vigorous stirring. The mixture should be thick, slightly sticky, and hold together when you press it between your fingers. If it seems too dry, add a teaspoon more honey. If it seems too wet, add a tablespoon more oats.
- Fold in the chocolate chips. Sprinkle ¼ cup of mini chocolate chips over the mixture. Fold them in gently until they are evenly distributed. The warmth from your hands will slightly soften the chips, which is actually perfect.
- Chill the mixture (optional but recommended). Pop the bowl into the refrigerator for 15-20 minutes. This step is not strictly necessary, but it makes the mixture much easier to handle. The peanut butter firms up, the oats absorb some moisture, and the balls hold their shape better. If you are in a hurry, skip this step—just know the mixture will be stickier.
- Roll into balls. Line a baking sheet or large plate with parchment paper. Using a 1-tablespoon cookie scoop or a regular tablespoon, scoop out portions of the mixture. Roll each portion between your palms to form a smooth ball. If the mixture sticks to your hands, lightly wet your hands with cold water or rub a tiny bit of oil on them. You should get about 18-20 balls.
- Chill to set. Place the rolled bites on the prepared baking sheet. Refrigerate for at least 30 minutes to allow them to firm up. This step is important—it gives the bites their signature chewy texture and helps them hold together.
- Enjoy! Once chilled, they are ready to eat. They will be firm but still soft and chewy.
Visual Cue: At step 3, the mixture should look like a thick, cohesive dough. When you press a small amount between your fingers, it should hold together without crumbling. If it falls apart, it needs more binding (a little more peanut butter or honey). If it feels greasy, it needs more oats.
Time Estimates:
- Prep time: 5 minutes
- Chill time (optional): 15-20 minutes
- Rolling time: 5-10 minutes
- Setting time: 30 minutes
- Total time: About 45 minutes to 1 hour (including chill and set time)
Cooking Tips & Techniques
I have made these energy bites probably a hundred times by now, and I have learned a few things the hard way. Here are my best tips:
The Texture Test. The most common mistake is getting the consistency wrong. If your mixture is too dry, the balls will crumble. If it is too wet, they will be a sticky mess. The perfect texture should feel like a slightly stiff cookie dough. When you squeeze a bit in your hand, it should hold its shape without feeling greasy.
Room Temperature Ingredients Matter. I know, I know—it sounds fussy. But if your peanut butter is straight from the fridge, it will be hard to mix. Let it sit out for 10 minutes before you start. Same with the honey if it has crystallized. Warm honey mixes in much more smoothly.
Don’t Overmix. Once everything is combined, stop. Overmixing can make the oats release too much starch, resulting in a gummy texture. You want the oats to stay intact for that nice chewy bite.
Wet Hands Are Your Friend. Rolling these with dry hands is a nightmare. The mixture will stick to your palms like glue. Keep a small bowl of cold water nearby and dip your fingers in before rolling each ball. It makes the process so much smoother.
Size Consistency. Use a cookie scoop for even-sized balls. This isn’t just about looking pretty—it ensures they all chill and set at the same rate. Plus, it makes portion control easier if you are counting calories or macros.
Chill Before Rolling. I learned this lesson after a particularly sticky batch. Chilling the mixture for even 10 minutes makes the rolling process infinitely easier. The peanut butter firms up, and the mixture becomes much less sticky.
Storage Tip. These keep beautifully in the fridge for up to two weeks. But here is the thing—they also freeze incredibly well. I make a double batch, freeze half on a baking sheet, then transfer them to a freezer bag. They thaw in about 10 minutes at room temperature, which is perfect for grabbing on the go.
Variations & Adaptations
One of the best things about this base recipe is how endlessly adaptable it is. Here are some of my favorite variations:
Chocolate Peanut Butter Dream Bites: Add 1 tablespoon of unsweetened cocoa powder to the dry ingredients. Increase the honey to ½ cup to balance the bitterness of the cocoa. Fold in white chocolate chips instead of semi-sweet for a fun twist. These taste like no-bake brownie bites.
Trail Mix Energy Bites: Swap the chocolate chips for a mix of raisins, chopped almonds, and sunflower seeds. Add a tablespoon of chia seeds for extra crunch. These are perfect for hiking or long car rides.
Vegan & Gluten-Free Version: Use maple syrup instead of honey, and make sure your chocolate chips are dairy-free. Use certified gluten-free oats. The maple syrup version is slightly softer, so you might need to add an extra tablespoon of oats to compensate.
Spiced Apple Cinnamon Bites: Replace the chocolate chips with ¼ cup of finely chopped dried apples. Add 1 teaspoon of cinnamon and ¼ teaspoon of nutmeg. These smell incredible and taste like fall in a bite. I love making these when the weather turns cool.
Nut-Free School-Friendly Version: Use sunflower seed butter or WowButter (a soy-based peanut butter alternative) instead of peanut butter. Add an extra tablespoon of honey because seed butters are usually less sweet. These are perfect for nut-free classrooms and lunchboxes.
High-Protein Bites: Add 2 tablespoons of vanilla or chocolate protein powder to the dry ingredients. You may need to add an extra tablespoon of milk (dairy or plant-based) to help the mixture come together. These are great post-workout snacks.
I have personally tried all of these variations, and my favorite is the spiced apple cinnamon version. It feels like a completely different snack, even though the base is the same.
Serving & Storage Suggestions
These energy bites are incredibly versatile when it comes to serving. Here is how I like to enjoy them:
Serving Temperature: They are best served cold straight from the fridge. The texture is firm and chewy, and the peanut butter flavor is more pronounced. At room temperature, they soften and become a bit more delicate, which is still delicious but not as sturdy.
Presentation Ideas: For a snack board, arrange the bites on a platter with fresh fruit, cheese cubes, and nuts. They are a hit at parties and playdates. I have even served them at brunch alongside easy overnight cinnamon roll french toast bake for a sweet and satisfying spread.
Pairing Suggestions: These pair beautifully with a cold glass of milk, a hot cup of coffee, or a smoothie. For a balanced snack, serve a couple of bites with an apple or a handful of baby carrots.
Storage Instructions:
- Refrigerator: Store in an airtight container for up to 2 weeks. Layer them between sheets of parchment paper to prevent sticking.
- Freezer: Place the bites on a baking sheet in a single layer and freeze until solid (about 1 hour). Transfer to a freezer-safe bag or container. They will keep for up to 3 months. Thaw at room temperature for 10-15 minutes before eating, or eat them frozen for a cold, chewy treat.
- Counter: They can sit at room temperature for a few hours, but I don’t recommend storing them out for more than a day. They will get too soft and may spoil if it is warm.
Flavor Development: These actually get better after a day in the fridge. The flavors meld together, the oats soften slightly, and the texture becomes perfectly uniform. I always try to make them the day before I need them.
Nutritional Information & Benefits
These Easy No-Bake Peanut Butter Oat Energy Bites are not just delicious—they are actually pretty good for you. Here is a rough nutritional breakdown per bite (based on 20 bites):
| Nutrient | Amount Per Bite |
|---|---|
| Calories | 110-120 |
| Total Fat | 6g |
| Saturated Fat | 1.5g |
| Carbohydrates | 13g |
| Fiber | 2g |
| Sugar | 7g |
| Protein | 4g |
Health Benefits:
- Oats: Rich in soluble fiber, which helps lower cholesterol and keeps you full longer. They also provide steady energy without the crash.
- Peanut Butter: Packed with healthy monounsaturated fats, protein, and vitamin E. It is satiating and supports heart health.
- Flaxseed: A fantastic source of omega-3 fatty acids and lignans, which have antioxidant properties. It also adds extra fiber.
- Honey: Natural sweetener with trace amounts of antioxidants and antibacterial properties. It is a better option than refined sugar.
Dietary Considerations:
- Can be made gluten-free (use certified gluten-free oats)
- Can be made vegan (use maple syrup instead of honey)
- Can be made nut-free (use sunflower seed butter)
- Contains dairy (if using regular chocolate chips; use dairy-free chips to make it dairy-free)
- Contains peanuts (obviously)
I love that these bites give me a little energy boost without making me feel sluggish. They are the perfect mid-afternoon pick-me-up when I need something satisfying but not heavy.
Conclusion
These Easy No-Bake Peanut Butter Oat Energy Bites are the kind of recipe that makes you wonder why you ever bought pre-packaged snacks. They are faster, cheaper, healthier, and infinitely more customizable. Whether you are packing lunchboxes, fueling a hike, or just need something to get you through the 3 PM slump, these little bites deliver every single time.
I love that this recipe has become a staple in my kitchen. It is the one I turn to when I am tired, when I am busy, and when I just need something that works without any fuss. The fact that they taste like a treat but are actually good for you is just the cherry on top.
Now I want to hear from you. Have you tried making energy bites before? What is your favorite add-in combination? Drop a comment below and let me know how these turned out for you. And if you love them as much as I do, share this recipe with a friend who needs a little snack inspiration. Happy rolling!
Frequently Asked Questions
Can I use quick oats instead of old-fashioned oats?
Yes, you can, but the texture will be different. Quick oats are more finely chopped, so they absorb moisture faster and create a softer, less chewy bite. Old-fashioned oats give the energy bites their signature hearty texture. If you only have quick oats, reduce the honey slightly and expect a softer result.
How long do these energy bites last?
Stored in an airtight container in the refrigerator, they will stay fresh for up to 2 weeks. In the freezer, they last up to 3 months. I recommend making a double batch and freezing half for later—they thaw in about 10 minutes at room temperature.
My mixture is too dry. What should I do?
If your mixture is crumbly and won’t hold together, add a little more peanut butter or honey. Start with 1 tablespoon of peanut butter or 1 teaspoon of honey, mix well, and check the consistency. The mixture should feel like a stiff dough that holds together when pressed.
Can I make these without a food processor?
Absolutely. This recipe requires no food processor at all. Everything is mixed by hand in a single bowl. That is part of what makes it so easy. Just a bowl and a spoon—that is all you need.
Are these energy bites safe for school lunchboxes?
That depends on your school’s nut policy. If nuts are allowed, they are perfect for lunchboxes. If your school is nut-free, simply use sunflower seed butter or a soy-based peanut butter alternative like WowButter. Just be aware that sunflower seed butter can cause the bites to turn a greenish color over time—it is a natural chemical reaction and completely safe to eat.
Pin This Recipe!
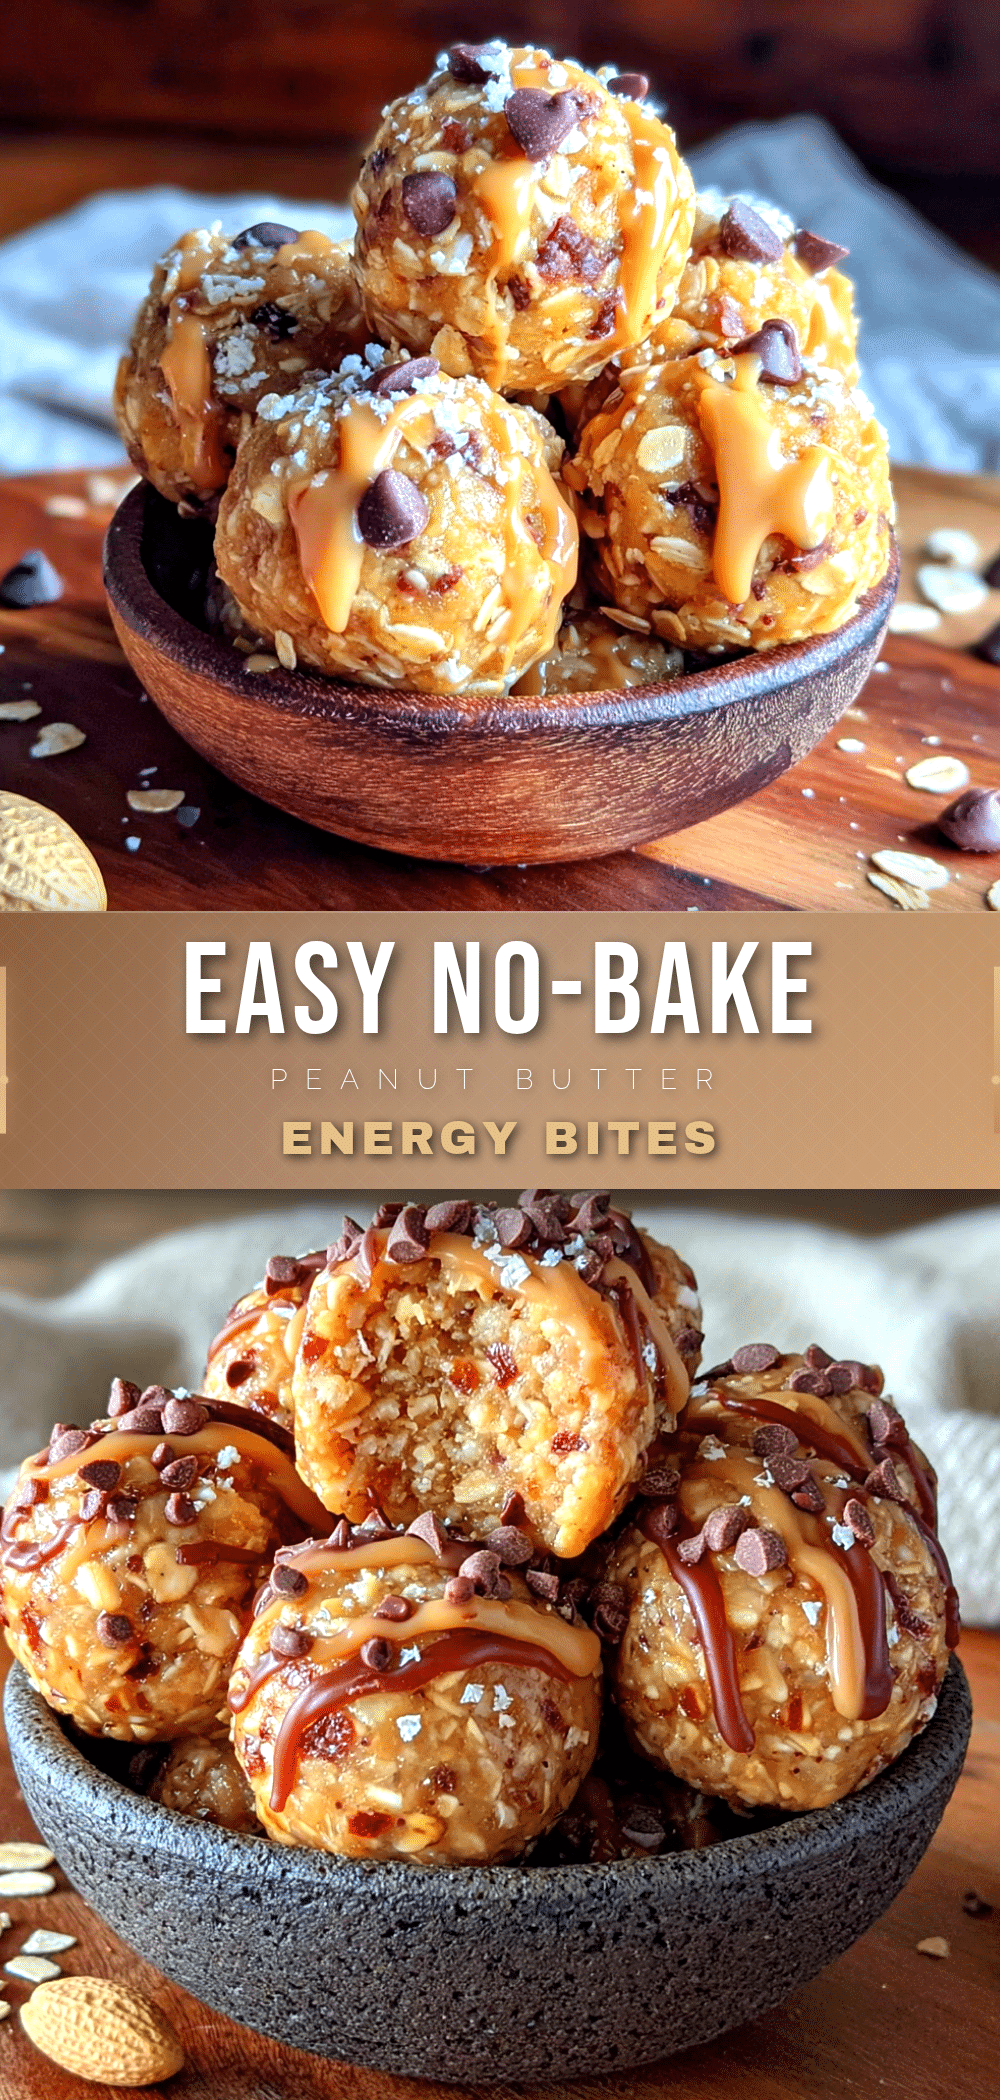
Easy No-Bake Peanut Butter Oat Energy Bites

These no-bake energy bites are a quick, healthy snack made with oats, peanut butter, and honey. Ready in 5 minutes, they’re perfect for lunchboxes, busy mornings, or a 3 PM energy boost.
- Prep Time: 5 minutes
- Cook Time: 0 minutes
- Total Time: 45 minutes to 1 hour (including chill and set time)
- Yield: 18-20 bites 1x
- Category: Snack
- Cuisine: American
Ingredients
- 1 cup (90g) old-fashioned rolled oats
- ½ cup (130g) creamy peanut butter
- ⅓ cup (110g) honey
- ¼ cup (45g) mini chocolate chips
- 2 tablespoons (14g) ground flaxseed
- 1 teaspoon vanilla extract
- ¼ teaspoon salt
Instructions
- In a medium mixing bowl, combine 1 cup old-fashioned rolled oats, 2 tablespoons ground flaxseed, and ¼ teaspoon salt. Stir to distribute evenly.
- Add ½ cup creamy peanut butter, ⅓ cup honey, and 1 teaspoon vanilla extract to the bowl. Do not mix yet.
- Stir vigorously with a wooden spoon or spatula for 30-45 seconds until the mixture is thick, slightly sticky, and holds together when pressed. If too dry, add 1 teaspoon more honey; if too wet, add 1 tablespoon more oats.
- Fold in ¼ cup mini chocolate chips until evenly distributed.
- Optional: Refrigerate the mixture for 15-20 minutes to make it easier to handle.
- Line a baking sheet or large plate with parchment paper. Using a 1-tablespoon cookie scoop or spoon, portion the mixture and roll into smooth balls (about 18-20 balls). Lightly wet hands with cold water if sticky.
- Place the rolled bites on the prepared sheet and refrigerate for at least 30 minutes to set.
- Serve chilled or at room temperature. Store in an airtight container in the refrigerator for up to 2 weeks or freeze for up to 3 months.
Notes
For best texture, chill the mixture before rolling. If using natural peanut butter that separates, stir well before measuring. For a nut-free version, use sunflower seed butter (note: it may turn greenish over time, which is safe). These bites freeze well; thaw at room temperature for 10-15 minutes.
Nutrition
- Serving Size: 1 bite
- Calories: 110120
- Sugar: 7
- Sodium: 50
- Fat: 6
- Saturated Fat: 1.5
- Carbohydrates: 13
- Fiber: 2
- Protein: 4
Keywords: no-bake energy bites, peanut butter oat bites, healthy snack, lunchbox snack, 5-minute recipe, gluten-free option, vegan option


