My son started kindergarten last fall, and let me tell you—packing his lunch felt like a high-stakes game I didn’t know the rules to. I’d send him with a sandwich and apple slices, and they’d come back barely touched. He’d tell me he “didn’t have time” or that the fruit “looked weird.” I was losing my mind a little. Then, one afternoon at the park, another mom pulled out this bento-style box for her kid—full of bright red peppers, cucumber coins, and a little container of hummus. Her daughter devoured it. I watched, honestly a little jealous. That night, I went home and started cutting vegetables into shapes, arranging them by color, and calling it a “rainbow lunch.” I wasn’t convinced it would work. But the next day, my son came home with an empty box and asked for “the rainbow again.” That’s when I knew I had stumbled onto something real. This Easy Rainbow Veggie and Hummus Lunch Box for Kindergartners isn’t just cute—it’s a genuine solution for those picky-eating, time-crunched mornings. It’s colorful, it’s fast, and it actually gets eaten.
Why You’ll Love This Recipe
I’ve tested this lunch box concept more times than I can count, tweaking the veggie cuts and hummus flavors until my son actually looked forward to opening his lunch. It’s not just another bento idea—it’s a system that works for real families.
- Quick & Easy: This comes together in under 10 minutes. On busy mornings, that’s a game-changer.
- Simple Ingredients: No fancy grocery trips. You probably have hummus and a few fresh veggies in your fridge right now.
- Perfect for Kindergarten: The small, bite-sized pieces are easy for little hands to manage, and the colors make eating fun.
- Crowd-Pleaser: I’ve packed this for playdates and preschool parties—kids and parents both ask for the recipe.
- Unbelievably Delicious: The combination of creamy hummus and crunchy, sweet veggies is just plain good. No tricks needed.
What makes this different from other lunch ideas? It’s the intentional rainbow layout. Instead of just throwing veggies in a box, you arrange them by color. That visual cue actually makes kids more willing to try new things. I’ve seen it happen with my own kid and his friends. Plus, you can swap in whatever veggies are in season or on sale, so it stays fresh all year long. This isn’t just another lunch—it’s the one that finally empties the lunchbox.
What Ingredients You Will Need
This recipe uses simple, wholesome ingredients to deliver bold color and satisfying crunch without the fuss. Most of these are pantry staples or easy to find at any grocery store.
- Hummus: ¼ cup per lunch box. I prefer Sabra or Hope Foods for a smooth, creamy texture. You can use classic, roasted red pepper, or garlic—whatever your kid likes.
- Red Bell Pepper: ¼ of a large pepper, sliced into thin strips or small squares. The sweetness is a huge win with kids.
- Orange Bell Pepper: ¼ of a large pepper, cut the same way. Adds a pop of color and vitamin C.
- Yellow Bell Pepper: ¼ of a large pepper, sliced. If you can’t find yellow, use a few baby carrots instead.
- Green Bell Pepper: ¼ of a large pepper, sliced. Or use cucumber slices for a milder crunch.
- Purple Cabbage: 2-3 leaves, thinly shredded. Adds that deep purple hue and a nice crunch. (My son calls it “purple confetti.”)
- Cherry Tomatoes: 4-5, halved. They’re sweet and juicy—just make sure to cut them in half to avoid choking hazards.
- Mini Cucumbers: 1 small cucumber, sliced into coins. I recommend Persian or English cucumbers—they’re less watery and stay crunchier.
- Snow Peas: 4-5, trimmed. They’re naturally sweet and have a fun snap.
- Whole Wheat Pita Chips or Crackers: A small handful for dipping. I like Stacy’s Pita Chips or simple Annie’s whole wheat bunnies.
- Optional Add-ins: A few blueberries, raspberries, or apple slices for extra sweetness and color.
For substitution guidance: if your child doesn’t like a certain veggie, swap it for another color. For example, use steamed carrot sticks instead of orange bell pepper, or snap peas instead of green pepper. The key is keeping the rainbow theme going.
Equipment Needed
You don’t need much for this recipe, which is part of the beauty. Here’s what I use:
- Bento-style lunch box: I love the Yumbox or Bentgo Kids—they have compartments that keep foods separate and make the rainbow layout easy. If you don’t have one, any container with dividers works.
- Small container for hummus: A 2-ounce silicone cup or small reusable container. The Bee’s Wrap beeswax wraps also work in a pinch.
- Cutting board: A medium-sized wooden or plastic board.
- Sharp knife: A paring knife or a small chef’s knife works best for slicing veggies into thin strips.
- Vegetable peeler: Only if you’re using carrots or want to peel cucumber stripes for fun.
- Small cookie cutters: Optional, but I have a set of mini star and flower cutters that make veggies more fun. My son loves the star-shaped cucumbers.
I’ve tried making this with just a regular plastic container, and it works—but the compartments really help keep the rainbow organized. If you’re on a budget, a simple Rubbermaid divided container from the dollar store does the job just fine.
Preparation Method
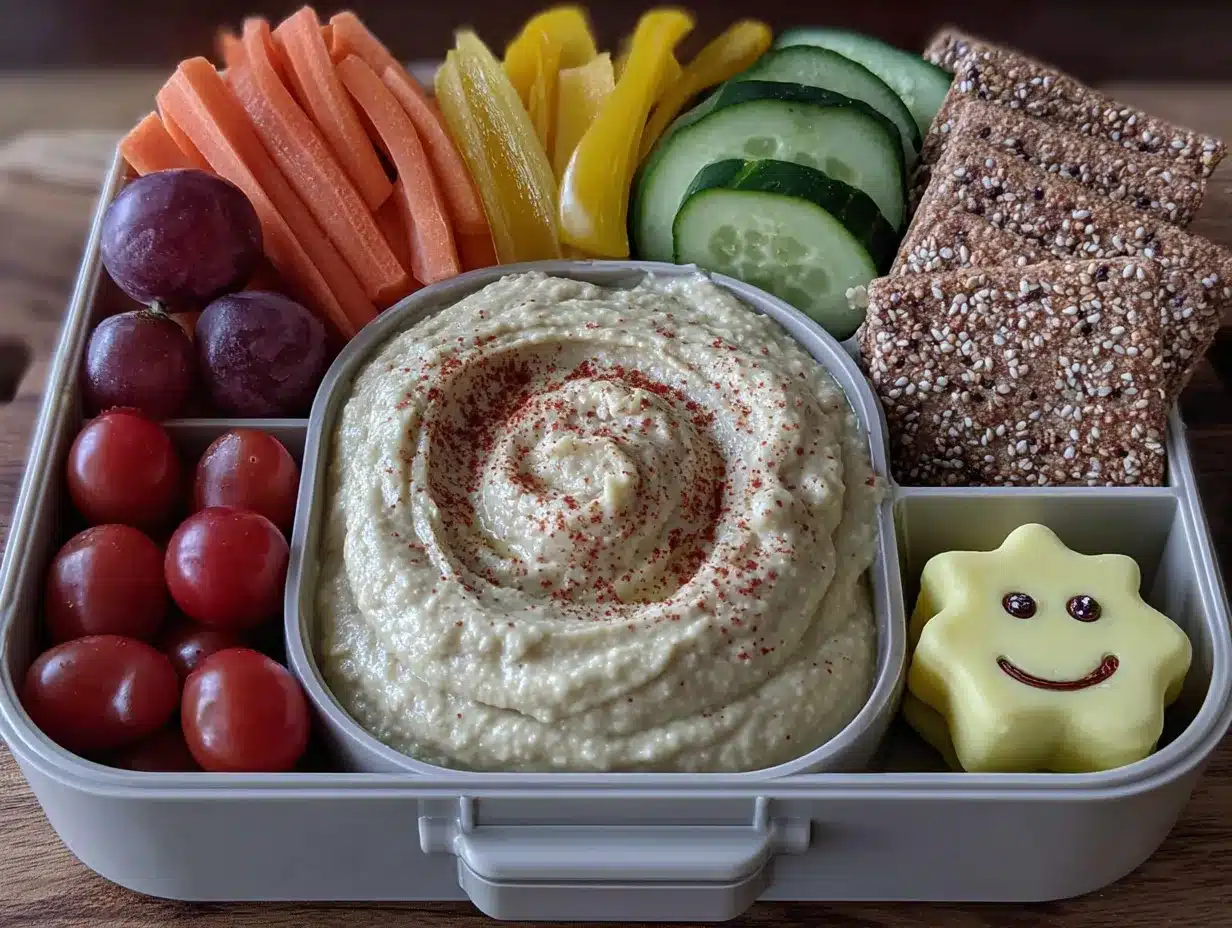
Here’s how to build the perfect rainbow veggie lunch box. I’ve broken it down into simple steps so you can do it quickly, even on a chaotic morning.
- Prep the hummus: Spoon ¼ cup of hummus into a small, leak-proof container. If it’s thick, stir in a teaspoon of water to make it dippable. Set aside.
- Wash all veggies: Rinse the bell peppers, cucumber, cherry tomatoes, snow peas, and cabbage under cool water. Pat them dry with a clean towel—moisture makes veggies soggy in the lunchbox.
- Slice the bell peppers: Cut each pepper in half, remove the seeds and white pith, then slice into thin strips (about 1 inch long and ¼ inch wide). You want pieces that are easy for small fingers to pick up.
- Cut the cucumber: Slice the mini cucumber into coins about ¼ inch thick. If you’re using cookie cutters, press them into the cucumber slices now. My son loves the star shapes.
- Halve the cherry tomatoes: Cut each tomato in half lengthwise. This prevents choking and makes them easier to dip.
- Shred the cabbage: Stack 2-3 purple cabbage leaves, roll them up tightly, and slice into thin ribbons. This creates that “purple confetti” effect.
- Trim the snow peas: Snap off the tough ends of each snow pea. You can leave them whole or cut them in half if your child prefers smaller bites.
- Assemble the rainbow: Arrange the veggies in your bento box in color order—red (tomatoes, red pepper), orange (orange pepper), yellow (yellow pepper), green (cucumber, snow peas), and purple (cabbage). Place the hummus container in the center or on the side.
- Add the dippers: Tuck a small handful of pita chips or crackers into an empty compartment. If there’s room, add a few blueberries or raspberries for extra color.
- Pack and chill: Close the lid tightly and refrigerate until morning. If you’re packing the night before, add the crackers just before serving to keep them crunchy.
Troubleshooting tip: If your veggies look dry after a few hours in the fridge, you can sprinkle a tiny drop of water over them before sealing. But honestly, I’ve found that the hummus keeps everything happy. Also, if your child is extra picky, start with just two or three colors and add more as they get comfortable.
Cooking Tips & Techniques
I’ve made this lunch box dozens of times, and I’ve learned a few tricks along the way. Here’s what works:
- Cut veggies the night before: I know mornings are chaos. I slice all the peppers and cucumbers the night before and store them in a sealed container with a damp paper towel. They stay crisp and ready to go.
- Use a mandoline for uniform slices: If you have one, it makes cucumber and carrot slices perfectly even. Kids eat with their eyes first, and uniform shapes look more appealing.
- Keep hummus separate: Never mix the hummus with the veggies until lunchtime. If it sits overnight, the veggies get soggy and the hummus gets watery. A small silicone cup is your best friend.
- Add a fun toothpick: I sometimes stick a little food pick or a colorful toothpick into the cucumber stars. It makes the whole thing feel like a special treat, and my son loves the novelty.
- Rotate veggies weekly: To avoid boredom, swap one or two veggies each week. One week it’s red peppers, the next it’s radishes. The rainbow stays, but the flavors change.
One mistake I made early on? I used baby carrots that were too thick. They were hard for my son to dip, and he got frustrated. Now I always slice carrots into thin sticks or use a vegetable peeler to make ribbons. Small adjustments make a big difference.
Variations & Adaptations
This recipe is incredibly flexible. Here are some of my favorite ways to change it up:
- Gluten-Free Option: Swap the pita chips for gluten-free crackers, rice cakes, or veggie sticks. The hummus and veggies are naturally gluten-free.
- Seasonal Twist: In summer, add fresh blueberries, raspberries, or sliced peaches. In fall, use roasted sweet potato cubes or apple slices. In winter, try steamed broccoli florets or roasted beet sticks.
- Protein Boost: Add a few cubes of cheese, a hard-boiled egg slice, or some grilled chicken strips. My son loves it when I tuck in a small cheese star.
- Dairy-Free: The recipe is already dairy-free if you skip the cheese. The hummus is plant-based and full of protein.
- Nut-Free: Hummus is naturally nut-free, but double-check your brand. Some flavored hummus may contain tahini (sesame), which is fine for most, but if you need a seed-free option, try a white bean dip instead.
- For Picky Eaters: Start with just two veggies they already like (like cucumber and red pepper) and add one new color each week. The rainbow is a gentle introduction, not a demand.
I once tried a version with roasted red pepper hummus and added a few slices of roasted red pepper on top. My son called it “double red” and ate every bite. Sometimes the simplest variations are the biggest hits.
Serving & Storage Suggestions
This lunch box is best served cold or at room temperature. If you’re packing it for school, I recommend keeping it in an insulated lunch bag with a small ice pack to keep the hummus and veggies fresh.
- Serving Temperature: Straight from the fridge is fine. The hummus stays creamy, and the veggies are crisp.
- Presentation: Arrange the veggies by color in a rainbow arc. It sounds silly, but that visual appeal makes kids more excited to eat. I sometimes add a small note or a sticker on the lid for fun.
- Complementary Dishes: This lunch box pairs beautifully with a small fruit cup, a yogurt tube, or a fresh mini bagel cream cheese snack board for extra variety. For a heartier meal, add a quick mini chicken Caesar wrap on the side.
- Storage: Assemble the lunch box the night before and store it in the refrigerator. Keep the hummus separate in a small container. Add crackers just before serving to maintain crunch.
- Reheating: This recipe doesn’t require reheating, but if you’re using roasted veggies, you can warm them slightly in the microwave for 10-15 seconds before packing.
Flavors actually develop nicely overnight. The hummus absorbs a bit of the veggie aroma, and the peppers become slightly sweeter. My son says it tastes even better the next day.
Nutritional Information & Benefits
This rainbow veggie lunch box is packed with nutrients that support growing bodies. Here’s a rough estimate per serving:
- Calories: ~250-300 (depending on hummus and crackers)
- Protein: 8-10 grams (from hummus and any added protein)
- Fiber: 6-8 grams (veggies and hummus are fiber-rich)
- Vitamin C: Over 100% of daily needs (bell peppers are a powerhouse)
- Vitamin A: High from orange and red veggies
- Iron: 2-3 mg (from hummus and cabbage)
The health benefits are impressive. Bell peppers are loaded with antioxidants that support the immune system—perfect for kindergarten germ exposure. Hummus provides plant-based protein and healthy fats that keep kids full and focused. The variety of colors ensures a wide range of vitamins and minerals. This lunch is naturally gluten-free, dairy-free, and nut-free, making it safe for many school environments. I love that I’m sending my son to school with a meal that fuels his brain and body without any processed junk.
Conclusion
This Easy Rainbow Veggie and Hummus Lunch Box for Kindergartners has honestly changed our mornings. Instead of stressing about what my son will eat, I spend five minutes cutting veggies and arranging them by color. He gets excited about opening his lunch, and I get peace of mind knowing he’s eating something nutritious. The best part? You can customize it endlessly based on what your kid loves or what’s in season. I encourage you to try it this week—start with just a few colors and see how your child responds. Maybe add a no-bake peanut butter oat energy bar for extra staying power. I’d love to hear how it goes! Drop a comment below or tag me in your rainbow lunch photos. Trust me, once you see that empty lunchbox come home, you’ll be hooked too.
Frequently Asked Questions
Can I make this lunch box the night before?
Absolutely! I often prep the veggies and hummus the night before and store them separately. Assemble the rainbow in the morning to keep everything fresh and crunchy.
What if my child doesn’t like hummus?
No problem! Swap the hummus for Greek yogurt dip, ranch dressing, or even a simple nut-free seed butter. The rainbow veggies work with any dip.
How do I keep the veggies from getting soggy?
Dry your veggies thoroughly after washing and keep the hummus in a separate container. A small ice pack in the lunch bag also helps maintain crispness.
Can I use frozen vegetables?
I don’t recommend frozen veggies for this recipe because they release water as they thaw, making everything soggy. Stick with fresh for the best texture and crunch.
How long will this lunch box stay fresh?
If kept refrigerated, the assembled lunch box stays fresh for up to 24 hours. For best results, pack it the night before and serve the next day. Don’t leave it at room temperature for more than 2 hours.
Pin This Recipe!
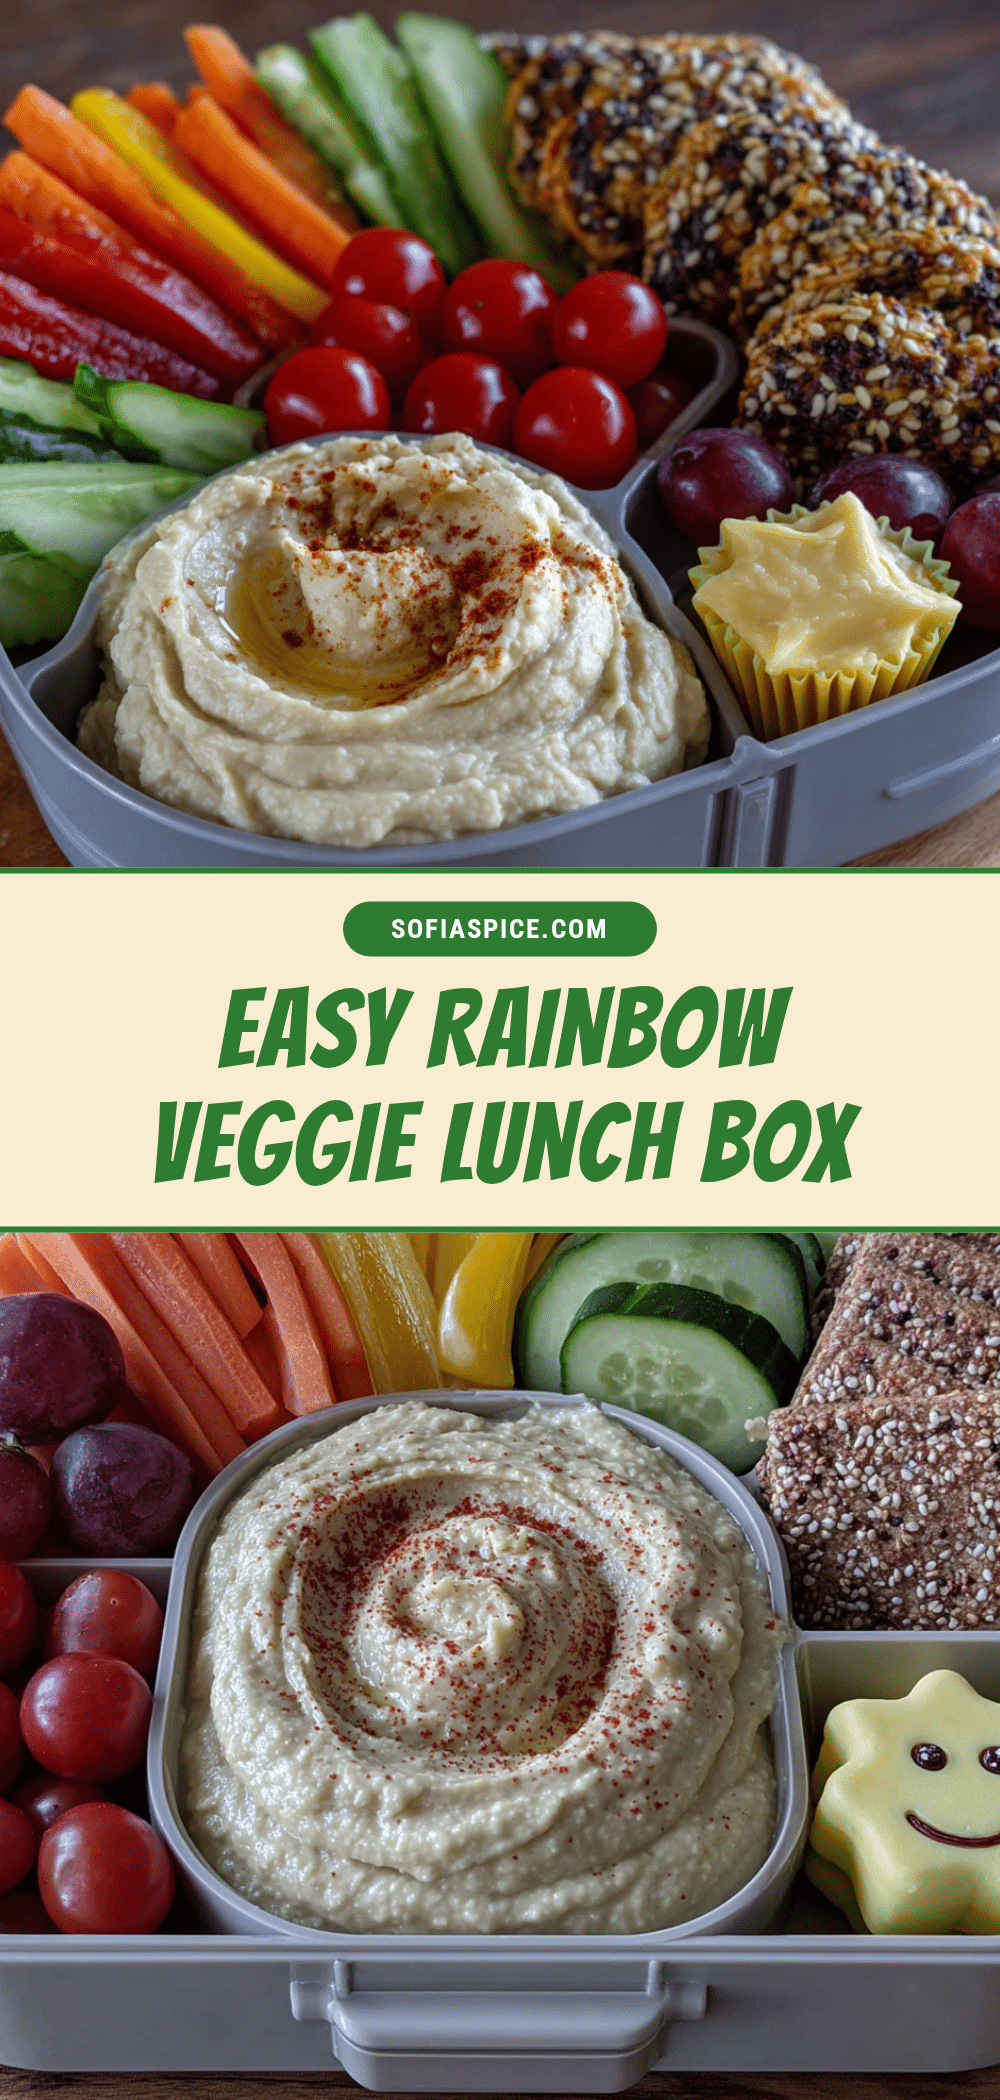
Easy Rainbow Veggie Lunch Box for Kindergarten Kids
A colorful, bento-style lunch box filled with rainbow veggies and hummus that even picky eaters will love. Quick to assemble and packed with nutrients, this lunch is a game-changer for busy mornings.
- Prep Time: 10 minutes
- Cook Time: 0 minutes
- Total Time: 10 minutes
- Yield: 1 serving 1x
- Category: Lunch
- Cuisine: American
Ingredients
- ¼ cup hummus (Sabra or Hope Foods recommended)
- ¼ large red bell pepper, sliced into thin strips
- ¼ large orange bell pepper, sliced into thin strips
- ¼ large yellow bell pepper, sliced into thin strips (or baby carrots)
- ¼ large green bell pepper, sliced into thin strips (or cucumber slices)
- 2–3 purple cabbage leaves, thinly shredded
- 4–5 cherry tomatoes, halved
- 1 mini cucumber (Persian or English), sliced into coins
- 4–5 snow peas, trimmed
- Small handful whole wheat pita chips or crackers (Stacy’s Pita Chips or Annie’s whole wheat bunnies)
- Optional: blueberries, raspberries, or apple slices
Instructions
- Spoon ¼ cup of hummus into a small, leak-proof container. If thick, stir in a teaspoon of water to make it dippable. Set aside.
- Wash all veggies: bell peppers, cucumber, cherry tomatoes, snow peas, and cabbage under cool water. Pat dry with a clean towel.
- Slice bell peppers: cut each in half, remove seeds and white pith, then slice into thin strips (about 1 inch long and ¼ inch wide).
- Slice the mini cucumber into coins about ¼ inch thick. Use cookie cutters for fun shapes if desired.
- Halve the cherry tomatoes lengthwise to prevent choking.
- Shred the cabbage: stack 2-3 leaves, roll tightly, and slice into thin ribbons.
- Trim the snow peas by snapping off the tough ends. Leave whole or cut in half.
- Assemble the rainbow in a bento box: arrange veggies by color—red (tomatoes, red pepper), orange (orange pepper), yellow (yellow pepper), green (cucumber, snow peas), and purple (cabbage). Place hummus container in the center or on the side.
- Add a small handful of pita chips or crackers to an empty compartment. Add optional fruit if desired.
- Close the lid tightly and refrigerate until morning. Add crackers just before serving to keep them crunchy.
Notes
Cut veggies the night before and store with a damp paper towel to save time. Keep hummus separate until serving to prevent sogginess. For picky eaters, start with 2-3 colors and add more gradually. Use a mandoline for uniform slices. Add a fun toothpick for novelty. Rotate veggies weekly to avoid boredom.
Nutrition
- Serving Size: 1 lunch box
- Calories: 250300
- Sugar: 810
- Sodium: 200300
- Fat: 1012
- Saturated Fat: 12
- Carbohydrates: 3035
- Fiber: 68
- Protein: 810
Keywords: rainbow lunch box, kindergarten lunch, veggie lunch, hummus lunch, bento box, picky eater, healthy lunch, school lunch


