“You really don’t need to knead it?” my friend asked, eyebrows raised as I casually pulled a crusty loaf from my oven. Honestly, I was skeptical myself just a few weeks ago. Baking bread always seemed like a weekend affair requiring a mixer, a loaf pan, and a lot of elbow grease. But after a hectic day juggling work and dinner plans, I found myself staring at some leftover flour and yeast, wondering if I could pull off something simple.
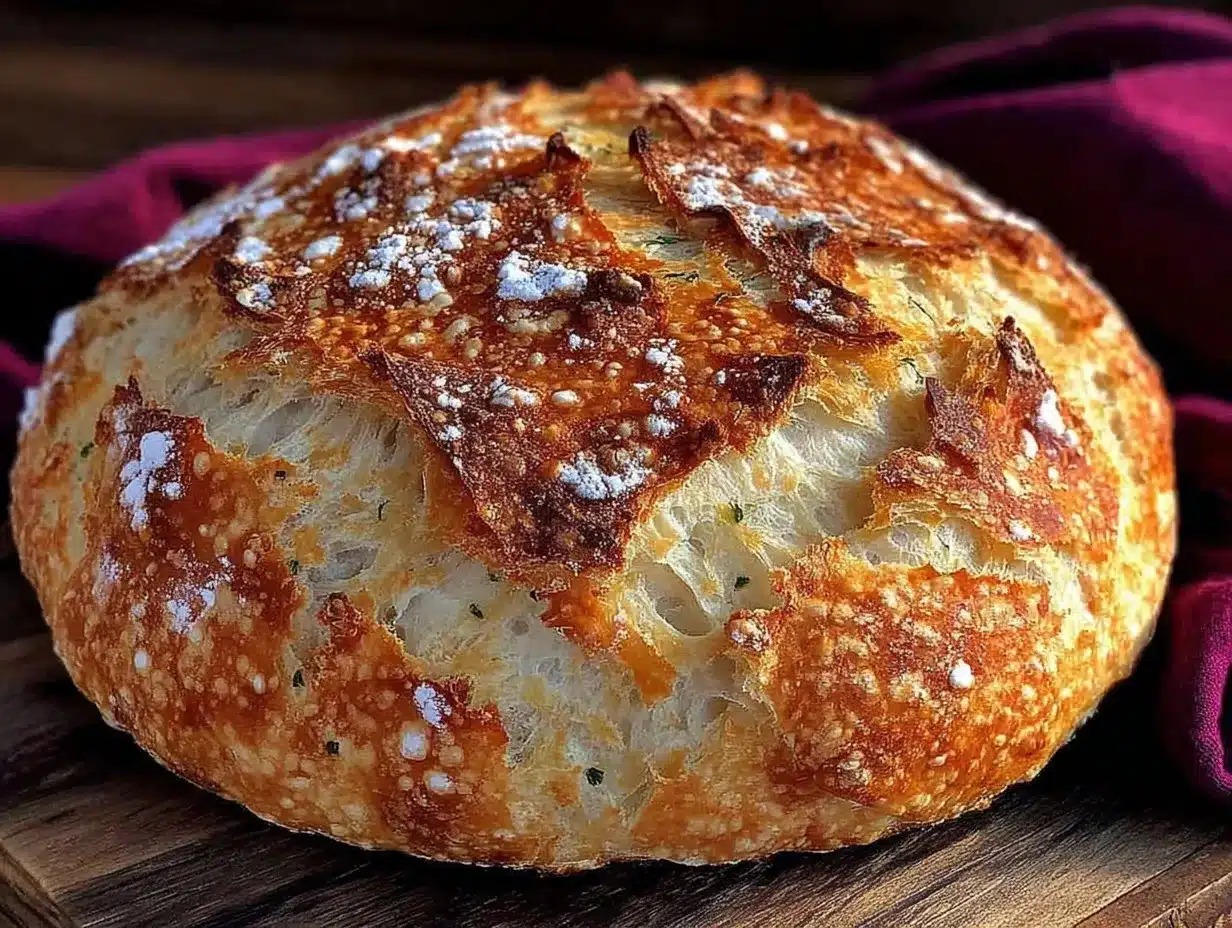
That evening, I tossed together a no-knead artisan bread dough, left it to rise overnight, and woke up to a kitchen filled with that heady, yeasty aroma that instantly calms the nerves. By lunchtime, the kitchen was filled with the crackling sound of a golden crust breaking open, and a warm, soft crumb awaited inside. The crisp, almost crackly exterior with a tender inside felt like a little victory against all the chaos. It wasn’t fancy, but it was honest bread — no fuss, no kneading, just patience and a little heat.
This easy no-knead artisan bread with crispy golden crust quickly became my go-to, especially on days when time was tight but the craving for fresh bread was strong. It’s the kind of recipe that feels like a quiet celebration of simple ingredients and a little kitchen magic. And trust me, once you try this, you’ll find your own moments of calm waiting for that perfect crackle with each slice.
What stuck with me? That this bread doesn’t ask for much but gives back so much — a golden crust that snaps, a tender interior that soaks up olive oil or your favorite jam, and a process that’s more about waiting than working. It’s the kind of bread you’ll want to pull from the oven again and again.
Why You’ll Love This Recipe
My experience with this easy no-knead artisan bread recipe has been nothing short of a revelation. I’ve baked bread countless times, but this one stands out for so many reasons. It’s tested in my busy kitchen, approved by friends who claim they “don’t do bread,” and has become a staple when I want something impressive but stress-free.
- Quick & Easy: The hands-on time is less than 15 minutes, and then the dough does its thing mostly unattended, perfect for busy weeknights or lazy weekends.
- Simple Ingredients: You probably already have flour, yeast, salt, and water — no special shopping trips needed.
- Perfect for Any Occasion: Whether it’s a casual dinner, a brunch spread, or a picnic, this bread adds a comforting touch.
- Crowd-Pleaser: The crispy golden crust and soft crumb win over both kids and adults alike. It’s a friendly face on any table.
- Unbelievably Delicious: The crackly crust combined with a chewy, airy interior offers a texture combo that feels like artisan bread from a bakery, but made at home.
What sets this recipe apart? It’s the no-knead method that keeps things easy without sacrificing flavor or texture. The long fermentation time develops a subtle tang and complexity, and baking in a covered Dutch oven traps steam perfectly to create that signature crust. Plus, this bread pairs beautifully with lots of dishes — from a fresh shrimp avocado salad to a creamy no-churn strawberry cheesecake ice cream for dessert (yes, I’ve made these all in the same week!).
Honestly, this recipe isn’t just about bread; it’s about making baking approachable without the intimidation. It’s the kind of bread that feels cozy and satisfying, no matter your skill level.
What Ingredients You Will Need
This recipe uses simple, wholesome ingredients to deliver bold flavor and that satisfying artisan texture without fuss. Most are pantry staples, so you can whip this up anytime.
- All-purpose flour (3 cups / 360g) – I prefer King Arthur for consistent results, but any unbleached flour works well.
- Active dry yeast (1/4 teaspoon) – Just a pinch for slow fermentation to develop flavor.
- Salt (1 1/2 teaspoons) – Essential for taste and crust development.
- Warm water (1 1/2 cups / 360ml) – Around 75°F to 80°F (24°C to 27°C) to activate the yeast gently.
That’s it! No kneading, no extra ingredients needed, which is part of what makes this recipe so approachable. You can also experiment with some add-ins if you want:
- Herbs like rosemary or thyme (fresh or dried) – Stir in a teaspoon for an herby touch.
- Olive oil (1 tablespoon) – For a slightly richer crumb and flavor.
- Whole wheat flour – Replace up to half the all-purpose flour for a nuttier, heartier loaf.
If you want a gluten-free version, try substituting with a blend designed for yeast breads, but note texture will differ. For dairy-free baking, this recipe already fits perfectly as it uses no milk or butter.
Equipment Needed
This recipe keeps equipment needs simple, which is great if you’re just starting out or working with a minimalist kitchen setup.
- Large mixing bowl: To combine and let the dough rise.
- Wooden spoon or spatula: For mixing the wet and dry ingredients without kneading.
- Dutch oven or heavy oven-safe pot with lid: This is key to getting that crispy golden crust. If you don’t have one, a cast iron skillet with a metal bowl cover can work in a pinch.
- Kitchen scale (optional but recommended): For precise measurements, especially helpful with flour.
- Kitchen towel or plastic wrap: To cover the dough during rising.
Personally, I’ve found that investing in a good-quality 5- or 6-quart Dutch oven (like the classic Le Creuset or Lodge) pays off big for this bread. But if budget is tight, even an enameled casserole dish with a lid works well.
Keeping your Dutch oven clean and dry before baking will prevent sticking and help maintain that perfect crust. After baking, let it cool before washing to avoid thermal shock.
Preparation Method
- Mix the dry ingredients: In your large mixing bowl, combine 3 cups (360g) all-purpose flour, 1/4 teaspoon active dry yeast, and 1 1/2 teaspoons salt. Stir well with a wooden spoon to distribute everything evenly. (About 2 minutes)
- Add warm water: Gradually pour in 1 1/2 cups (360ml) warm water while stirring. The dough will be shaggy and sticky — don’t worry, this is exactly right. Resist the urge to add more flour; a wet dough creates that airy crumb. (2-3 minutes)
- Cover and let it rest: Cover the bowl tightly with plastic wrap or a clean kitchen towel. Leave it on the counter at room temperature (around 68°F to 72°F / 20°C to 22°C) for 12 to 18 hours. You’ll know it’s ready when it’s bubbly and has doubled in size, smelling slightly yeasty and tangy. (This is the magic of no-knead bread!)
- Preheat your oven: About 30 minutes before baking, place your Dutch oven (with lid) inside and heat the oven to 450°F (232°C). This step is crucial to develop the crust.
- Shape the dough: Lightly flour a clean surface and your hands. Gently scrape the dough out onto the surface (it will be sticky). Fold it over on itself a couple of times to form a round shape. Avoid pressing or kneading. Let it rest for 15 minutes.
- Transfer to the Dutch oven: Carefully remove the hot Dutch oven from the oven. Place the dough seam side down into the pot. Cover with the lid and bake for 30 minutes.
- Finish baking uncovered: Remove the lid and bake for another 15 to 20 minutes until the crust is deep golden brown and crisp. The loaf should sound hollow when tapped. (Total baking time: 45-50 minutes)
- Cool before slicing: Transfer the bread to a wire rack and let it cool for at least 1 hour. This final wait allows the crumb to set perfectly—patience is key here!
If the crust gets too dark too fast, tent loosely with foil. And if your dough isn’t bubbly after the rise, it might need a little more time or a warmer spot to ferment.
Cooking Tips & Techniques
Making this easy no-knead artisan bread is forgiving, but a few tips can help you get that bakery-style loaf every time.
- Don’t skimp on the rise time: The long fermentation creates flavor and texture. If you rush it, the bread can be dense and bland.
- Use the right water temperature: Warm, not hot. Too hot and you’ll kill the yeast, too cold and it won’t activate properly.
- Preheat your Dutch oven well: This traps steam and helps form the perfect crust. I usually give it a full 30 minutes to get scorching hot.
- Be gentle with the dough: Resist kneading or punching it down after the rise. The bubbles in the dough are your best friends for that airy crumb.
- Adjust baking time if needed: Ovens vary, so keep an eye on the crust color after removing the lid.
One time, I forgot to preheat the pot and ended up with a loaf that was oddly flat with a soft crust — lesson learned! Also, I like to keep a spray bottle handy to mist the oven walls if my Dutch oven lid doesn’t steam enough. This helps the crust develop that signature crackle.
Multitasking tip: While the dough ferments overnight, I prep a fresh Greek lemon chicken orzo skillet recipe, so dinner is sorted and the bread is ready to impress alongside.
Variations & Adaptations
This bread is a great base for experimenting, and I’ve played around with several variations that work beautifully:
- Whole Wheat Blend: Swap up to 50% of the all-purpose flour with whole wheat for a nuttier flavor and extra fiber.
- Herb Infused: Add a teaspoon of dried rosemary or thyme into the flour mix for an herby twist that pairs well with savory dishes.
- Cheese & Garlic: Fold in 1/2 cup grated sharp cheddar and 1 teaspoon garlic powder for a savory, crowd-pleasing loaf.
- Gluten-Free Version: Use a gluten-free flour blend suitable for yeast breads, adding a tablespoon of xanthan gum if your blend doesn’t include it.
- Different Cooking Methods: If you lack a Dutch oven, baking the loaf on a preheated pizza stone with a pan of water underneath also produces a crispy crust, though results vary.
One favorite I tried was swirling in some sun-dried tomatoes and basil into the dough — it paired wonderfully with a fresh Caprese pasta salad recipe dressed with balsamic reduction for a full Italian-themed meal.
Serving & Storage Suggestions
This easy no-knead artisan bread shines best fresh and warm, with just a smear of butter or dipped in olive oil. It’s perfect alongside a fresh shrimp avocado salad or a hearty soup.
- Serving temperature: Room temperature or slightly warm is ideal to enjoy the crust’s crunch and tender crumb.
- Presentation: Slice thick for sandwiches or tear rustic chunks for dipping in olive oil or a rich stew.
- Storage: Store bread in a paper bag or wrapped loosely in a kitchen towel at room temperature for up to 2 days. For longer storage, slice and freeze in a sealed bag.
- Reheating: To revive the crust, sprinkle the bread lightly with water and warm in a 350°F (175°C) oven for 10 minutes.
Flavors deepen if you let the bread sit wrapped overnight, though it’s usually too tempting to wait! Pairing this bread with a creamy loaded baked potato soup or some crispy honey sriracha grilled chicken wings makes for a satisfying meal any night.
Nutritional Information & Benefits
One slice (about 2 oz / 56g) of this artisan bread contains approximately:
| Nutrient | Amount |
|---|---|
| Calories | 150 |
| Carbohydrates | 30g |
| Protein | 5g |
| Fat | 1g |
| Fiber | 1g |
This bread is naturally low in fat and free from added sugars, making it a wholesome choice. Using whole wheat flour can boost fiber content and add nutrients. The yeast fermentation also helps break down some gluten, making it easier to digest for many people.
As always, watch for allergens if you’re serving guests—this recipe contains gluten. But it’s free from dairy and eggs, making it friendly for many diets. I often pair it with fresh, nutrient-dense salads for balanced meals.
Conclusion
Easy no-knead artisan bread with crispy golden crust is a humble recipe that rewards patience with rich flavor and satisfying texture. It’s become a quiet star in my kitchen, especially on those days when I want fresh bread without the fuss. You can tweak it to suit your tastes, try different flours or add-ins, and trust it to deliver every time.
Whether you’re baking for a cozy night in or impressing friends with homemade bread alongside a fresh grilled corn salad, this recipe is a reliable companion. I love how it bridges the gap between simplicity and artisan-quality results.
Give it a try, make it your own, and I’d love to hear how it turns out—there’s always room for a little bread talk in the kitchen!
FAQs
Can I use instant yeast instead of active dry yeast?
Yes, you can substitute instant yeast using the same amount. Just mix it directly with the flour without proofing.
Why doesn’t this bread require kneading?
The long fermentation time allows gluten to develop naturally, so kneading isn’t necessary to build structure.
What if my dough isn’t rising after 18 hours?
Your kitchen might be too cold. Try placing the dough in a warmer spot or increase the rise time slightly.
Can I add herbs or cheese to this recipe?
Absolutely! Adding herbs or cheese is a great way to customize the flavor. Fold them in gently after the initial mixing.
How do I store leftover bread to keep it fresh?
Keep it in a paper bag or wrapped in a towel at room temperature for up to 2 days. For longer storage, freeze sliced bread in an airtight bag.
Pin This Recipe!
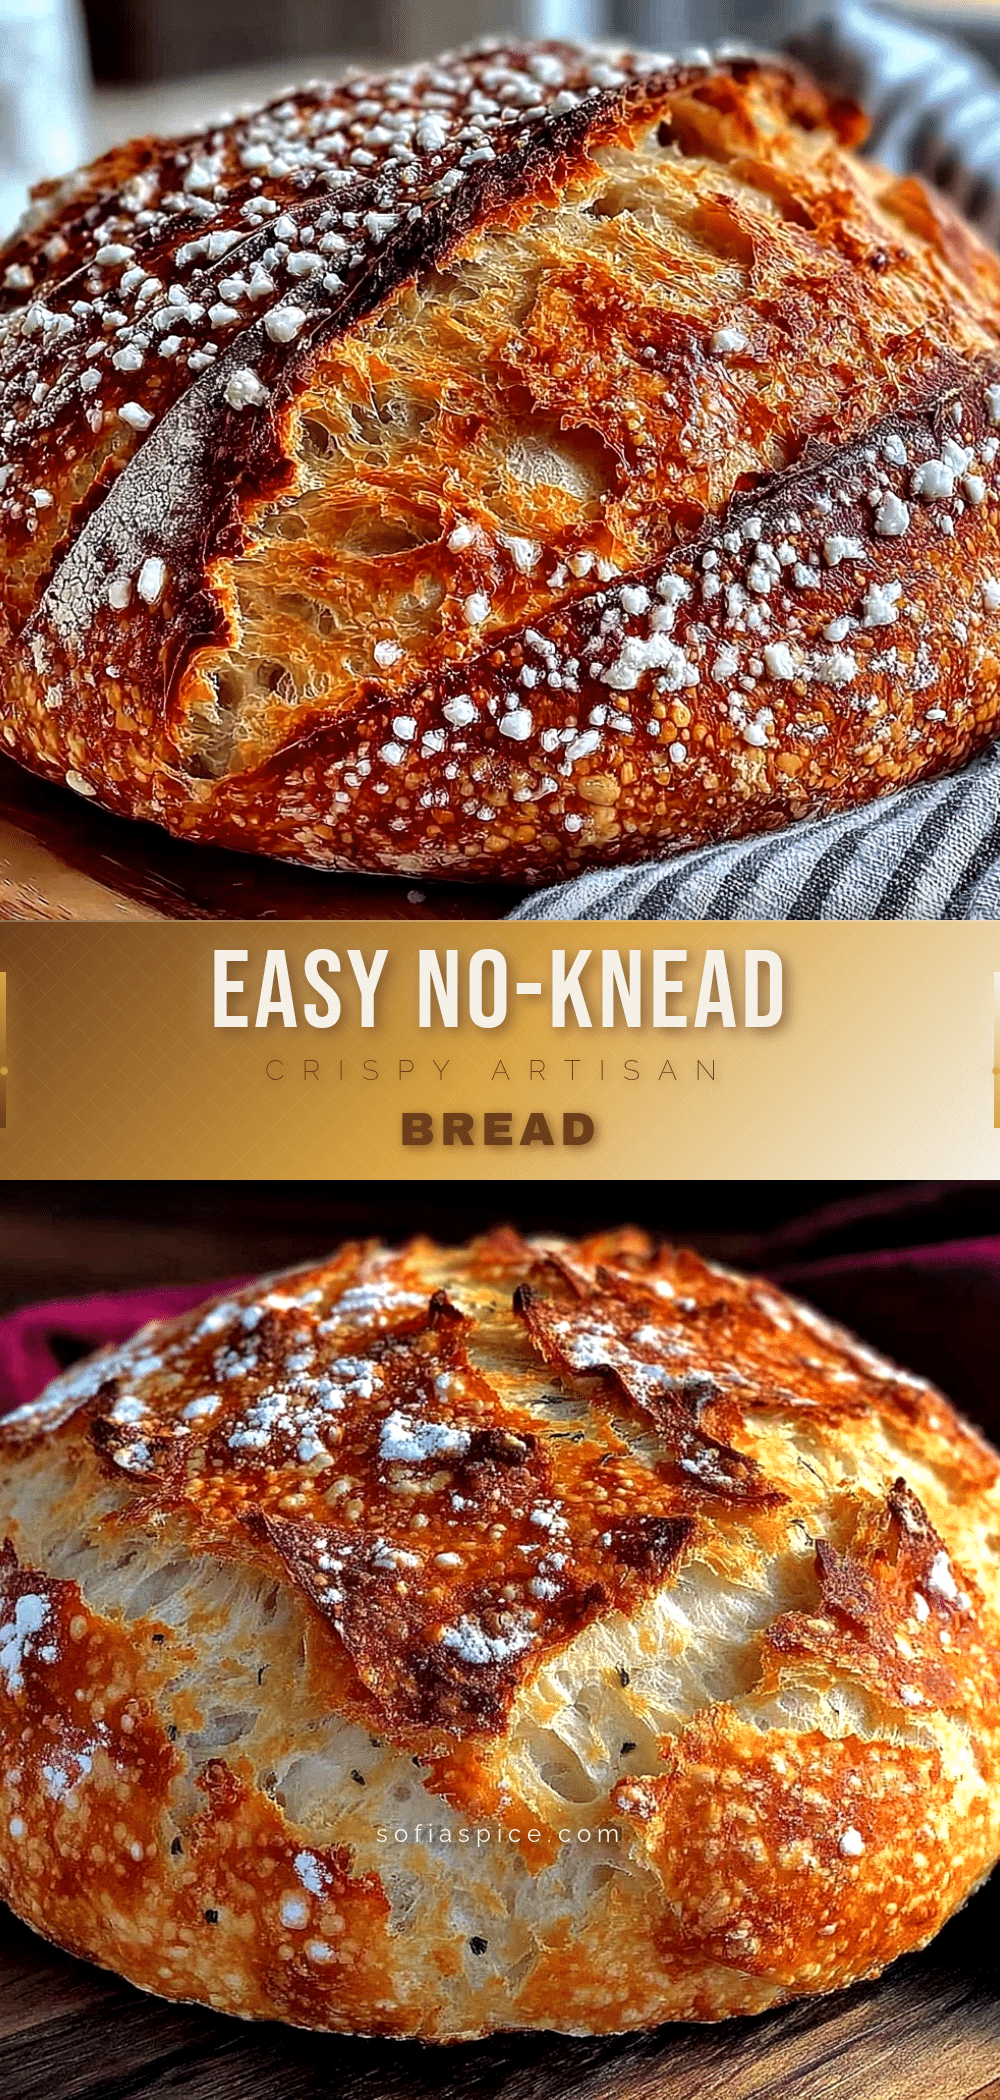
Easy No-Knead Artisan Bread Recipe with Crispy Golden Crust Perfect for Beginners

This easy no-knead artisan bread recipe delivers a crispy golden crust and a tender, airy crumb with minimal hands-on time, perfect for beginners and busy cooks.
- Prep Time: 15 minutes
- Cook Time: 45-50 minutes
- Total Time: 13 hours (including 12-18 hour rise)
- Yield: 1 loaf (about 8 servings) 1x
- Category: Bread
- Cuisine: American
Ingredients
- 3 cups (360g) all-purpose flour
- 1/4 teaspoon active dry yeast
- 1 1/2 teaspoons salt
- 1 1/2 cups (360ml) warm water (75°F to 80°F / 24°C to 27°C)
- Optional: 1 teaspoon herbs like rosemary or thyme (fresh or dried)
- Optional: 1 tablespoon olive oil
- Optional: Up to half the all-purpose flour replaced with whole wheat flour
Instructions
- In a large mixing bowl, combine 3 cups (360g) all-purpose flour, 1/4 teaspoon active dry yeast, and 1 1/2 teaspoons salt. Stir well with a wooden spoon to distribute evenly (about 2 minutes).
- Gradually pour in 1 1/2 cups (360ml) warm water while stirring. The dough will be shaggy and sticky. Resist adding more flour (2-3 minutes).
- Cover the bowl tightly with plastic wrap or a clean kitchen towel. Leave it at room temperature (68°F to 72°F / 20°C to 22°C) for 12 to 18 hours until bubbly and doubled in size.
- About 30 minutes before baking, preheat your oven to 450°F (232°C) with a Dutch oven (with lid) inside.
- Lightly flour a clean surface and your hands. Gently scrape the dough onto the surface and fold it over on itself a couple of times to form a round shape. Let it rest for 15 minutes.
- Carefully remove the hot Dutch oven from the oven. Place the dough seam side down into the pot. Cover with the lid and bake for 30 minutes.
- Remove the lid and bake for another 15 to 20 minutes until the crust is deep golden brown and crisp. The loaf should sound hollow when tapped.
- Transfer the bread to a wire rack and let it cool for at least 1 hour before slicing.
Notes
Do not skimp on the rise time to develop flavor and texture. Use warm water (not hot) to activate yeast gently. Preheat the Dutch oven well to trap steam and create a crispy crust. Be gentle with the dough to preserve air bubbles. If crust darkens too fast, tent with foil. Let bread cool completely before slicing for best crumb texture.
Nutrition
- Serving Size: 1 slice (about 2 oz
- Calories: 150
- Fat: 1
- Carbohydrates: 30
- Fiber: 1
- Protein: 5
Keywords: no-knead bread, artisan bread, easy bread recipe, crispy crust bread, beginner bread recipe, homemade bread


