“You really don’t need a fancy bakery to get that crackly, golden crust,” my friend said, tossing me a loaf of her homemade bread after a casual weekend brunch. I was skeptical at first — bread making always sounded like one of those complicated, time-consuming kitchen feats better left to pros. But the truth is, that easy crispy no-knead Dutch oven bread recipe she shared changed everything about how I think of homemade bread. Honestly, it was a bit of a happy accident. I’d planned a quiet Sunday, no fuss, but ended up tossing together this dough before lunch and letting it rest while I binge-watched a few episodes of a show. When I pulled that bubbling, crusty loaf from the oven a few hours later, it was like magic—simple, satisfying, and way less intimidating than I expected.
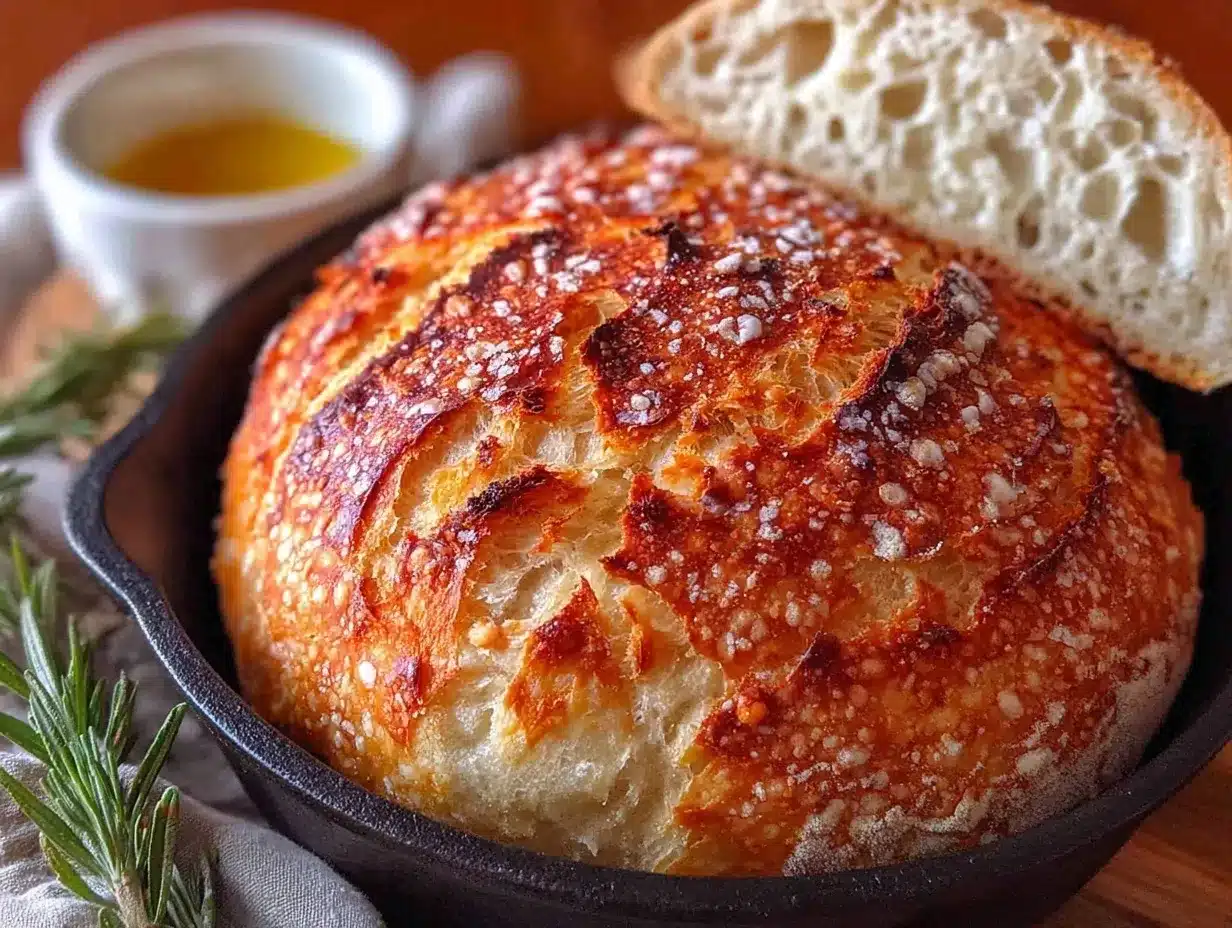
What really stuck with me was how the crust had this perfect crunch that made every bite feel special, yet the crumb inside was soft and airy. It reminded me of those crusty loaves you find at artisanal bakeries but without the hours of kneading or fancy ingredients. Since then, I’ve made this bread multiple times — sometimes on sleepy mornings, other times when I needed a comforting reset after a long day. It’s become my go-to, particularly when I want something fresh and homemade but don’t have the energy to fuss around.
That loaf isn’t just bread; it’s a quiet little victory in the kitchen. If you’ve ever thought bread-making is out of reach, this easy crispy no-knead Dutch oven bread for beginners quietly promises you don’t need to be a pro to get great results. It’s the kind of recipe that rewards patience without demanding perfection and makes the kitchen feel a little warmer.
Why You’ll Love This Recipe
From my experience, this easy crispy no-knead Dutch oven bread recipe really delivers on multiple fronts. I’ve tested countless bread recipes, and this one stands out because it’s truly beginner-friendly without skimping on flavor or texture. Here’s why it quickly became a family favorite:
- Quick & Easy: The dough comes together in just 10 minutes, then you let it do its thing — perfect for those busy days when you want fresh bread without babysitting the process.
- Simple Ingredients: No fancy flours or additives required. Just all-purpose flour, yeast, salt, and water — pantry staples you likely already have.
- Perfect for Any Occasion: Whether it’s a lazy weekend breakfast, a side for dinner, or an impromptu snack, this bread fits the bill.
- Crowd-Pleaser: I’ve brought this loaf to potlucks and family dinners, and it’s always the first to disappear. Kids and adults alike love the crispy crust combined with that soft interior.
- Unbelievably Delicious: The Dutch oven traps steam, creating that bakery-style crust that’s crispy yet tender inside — a combo that’s honestly addictive once you get it right.
What sets this recipe apart is the no-knead method paired with the Dutch oven baking technique. Instead of physically kneading the dough to develop gluten, the long fermentation does the work. Then, baking covered in a heavy pot mimics a professional steam oven, which gives you that irresistible crust without any special gear beyond a trusty Dutch oven. It’s straightforward, forgiving, and perfect for anyone nervous about making bread for the first time.
Plus, this recipe isn’t just about baking bread — it’s about making bread that feels like a little celebration in your kitchen, every time. If you’re into dishes like easy one-pan garlic butter salmon with asparagus for simple yet impressive meals, you’ll find this bread just as rewarding to make and share.
What Ingredients You Will Need
This recipe uses simple, wholesome ingredients to deliver bold flavor and satisfying texture without the fuss. Here’s what you’ll need to get started:
- All-purpose flour (3 cups / 375g) – I prefer a brand like King Arthur for consistent results.
- Active dry yeast (1/4 teaspoon) – just a pinch; this slow rise develops flavor.
- Salt (1 1/4 teaspoons) – crucial for flavor balance.
- Warm water (1 1/2 cups / 360ml) – around 75-80°F (24-27°C); not too hot or you’ll kill the yeast.
That’s really it — no sugar, no oil, no fancy additives. This minimalism is part of the charm, letting the natural flavors shine through.
If you want to switch things up, you can try:
- Whole wheat flour: Substitute up to half the all-purpose flour for a nuttier, heartier loaf.
- Gluten-free flour: Use a gluten-free blend, but note the texture will differ somewhat.
- Herbs or seeds: Add 1-2 tablespoons of dried rosemary or sesame seeds for extra flavor and crunch.
For the Dutch oven, no special seasoning is needed, but if you’re concerned about sticking, a light dusting of flour or parchment paper helps. This recipe’s simplicity means you don’t have to hunt down unusual ingredients — just grab what you have, and you’re good to go.
Equipment Needed
- Dutch oven: A heavy, lidded pot (around 5-6 quarts) is ideal to trap steam and create that crispy crust. Cast iron versions like Le Creuset or Lodge are popular. If you don’t have one, a deep oven-safe pot with a lid works too.
- Mixing bowl: A large bowl to combine and rest the dough.
- Wooden spoon or spatula: For stirring the sticky dough.
- Kitchen scale (optional): For precise ingredient measurement, though cups work fine.
- Bench scraper or dough scraper (optional): Handy for handling sticky dough and shaping, but your hands work as well.
- Oven mitts: Essential for handling the hot Dutch oven safely.
Personally, using a Dutch oven has been a game changer. I once tried baking the dough on a baking sheet, and while the bread tasted good, it lacked that iconic crunch and rise. Invest in a cast iron pot if you can—it’s worth it. For budget-friendly options, Lodge makes great affordable enameled cast iron pots. Also, make sure to properly care for your cast iron by drying it thoroughly after washing and seasoning if it’s bare cast iron.
Preparation Method
- Mix the dry ingredients: In a large bowl, combine 3 cups (375g) all-purpose flour, 1/4 teaspoon active dry yeast, and 1 1/4 teaspoons salt. Stir to evenly distribute everything. This takes about 2 minutes.
- Add warm water: Pour in 1 1/2 cups (360ml) warm water. Use a wooden spoon or spatula to mix until all flour is hydrated and a shaggy, sticky dough forms. It should look rough and stringy, not smooth. This step takes about 3 minutes. Resist the urge to knead—the dough is meant to be loose.
- First rise: Cover the bowl with plastic wrap or a clean kitchen towel. Let the dough rest at room temperature for 12 to 18 hours. The dough will rise, bubble, and double in size. This long fermentation develops flavor and gluten structure without kneading.
- Preheat the Dutch oven: About 30 minutes before baking, place your empty Dutch oven with the lid on inside your oven and preheat to 450°F (230°C). This step is key to get the bread’s crust just right.
- Shape the dough: Turn the dough out onto a well-floured surface. Using floured hands or a bench scraper, gently shape it into a round loaf. Don’t press or knead too much — just fold the edges under to create surface tension. Let it rest for 30 minutes, covered with a towel.
- Bake: Carefully remove the hot Dutch oven from the oven. Place a piece of parchment paper in the pot and transfer the dough onto it. Put the lid back on and bake for 30 minutes.
- Finish baking: After 30 minutes, remove the lid and bake for another 10 to 15 minutes until the crust is deep golden brown and crispy. The bread should sound hollow when tapped on the bottom.
- Cool: Transfer the bread to a wire rack and let cool for at least 1 hour before slicing. This step lets the crumb set and prevents gummy texture.
Some tips: if your dough feels too sticky, dust your hands and surface liberally with flour but don’t add too much into the dough itself. Also, don’t rush the fermentation — that long rest is what makes the bread flavorful and airy. I once tried to shorten it and ended up with dense, bland bread. Patience pays off here.
Cooking Tips & Techniques
Here are some things I’ve learned that help make this easy crispy no-knead Dutch oven bread a reliable winner every time:
- Water temperature matters: Too hot and the yeast won’t survive; too cold and the dough won’t rise properly. Aim for warm but not scalding—about 75-80°F (24-27°C).
- Don’t skip the preheating: A hot Dutch oven simulates a professional steam oven, which is why the crust crisps up so well. I’ve tried baking in a cold pot and the crust was disappointing.
- Use parchment paper: It helps transfer the dough easily and prevents sticking without messing with the crust.
- Long fermentation is key: The 12-18 hour rest allows gluten to develop naturally and flavors to deepen. Resist the urge to rush this step.
- Don’t over-flour: A light dusting is fine, but too much flour in the dough or on the surface can dry out your bread.
- Watch the crust color: If your bread is browning too fast, tent with foil after 20 minutes uncovered to avoid burning.
One time, I forgot to cover the dough during the rise and the surface dried out, creating cracks. Lesson learned: always cover your dough to keep moisture in. Also, multitasking during that long rise is great—you can prep other dishes like my spicy Cajun shrimp and sausage sheet pan meal while waiting for the dough to bubble.
Variations & Adaptations
While the classic recipe is simple and delicious, I love mixing it up sometimes:
- Herb-Infused Bread: Stir in 1-2 tablespoons of fresh chopped rosemary, thyme, or oregano into the dough for an aromatic twist.
- Cheese Bread: Fold in 1/2 cup grated sharp cheddar or Parmesan before the first rise for a savory surprise.
- Whole Wheat Version: Replace half the all-purpose flour with whole wheat for a nuttier, denser loaf. The dough will be wetter, so adjust with a splash more water if needed.
- Gluten-Free Option: Use a gluten-free flour blend suitable for bread and increase the hydration slightly. The texture changes but it’s still tasty!
- Alternative Baking Method: If you don’t have a Dutch oven, bake the shaped dough on a preheated baking stone or heavy sheet tray and mist the oven with water to create steam.
My personal favorite is adding fresh herbs — it turns the bread into a perfect partner for dishes like easy chocolate peanut butter protein balls for a wholesome snack plate. These variations keep the recipe fresh and let you experiment without complexity.
Serving & Storage Suggestions
This bread is best served warm or at room temperature with a little butter or olive oil. The crust is at its crispiest right out of the oven, but the crumb develops more flavor as it cools.
For serving ideas:
- Slice thick and pair with garlic butter or your favorite jam for breakfast.
- Use as a base for open-faced sandwiches or bruschetta.
- Serve alongside soups or stews for dipping — it’s a natural match.
To store, keep the bread in a paper bag or loosely wrapped in a kitchen towel at room temperature for up to 2 days. Avoid plastic bags, which soften the crust. For longer storage, slice and freeze in an airtight bag. Toast slices directly from frozen to revive crunch and flavor.
If you want to reheat a whole loaf, place it in a 350°F (175°C) oven for 10-15 minutes wrapped in foil. This refreshes the crust without drying it out.
Nutritional Information & Benefits
Per serving (1/8 loaf), this bread provides roughly:
| Nutrient | Amount |
|---|---|
| Calories | 150 |
| Carbohydrates | 30g |
| Protein | 5g |
| Fat | 0.5g |
| Fiber | 1g |
| Sodium | 300mg |
This bread is free from added sugars and fats, making it a wholesome option for everyday eating. It’s naturally vegan and can be made gluten-free with substitutions. The yeast fermentation improves digestibility, and when made with whole wheat flour, it provides extra fiber and nutrients.
From my perspective, baking this bread is a small, satisfying way to connect with real food without stress or complicated steps. It’s a reminder that simple ingredients treated well can nourish both body and soul.
Conclusion
This easy crispy no-knead Dutch oven bread recipe is a keeper, especially if you’ve ever felt intimidated by homemade bread. It’s forgiving, straightforward, and produces that bakery-style crust and crumb we all crave without the fuss of kneading or fancy techniques. I love how it fits into busy days and quiet weekends alike — it’s like a little kitchen win you can count on.
Feel free to make it your own by trying different flours, adding herbs, or pairing it with your favorite meals. Personally, I’ve found no better companion than this bread when serving something simple and satisfying, like easy no-bake cookie dough protein bites for a complete snack experience.
Give this recipe a try and let me know how it turns out for you. There’s something quietly joyful about pulling a perfect loaf from the oven, and I’m excited for you to experience that moment yourself.
Frequently Asked Questions
Can I make this bread without a Dutch oven?
Yes. Bake the shaped dough on a preheated baking stone or heavy baking sheet and create steam by placing a pan of hot water in the oven or misting the oven walls. The crust won’t be quite as crisp but still delicious.
How long can I store this bread?
Store at room temperature in a paper bag or towel for up to 2 days. For longer storage, freeze sliced bread in an airtight bag for up to 3 months.
Do I have to knead the dough?
Nope! The long fermentation allows gluten to develop naturally, so kneading isn’t necessary, making it perfect for beginners.
Can I add seeds or herbs to the dough?
Absolutely! Add your favorite dried or fresh herbs, seeds, or even cheese during mixing to customize flavor and texture.
What if my dough is too sticky to handle?
Lightly flour your hands and work surface, but avoid adding too much flour into the dough itself. Sticky dough is normal for this recipe and helps develop an open crumb.
Pin This Recipe!
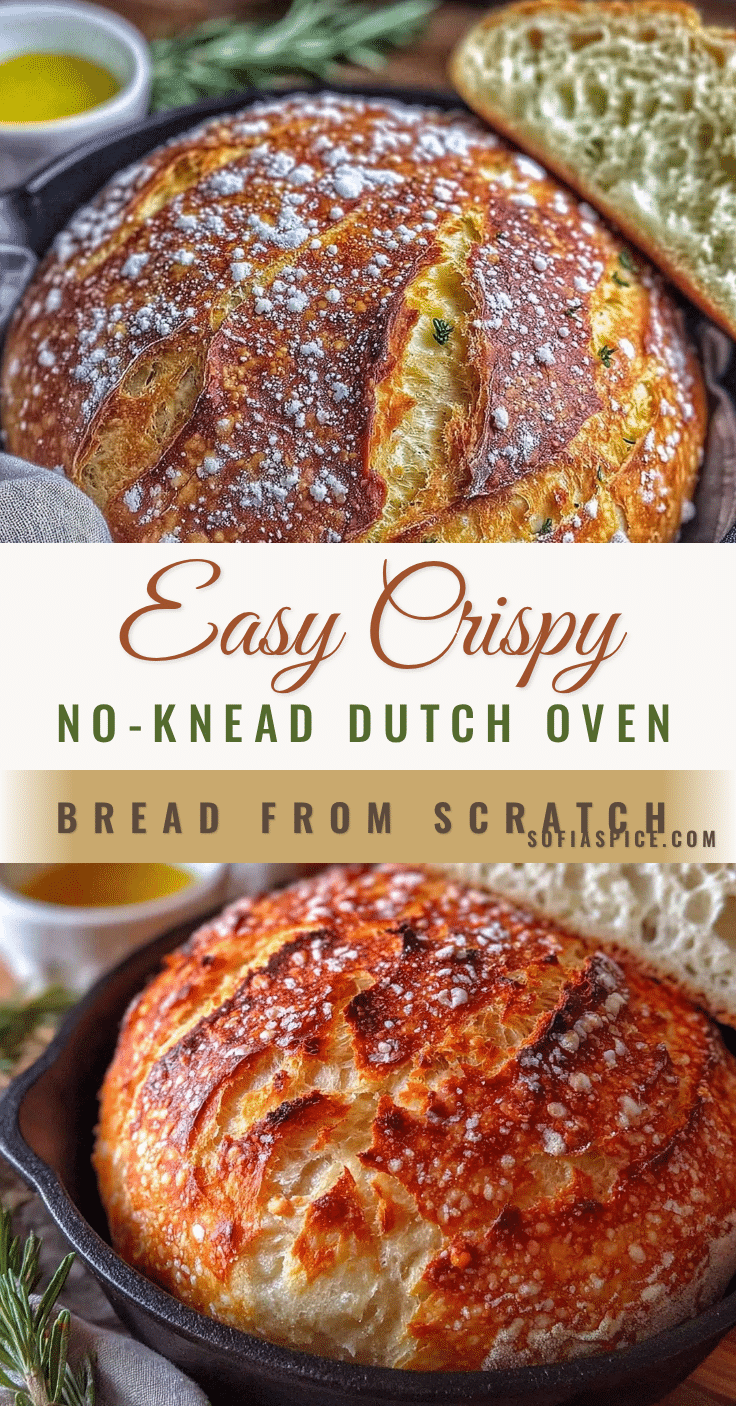
Easy Crispy No-Knead Dutch Oven Bread Recipe for Beginners Made Perfect

A beginner-friendly no-knead bread recipe that produces a crispy crust and soft, airy crumb using simple ingredients and a Dutch oven baking method.
- Prep Time: 15 minutes
- Cook Time: 45 minutes
- Total Time: 13 hours
- Yield: 8 servings (1/8 loaf per serving) 1x
- Category: Bread
- Cuisine: American
Ingredients
- 3 cups (375g) all-purpose flour
- 1/4 teaspoon active dry yeast
- 1 1/4 teaspoons salt
- 1 1/2 cups (360ml) warm water (75-80°F / 24-27°C)
Instructions
- In a large bowl, combine 3 cups (375g) all-purpose flour, 1/4 teaspoon active dry yeast, and 1 1/4 teaspoons salt. Stir to evenly distribute everything (about 2 minutes).
- Pour in 1 1/2 cups (360ml) warm water. Use a wooden spoon or spatula to mix until all flour is hydrated and a shaggy, sticky dough forms (about 3 minutes). Do not knead.
- Cover the bowl with plastic wrap or a clean kitchen towel. Let the dough rest at room temperature for 12 to 18 hours until it rises, bubbles, and doubles in size.
- About 30 minutes before baking, place your empty Dutch oven with the lid on inside your oven and preheat to 450°F (230°C).
- Turn the dough out onto a well-floured surface. Gently shape it into a round loaf by folding the edges under to create surface tension. Let it rest for 30 minutes, covered with a towel.
- Carefully remove the hot Dutch oven from the oven. Place a piece of parchment paper in the pot and transfer the dough onto it. Put the lid back on and bake for 30 minutes.
- Remove the lid and bake for another 10 to 15 minutes until the crust is deep golden brown and crispy. The bread should sound hollow when tapped on the bottom.
- Transfer the bread to a wire rack and let cool for at least 1 hour before slicing.
Notes
Use warm water between 75-80°F to avoid killing the yeast. Preheat the Dutch oven to trap steam and create a crispy crust. Use parchment paper to prevent sticking. Do not rush the long fermentation (12-18 hours) for best flavor and texture. If dough is sticky, dust hands and surface with flour but avoid adding too much flour to dough. Tent bread with foil if browning too fast after removing lid.
Nutrition
- Serving Size: 1/8 of the loaf
- Calories: 150
- Sodium: 300
- Fat: 0.5
- Carbohydrates: 30
- Fiber: 1
- Protein: 5
Keywords: no-knead bread, Dutch oven bread, easy bread recipe, crispy crust bread, beginner bread recipe, homemade bread


