“You better not eat all those!” my roommate joked as I stood in the kitchen, rolling the last of the chocolate peanut butter protein balls. Honestly, I didn’t mean to make so many, but once I tasted that first bite—rich, chewy, and just the right hint of chocolate—it was game over. I had stumbled upon this recipe during one of those nights when hunger hits hard but the motivation to cook a full meal is zero. It wasn’t fancy, and I was skeptical at first. Peanut butter and oats? Protein balls? Sounds like one of those health food fads, right? But this little snack quickly became my go-to, especially when juggling late-night work sessions or just craving something that felt indulgent without the guilt.
There’s something about how the oats add a gentle chew and the peanut butter wraps everything in creamy goodness that makes these bites oddly satisfying. And honestly, they’re way better than any store-bought protein bar I’ve tried. What really surprised me is how easy it is to whip them up—five ingredients, no baking, and done in under 15 minutes. Even better, they keep me fueled for hours, which is a lifesaver on busy days when I barely have time to breathe, let alone eat.
While these chocolate peanut butter protein balls started as a quick fix, they’ve stuck around because they’re just that reliable. They carry a quiet promise of comfort and energy without the mess or fuss. If you’re like me—looking for a snack that’s straightforward, nourishing, and just a little bit indulgent—you might find yourself making these little power bites time and again.
Why You’ll Love This Recipe
Having made these chocolate peanut butter protein balls countless times, I can say they’re a rare snack that hits all the marks. Here’s why they stand out:
- Quick & Easy: Ready in under 15 minutes with minimal prep, ideal for busy mornings or a last-minute snack.
- Simple Ingredients: Uses just five pantry staples—no hunting for exotic items or specialty stores.
- Perfect for Anytime: Whether you need a pre-workout boost, an afternoon pick-me-up, or a late-night treat, they fit the bill.
- Crowd-Pleaser: I’ve brought these to potlucks and everyone keeps asking for the recipe (and the batch I brought).
- Unbelievably Delicious: The combo of chocolate and peanut butter is timeless, but adding oats gives it a texture that feels homemade and hearty.
What sets this recipe apart is the balance. I’ve tweaked other protein balls before, and they either ended up too dry or excessively sticky. These hit the sweet spot with a little crunch from rolled oats and creamy peanut butter that binds everything perfectly. Plus, I use a scoop of chocolate protein powder which adds a subtle richness without overpowering the natural flavors.
This snack isn’t just fuel; it’s a little joy in bite-sized form. It’s the kind of recipe that turns a rushed afternoon into a moment of real satisfaction, without any complicated steps or cleanup. Honestly, it’s become a staple in my kitchen alongside other favorites like the creamy buffalo chicken pasta that’s perfect for easy dinners too.
What Ingredients You Will Need
This recipe uses simple, wholesome ingredients to deliver bold flavor and satisfying texture without the fuss. Most of these are pantry staples, so you probably have them on hand already.
- Rolled oats (1 cup / 90g): The base ingredient that adds chewiness and fiber. I prefer old-fashioned oats over quick oats for better texture.
- Natural peanut butter (1/2 cup / 130g): Creamy style works best here. It adds richness and acts as the binding agent.
- Honey or maple syrup (1/4 cup / 85g): For natural sweetness. Honey lends a floral note, while maple syrup adds depth—choose your favorite.
- Chocolate protein powder (1/3 cup / 30g): This gives the balls a rich chocolate flavor and a protein boost. I use a whey-based powder, but plant-based options work well too.
- Mini dark chocolate chips (1/4 cup / 45g): These are optional but highly recommended for little bursts of melty chocolate.
For substitutions: if you want a nut-free version, sunflower seed butter is a solid alternative to peanut butter. You can also swap rolled oats for gluten-free oats if needed. Some folks like adding a pinch of sea salt to highlight the chocolate and peanut butter flavors, which I sometimes do depending on my mood.
Equipment Needed
- Mixing bowl: A medium to large bowl for combining ingredients.
- Measuring cups and spoons: For accuracy, especially with the protein powder and sweetener.
- Spatula or wooden spoon: To mix everything thoroughly.
- Baking sheet or plate lined with parchment paper: To set the balls while they firm up.
- Optional: food processor: If you want a finer oat texture or to blend the mixture more smoothly.
I usually mix by hand, which lets me feel the consistency better. If you don’t have parchment paper, a silicone mat or even a clean plate works fine. Nothing fancy needed here, which is part of the charm.
Preparation Method
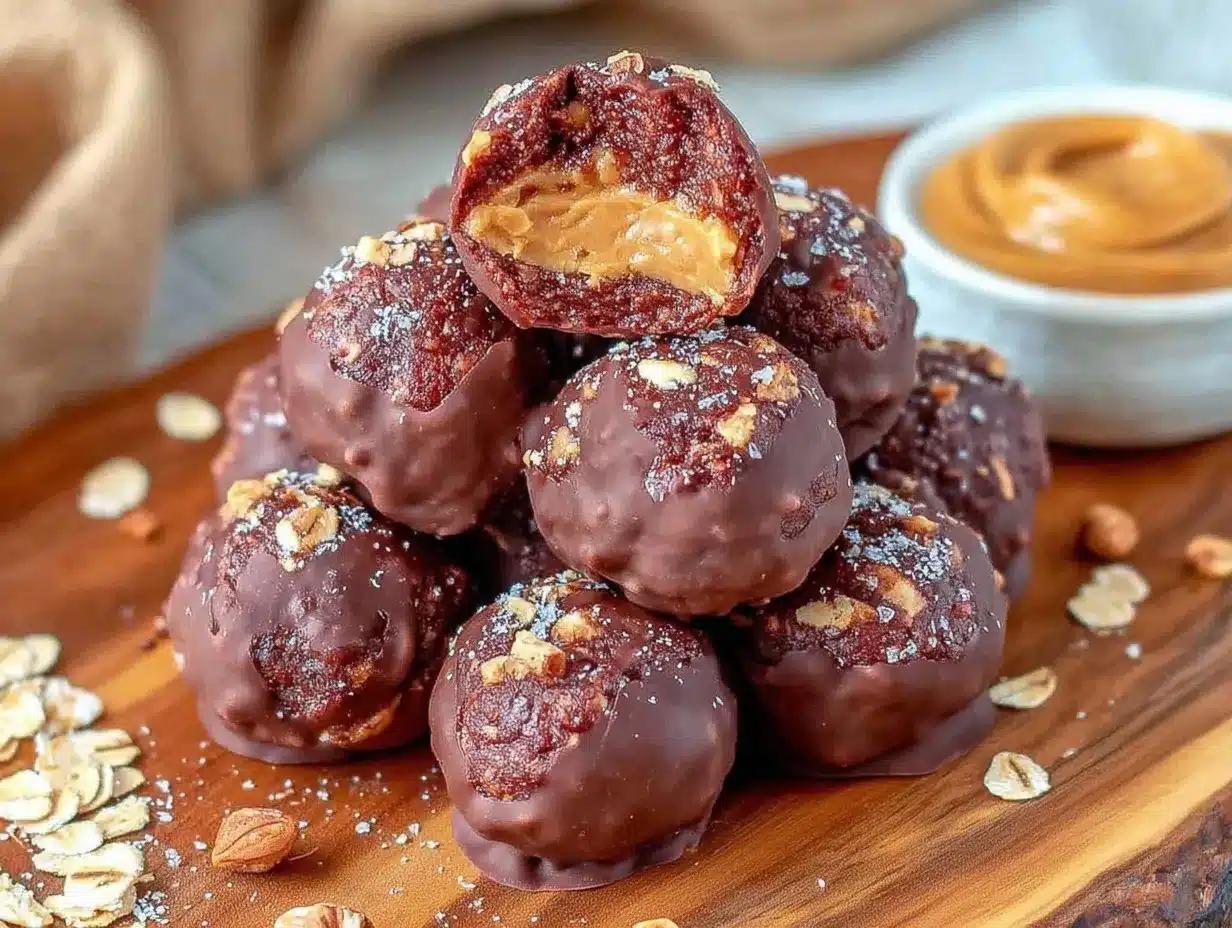
- Mix the wet ingredients: In your mixing bowl, combine 1/2 cup natural peanut butter with 1/4 cup honey or maple syrup. Stir until smooth and well incorporated. This step takes about 2 minutes. The mixture should be creamy and slightly sticky.
- Add the protein powder: Sprinkle in 1/3 cup chocolate protein powder gradually, stirring as you go. This helps avoid clumps. The mixture will thicken noticeably here.
- Incorporate the oats: Add 1 cup rolled oats to the bowl. Stir well so the oats are evenly coated. The texture should be crumbly but stick together when pressed. This usually takes about 3 minutes. If the mixture feels too dry, add a teaspoon of water or more honey; too wet, add a few more oats.
- Fold in chocolate chips: Gently mix in 1/4 cup mini dark chocolate chips for bursts of chocolate in every bite.
- Form the balls: Using your hands or a small cookie scoop, roll the mixture into 1-inch (2.5 cm) balls. Place them on the parchment-lined baking sheet. You should get about 15-18 balls.
- Chill: Refrigerate the balls for at least 30 minutes to firm up. This step is key for the texture to set properly.
- Serve or store: Enjoy immediately after chilling, or transfer to an airtight container for storage.
Quick tip: If you want to speed things up, pop the balls in the freezer for 10-15 minutes instead of the fridge. Also, pressing the balls firmly when rolling helps keep them intact longer.
Cooking Tips & Techniques
Making protein balls sounds straightforward, but I’ve learned a few tricks along the way to make these chocolate peanut butter protein balls really shine.
- Texture balance is everything: Getting the right moisture level is key. Too much peanut butter or sweetener and the balls get gummy; too little and they fall apart. It’s a little like Goldilocks—just right.
- Use old-fashioned oats: They provide a more satisfying chew and better structure. Quick oats tend to turn mushy.
- Chill time matters: Never skip the chilling step. It firms the balls and makes them easier to handle.
- Mix by hand: This helps you feel the consistency and catch if you need to adjust anything.
- Customize sweetness: Start with less honey or syrup and add more if you prefer sweeter bites.
One time, I tried using powdered peanut butter to cut calories, but the texture was off—too dry and crumbly. Lesson learned: stick to natural, creamy peanut butter for best results. Also, if your protein powder isn’t chocolate-flavored, toss in a teaspoon of cocoa powder to boost that chocolate vibe.
Variations & Adaptations
These protein balls are pretty flexible, so you can tweak them to suit your taste or dietary needs.
- Nut-free option: Swap peanut butter for sunflower seed butter and omit chocolate chips if allergic.
- Seasonal twist: Add dried cranberries or chopped dates for a chewy, fruity kick.
- Spiced version: Stir in a pinch of cinnamon or chili powder for warmth and complexity.
- Vegan swap: Use maple syrup instead of honey and a plant-based protein powder.
- Boost the crunch: Add chopped nuts or seeds like almonds, pumpkin, or chia for texture.
Once, I experimented by adding shredded coconut and a few drops of vanilla extract—turned out fantastic and gave the balls a tropical flair. For a quick variation on the go, I sometimes mix the ingredients and freeze the balls right away, so they’re ready for a cool, refreshing nibble.
Serving & Storage Suggestions
These protein balls are best served chilled or at room temperature. They make a perfect grab-and-go snack packed with energy and flavor. Pair them with a cup of black coffee or a cold glass of milk for a satisfying mini-meal.
Store leftover balls in an airtight container in the refrigerator for up to a week. If you want to keep them longer, freeze them in a sealed container or freezer bag for up to 3 months. Just thaw at room temperature for 10-15 minutes before eating.
Over time, the flavors meld beautifully, making the balls taste even richer after a day or two. I often prepare a batch ahead of a busy week and find they hold up well, staying fresh and delicious. They’re also great to pack in lunch boxes or take on hikes.
Nutritional Information & Benefits
Each chocolate peanut butter protein ball contains roughly:
| Calories | Protein | Carbs | Fat |
|---|---|---|---|
| ~120 kcal | 5g | 12g | 7g |
These bites are a balanced snack with protein, healthy fats, and fiber from oats, making them a smart choice for sustained energy. The natural peanut butter provides monounsaturated fats, which support heart health. Using a quality protein powder not only boosts muscle repair but also helps curb hunger between meals.
For those watching gluten intake, make sure to use certified gluten-free oats. The recipe is naturally low in sugar compared to most commercial snacks, especially if you control the sweetener amount. Just be mindful if you have nut allergies or sensitivities.
Conclusion
Easy chocolate peanut butter protein balls with oats are one of those recipes that feel like a small kitchen victory every time. They’re simple, satisfying, and seriously addictive in the best way. Whether you’re tackling a busy day or just need a quick bite that feels like a treat without the guilt, these protein balls deliver.
Feel free to customize the ingredients to suit your taste or dietary needs—this recipe is forgiving and versatile. I love how they come together with minimal effort but pack a punch of flavor and nourishment. Plus, they store beautifully, ready whenever you need a little boost.
If you try them, drop a comment below sharing your favorite variation or how they fit into your routine. There’s something comforting about these bites, and I’m happy they found a place in my snack rotation alongside other favorites like the cozy chicken and wild rice soup that’s perfect for chilly nights.
Here’s to simple snacks that make life a little easier and a lot tastier!
FAQs About Easy Chocolate Peanut Butter Protein Balls with Oats
Can I make these protein balls ahead of time?
Absolutely! They keep well in the fridge for up to a week and freeze nicely for up to 3 months.
What if I don’t have protein powder?
You can still make these without protein powder, but the texture might be a bit softer. Try adding a little extra oats or some ground flaxseed to help bind.
Are these suitable for kids?
Yes, kids usually love the chocolate and peanut butter combo. Just watch the portion size because they are energy-dense.
How can I make these nut-free?
Swap peanut butter for sunflower seed butter and omit chocolate chips if concerned about allergies.
Can I use quick oats instead of rolled oats?
Quick oats can be used, but the texture will be softer and less chewy. For best results, stick with rolled oats.
Pin This Recipe!
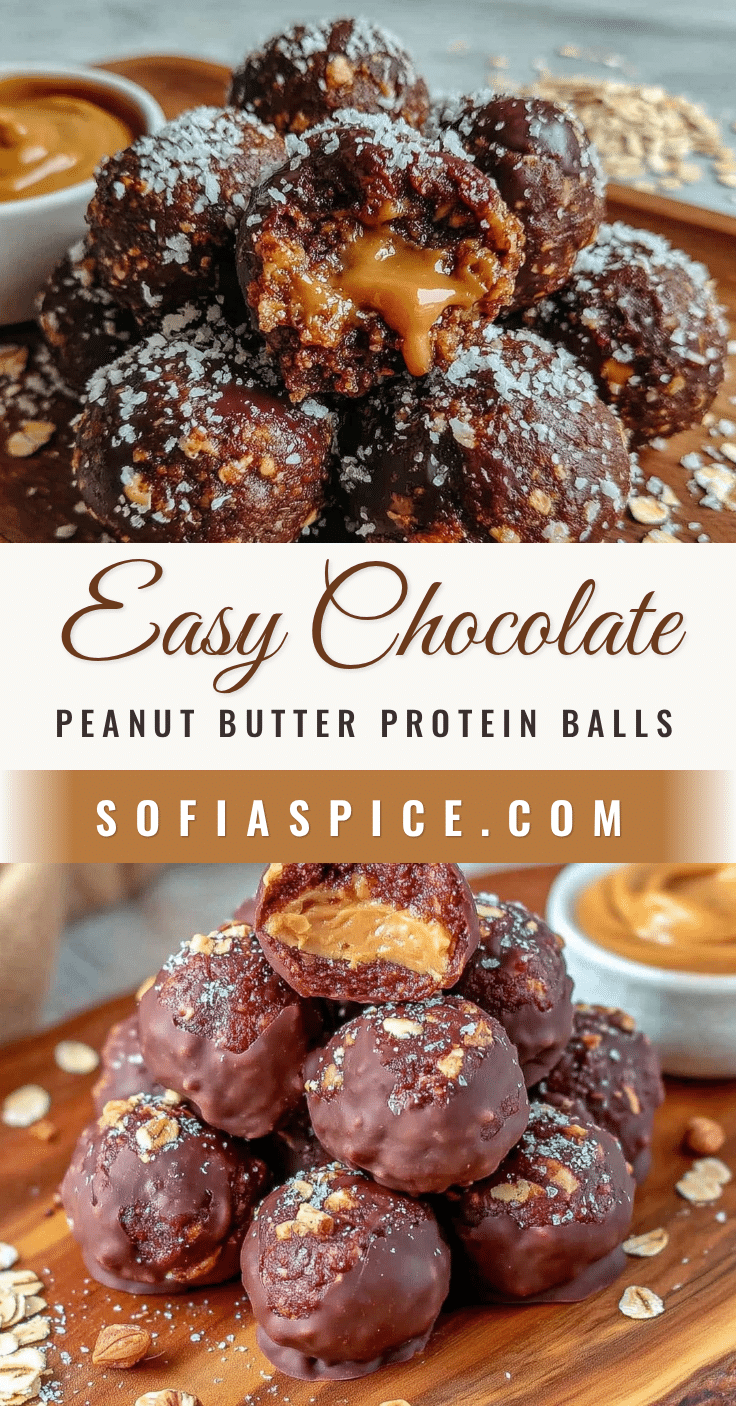
Easy Chocolate Peanut Butter Protein Balls Recipe 5-Ingredient No-Bake Snack
These no-bake chocolate peanut butter protein balls are a quick, easy, and delicious snack made with just five ingredients. They offer a perfect balance of chewy oats, creamy peanut butter, and rich chocolate flavor, ideal for a nutritious energy boost anytime.
- Prep Time: 10 minutes
- Cook Time: 0 minutes
- Total Time: 40 minutes
- Yield: 15-18 balls 1x
- Category: Snack
- Cuisine: American
Ingredients
- 1 cup rolled oats (90g)
- 1/2 cup natural peanut butter (130g)
- 1/4 cup honey or maple syrup (85g)
- 1/3 cup chocolate protein powder (30g)
- 1/4 cup mini dark chocolate chips (45g) (optional)
Instructions
- In a mixing bowl, combine 1/2 cup natural peanut butter with 1/4 cup honey or maple syrup. Stir until smooth and well incorporated (about 2 minutes).
- Gradually sprinkle in 1/3 cup chocolate protein powder, stirring to avoid clumps. The mixture will thicken.
- Add 1 cup rolled oats to the bowl and stir well until oats are evenly coated and the texture is crumbly but sticks together when pressed (about 3 minutes). Adjust moisture by adding a teaspoon of water or more honey if too dry, or more oats if too wet.
- Gently fold in 1/4 cup mini dark chocolate chips.
- Using hands or a small cookie scoop, roll the mixture into 1-inch (2.5 cm) balls and place them on a parchment-lined baking sheet. Yield about 15-18 balls.
- Refrigerate the balls for at least 30 minutes to firm up the texture.
- Serve chilled or at room temperature, or store in an airtight container.
Notes
Use old-fashioned rolled oats for better texture instead of quick oats. Chill the balls for at least 30 minutes to firm up. For a nut-free version, substitute peanut butter with sunflower seed butter and omit chocolate chips. Adjust sweetness to taste by varying honey or maple syrup. Press balls firmly when rolling to help them hold together longer. Freeze for 10-15 minutes to speed chilling.
Nutrition
- Serving Size: 1 protein ball
- Calories: 120
- Fat: 7
- Carbohydrates: 12
- Protein: 5
Keywords: protein balls, no-bake snack, chocolate peanut butter, healthy snack, quick snack, energy bites, 5-ingredient recipe


